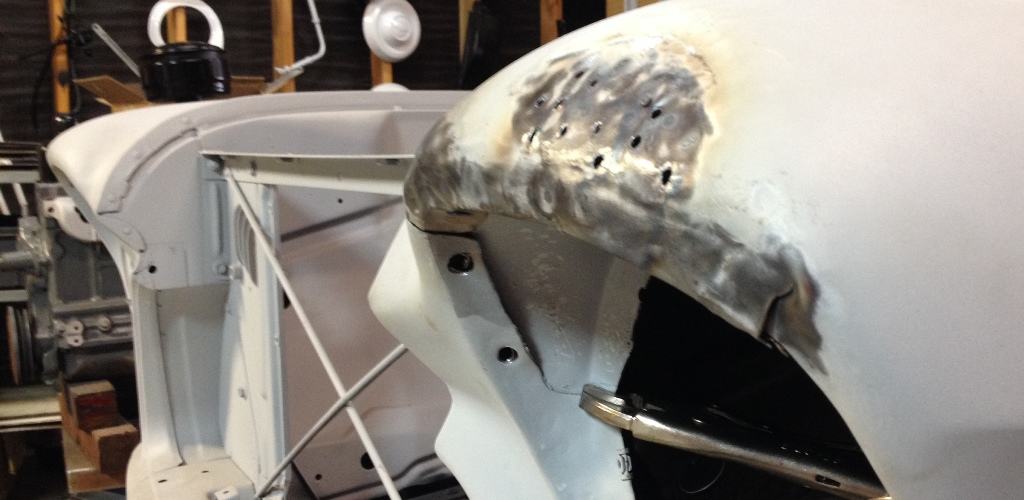
Some years ago, Lewie’s truck lost a skirmish with tree, which became apparent when we had the truck sandblasted from bumper to bumper. The repair resulted in some wrinkles and a knife edged front fender, above the headlight.

The fender should have a flattened face as it curves around the upper part of the headlight. The original repair obviously involved a dent puller, as evidenced by the numerous holes.

We considered replacing the fender with an after market item, but at a cost of $3-400 plus quite a few hours of removal and installation time, we decided to repair it.

The first order of business was gaining access to the inside of the fender under the damaged area so that we could apply some brute force. We drilled out the spot welds and removed the sheet metal section that was blocking our access. Then, four cuts were made so that we could bend the flange forward and open the damaged area for some hammering.


After re-attaching the inner section by welding the cuts and the drilled-out spot welds, we mixed up some body filler to begin final shaping of the repair.


Each of our trucks ends up with a phrase that describes our pass-fail level. With the farm truck that phrase is “Not Barrett-Jackson” (NBJ for short). This truck is being built for Lewie’s enjoyment, not for the show circuit or resale.

The owner’s grade after taking a look at the result of about one day’s work? “It passes… NBJ.” The repair versus replacement decision worked out great in this case and we saved Lewie a few hundred bucks.
This fender was the most difficult of the body repairs, other than the rusted out bottom of the passenger side door. That has been addressed and will be the subject of another article. With the dings and dents all repaired, now it is time for sanding in preparation for paint.