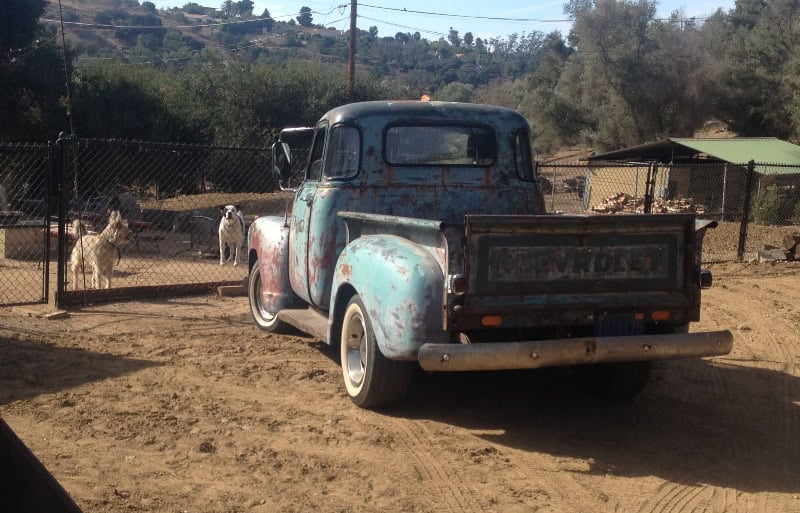
So, we bought the ’59 Apache. Generally, we knew what we were getting, but what exactly did we buy? Time for a little detective work.
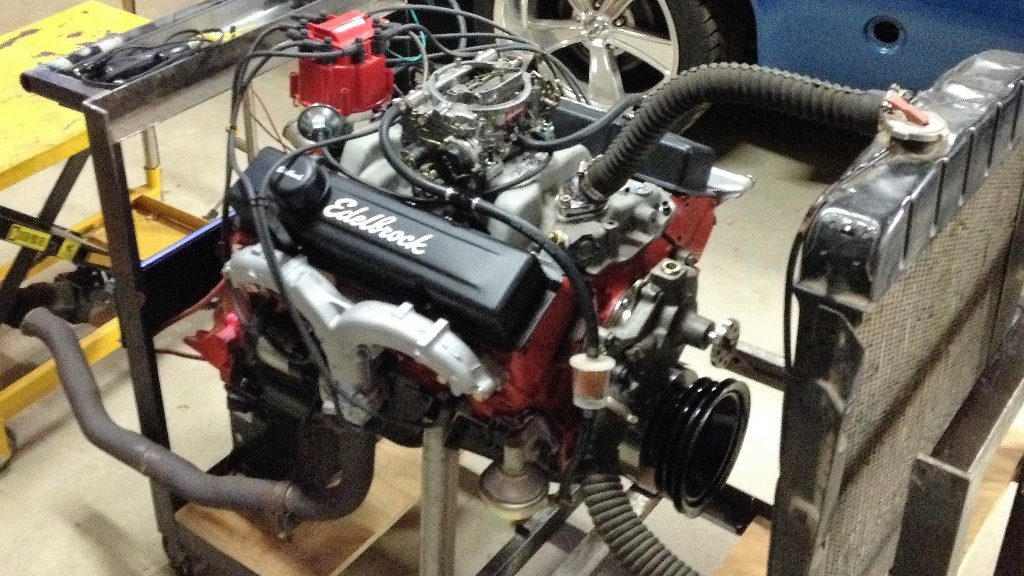
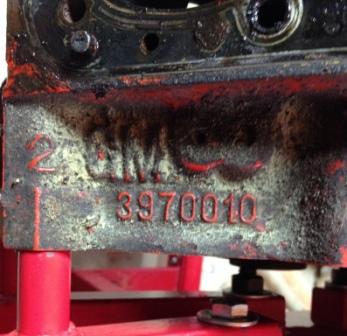
It has a 350 small block Chevy engine. The number at the rear of the block on the driver side tells us that this is a 3970010 block casting, which had a ten year run, from 1969 to 1979, and was used for 302 and 350 cubic inch engines.
To get a little more specific information, we looked for the engine’s three letter suffix, in our case “CGC,” found on the passenger side of the engine just below the cylinder head at the front. Turns out our engine was 350 from 1971 with 245 hp. It would have been installed in an El Camino with the turbo-hydramatic, or a full-size manual transmission car, police car, or taxi.
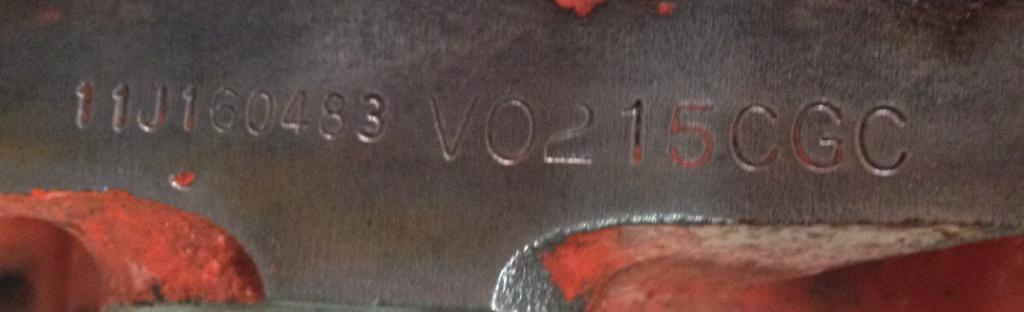
The “11J” at the beginning indicates the car was a Chevrolet, model year 1971, built at GM’s oldest assembly plant in Janesville, Wisconsin (set up in 1919, and shuttered in 2009). The beginning of the engine code “V0215” indicates the engine build was at the Flint plant on February 15th.

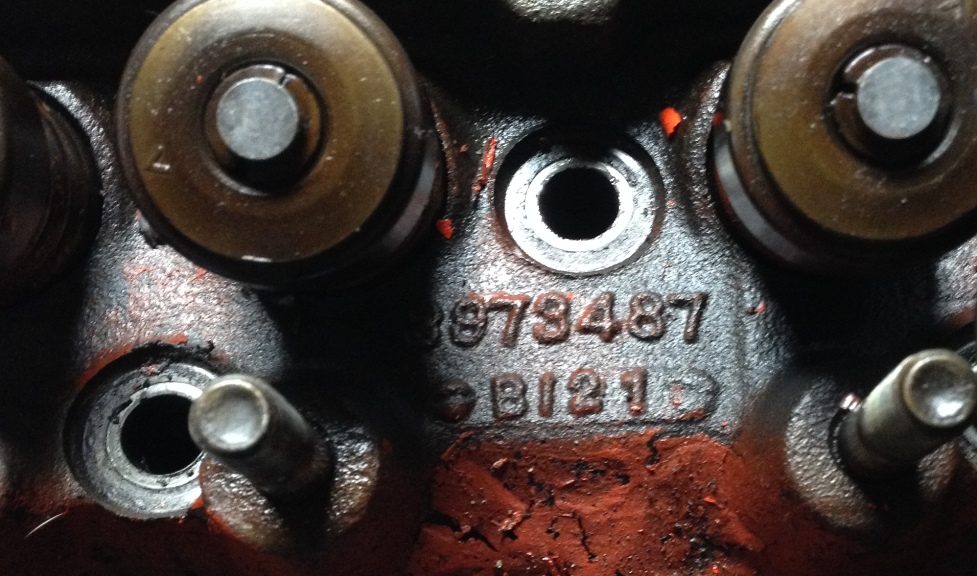
Removing the valve covers revealed the cylinder head identifying numbers “3973487” which indicates that this is a “smog” head with 1.94 intake / 1.50 exhaust valve diameters. Not a good base for making power because of the size (76 cc) and shape of the combustion chambers. We ended up swapping these heads for ones with a 58 cc combustion chamber, just to put a little more pop in the explosion… more on that in a future post about the engine rebuild.
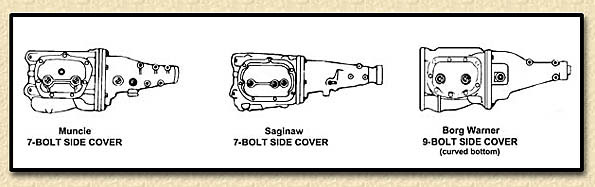
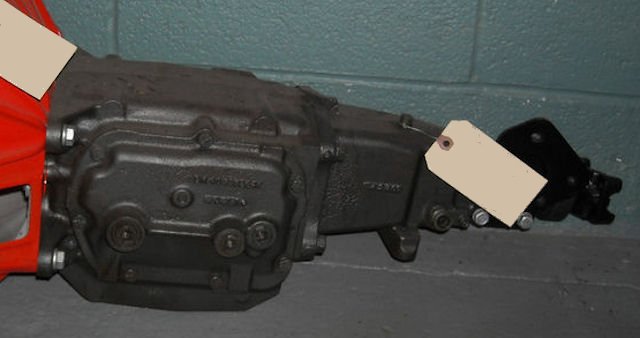
It was easy to identify the transmission as a Saginaw. These manual gearboxes have seven bolts fastening the side cover and all three shift levers are on the side cover. The Muncie also has seven bolts securing the side cover but the reverse shift lever is on the tail housing.
The final piece of the drivetrain – the differential – yielded its specifications, as well, once we were able to guess correctly at the last digit of the casting number.

A Google search on GM differential 3707340 pointed us to a number of gear vendors. They revealed the same information…
- GM ’55 – ’64 1/2 ton truck
- drop out carrier
- 10 bolt rear cover
- c/clip axles
- 12 ring gear bolts (3/8 x 24)
- ring gear diameter: 9.375″
- pinion nut size 1 – 1/8th”
Yukon Gear, Randy’s Worldwide, and Sierra Gear all list a GM55T-338 replacement ring and pinion with a 3.38 to 1 ratio along with all the other parts necessary for a rebuild. I would choose that ratio over the Apache’s, which seems to be a 3.90 ratio. In fact, I’d like to go even further via an overdrive transmission. If I could find a three-speed Saginaw with overdrive – for a reasonable price – I would swap it for the four speed in a heartbeat.
But first things first. Unfortunately, the Apache’s rear end is making the worn-ring-and-pinion howl and that means I need to put it on the bench for inspection and adjustment or replacement.
Website pages for reference:
http://sierragear.com/ring-and-pinion-gear-sets-gm/