
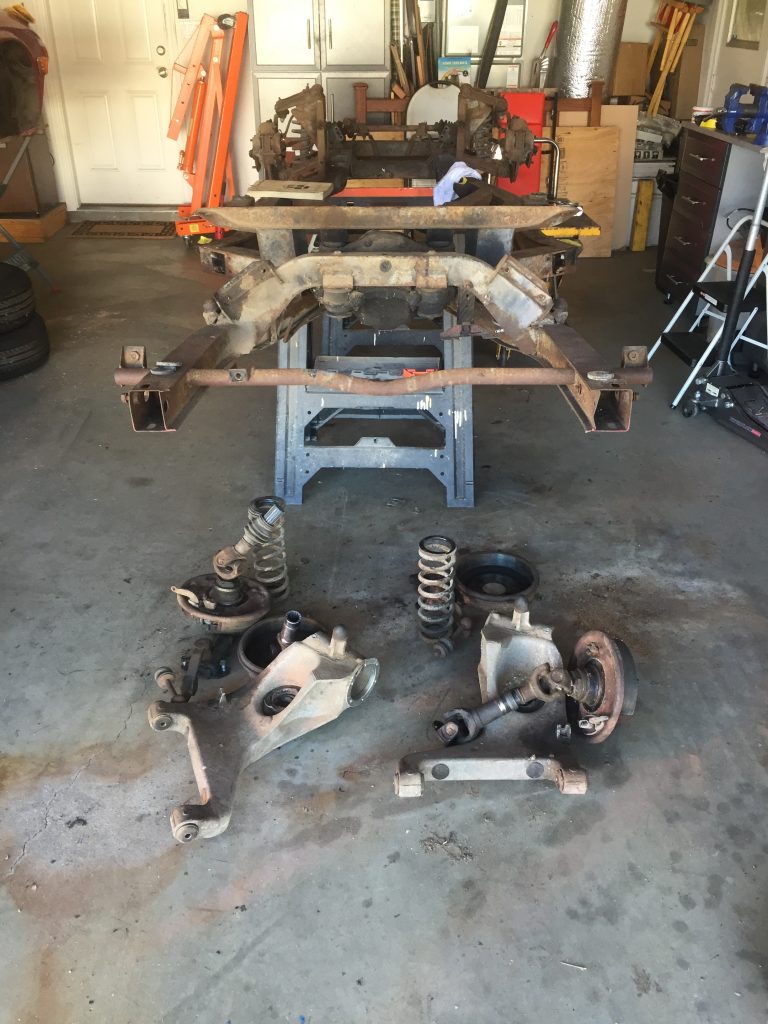
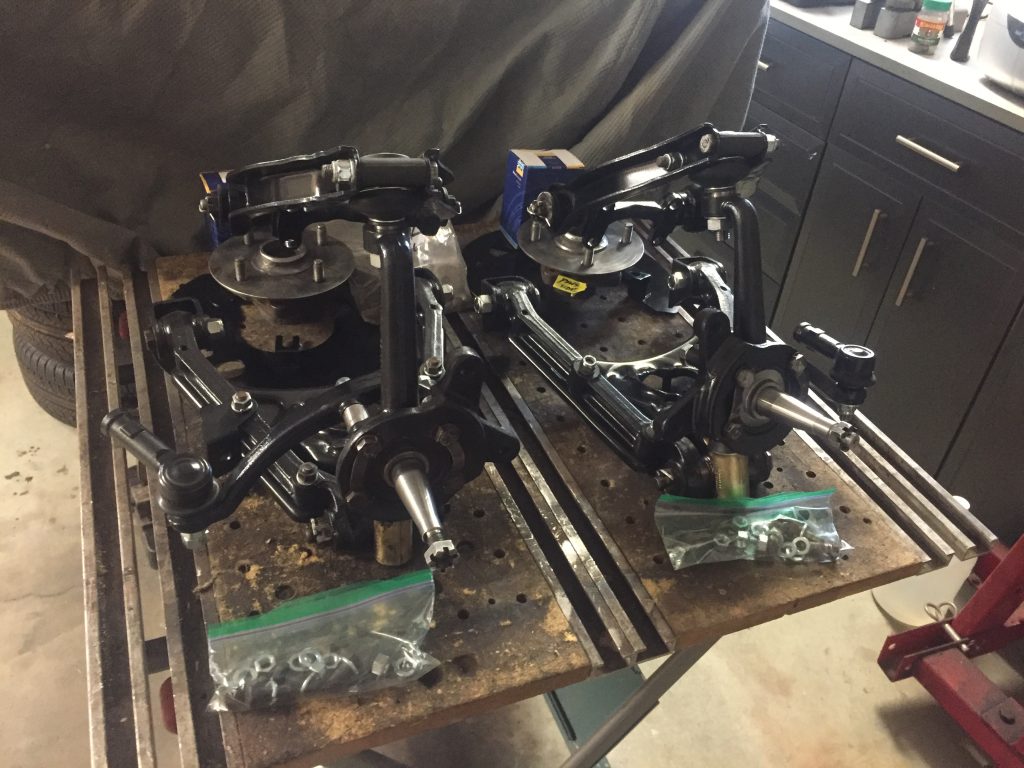
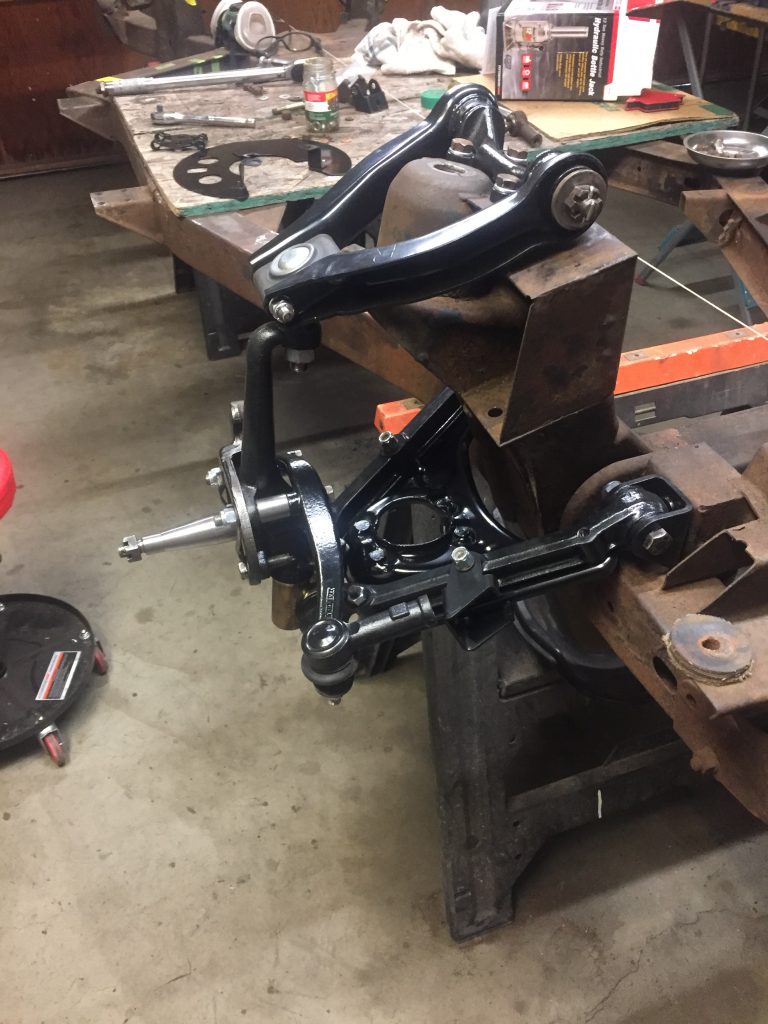
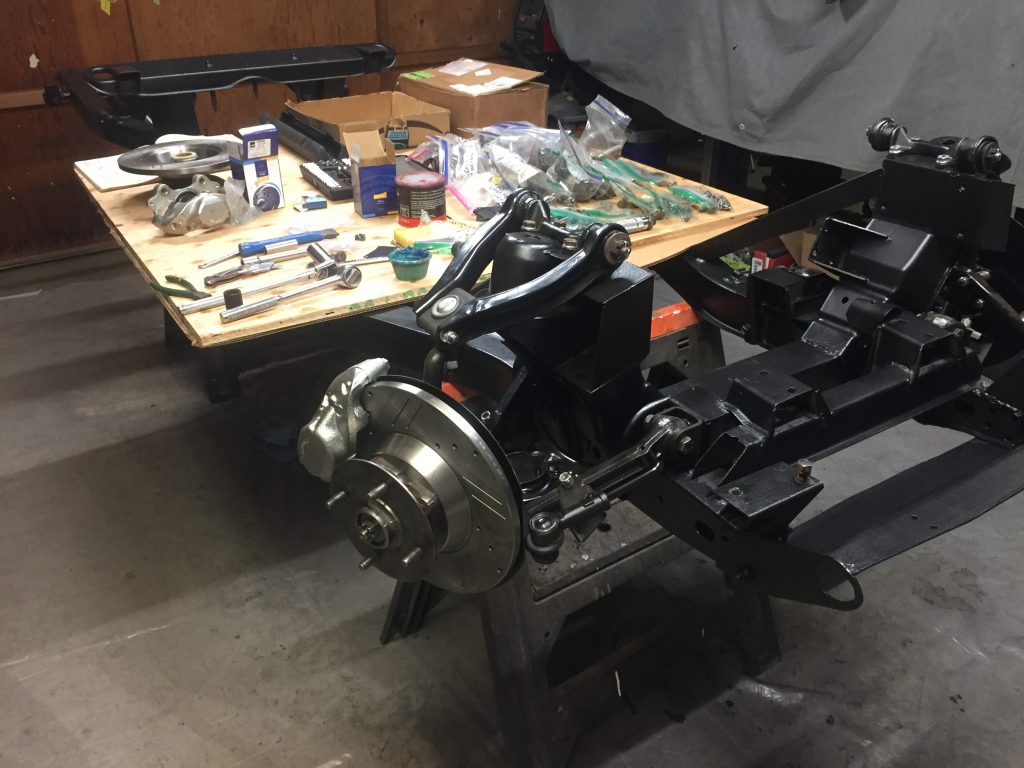
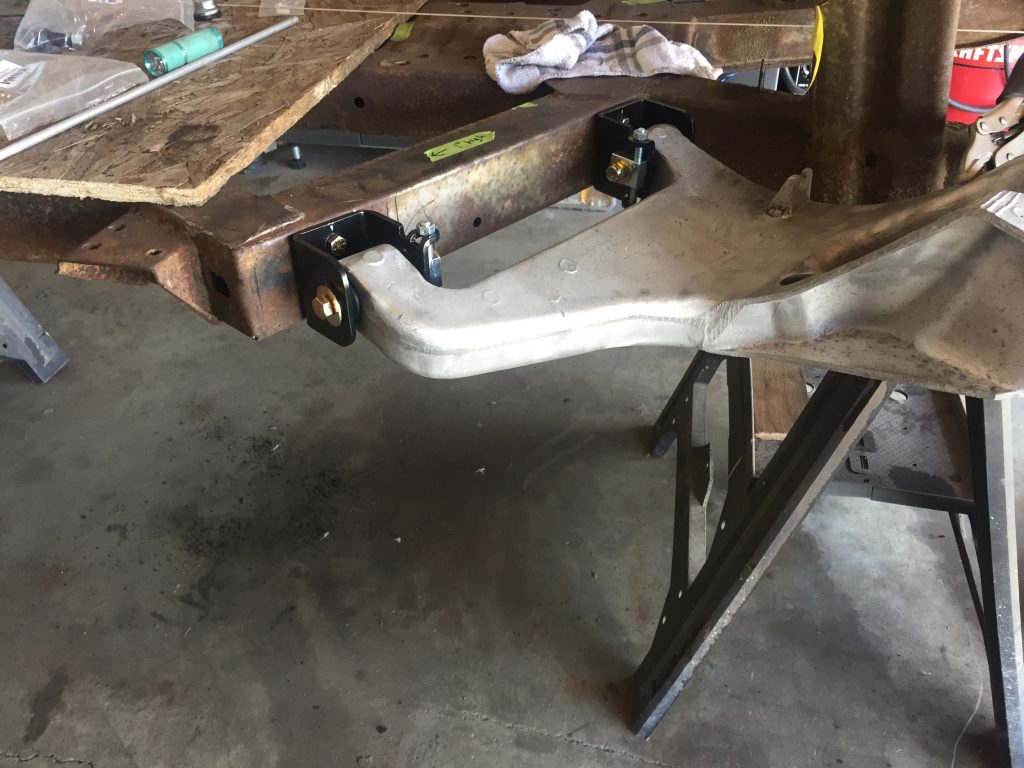
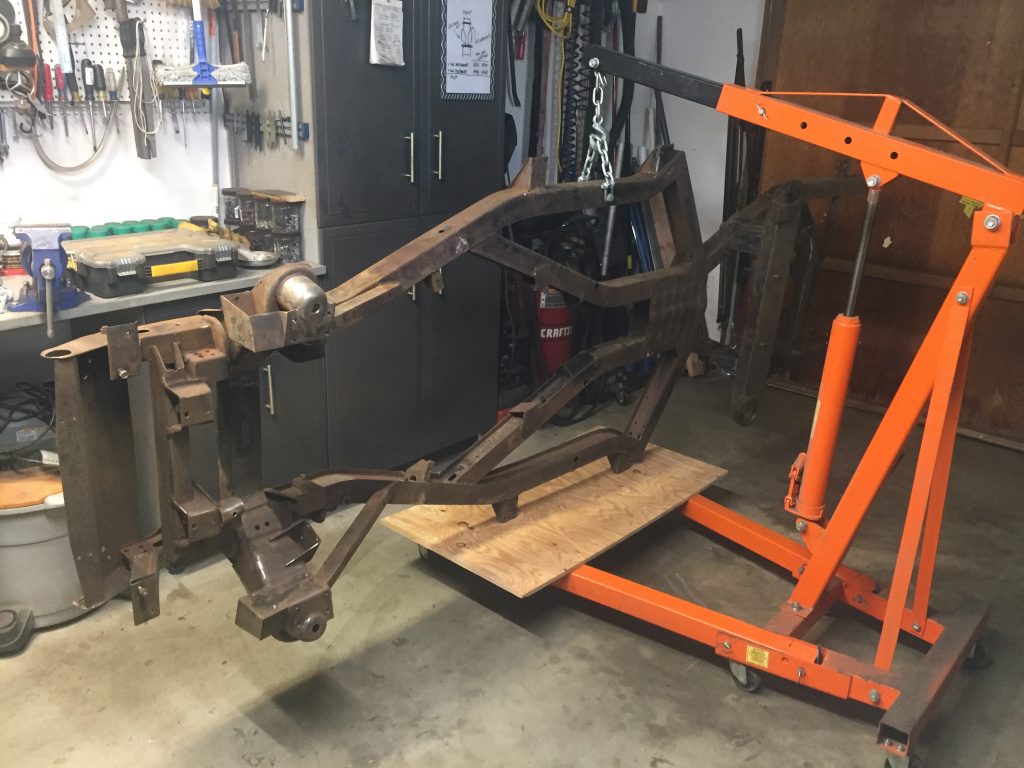
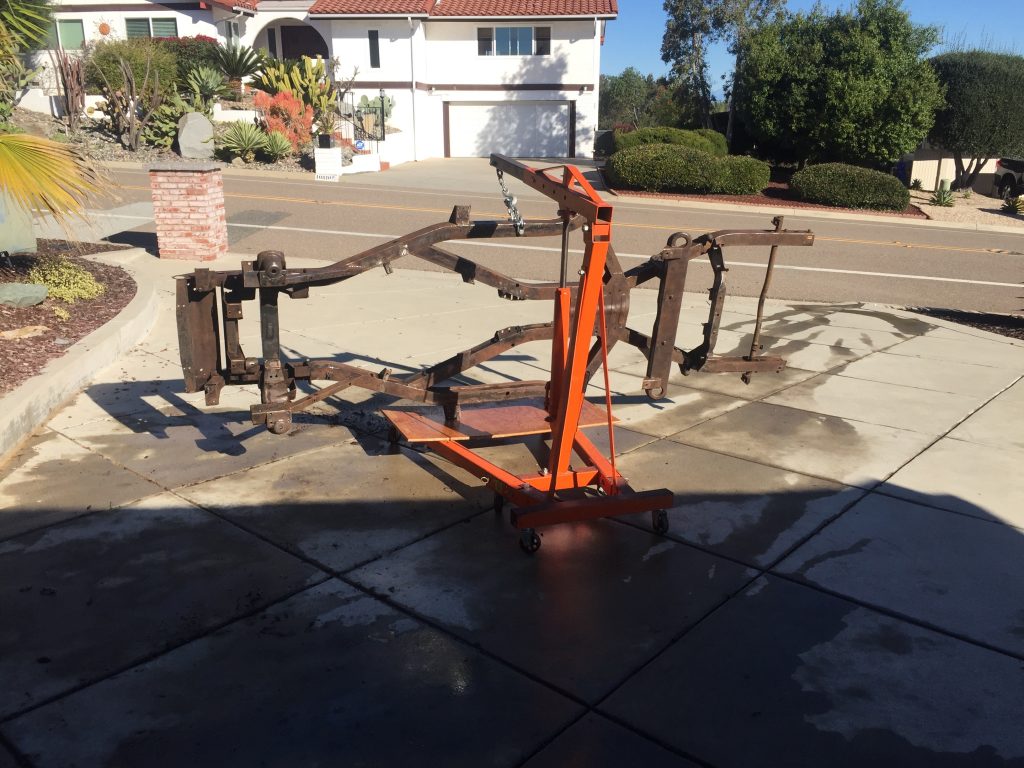

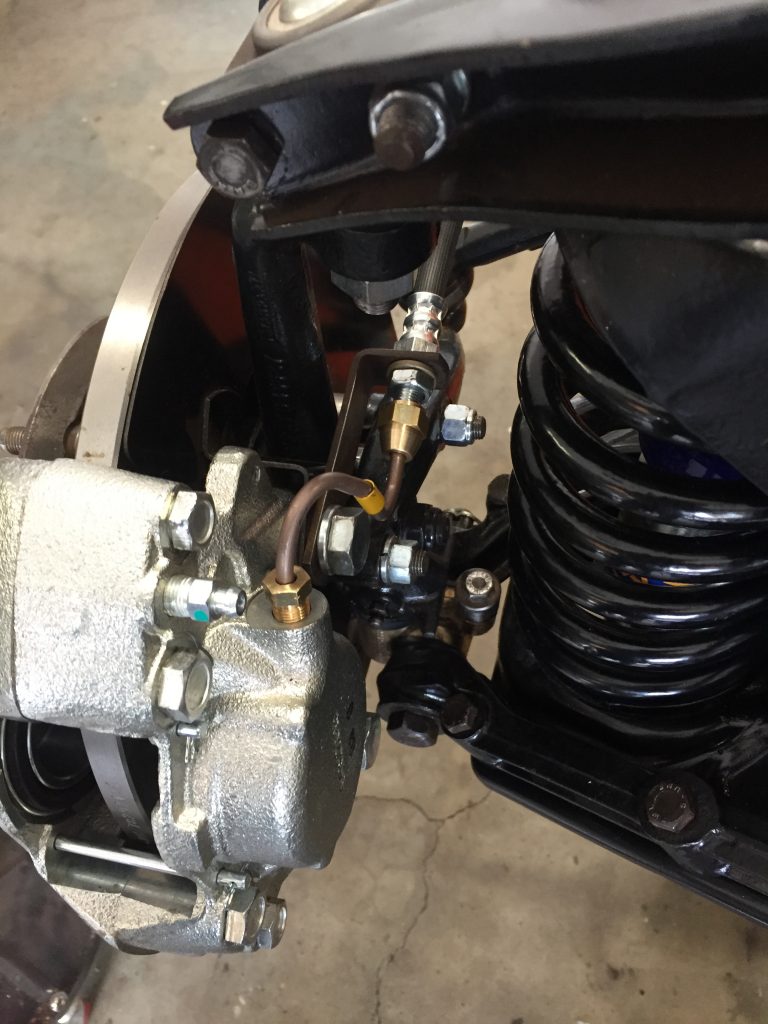
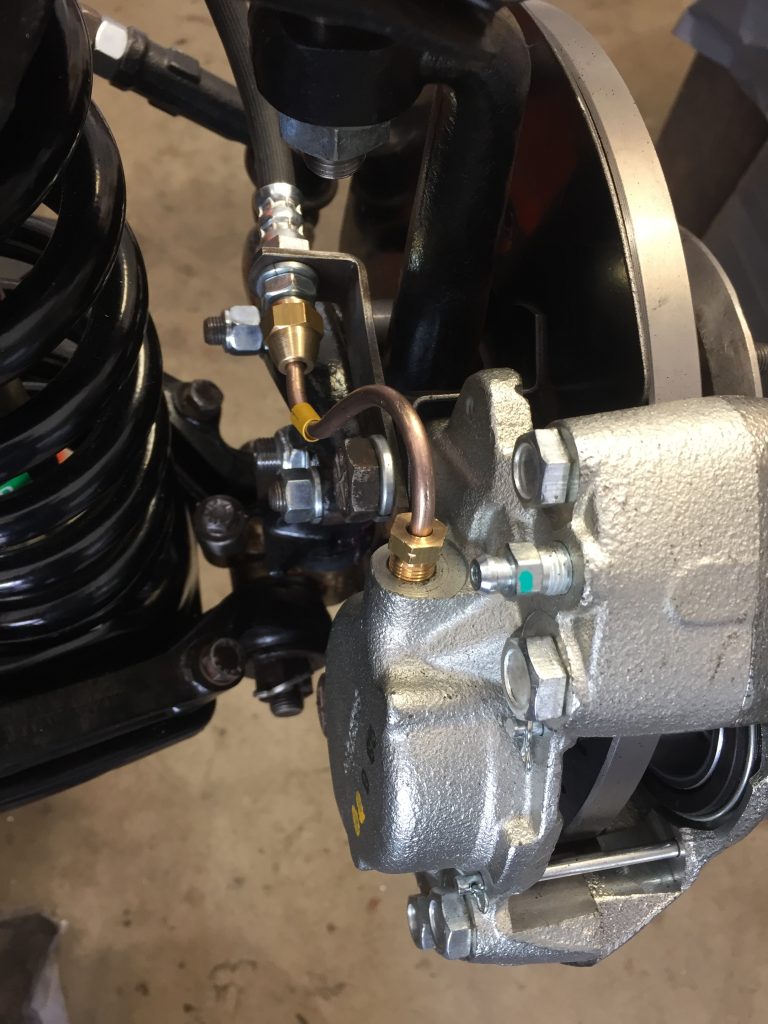
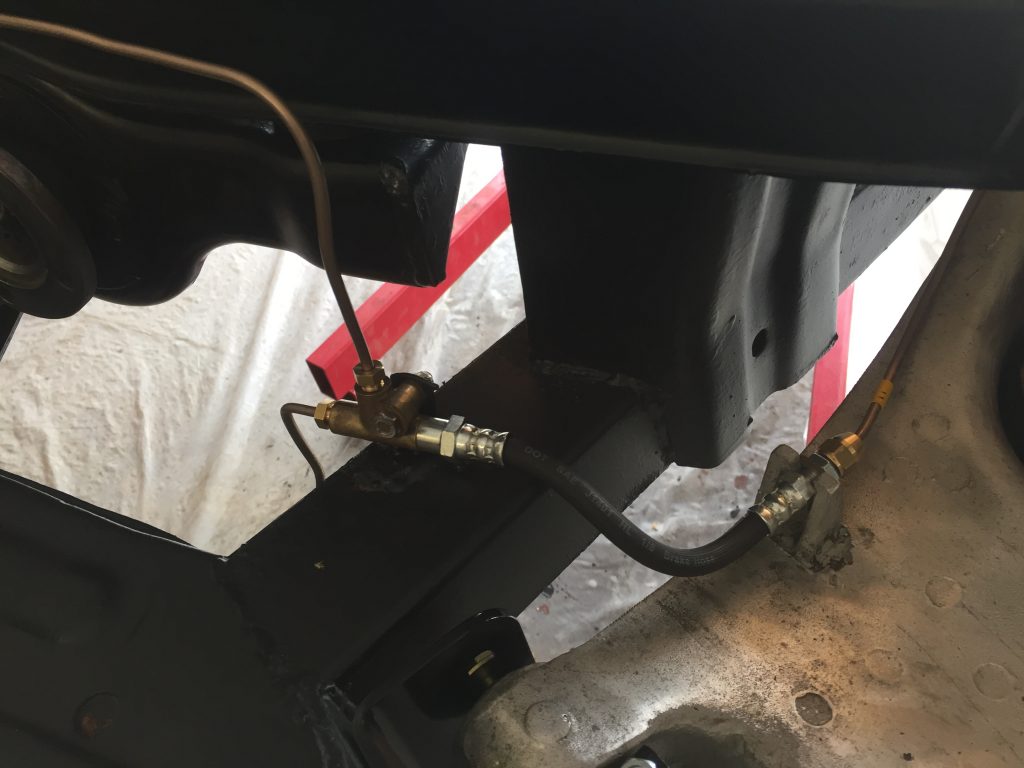
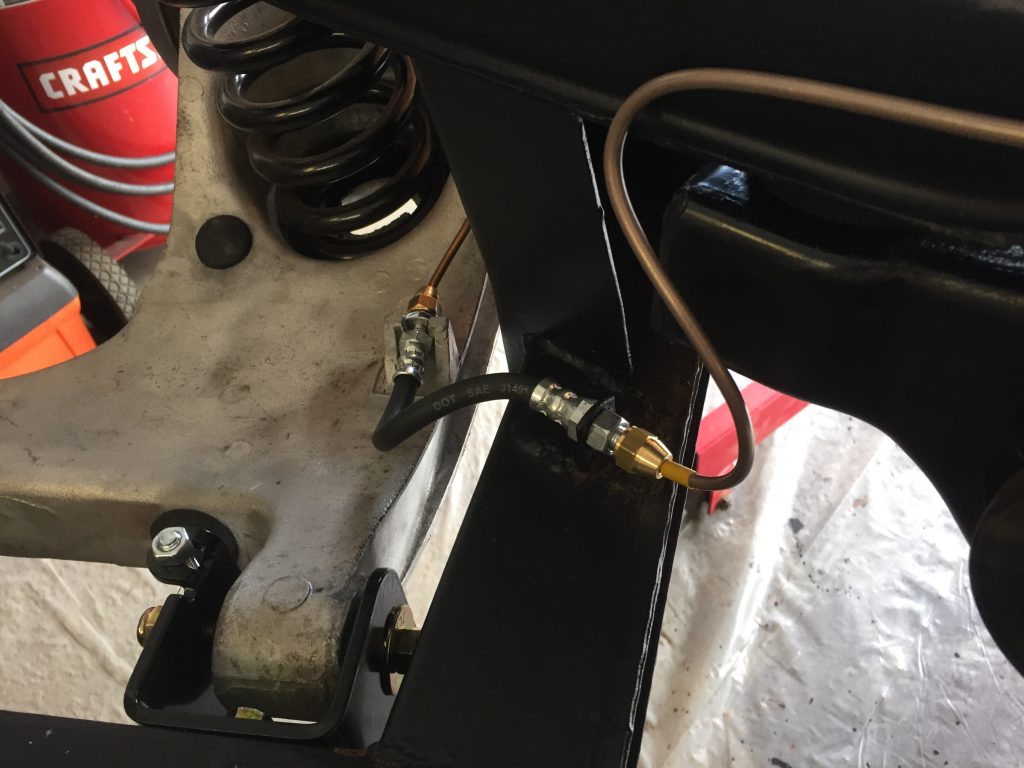
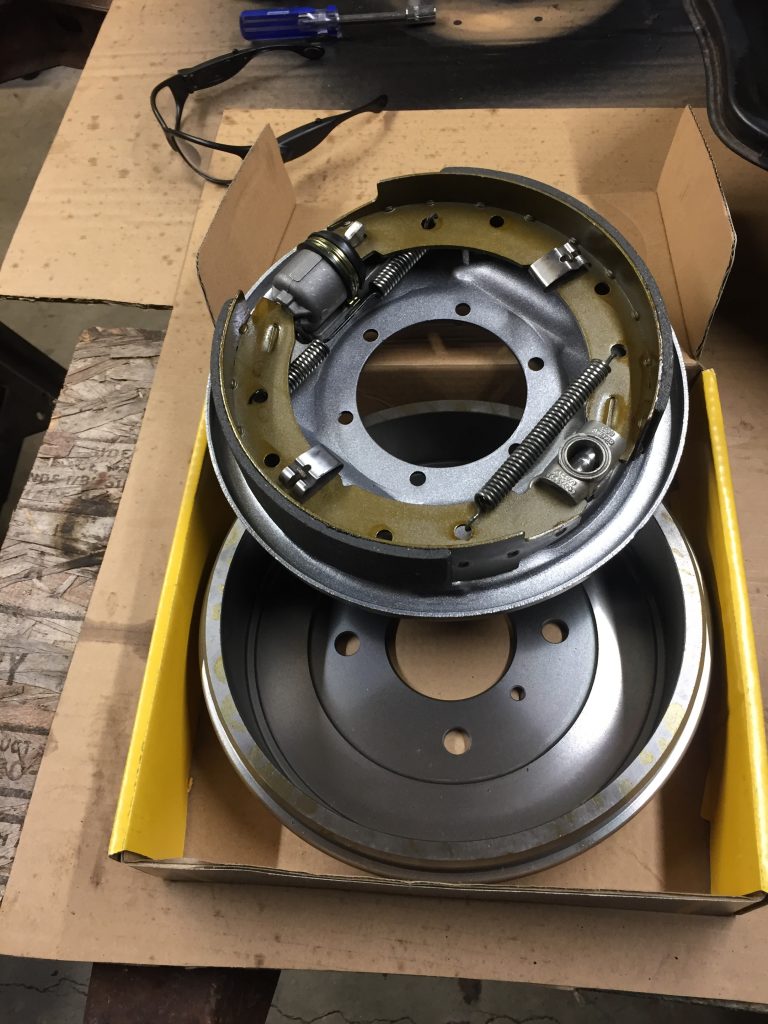
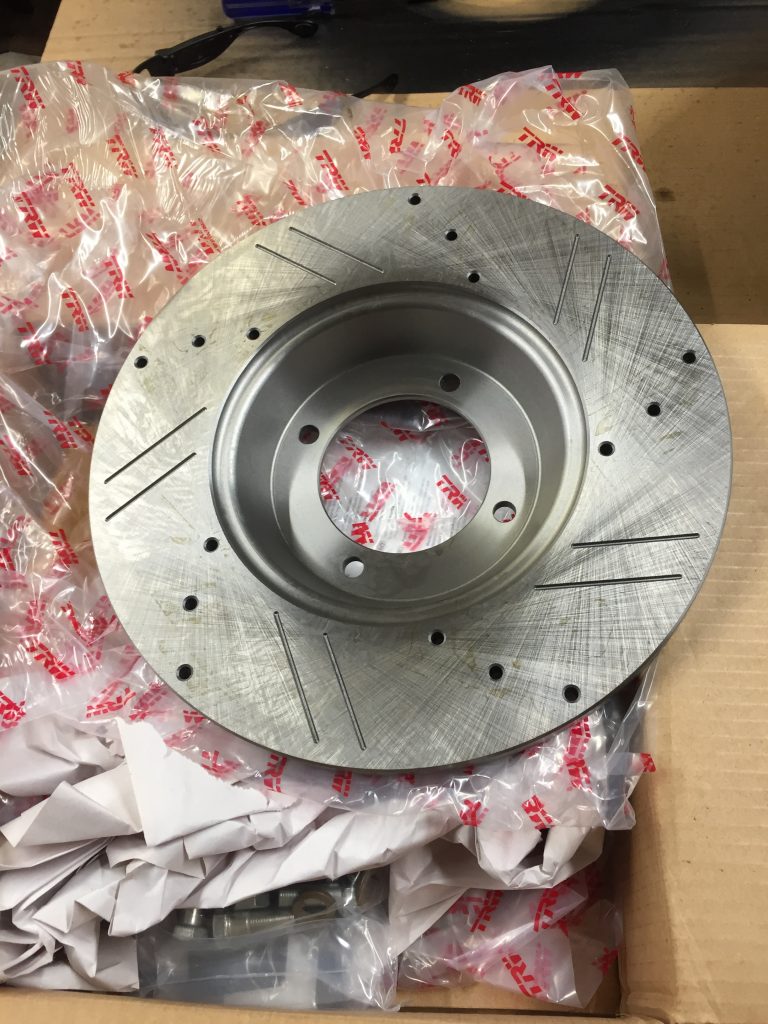
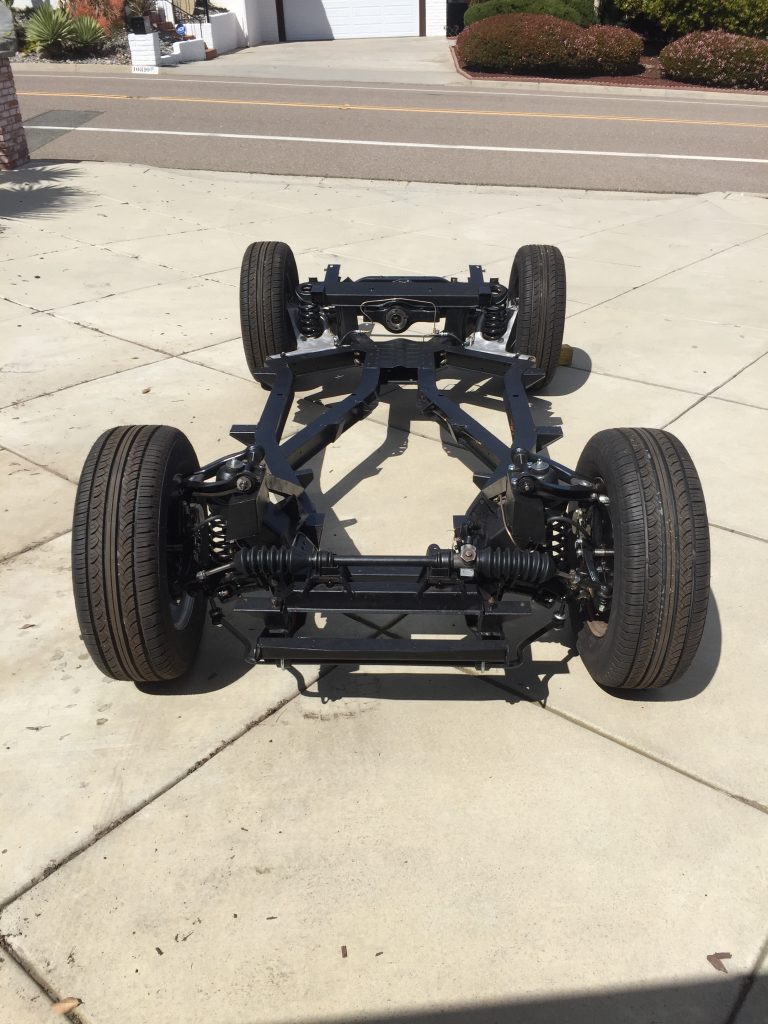
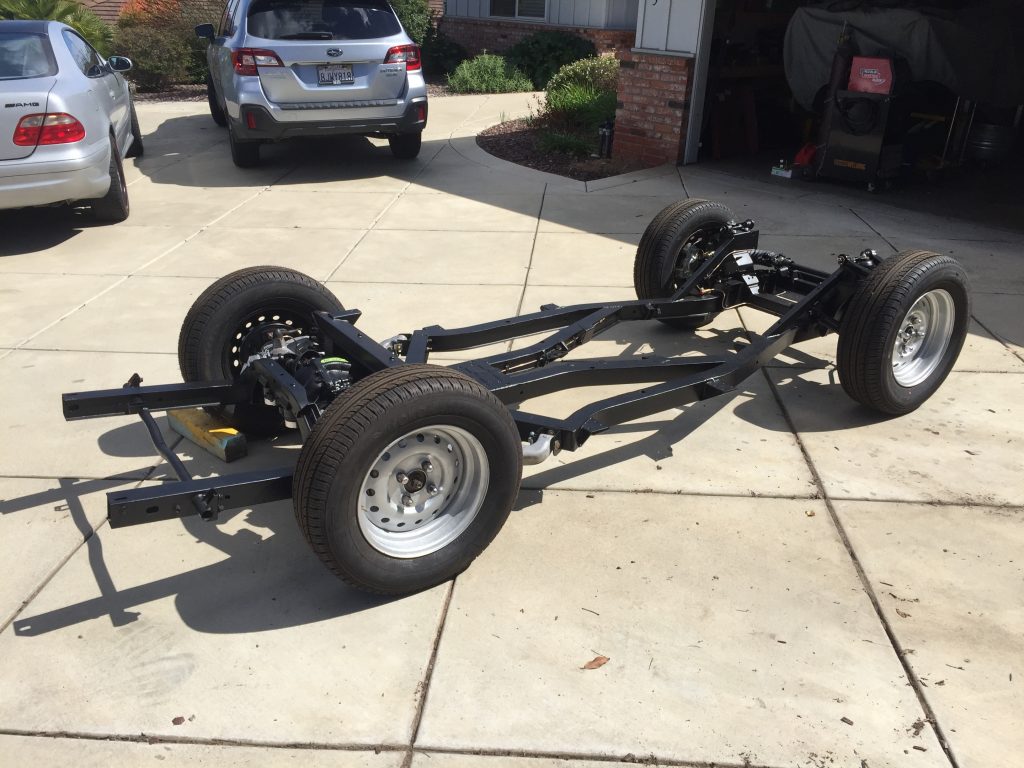
Rebuilding the suspension and restoring the frame was very satisfying, and it feels good to have all new bushings and bearings, brakes and brake lines, shocks and springs, and a fresh coat of paint on everything.
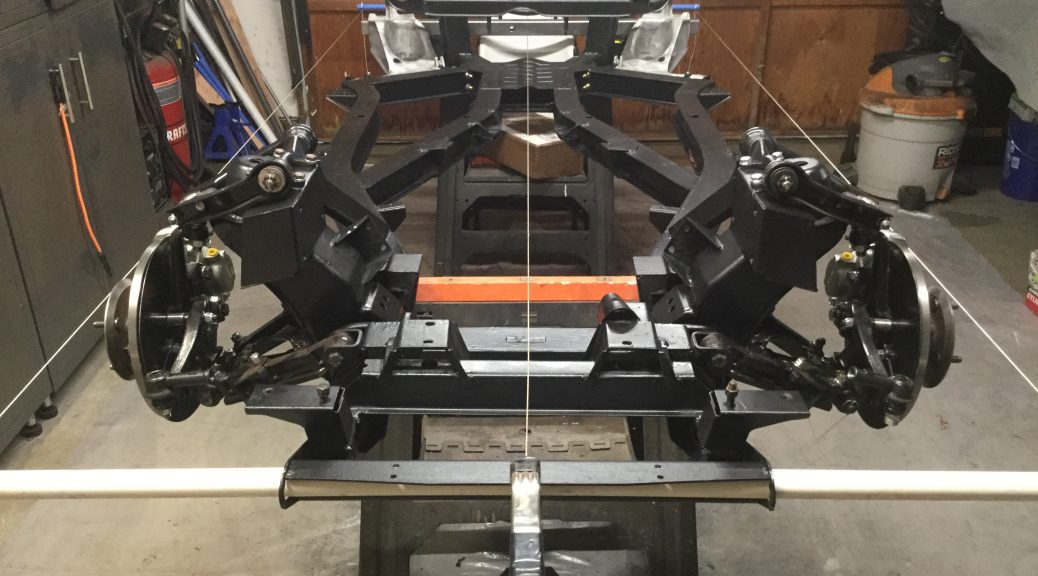
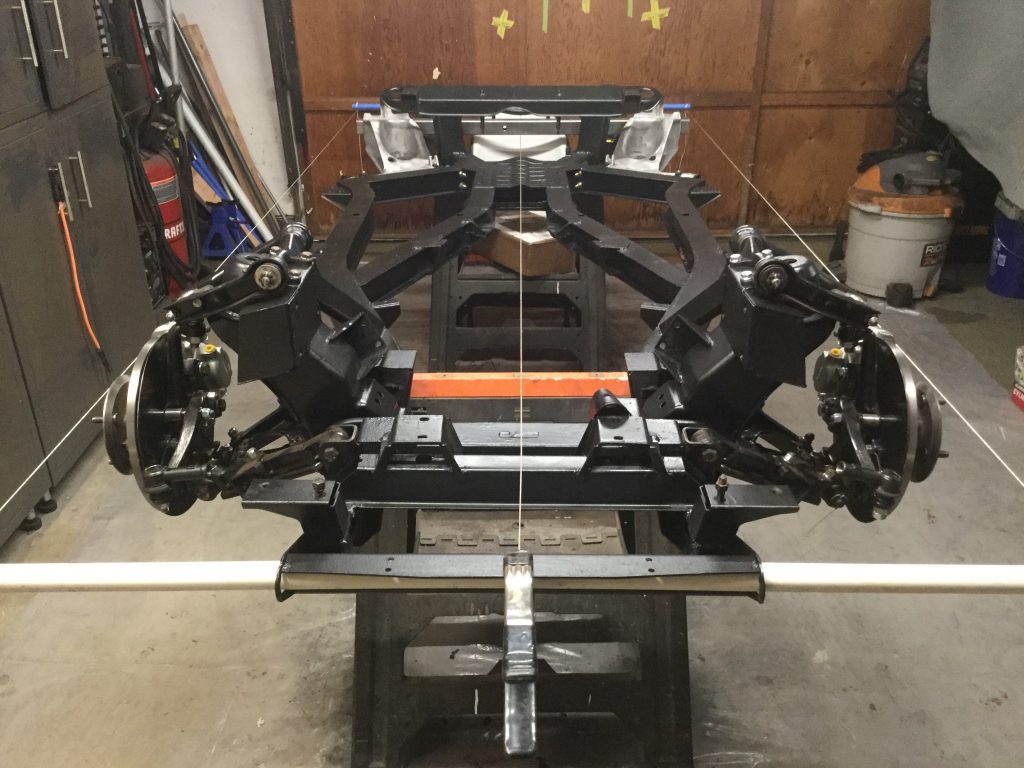
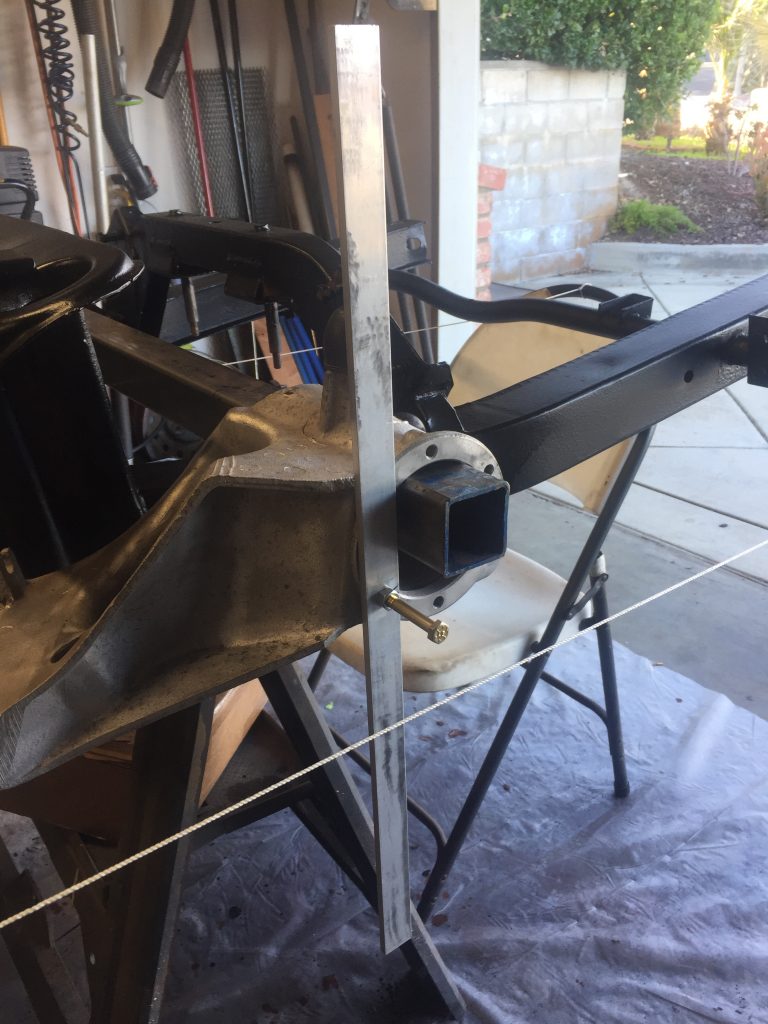
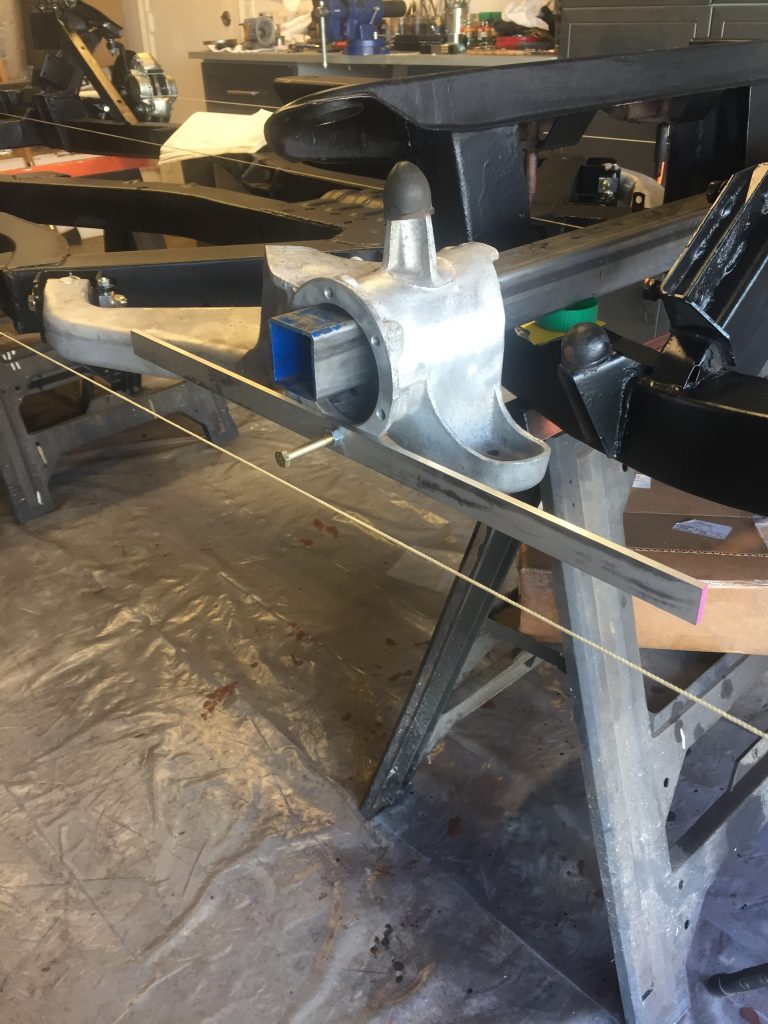
The alignment process was simple enough. First I found the centerline of the car and then set up a couple parallel strings running along the length of the chassis, a little wider than the car’s track and running through the centerline of the wheel hubs. I used a length of 1/4 thick aluminum bar to represent the wheels. With the bar vertical I adjusted the camber angle. With the bar horizontal I was able to adjust the toe. I set it up without the springs installed so I could raise the suspension to where I estimated they would be if the car was sitting on the ground. Any additional adjustments will come after the car is driven.
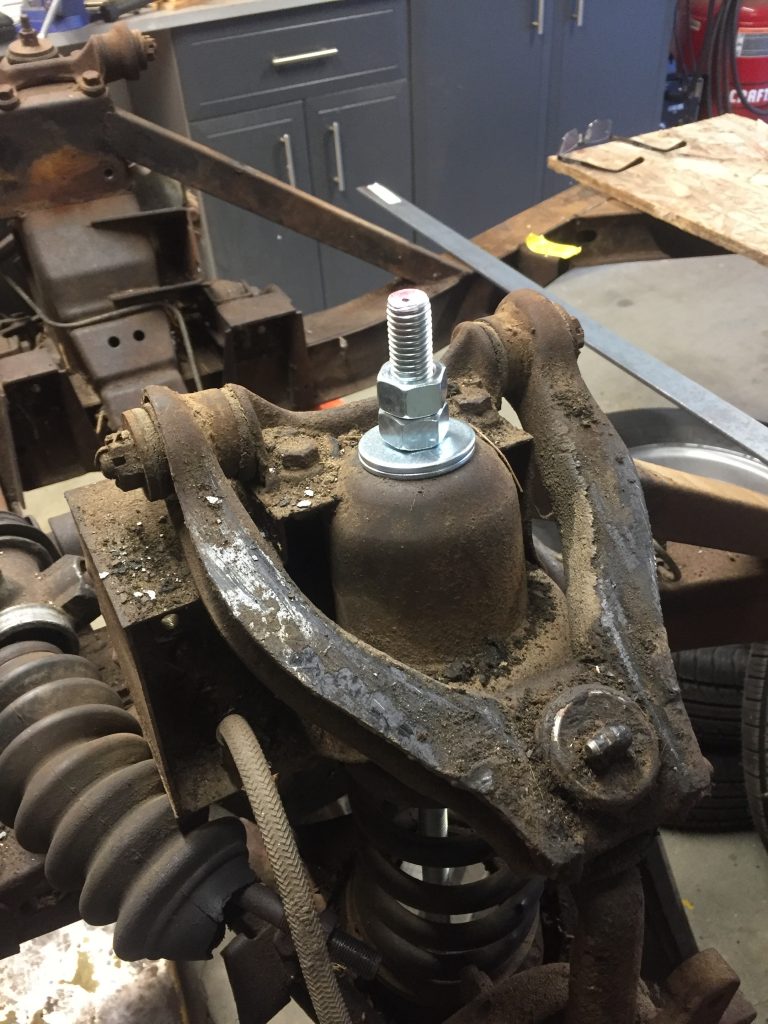
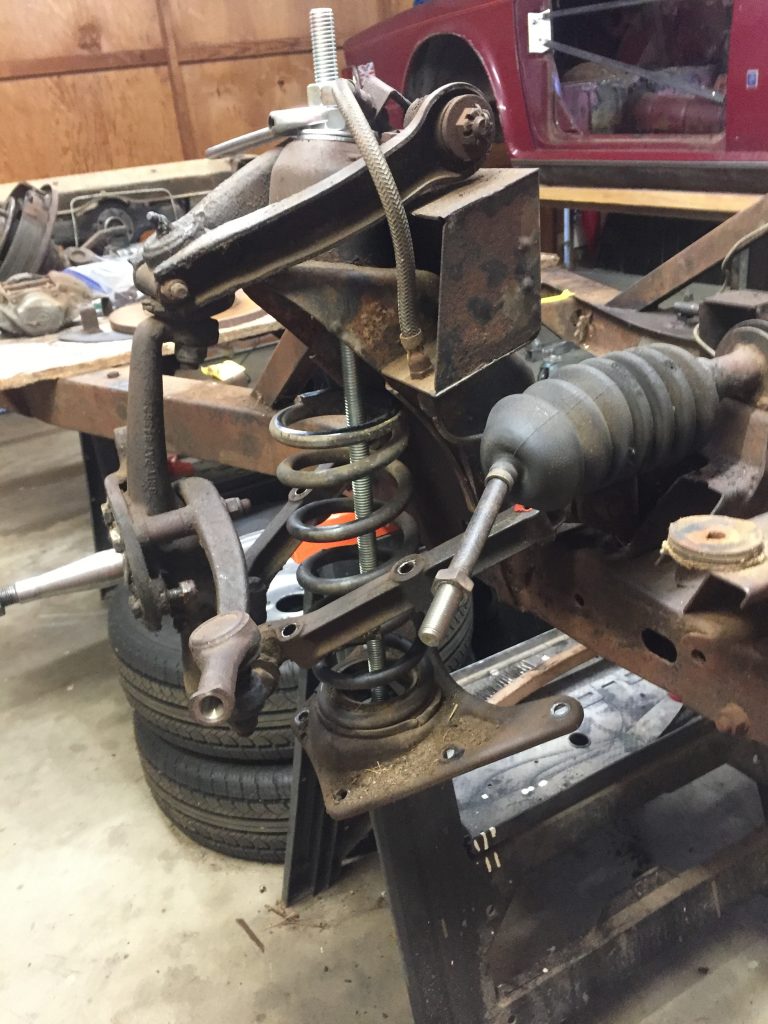
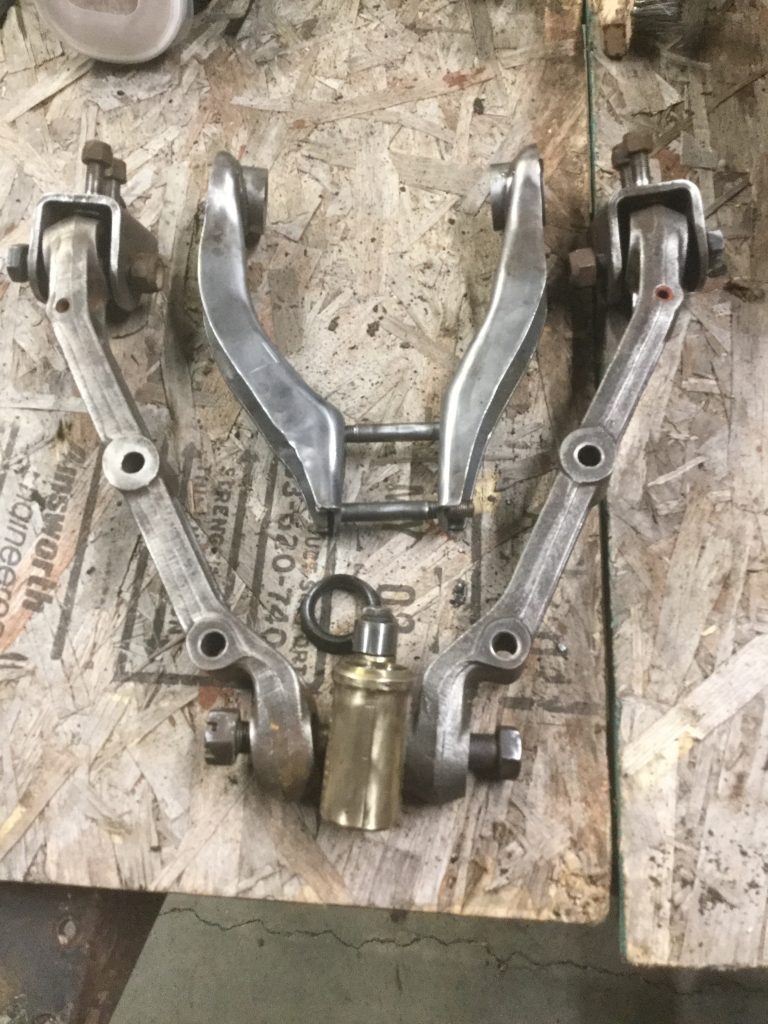
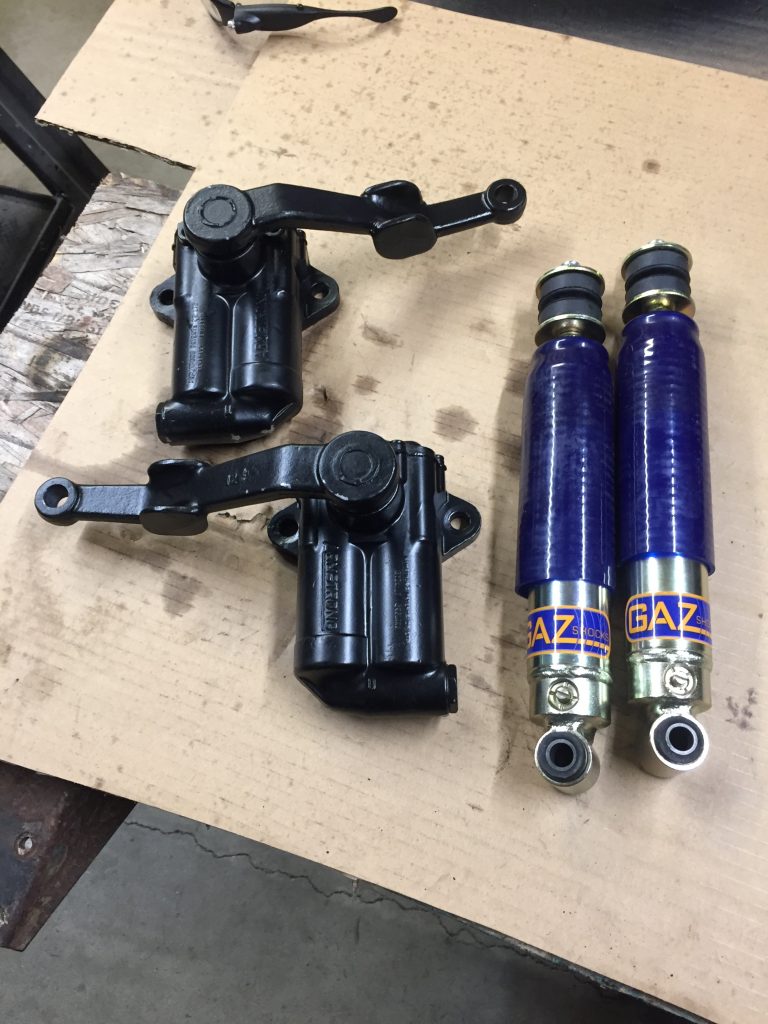
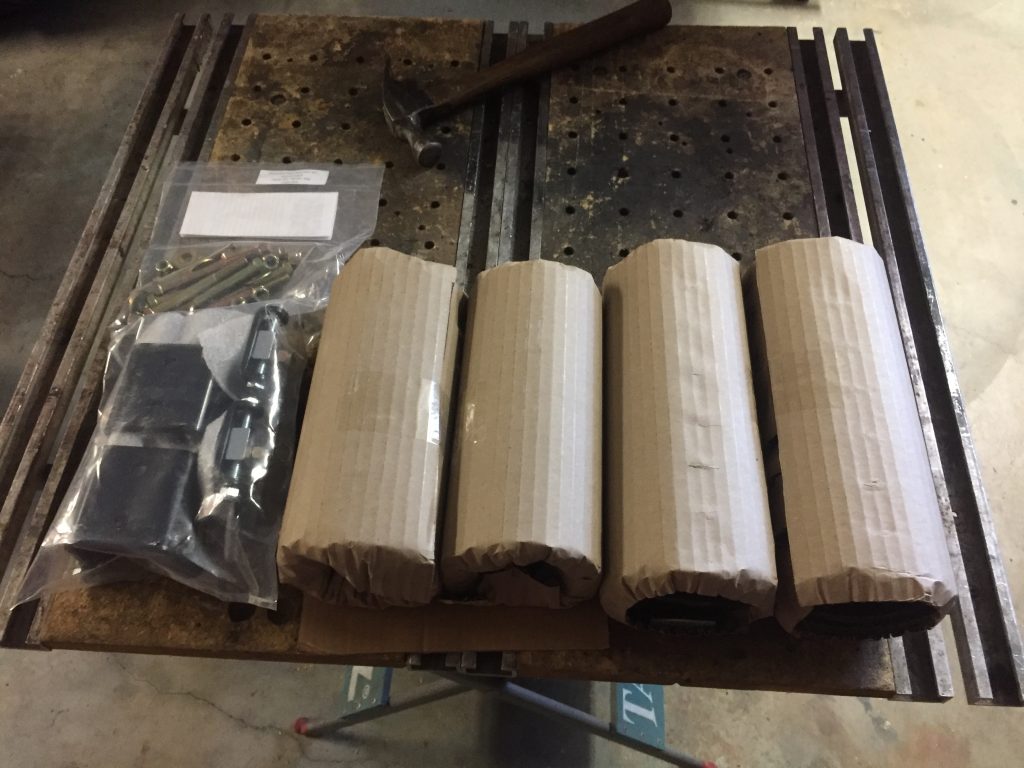
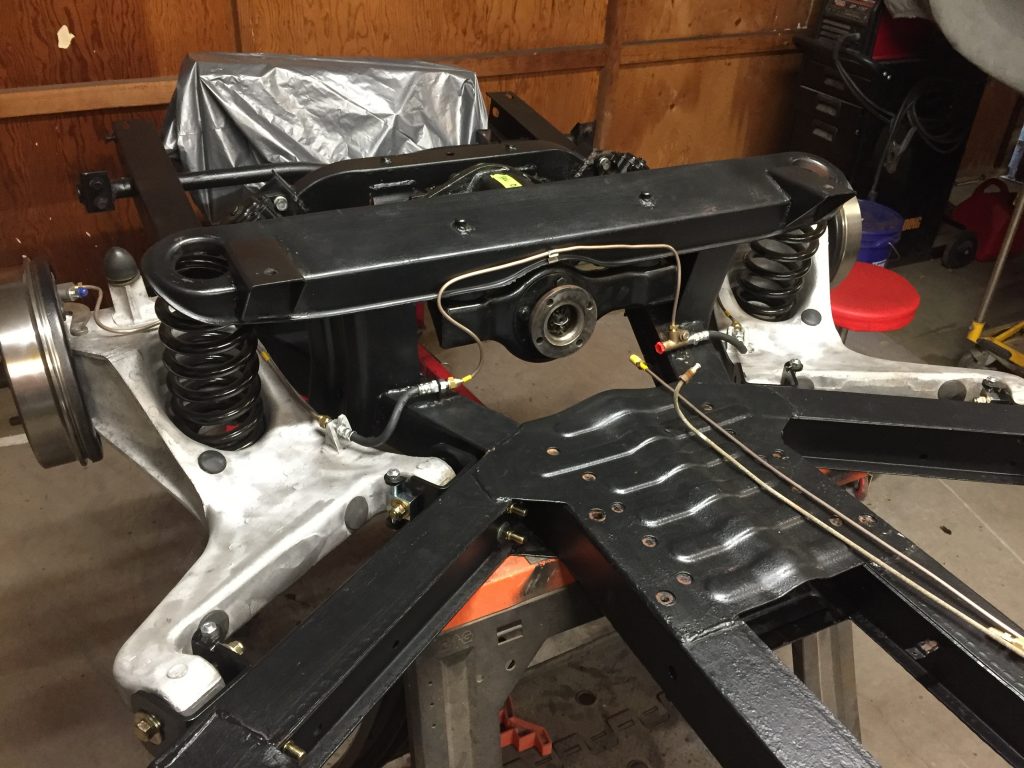
In addition to replacing all the bushings, nuts and bolts, and worn out stuff, I replaced both upper fulcrum pins and the passenger side vertical link. New parts also included 390 lb front springs and 470 lb rear springs from Goodparts, which lowered the ride height by an inch and stiffened up the ride. GAZ adjustable shocks in front and rebuilt lever shocks in the rear with custom valves to suit the stiffer springs. World Wide Auto Parts did the rebuild of the lever shocks.
hope mine truns out sa well as yours. grest work, can’t wait to see the finished project.