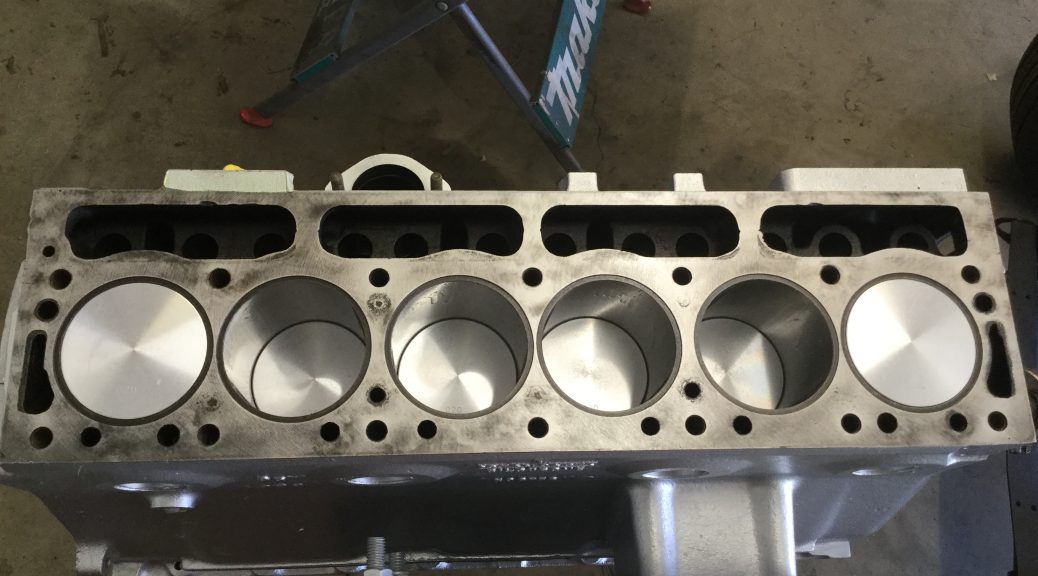
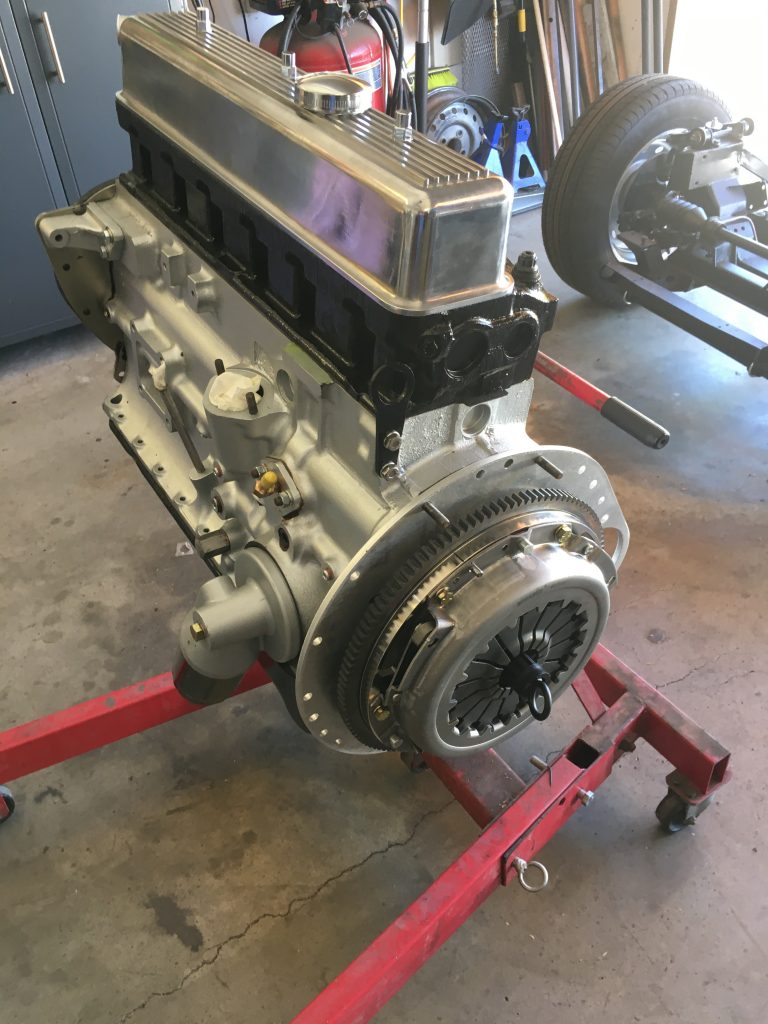
Naturally I wanted to do everything correctly in restoring the Triumph, but if there was one particular part of the build that REALLY needed to go right, it was the engine assembly. Pulling the engine and trans back out because something was screwed up is the last thing anyone would want to do. This is not my first rebuild, in fact there’s a write up of the SBC Chevy engine for the Apache truck elsewhere in barndogtrucks. But the Triumph engine was new territory for me compared to the Chevy engine. Thankfully we have our great shop manual available, plus live help from vendors like Richard Good and Casey over at HDS Machine shop. And, of course, the fantastic British car forums.
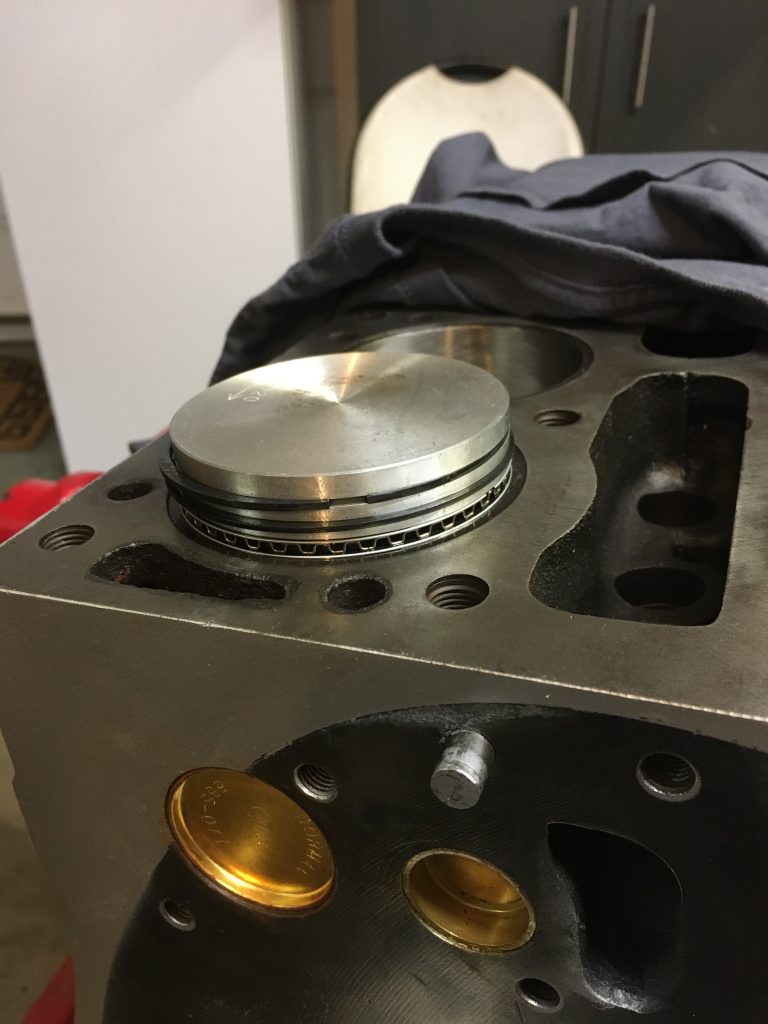
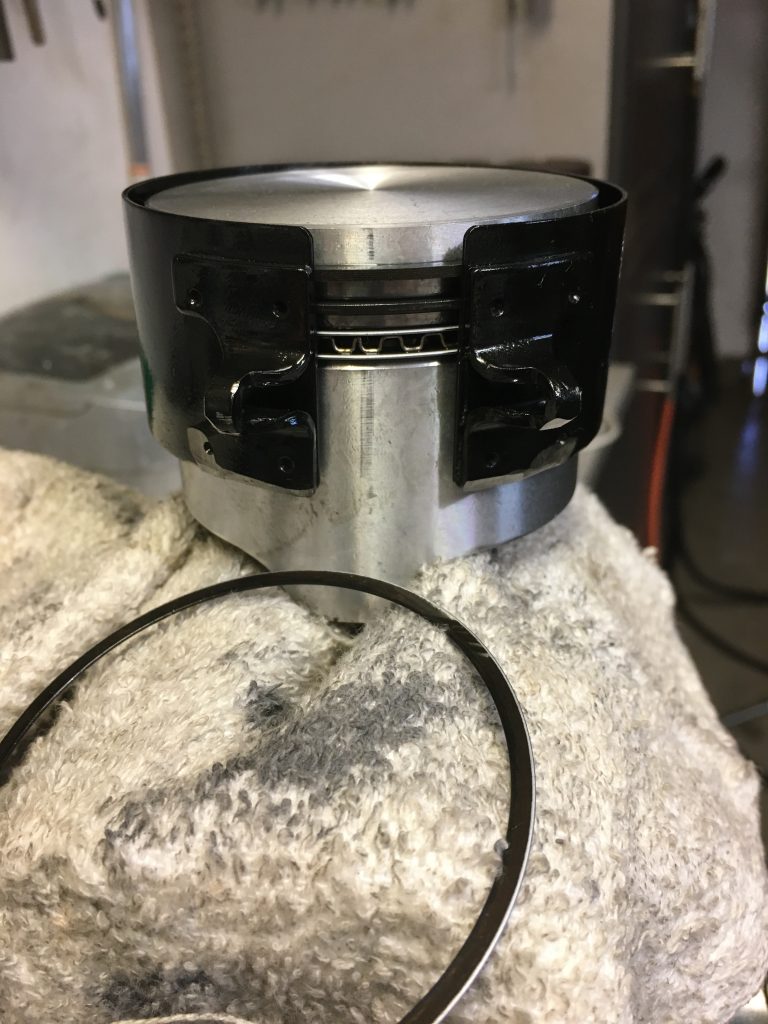
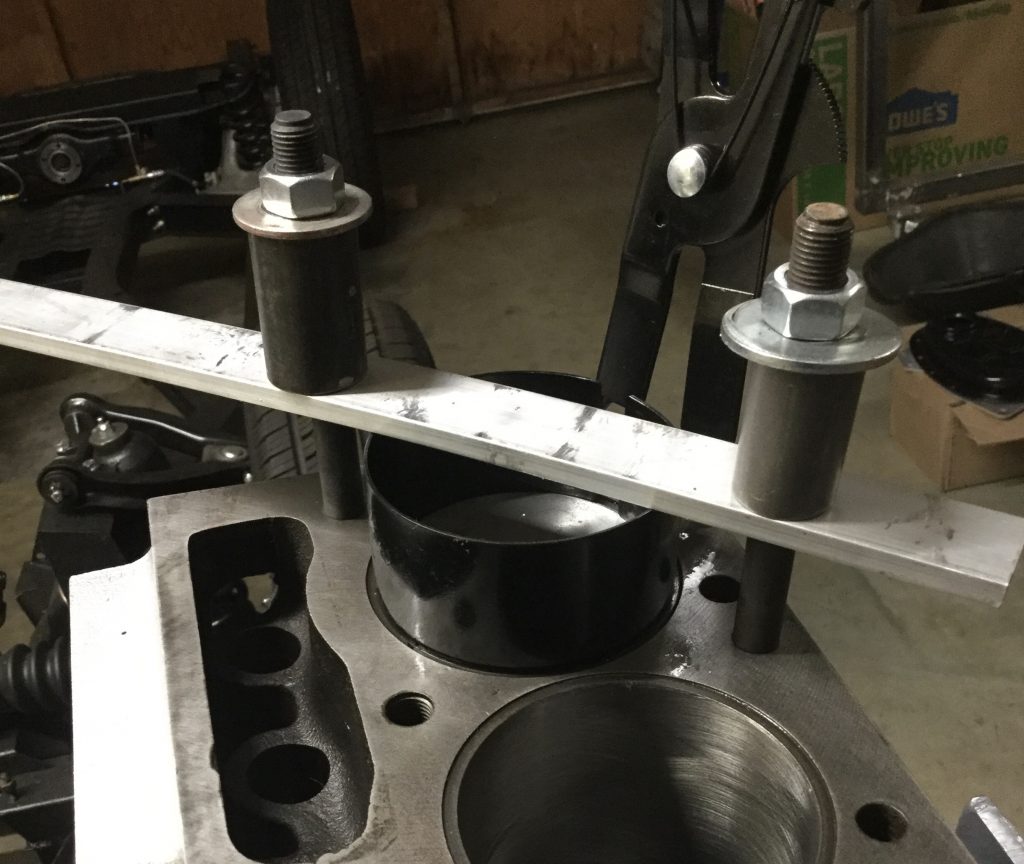
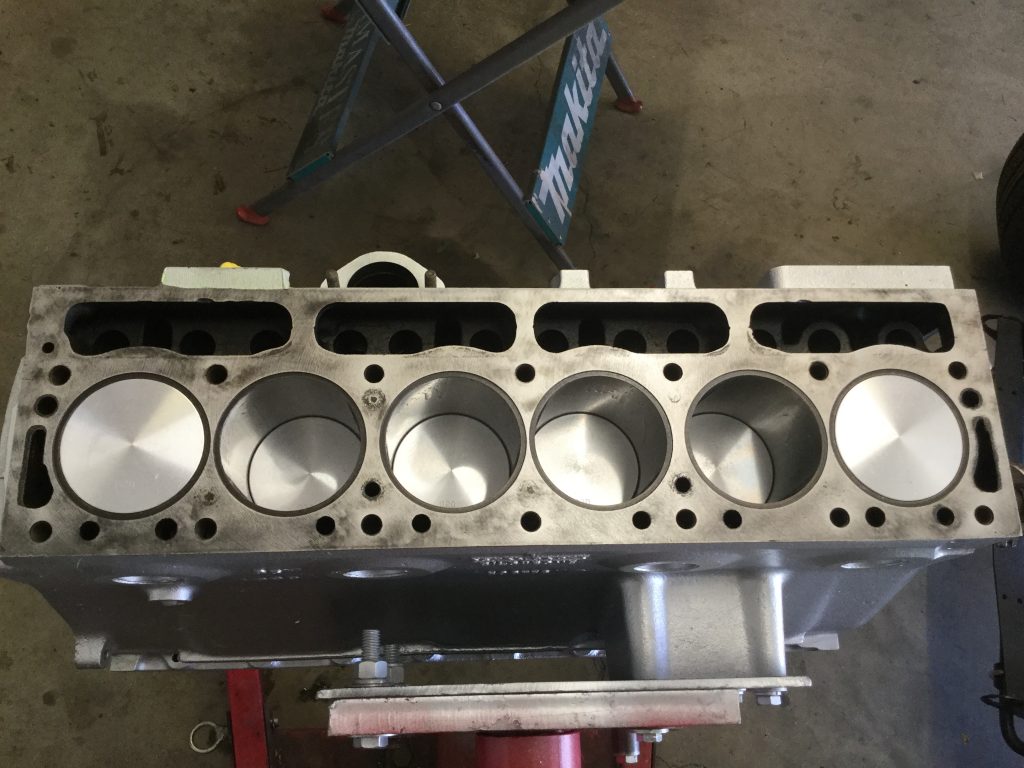
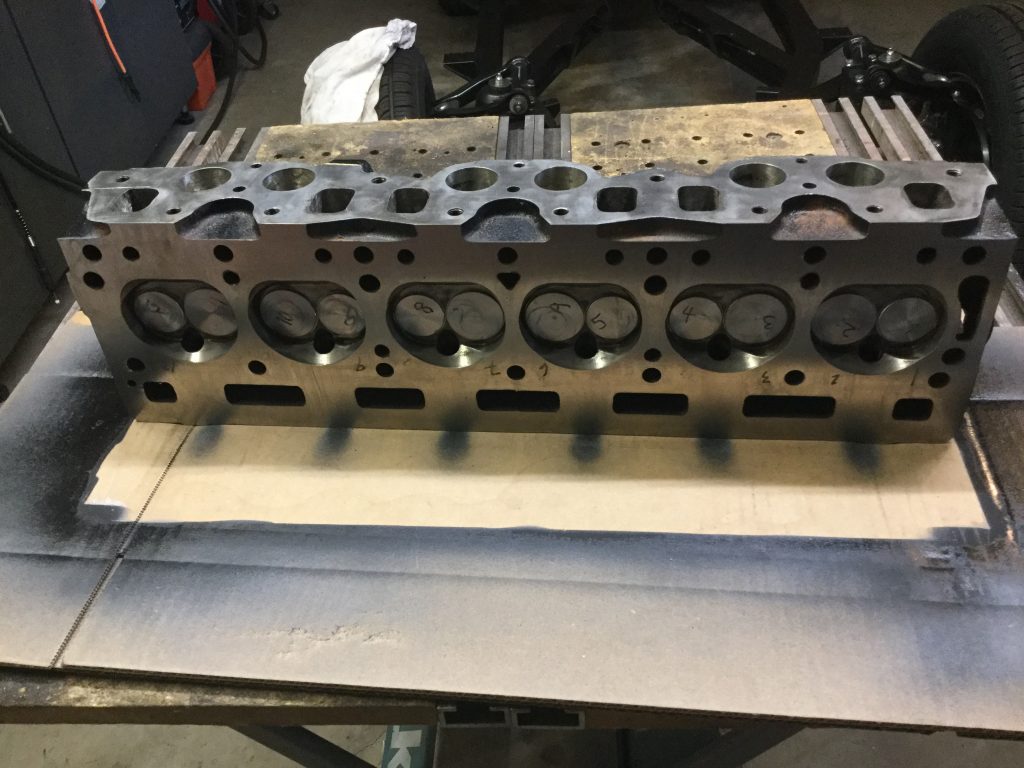
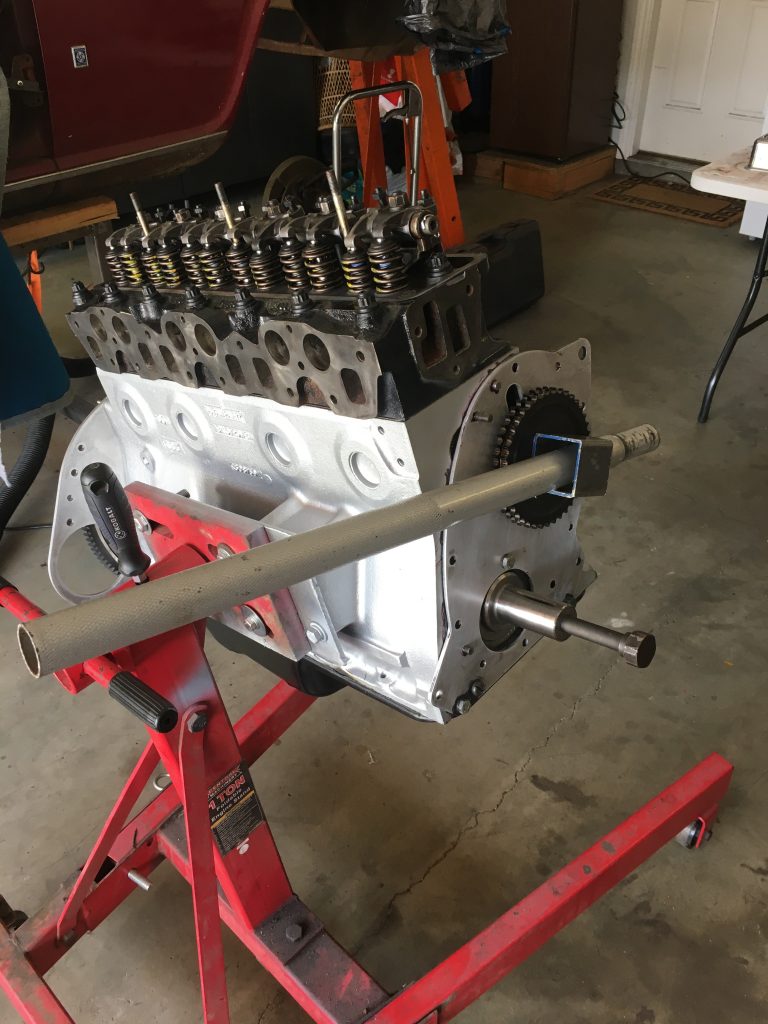
I had a bit of an issue installing the pistons with the pliers style ring compressor. By hand, I could not hold the compressor down firmly enough to squeeze the rings into the cylinders. As depicted above I came up with a solution that made it a breeze. With the Chevy engine I had the advantage of a tapered ring compressor which really made it simple. No such thing seems to exist for the Triumph bores. I do like the pliers style compressor with the locking ratchet, but that recess at the top of the block complicated things for me, thus the mechanical help holding the compressor down.
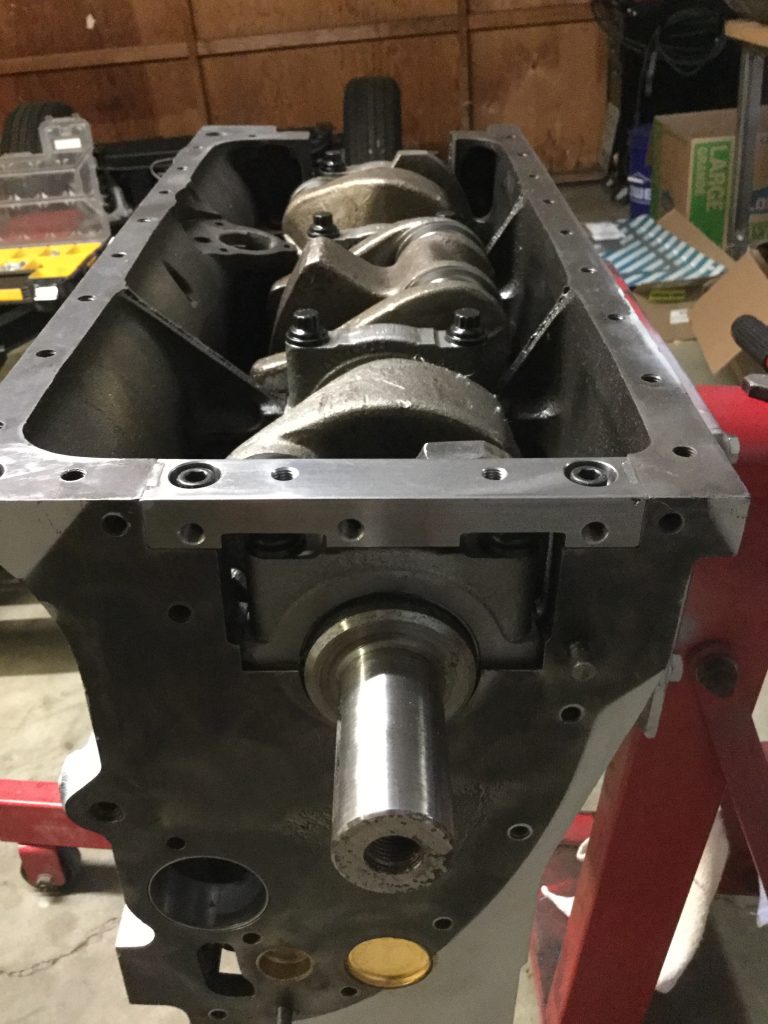
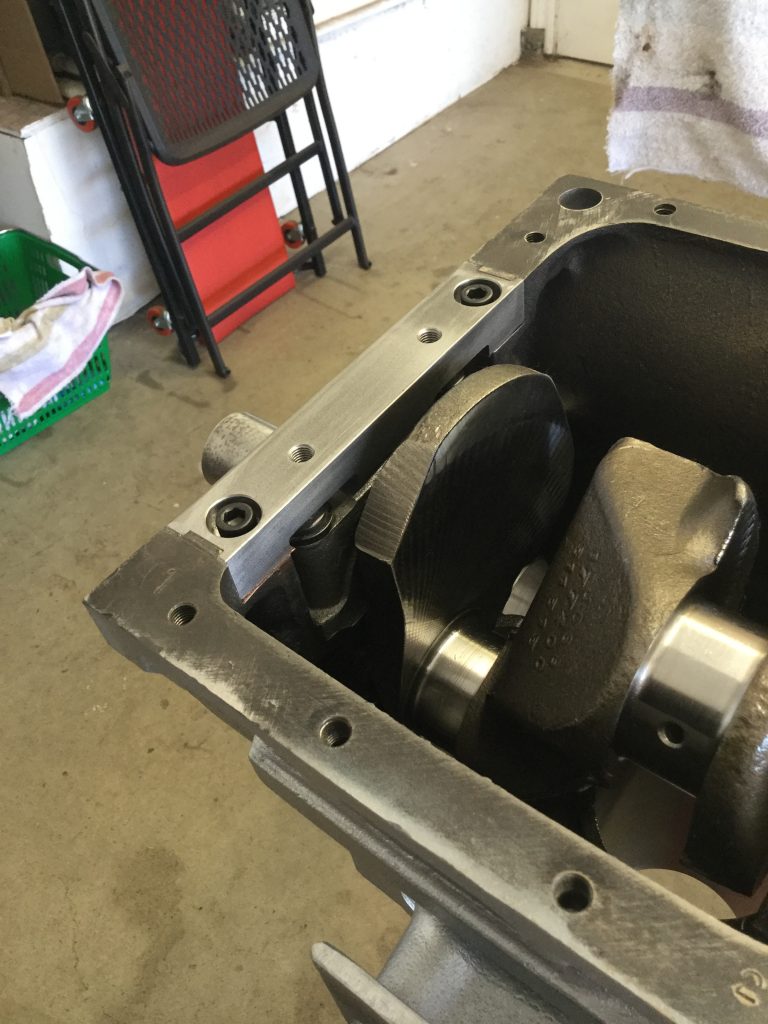
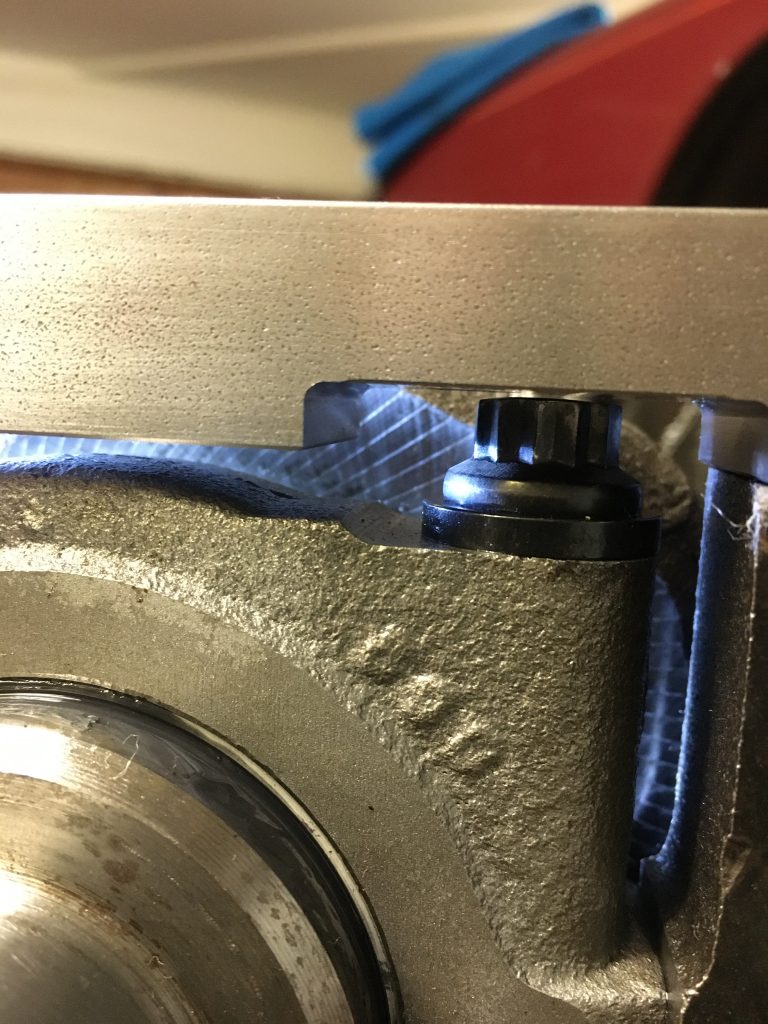
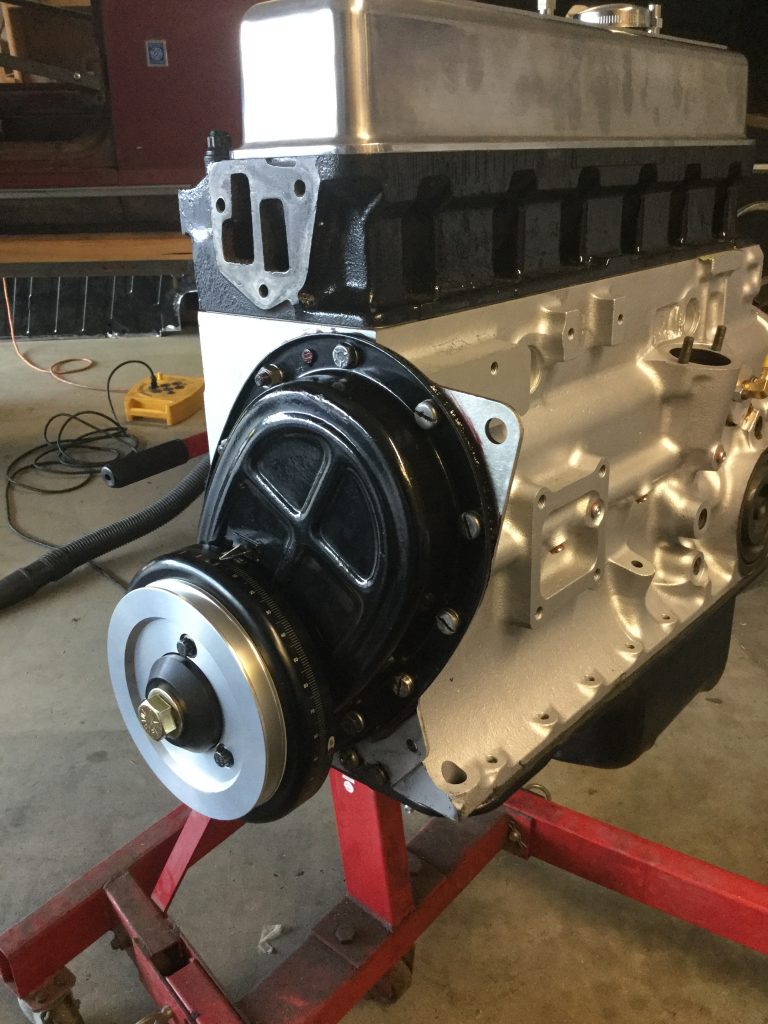
I chose to use Classic Technologies steel sealing block for the front of the engine for my peace of mind. However, I had to grind down the top of the ARP main bearing cap bolts for clearance.
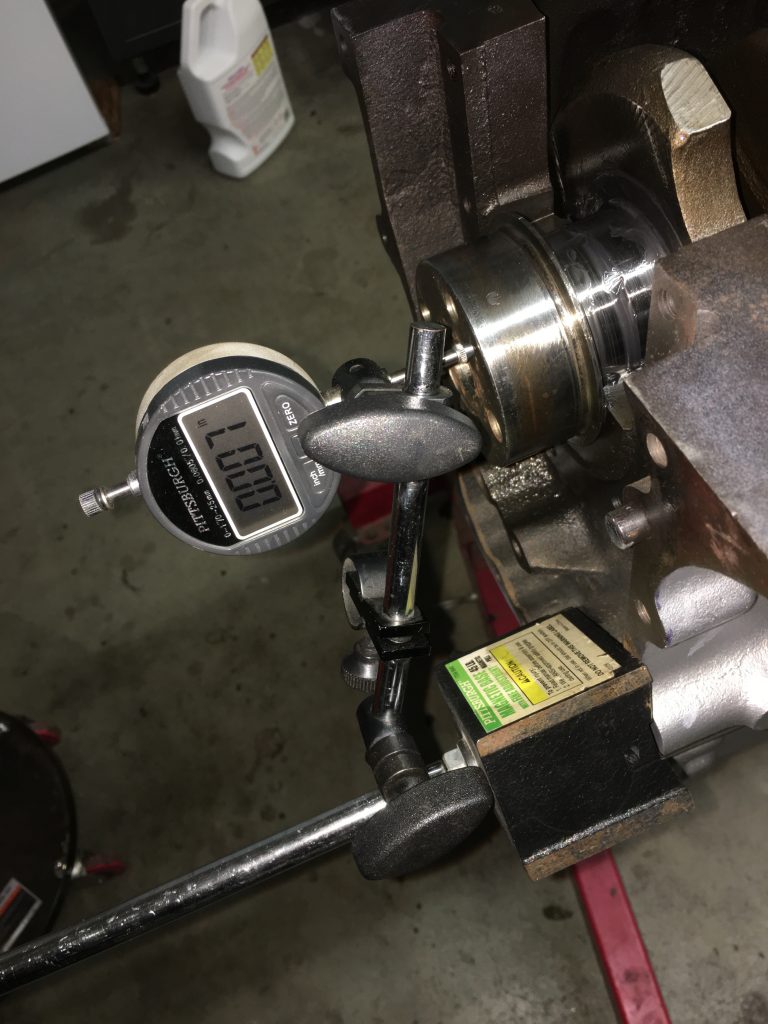
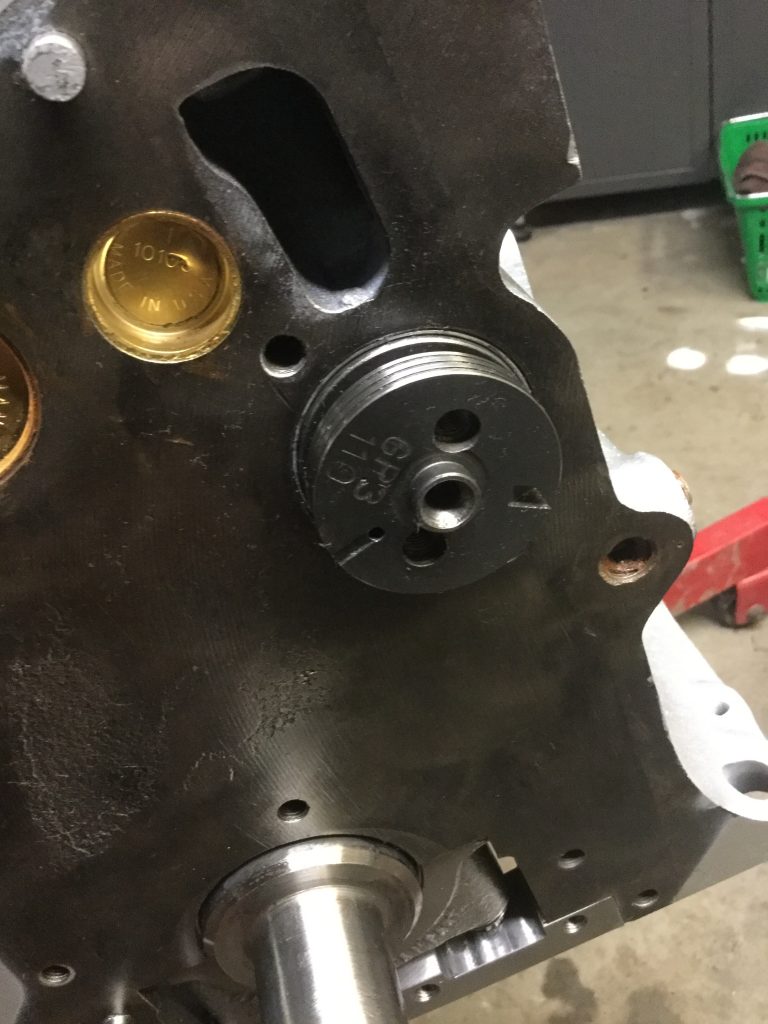
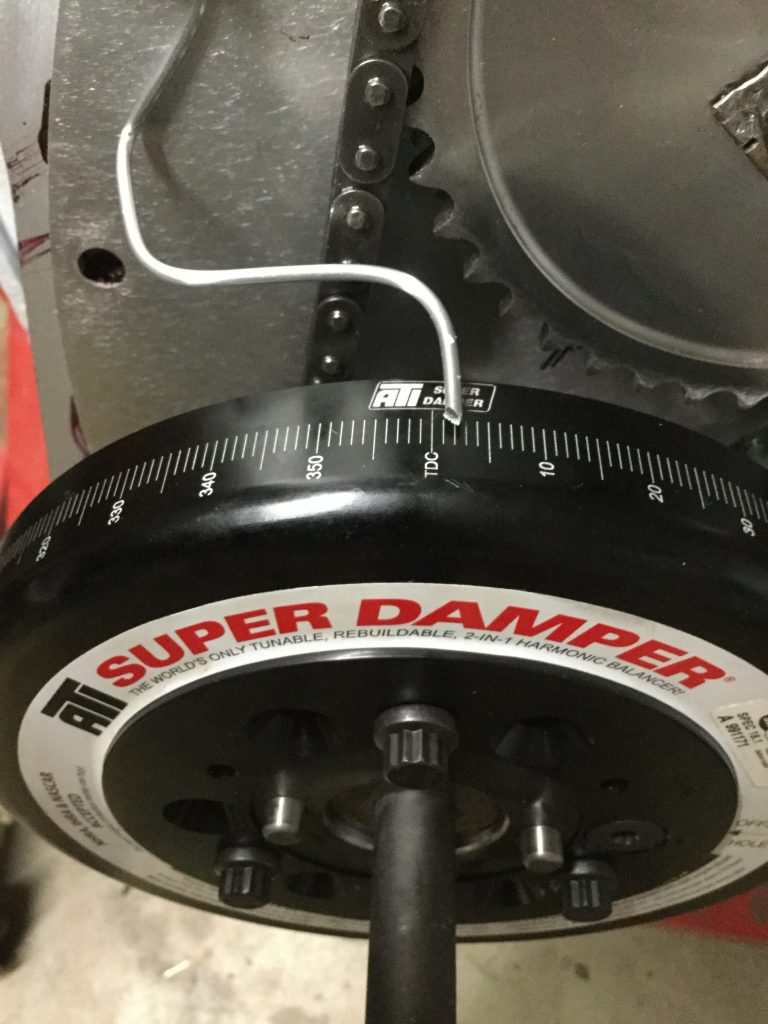
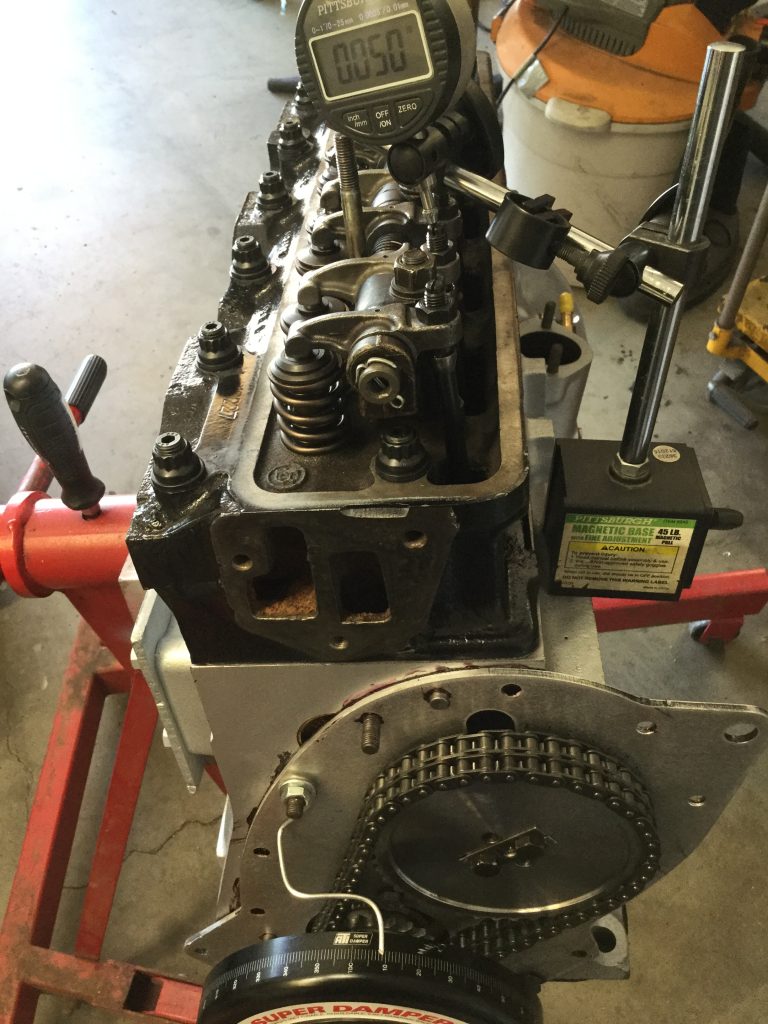
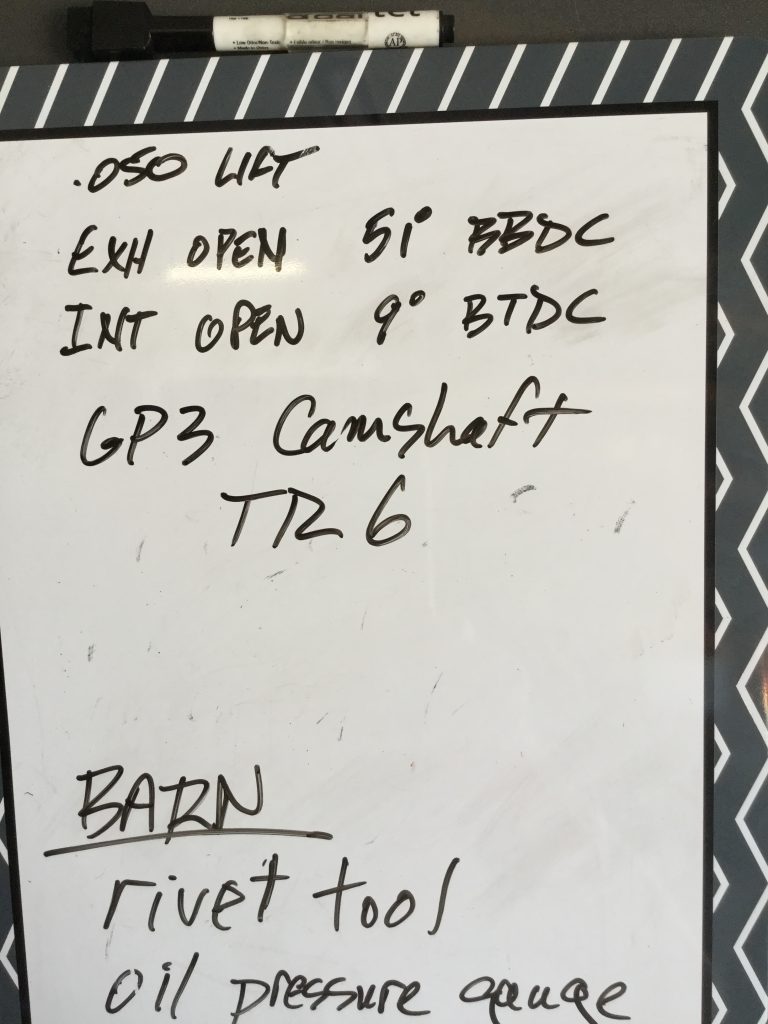
With help from Richard Good and a magnetic dial indicator, setting up the camshaft was pretty straightforward. It is great to find people who back up their sales with enthusiastic customer service, and I encountered that throughout the restoration of the TR6 with Richard and everyone else along the way. He spent a good amount of time on the phone with me diagnosing a problem I found AFTER the car had been driven for a few weeks. My bad, of course…
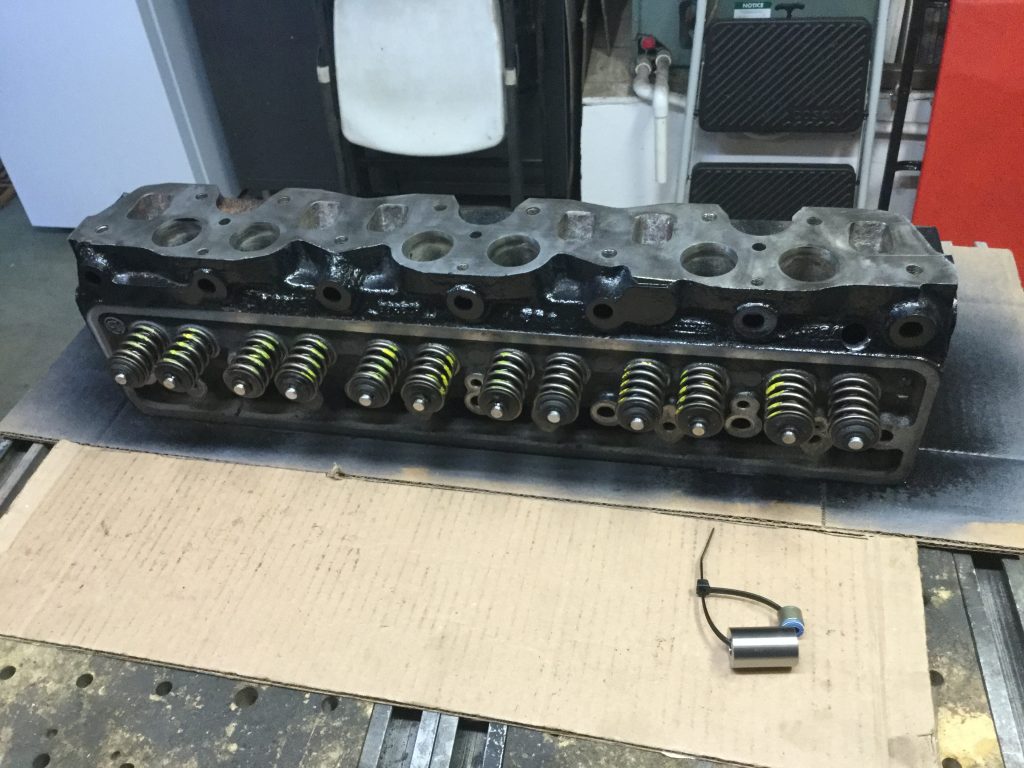
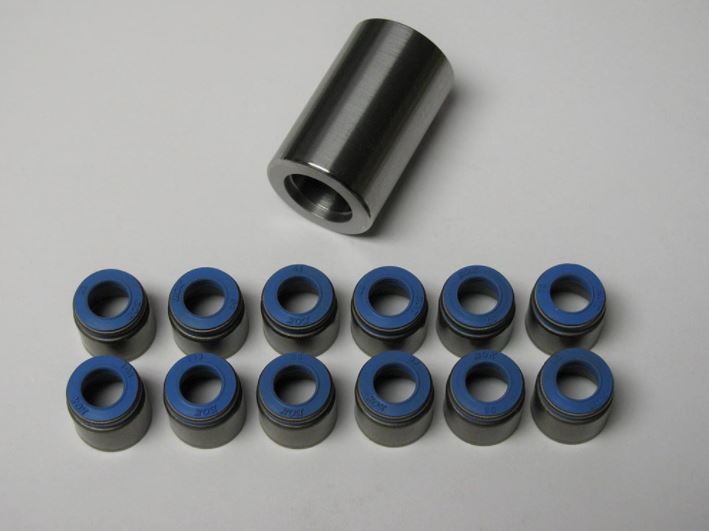
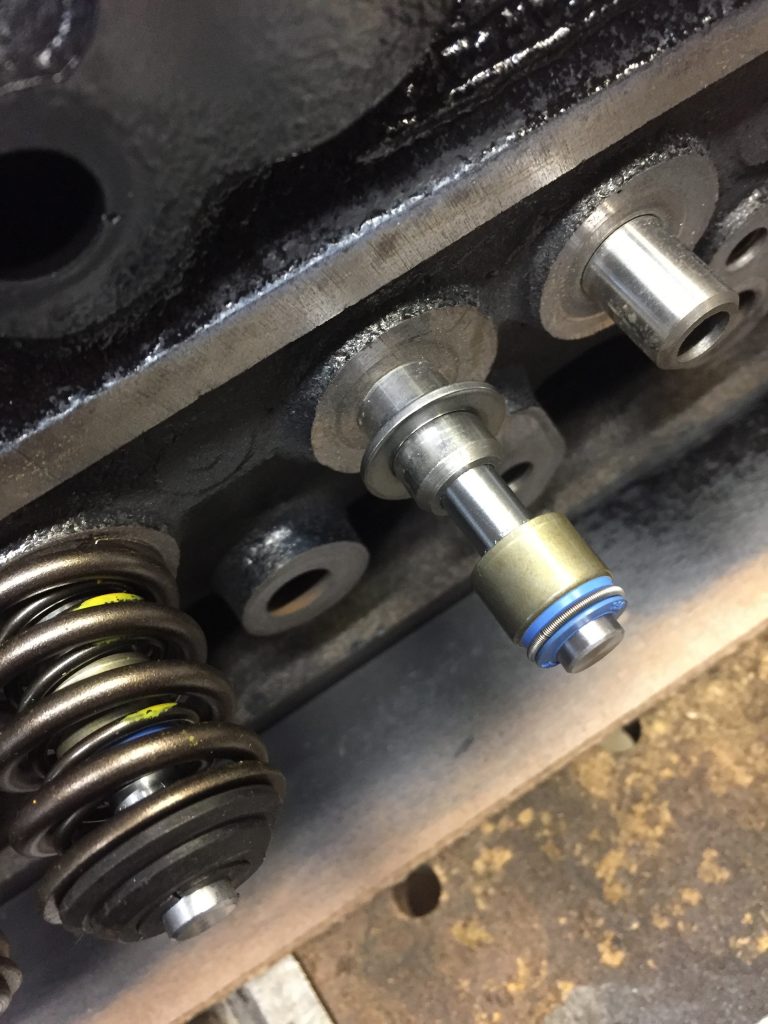
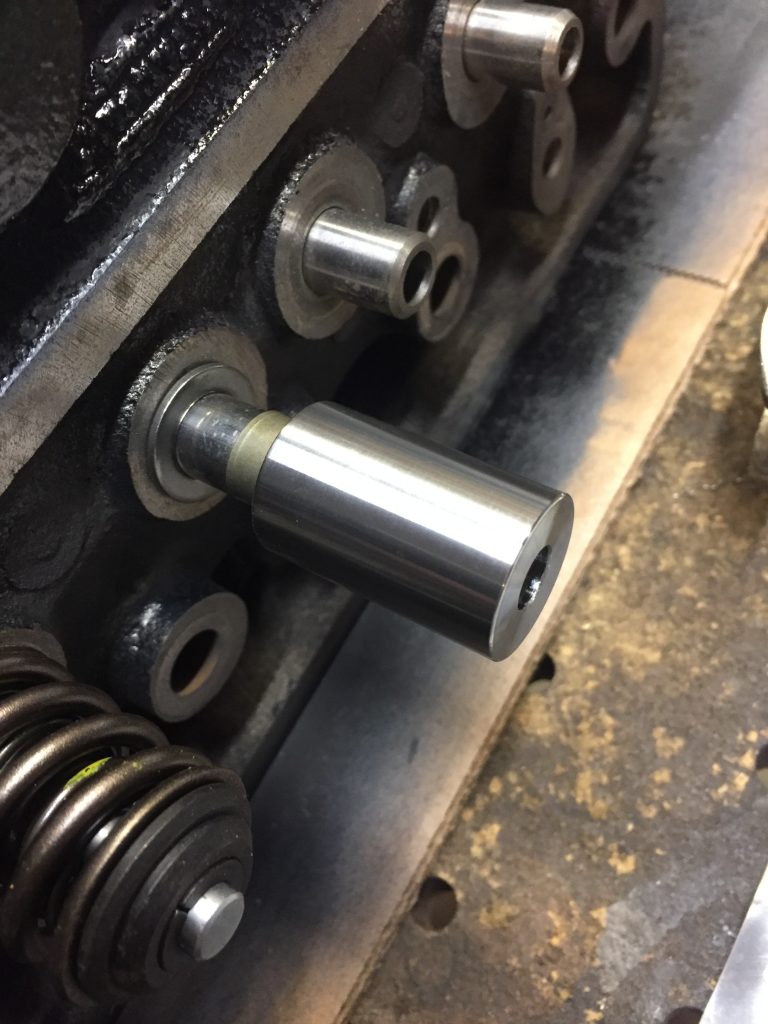
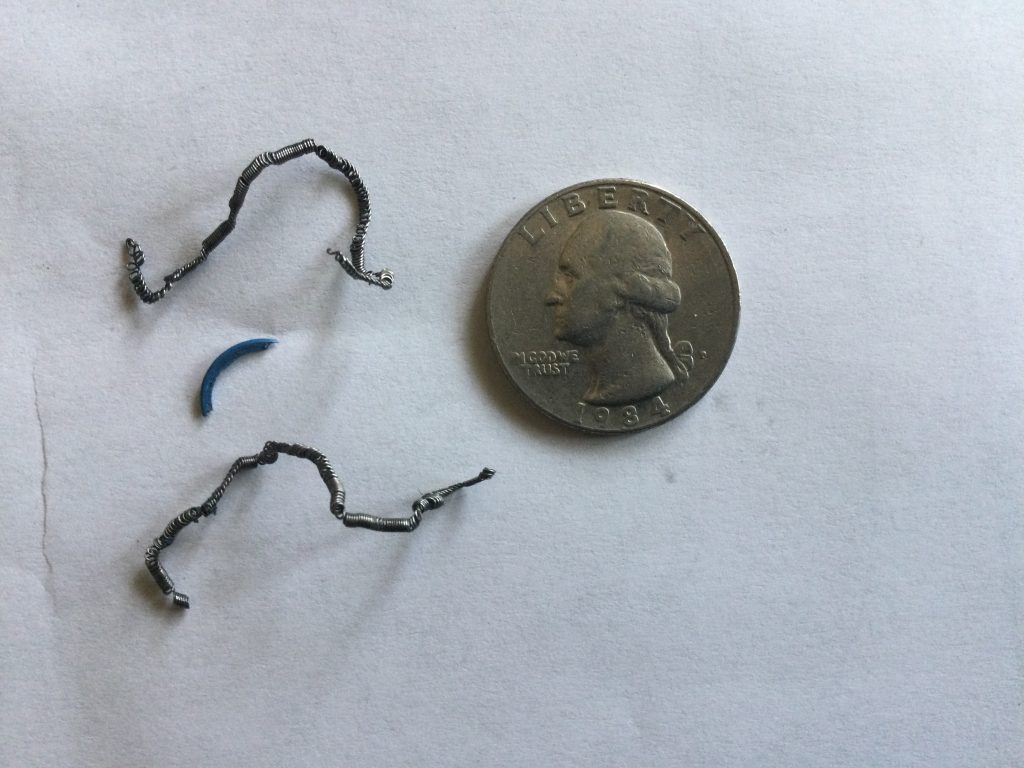
I had decided to use Viton valve stem seals, but I told Casey at HDS to set the height of the valve guides per the factory manual number. After driving the car for a couple hundred miles, I popped the valve cover off to re-torque the head and I found that the oil seals had been smashed and there were little bits lying around the cylinder head near the valve springs… see the picture. With the higher lift camshaft, the stock valve guide height spec is a little too tall. In fact, their installation tool, which I used to install the seals, is also to be used to set the valve guide height. Didn’t even occur to me.
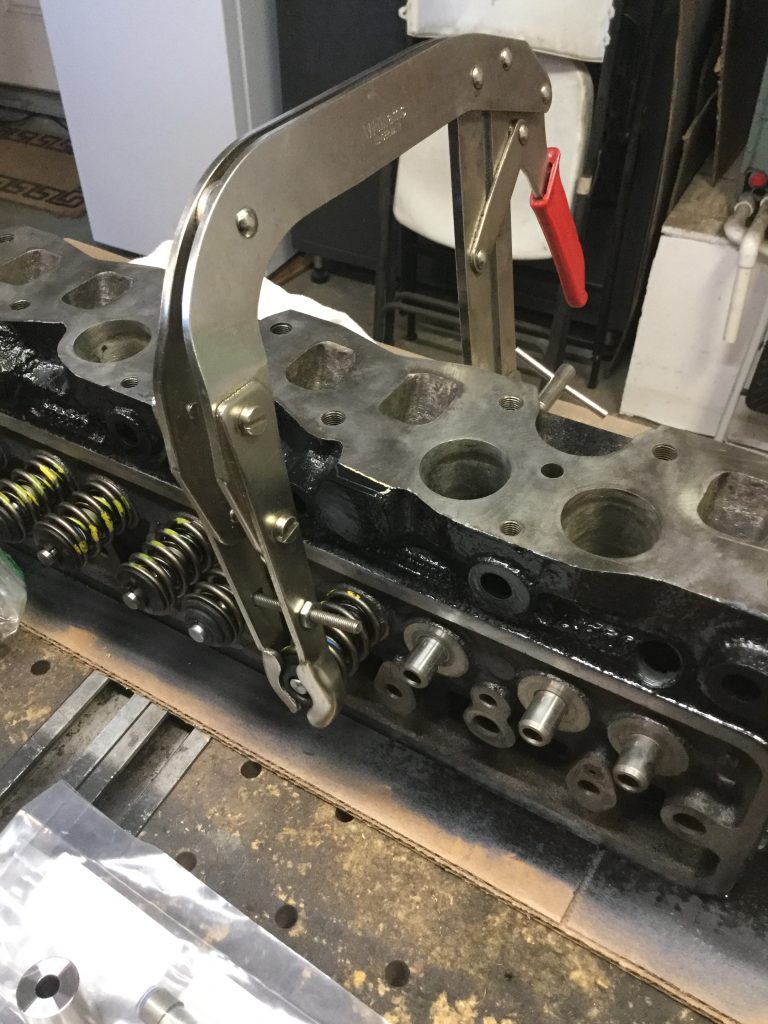
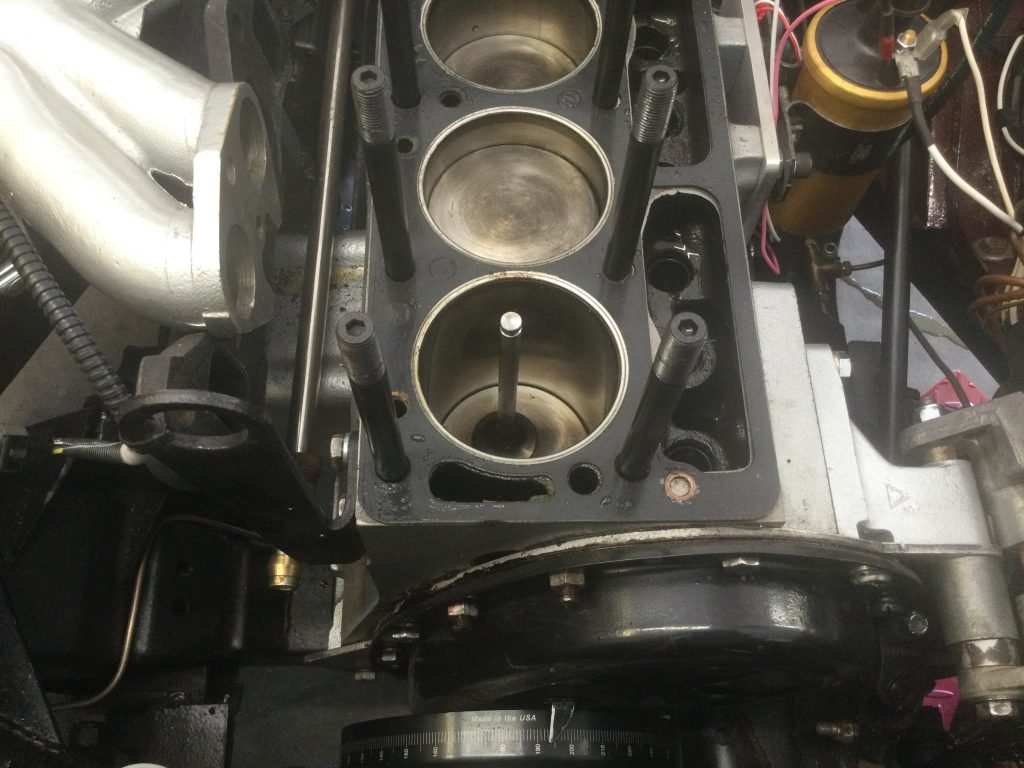
I attempted to rectify the problem by discarding the seals, using compressed air to hold the valves up while I removed the springs. After all, the factory doesn’t install seals. But, dang, I didn’t use enough air pressure and the first valve dropped into the cylinder, onto the top of the piston. When I removed the head it was standing upright, as my son-in-law Russel said “like it was giving you the finger.” Ouch. So the head came off, and it was painful, but for the best. The Lisle “hit it with a hammer” tool works very well for removing valve springs but was problematic for installation. I reverted to my old valve spring compressor to finish the job.
Helluva a lot more than I wanted to do, but after putting it all back together and changing oil and filter, all is well. No damage done.
