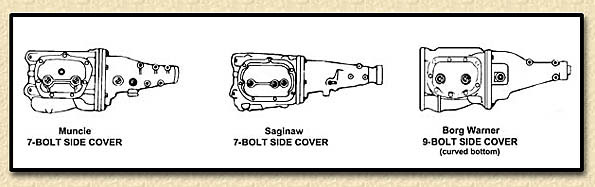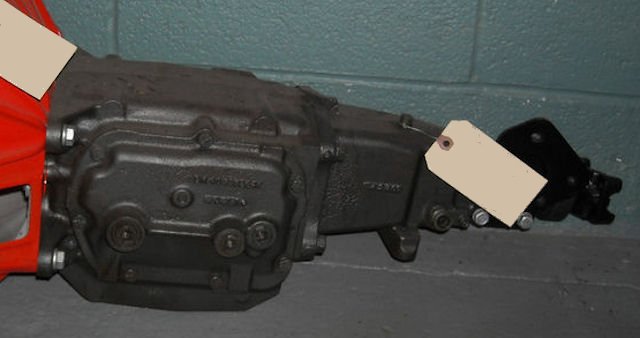

First order of business: pulling the engine. With a chain hoist strapped to the cross beam of our lift, and after first removing the Saginaw transmission, it wasn’t difficult to remove the engine without assistance.

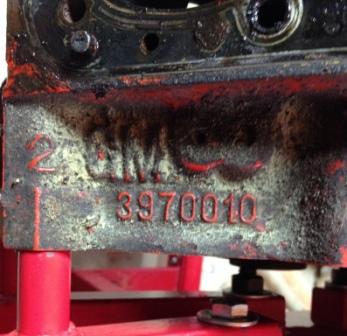
After the engine block was stripped, the expansion plugs were removed, along with the oil gallery plugs. The only problematic ones were the three threaded oil gallery plugs at the back of the block. With these we applied penetrating oil, heat, a long breaker bar, and brute strength. In one case we needed to drill through the plug and use a bolt extractor, taking care not to damage the threads in the block.

Brushes, scrapers, a pressure washer, and compressed air were used to thoroughly clean every nook and cranny of the block. This engine ran hot, and after seeing how much rusty, flaky, corroded metal we blew out of the water jackets, it was no surprise. We cleaned up every hole that was going to have a bolt threaded in, used scrapers and scouring pads on all sealing surfaces, used brushes and air in all the oil passages, and followed with more pressure washing. WD-40 was used to prevent the cylinders and bearing journals from rusting.

After the tedious job of measuring the cylinder bores at the bottom, middle, and top in two perpendicular directions (with a telescoping gauge and caliper), we were satisfied that we could just hone the cylinders and install new rings on the old pistons. Most of the clean up was done with a 240 grit rigid hone, but to produce a better cross-hatch we switched to a flex-hone to finish the cylinders. A final wash with water and a cylinder brush, followed by another coat of WD-40, and the cylinder work was checked off.

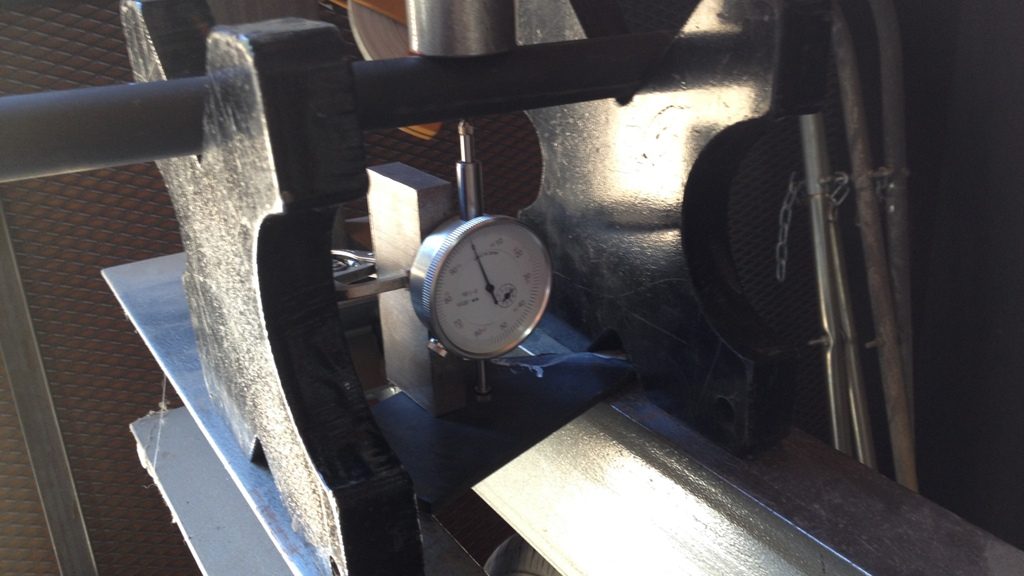
The crankshaft journals were cleaned up with 2000 grit sandpaper, cut into strips. We used our telescoping gauge, caliper, and micrometer to determine which bearing shells to order. Then we picked up some plastigage at the parts store, and installed the caps to the recommended torque to confirm that our new (standard size) main bearings and rod bearings were within spec.
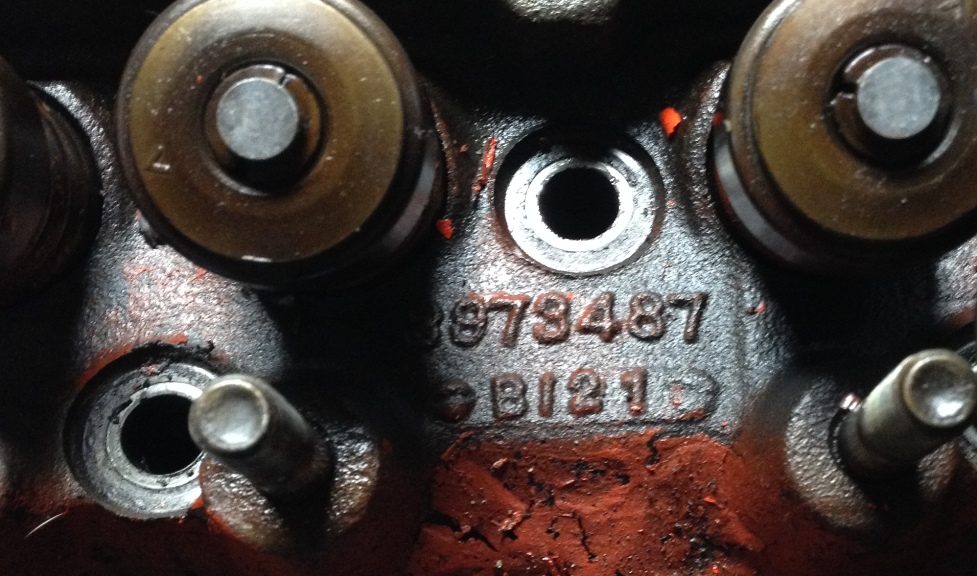
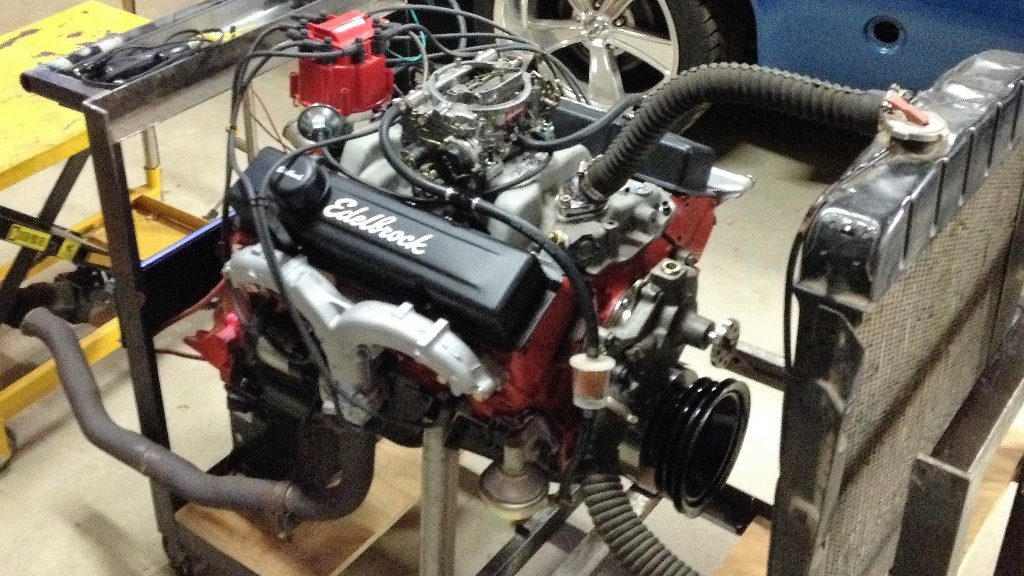
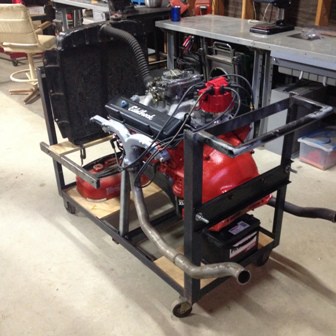
We had purchased a $32 camshaft bearing tool and used it to remove the old and install the new cam bearings. Then we slid the new 1103 camshaft from Summit Racing (slightly more aggressive than the stock camshaft), new lifters, pushrods, rocker arms, gaskets, and valve covers. We decided to put the 487 heads on the shelf for future fun (porting practice), and instead used the 624 heads that we had in the barn. These particular heads have smaller combustion chambers (58 cc versus 76 cc) and valves, but the main motivation was that they were ready to install.

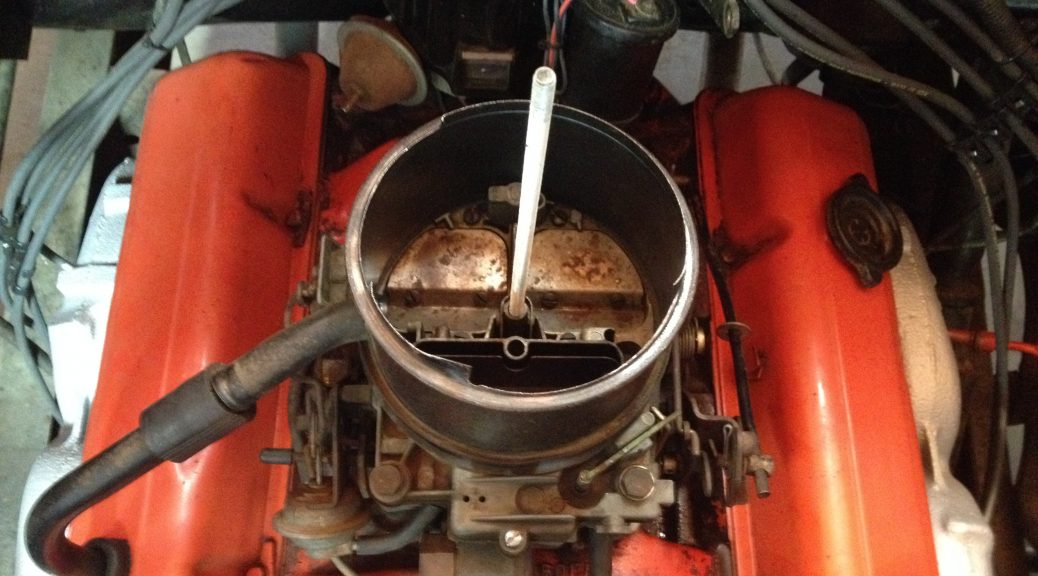
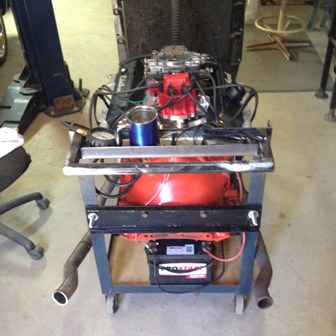
We felt the reduced valve sizes didn’t matter with this truck, since we weren’t going racing with it and didn’t care about power up high in the rpm range. We do like torque. The combination of the 1103 camshaft, the increase in compression ratio, the Edelbrock 1406 carburetor on a Performer manifold, plus new rings sealing the pistons in our freshly honed cylinders resulted in a very nice motor for the Apache.
The rebuild included a new oil pump, fuel pump, water pump, oil pan, spark plugs and wires, harmonic balancer, timing chain set, timing chain cover, and gaskets. We purchased an HEI distributor, but then decided we didn’t want to tear up the carpet and tunnel to accommodate the bigger cap. We stuck with our Pertronix setup and an external coil.

Excluding the Edelbrock carb and manifold, which cost us $290, the rebuild came to just under $500. Based on the estimate of $1200 for a professional rebuild – by a trusted machine shop – it amounted to quite a saving. Plus, we really wanted to rebuild an engine ourselves… the Apache was the perfect opportunity.