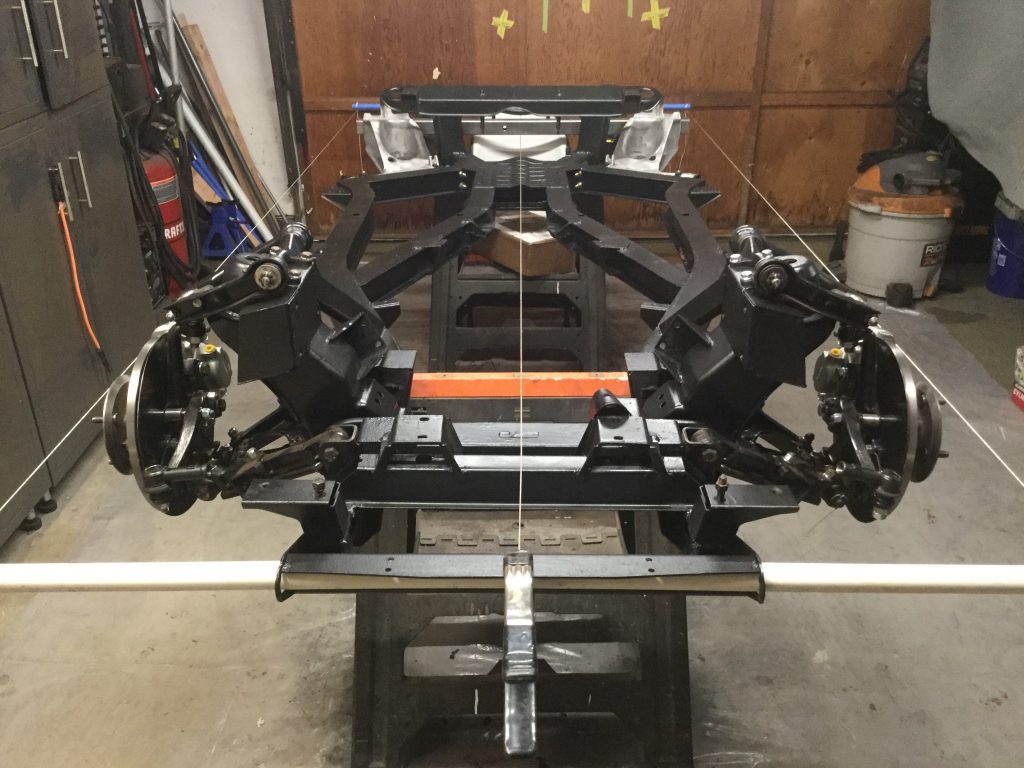
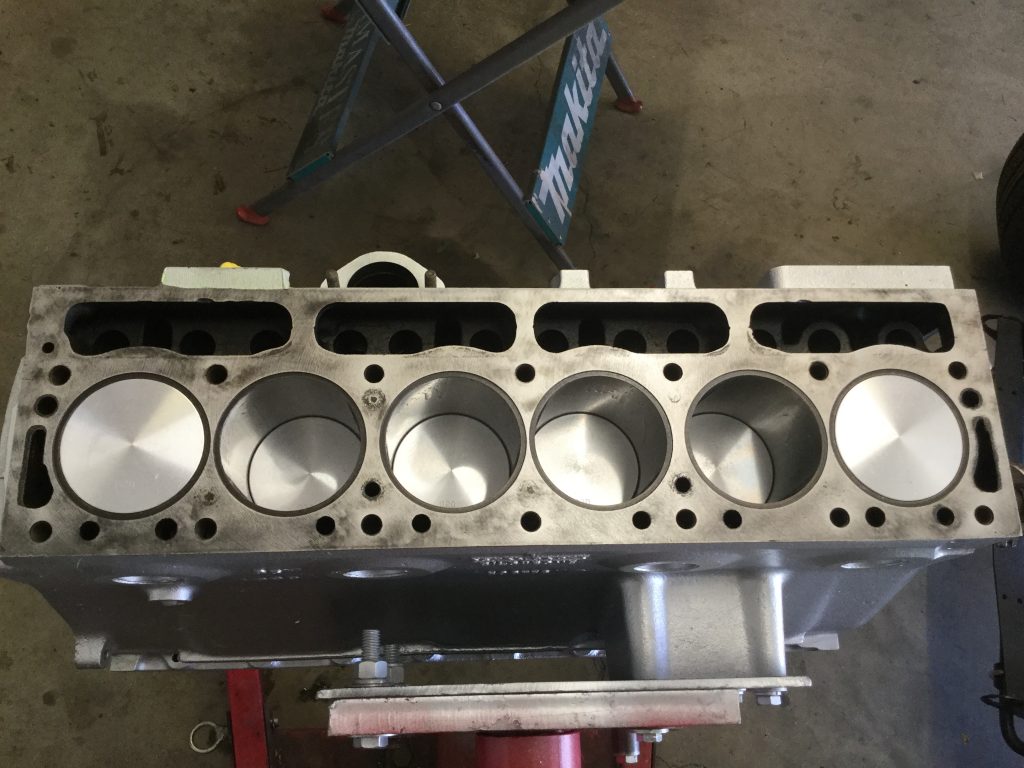
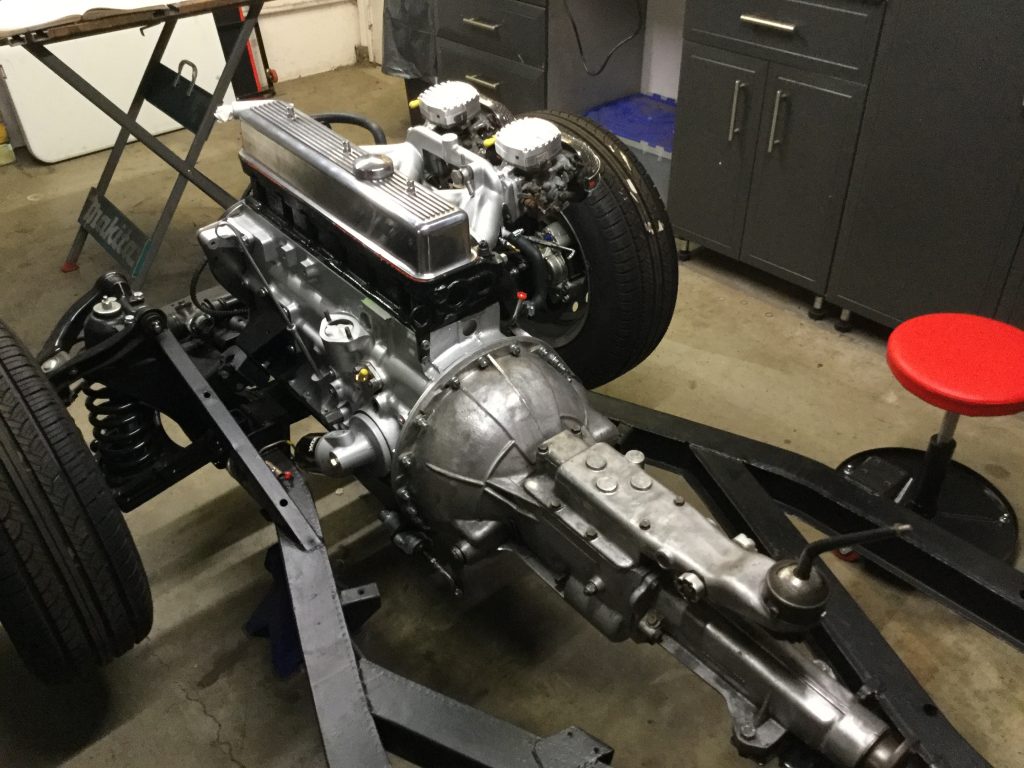
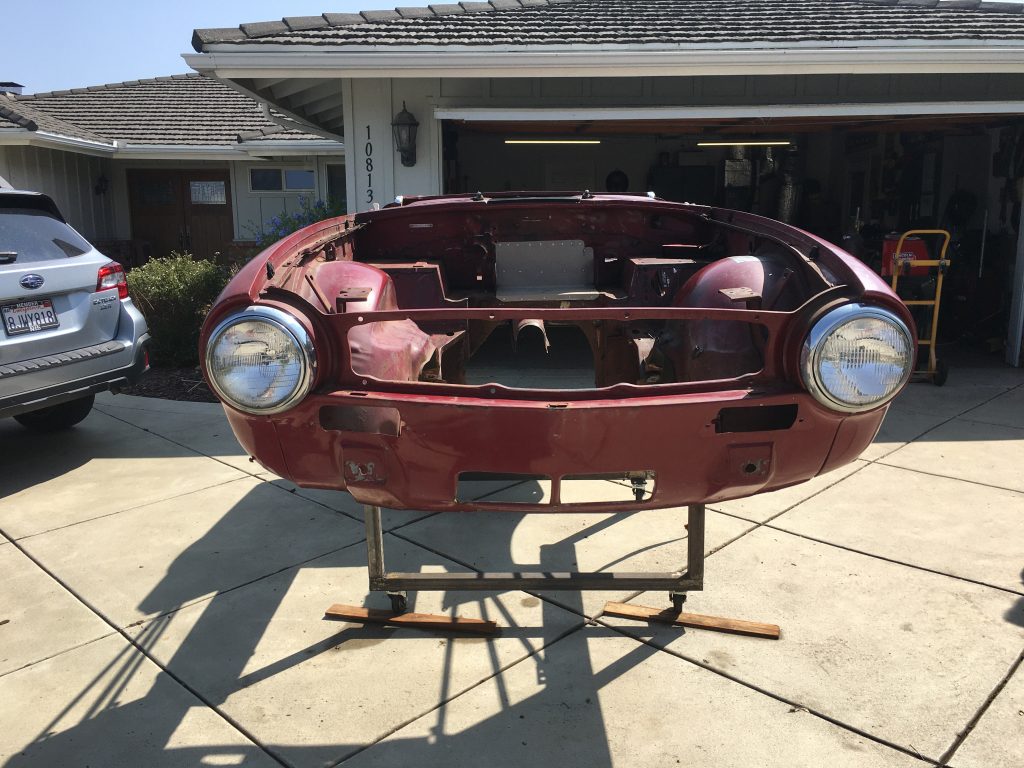
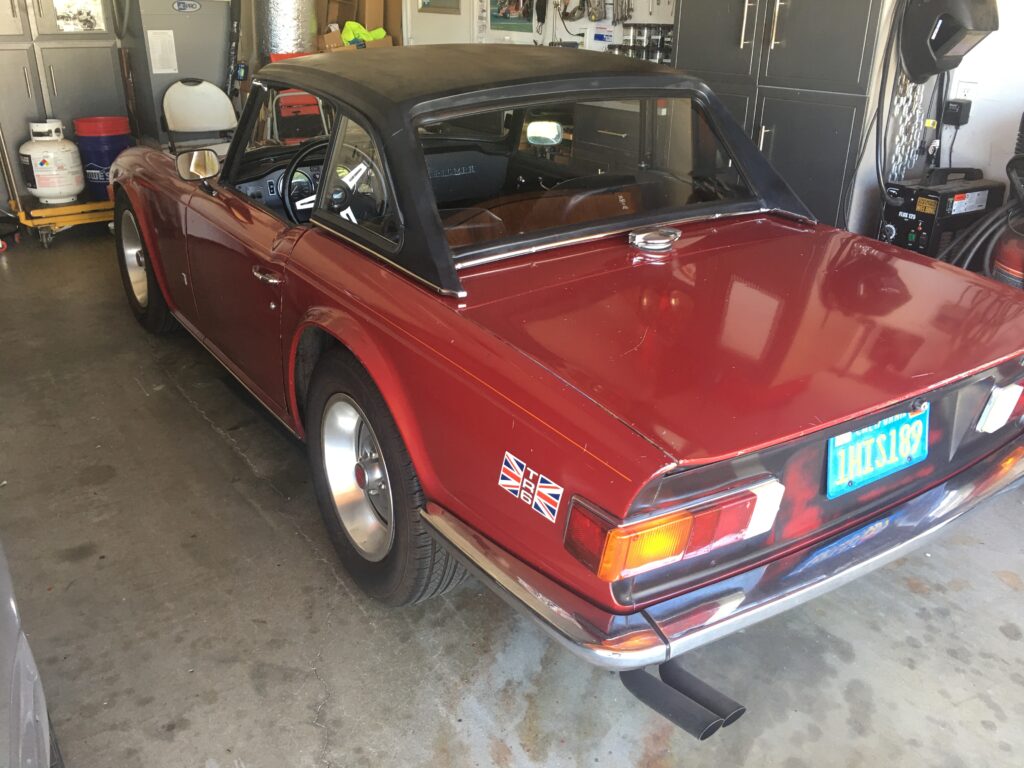
After declining to rebuild my neighbor Wendy’s Triumph TR6 for a few years because I was too busy building these old trucks, she finally approached me with an offer I couldn’t refuse. “Give me $250 and send another $250 to my favorite charity, and it’s yours.” Thus began a two year rebuild… not at the Barn but in my garage.
My plan for this narrative is to post plenty of pictures.
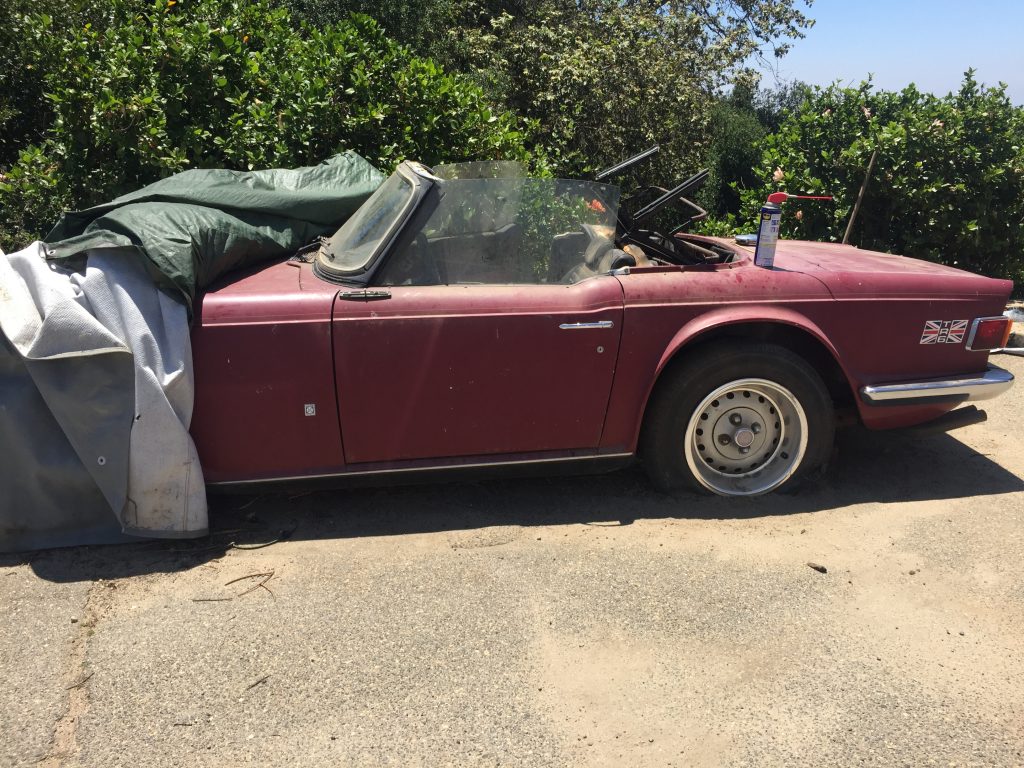
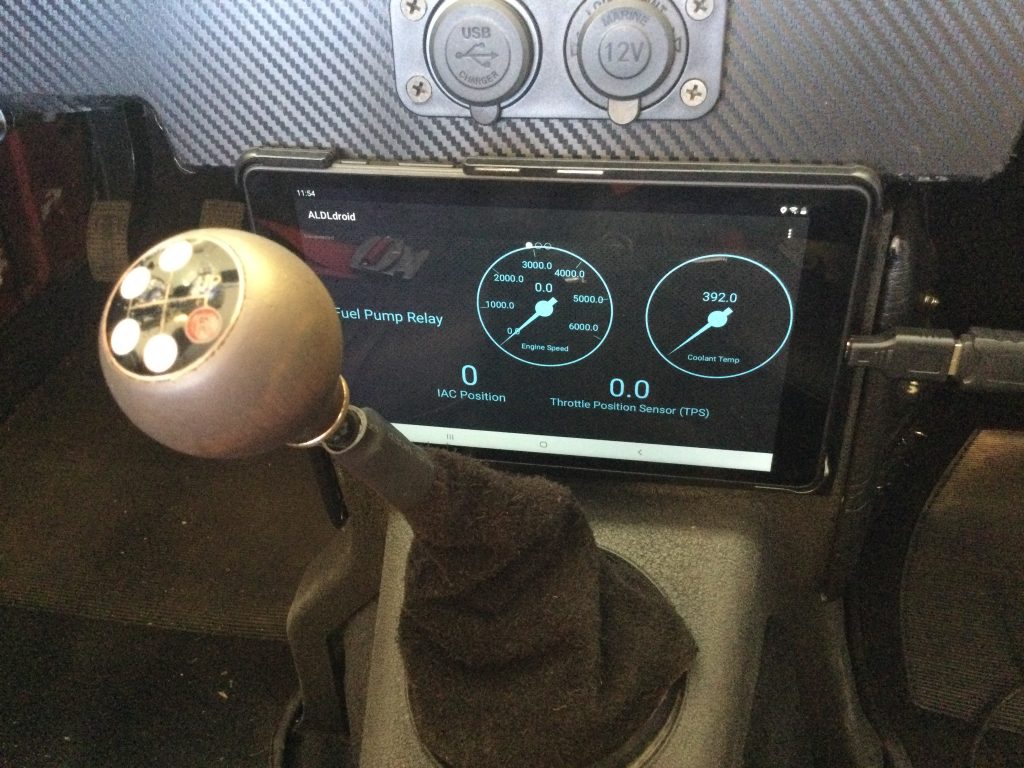
Where it sat for nearly twenty yearsNow it’s a “fuelie”… Patton TBI system
Short drive in the TR6 on a nearby twisty road.
Triumph TR6
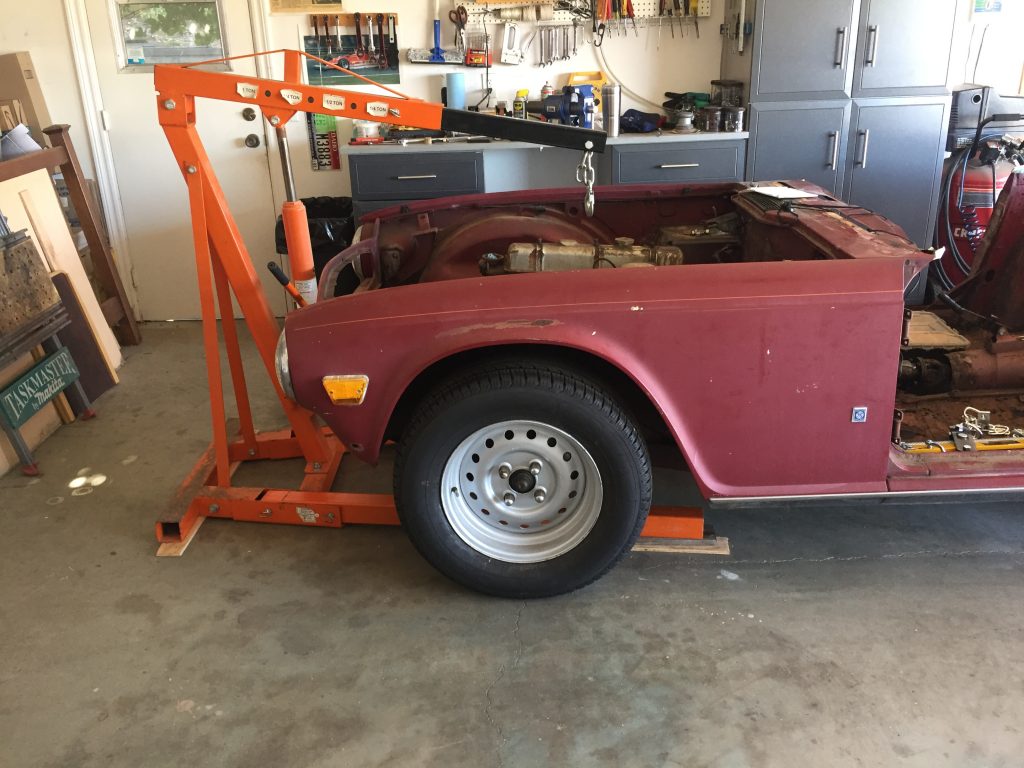
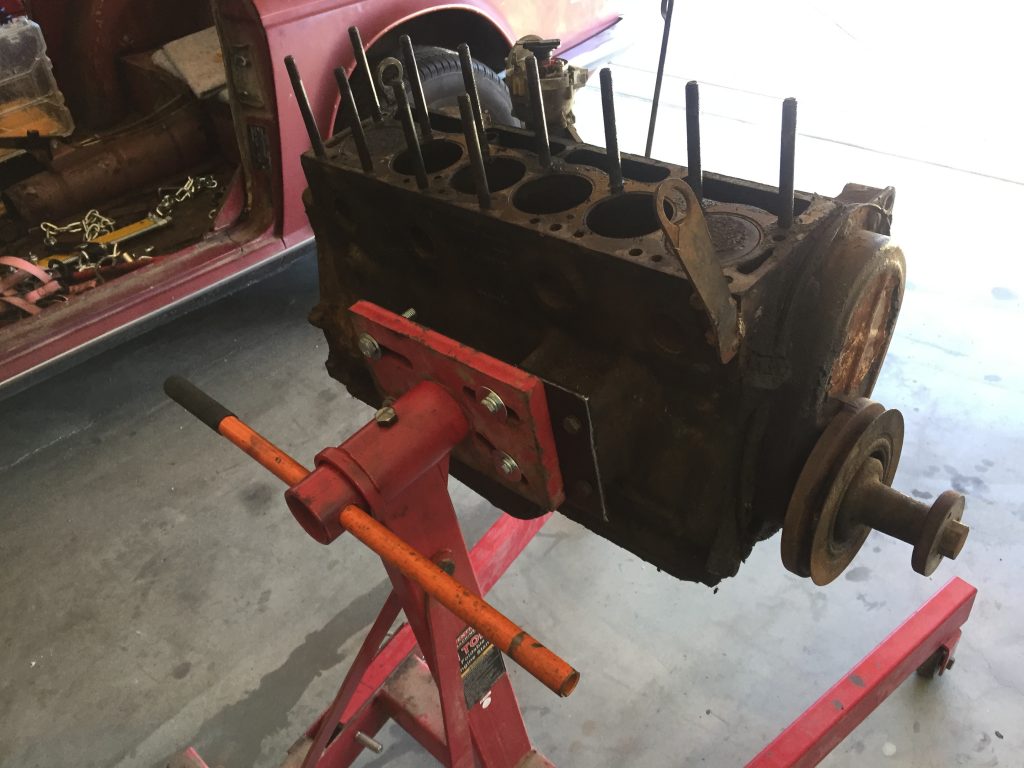
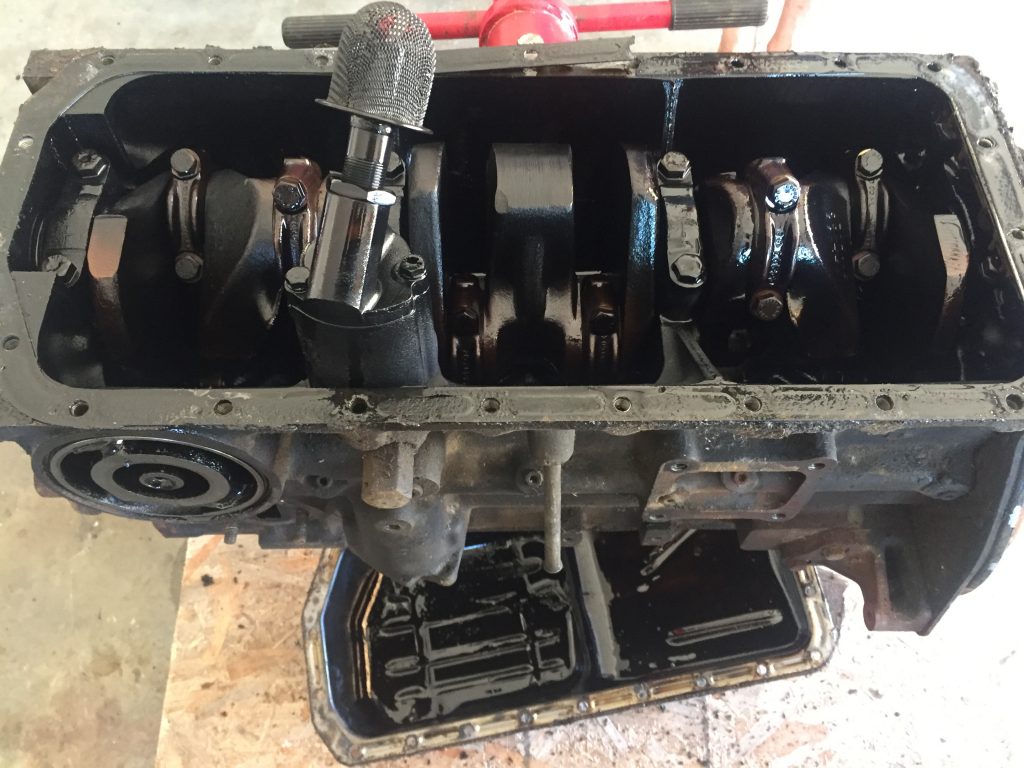
A body-off, ground-up restoration in photos, click to navigate to the individual posts
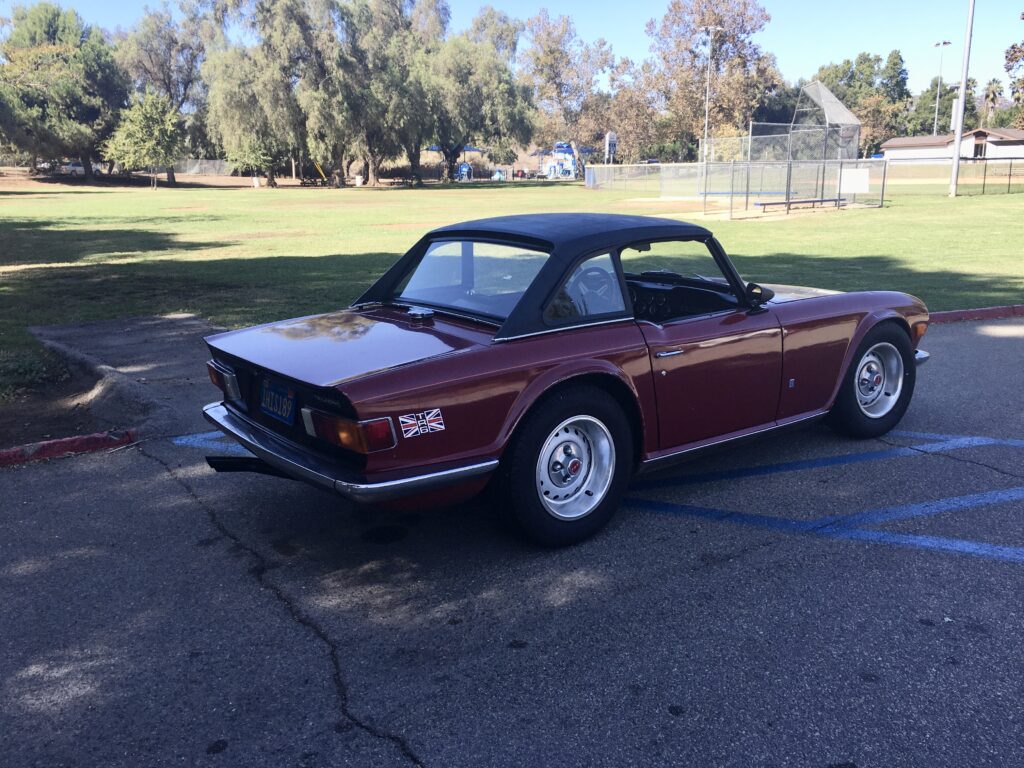
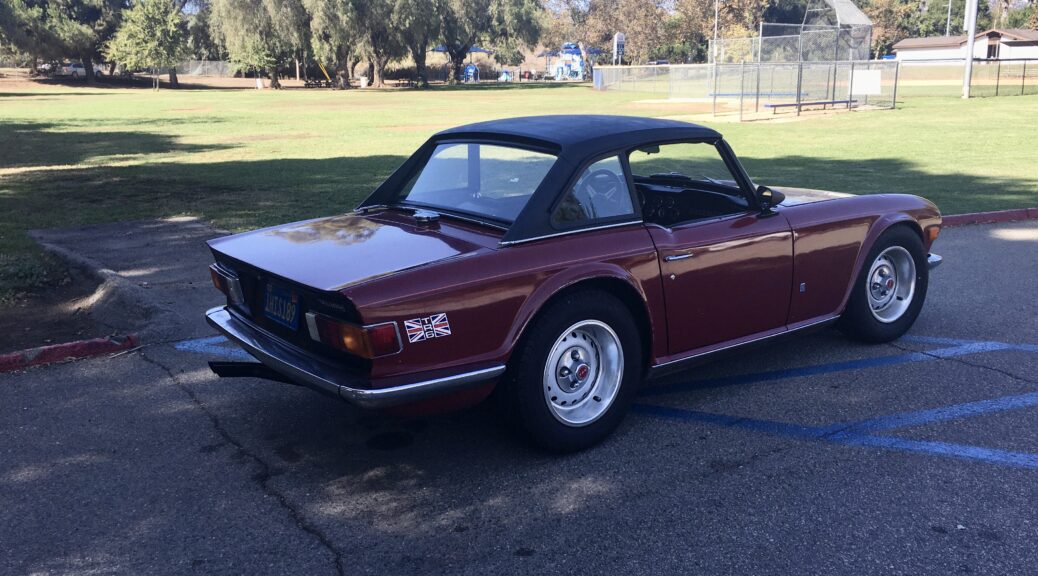
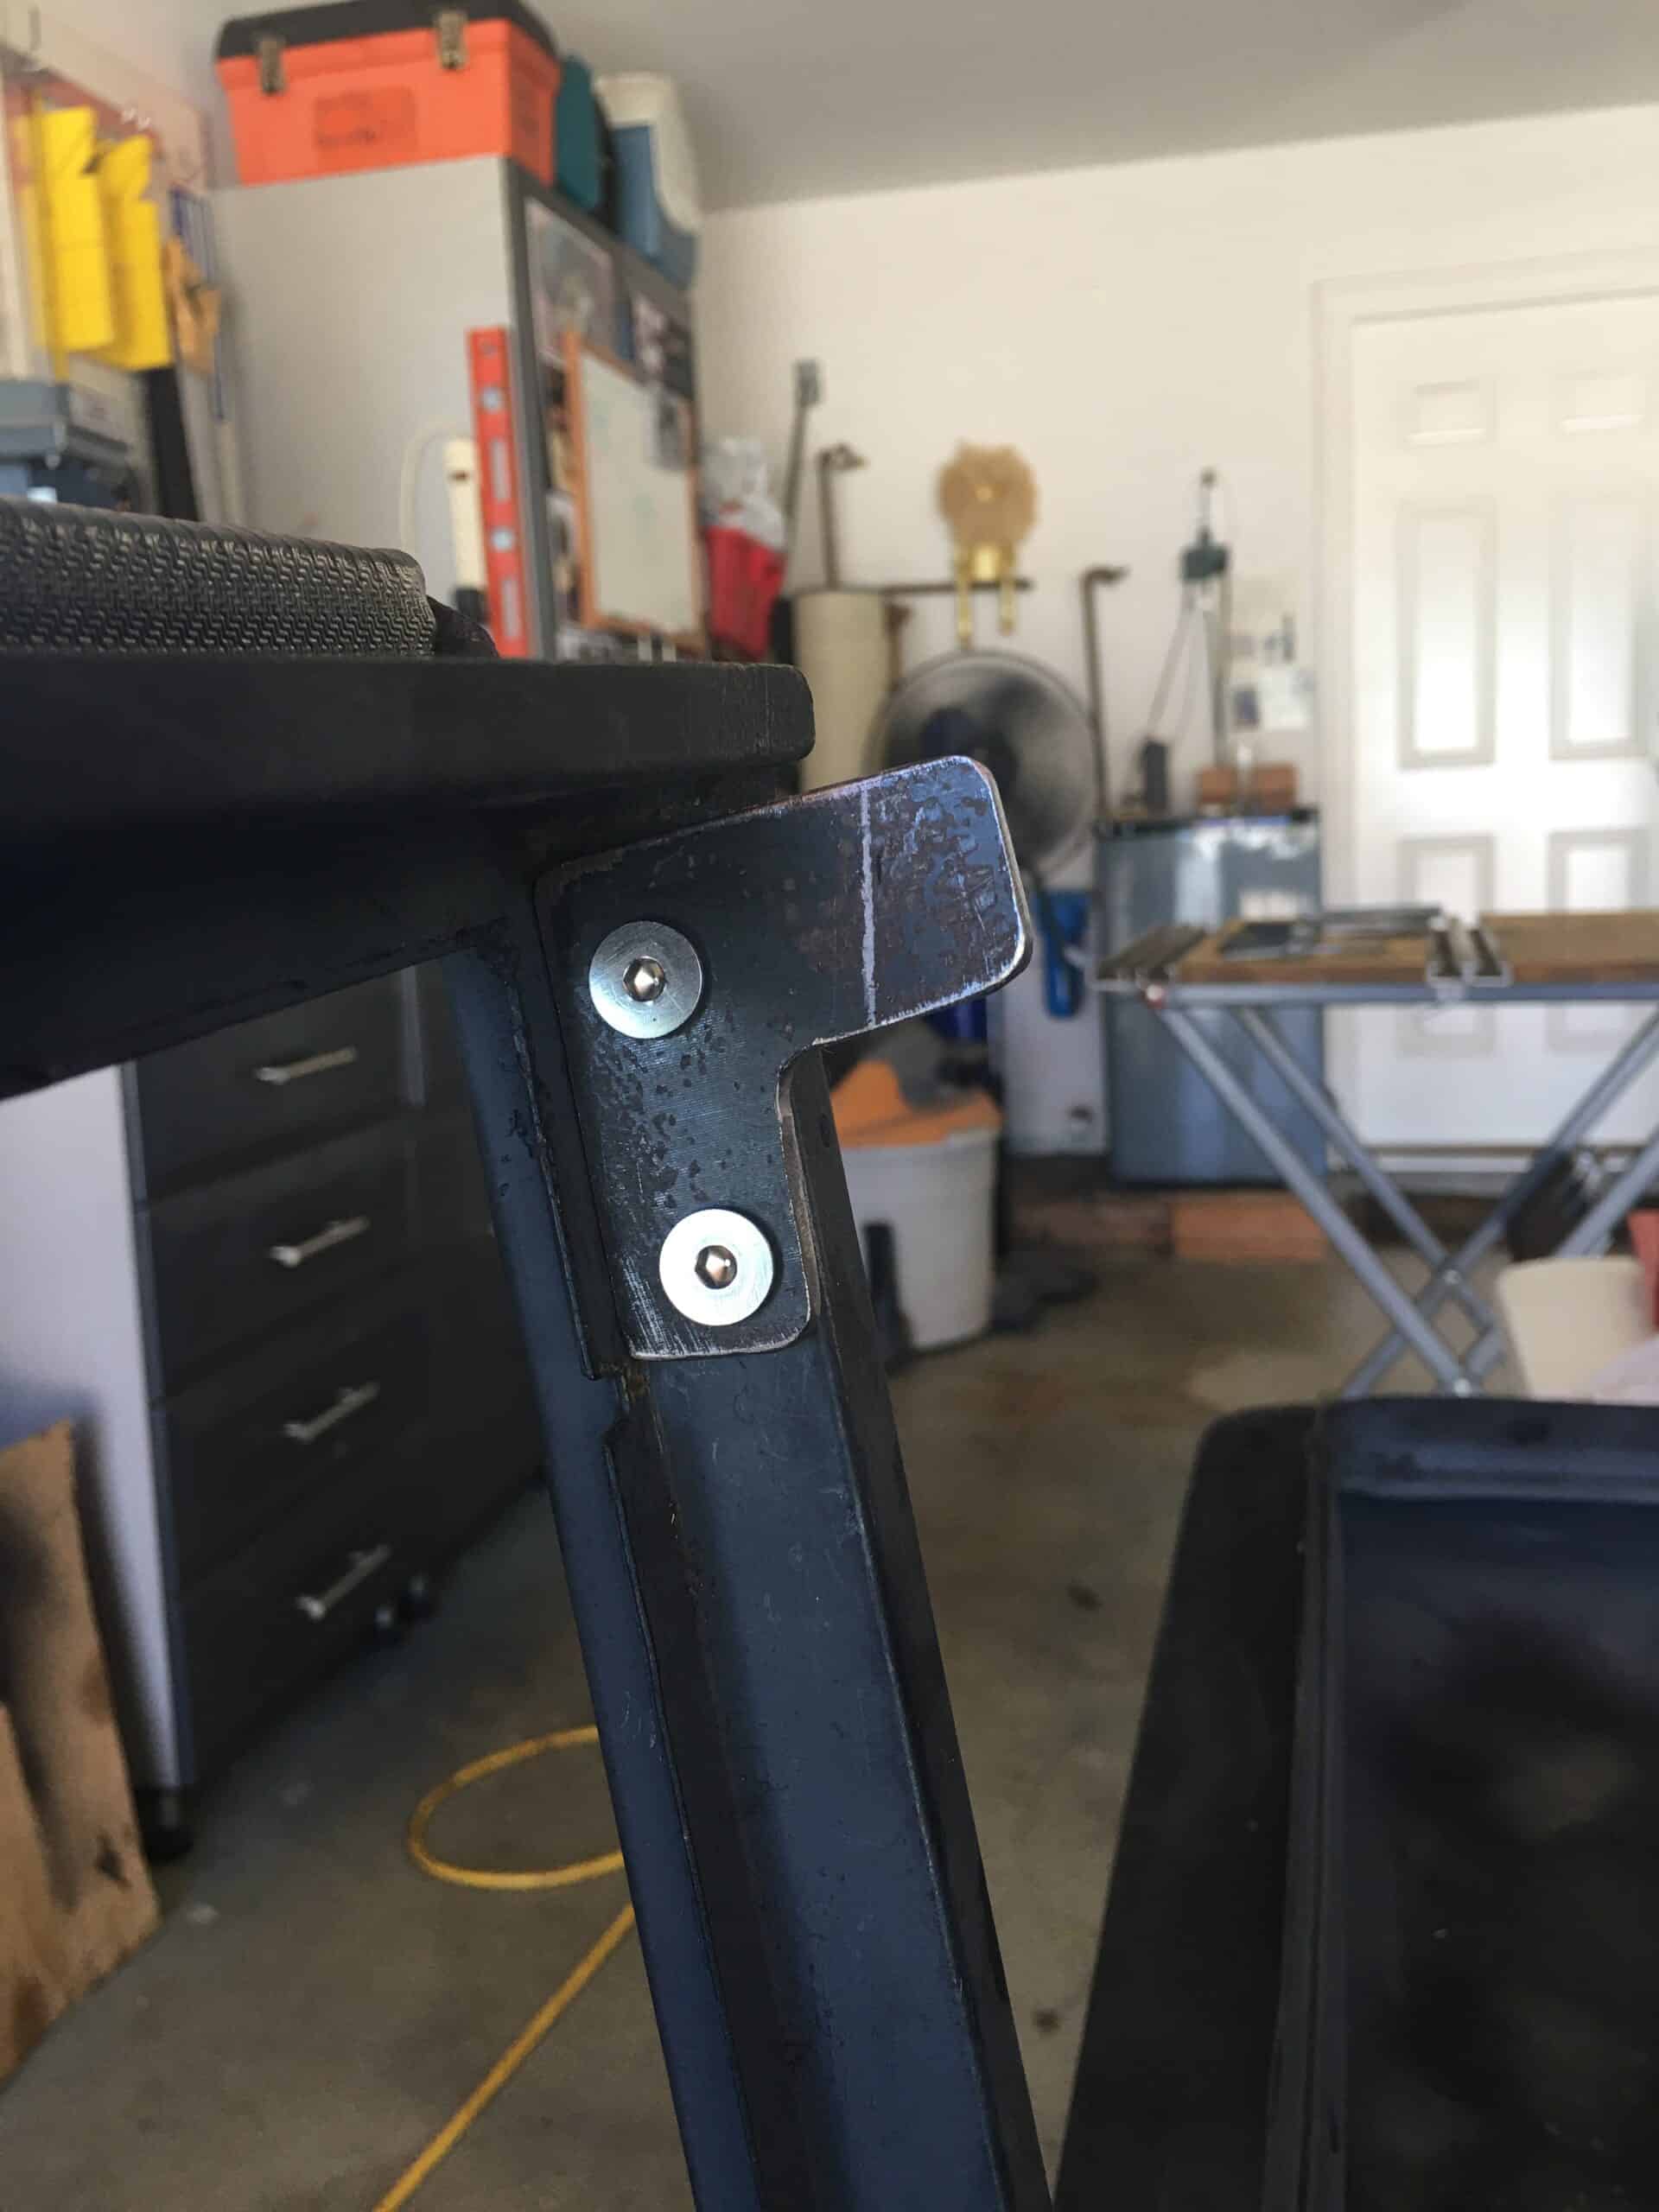
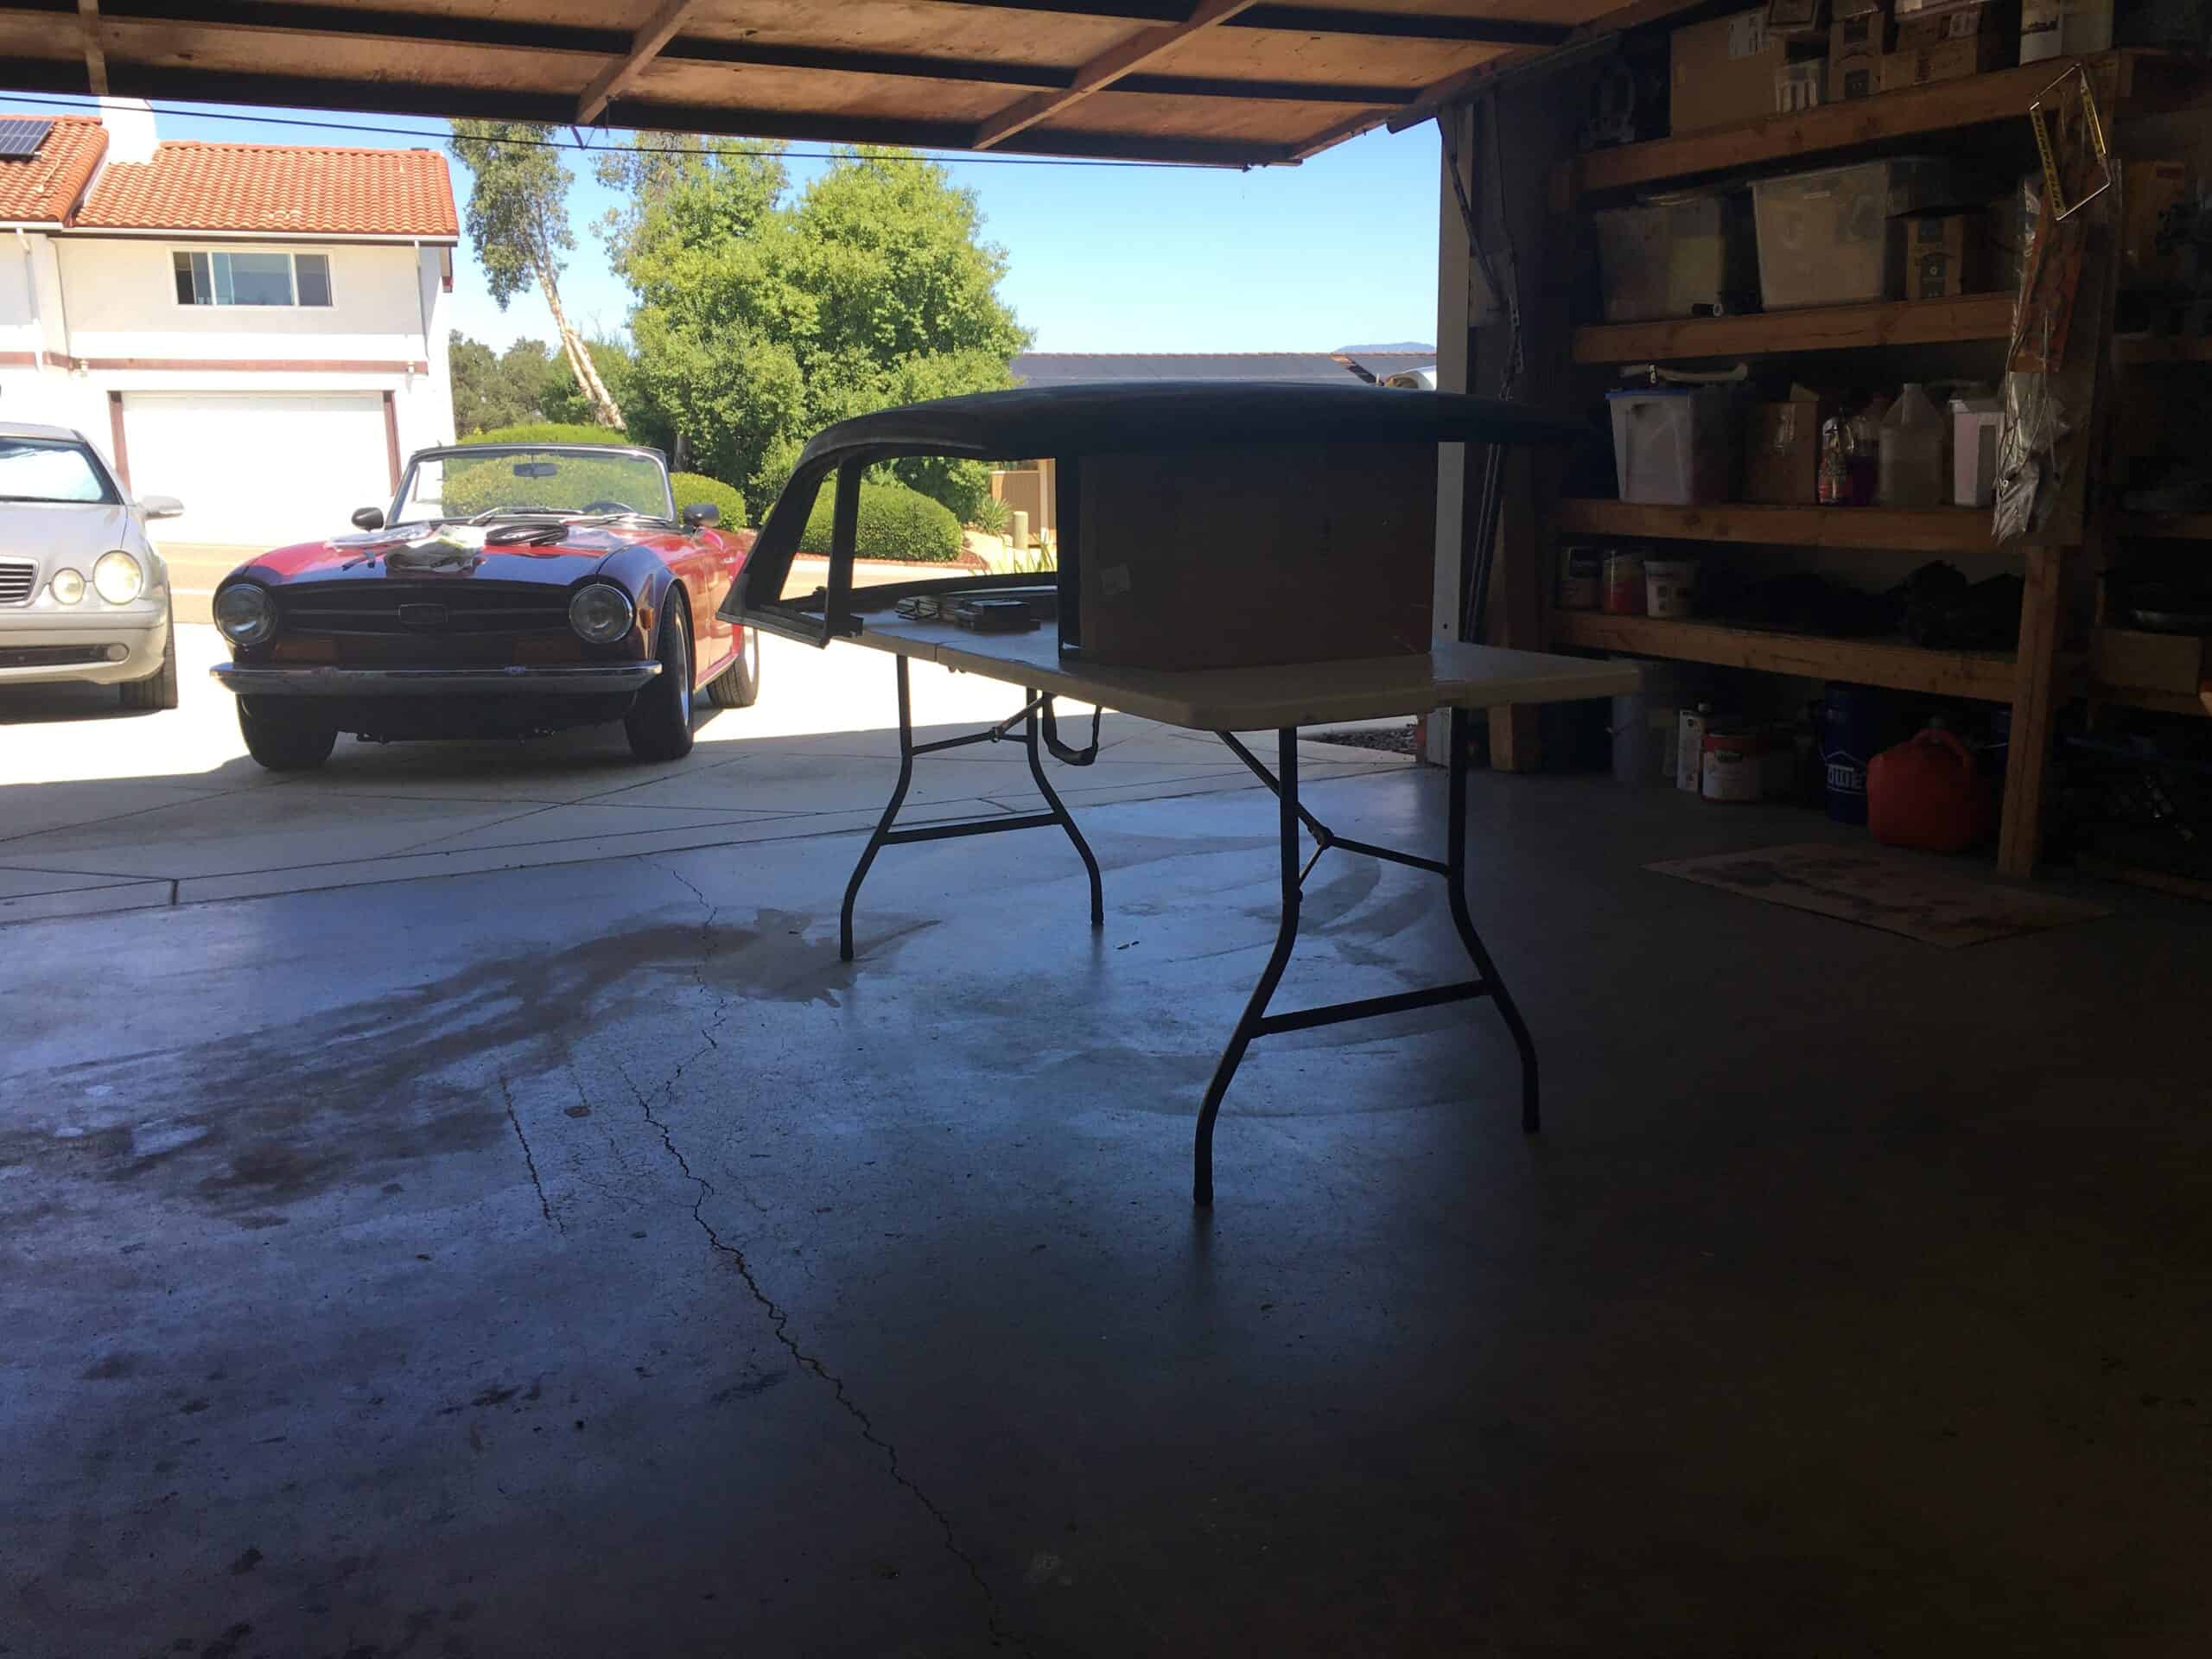
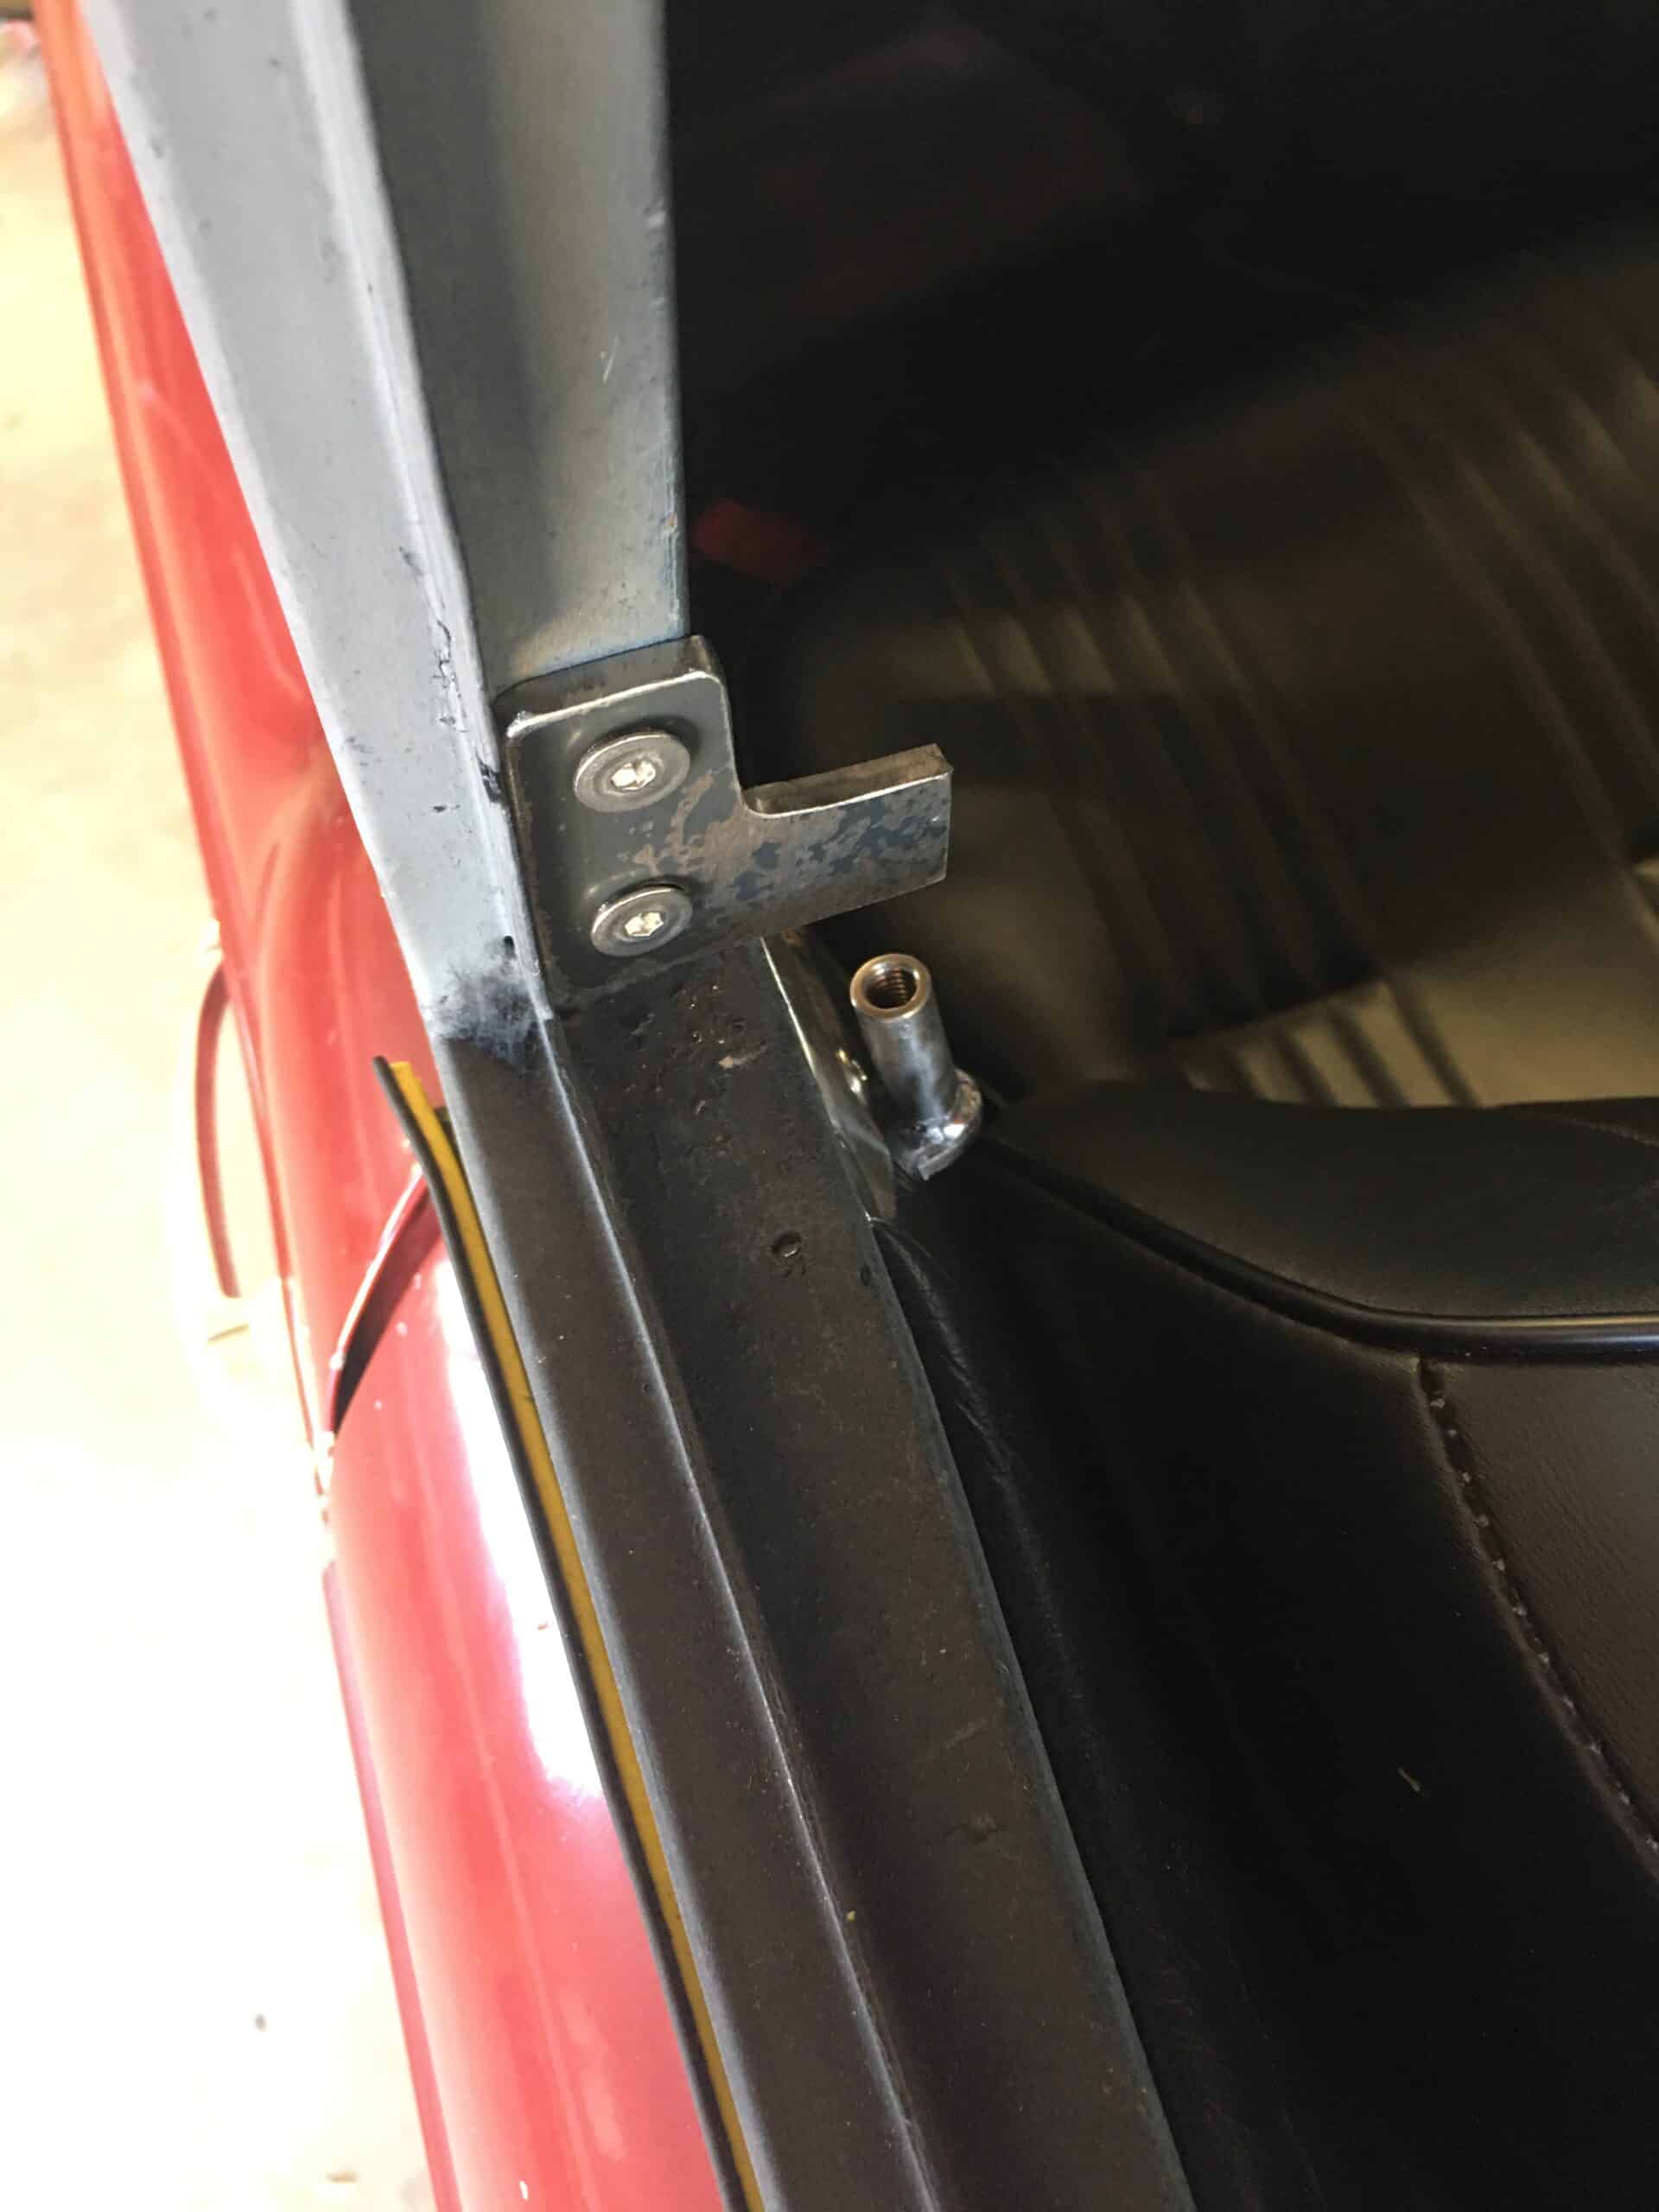
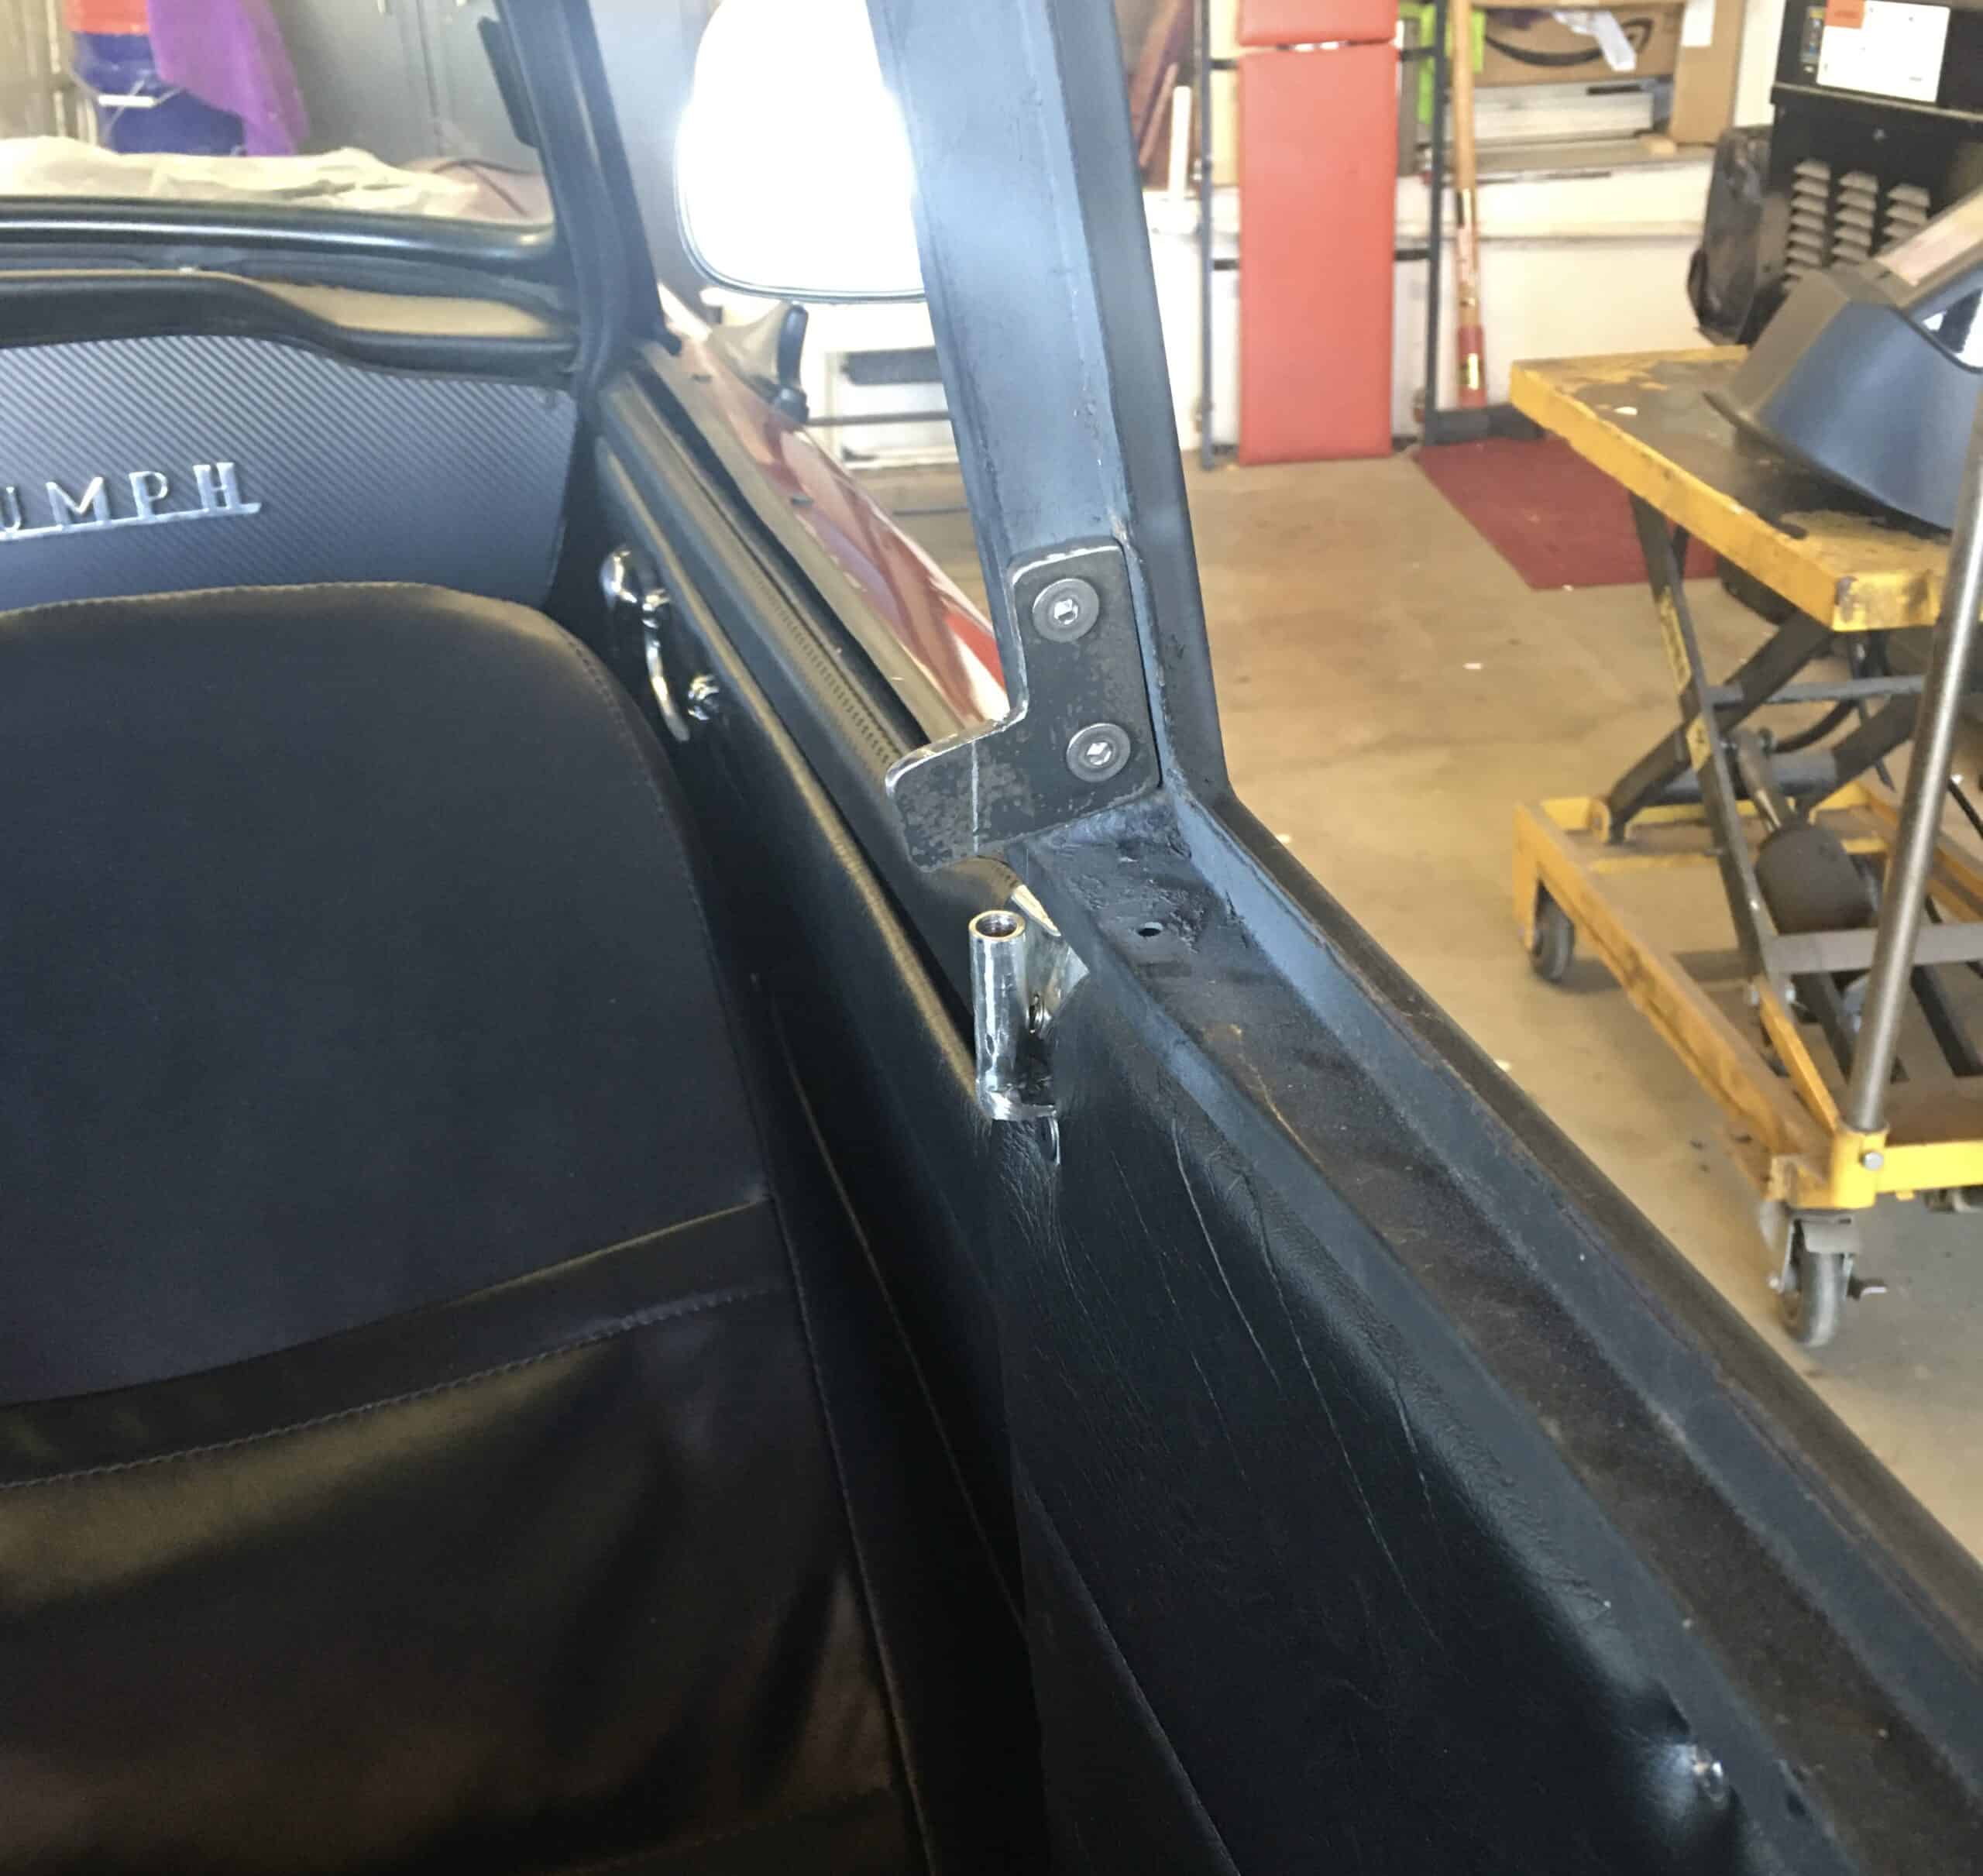
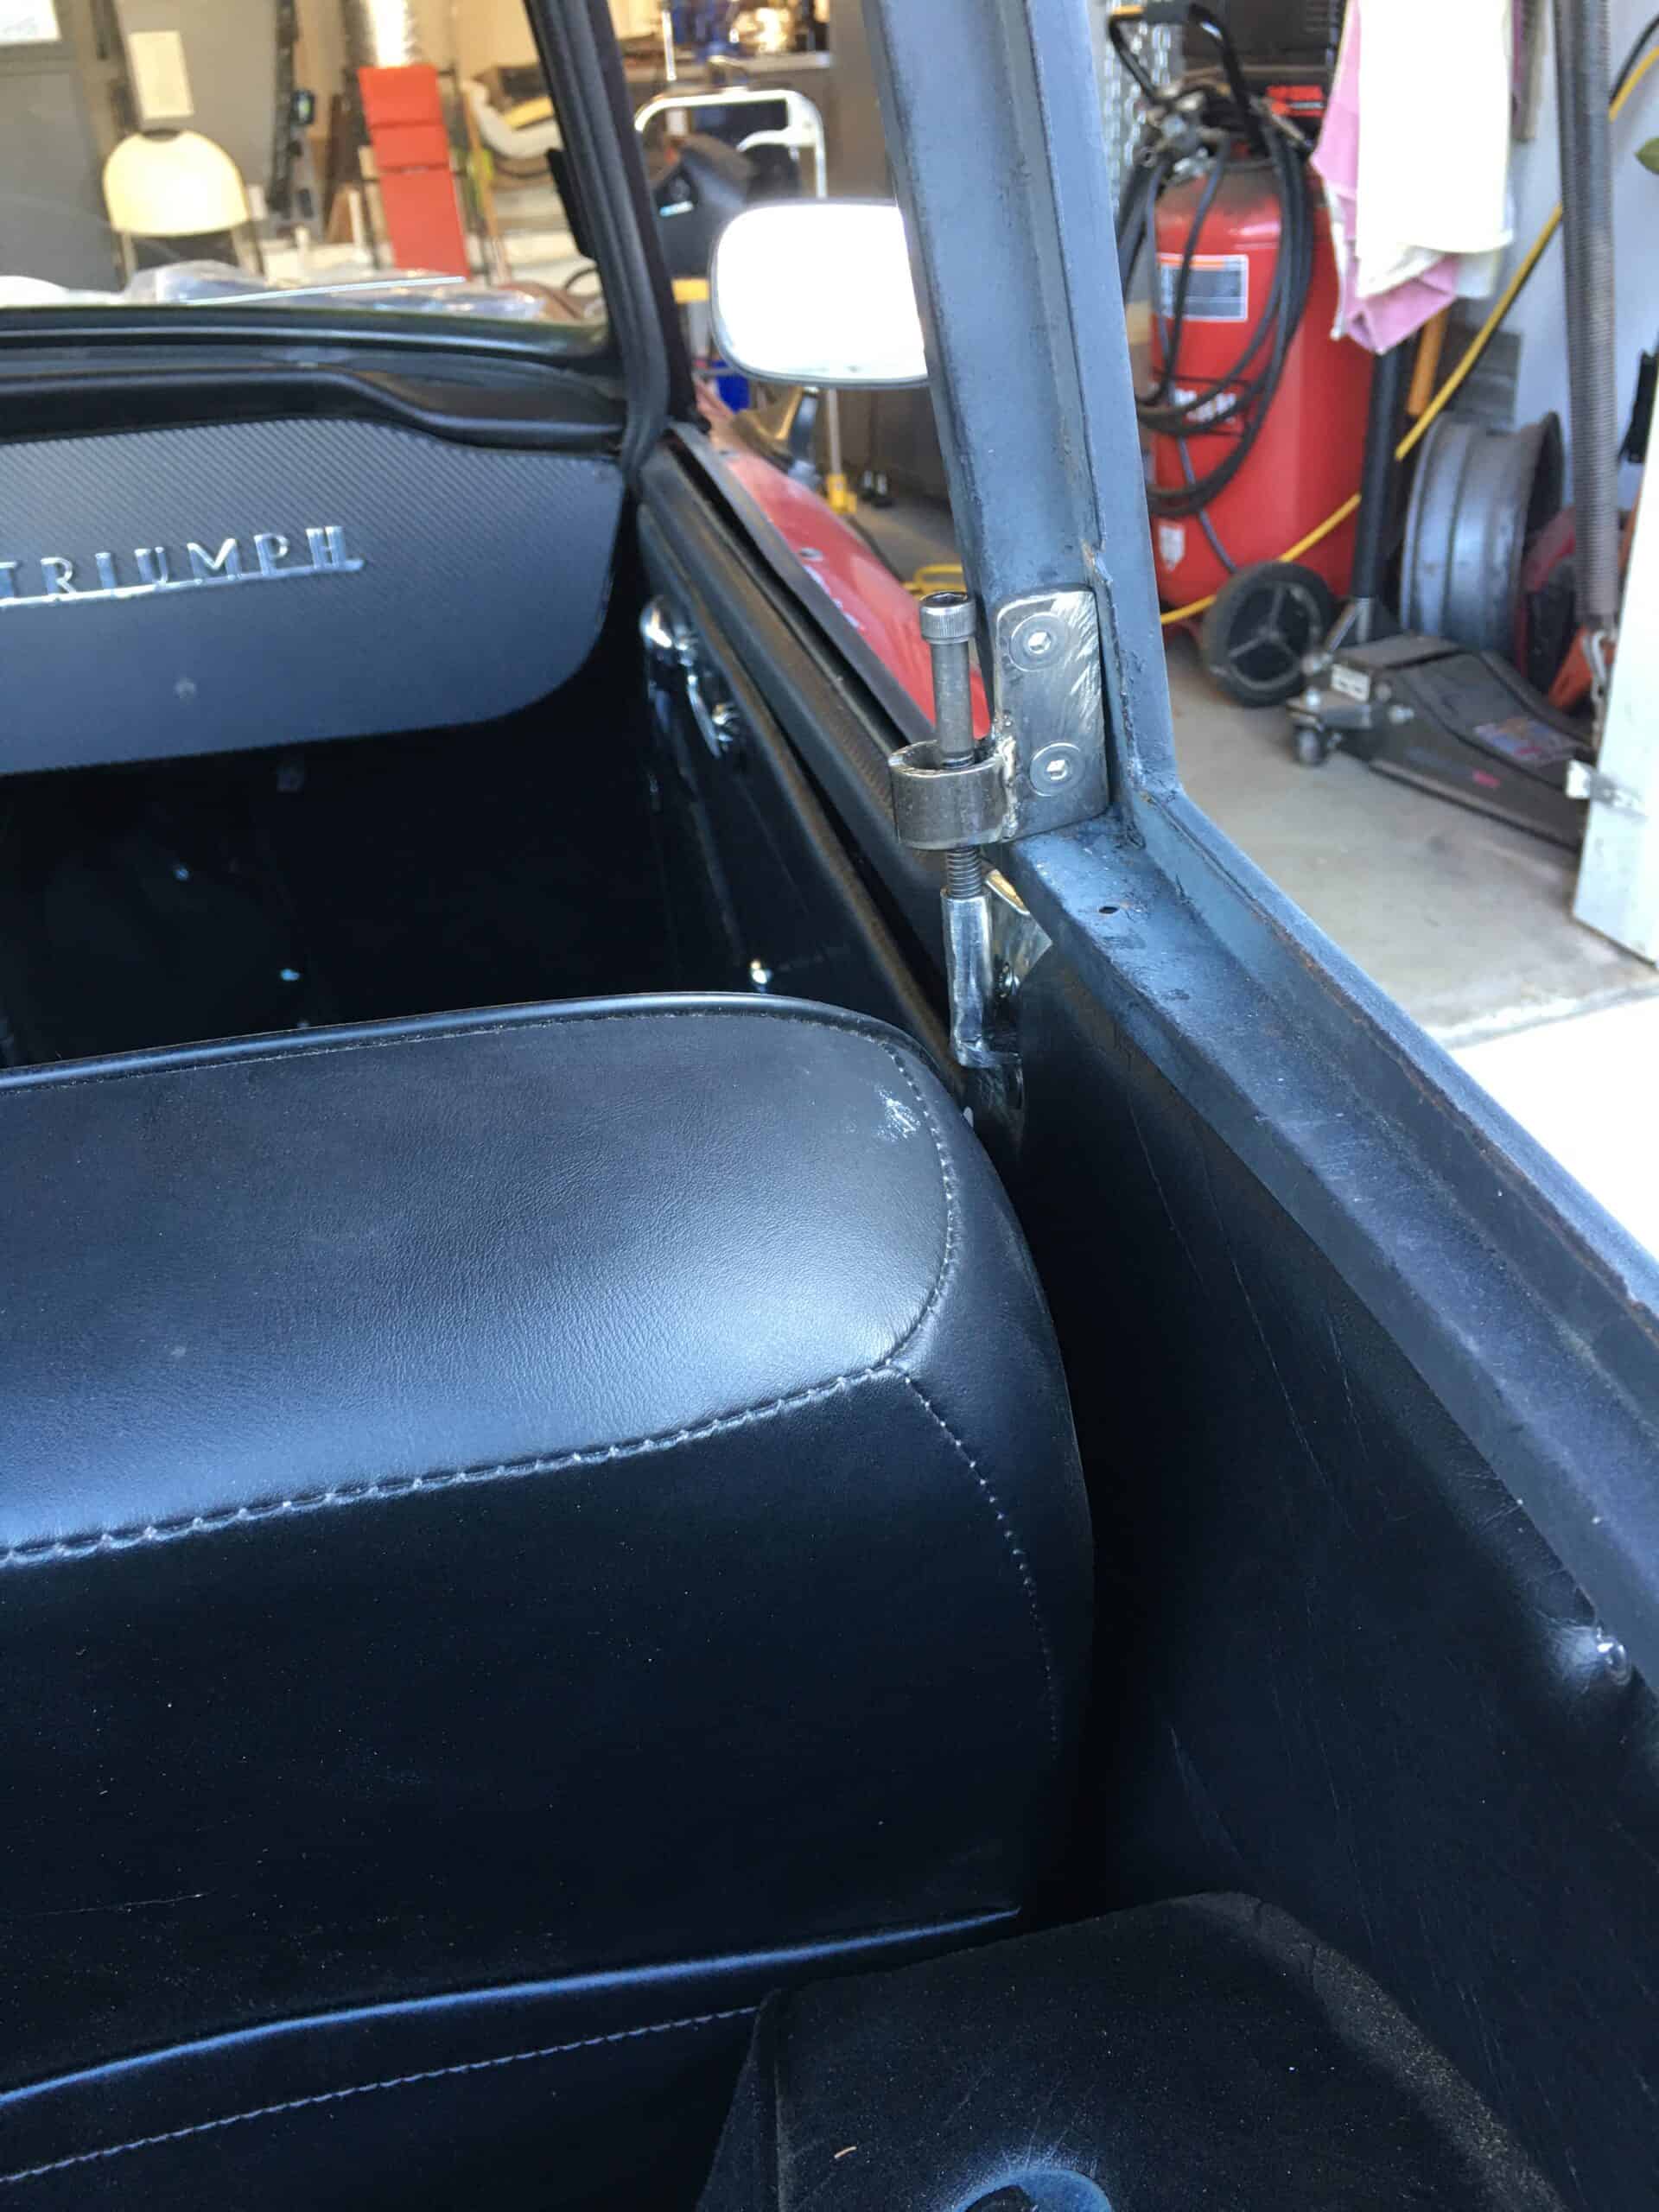
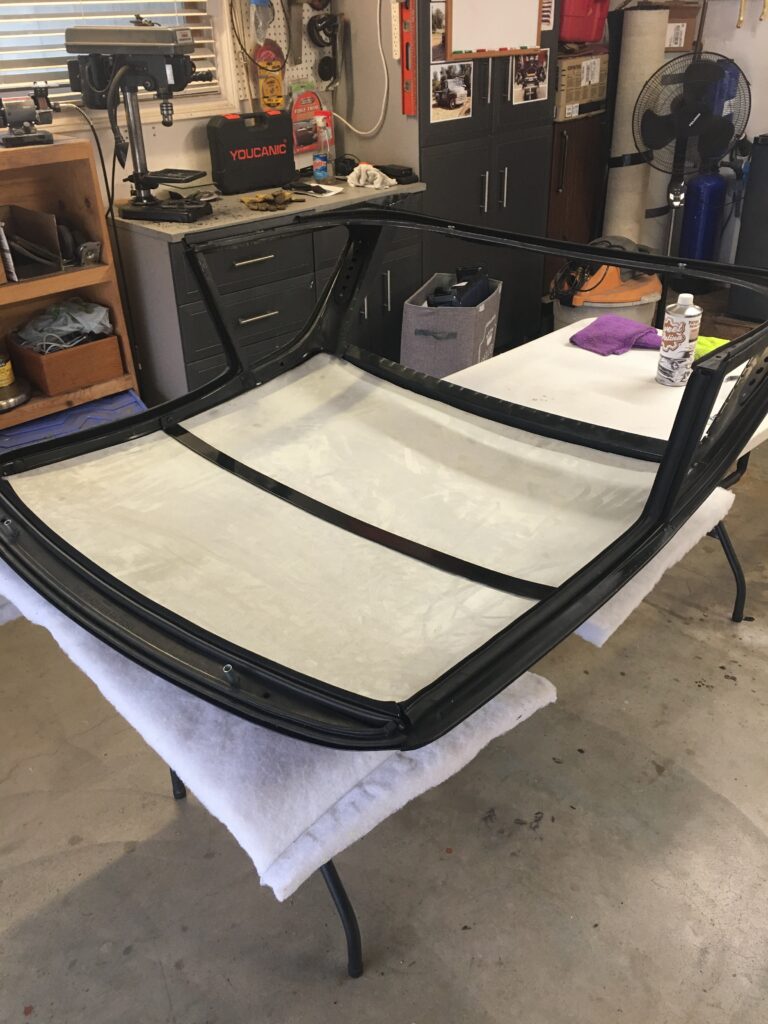
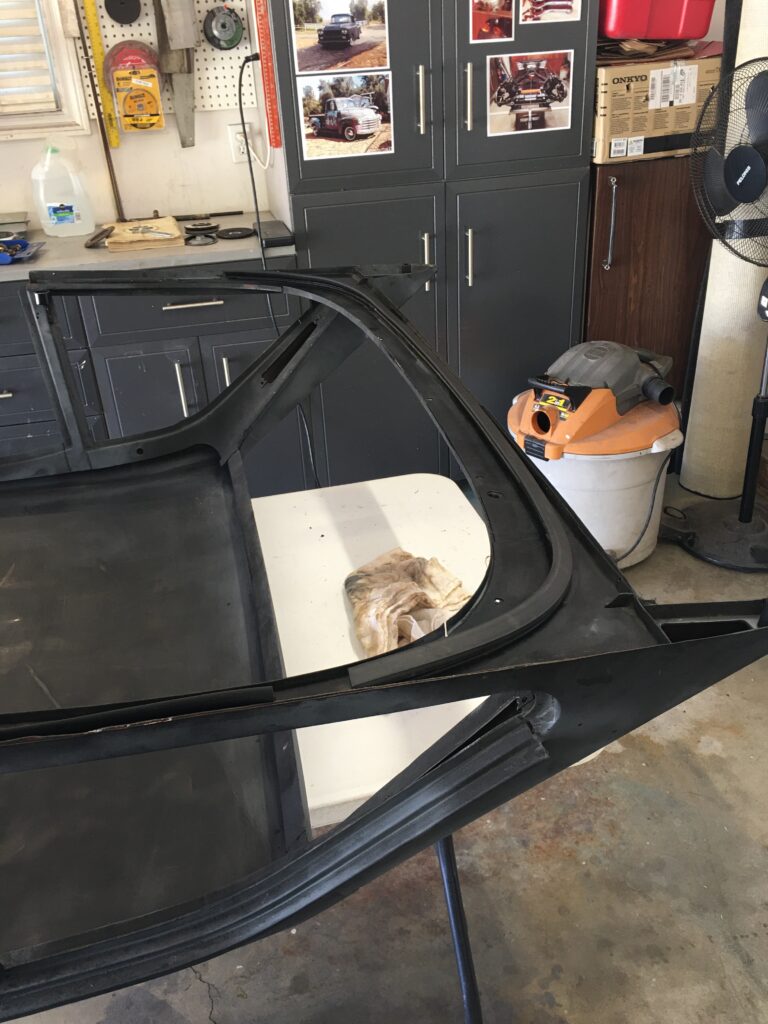
I have been half-heartedly looking for a factory hardtop for the Six, and this summer I lucked out and found one within an hour drive. It was a bare top but included all windows – in excellent shape – and some but not all of the rubber. The paint looks like rattle-can flat black and there are a couple very slight dents front and center, hardly noticeable now but which would need fixing prior to painting. I had to make the mounting brackets at the B-pillar, and I added insulation and headliner, as shown in the photos.
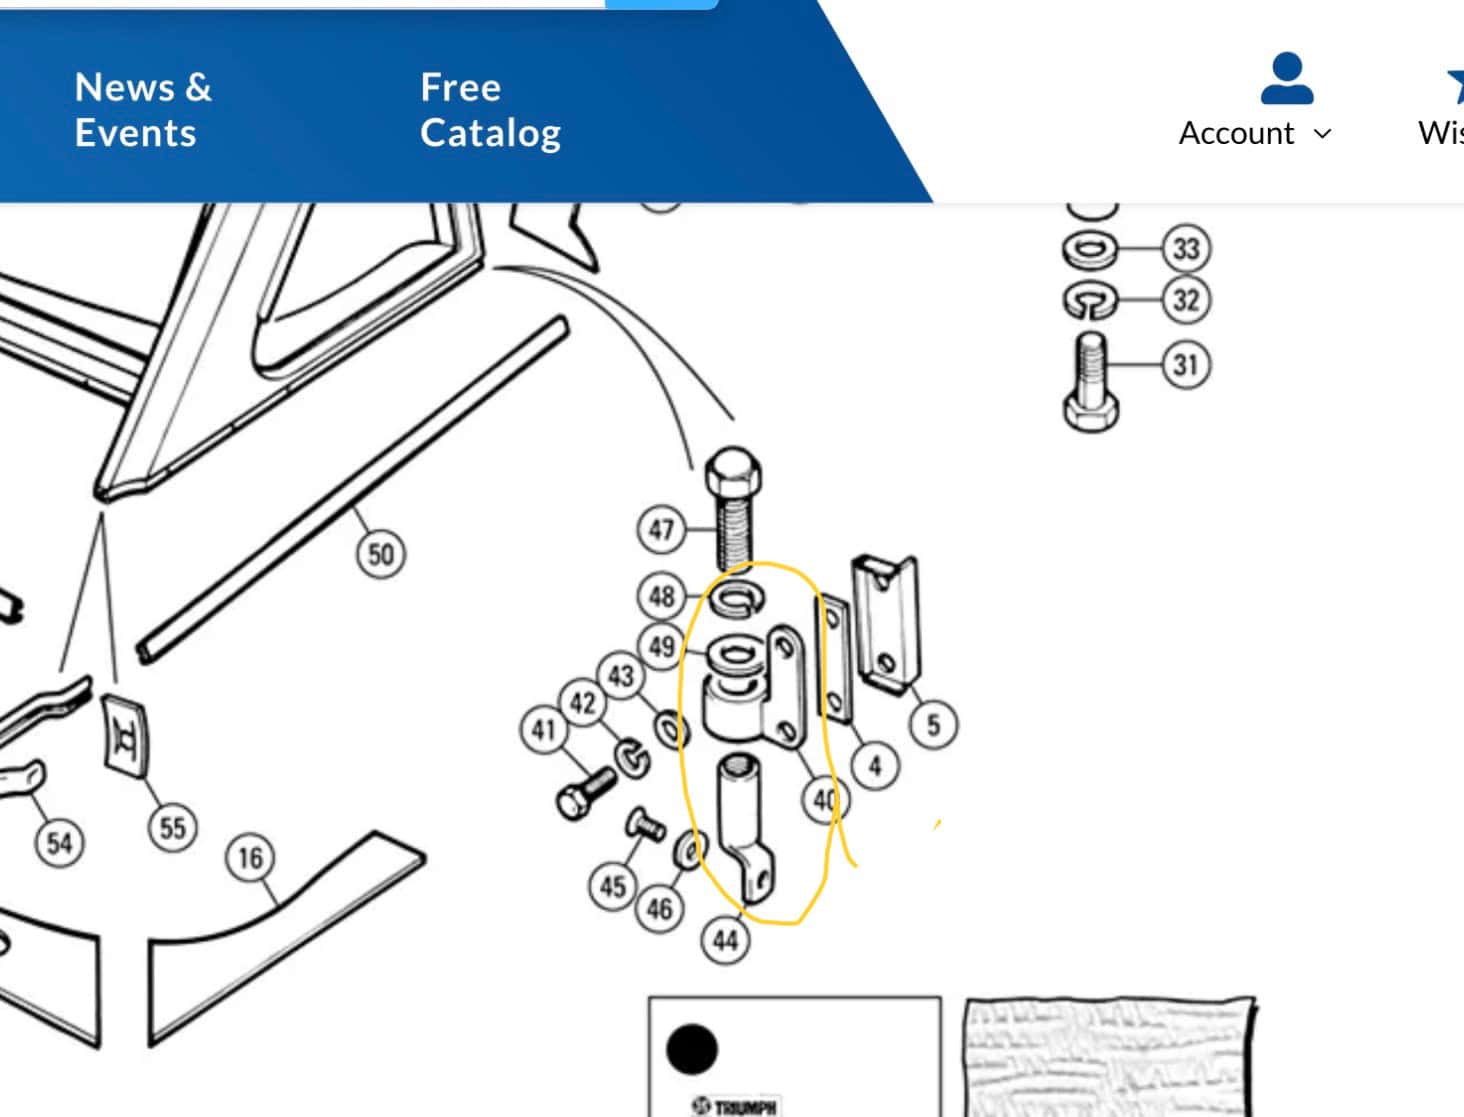
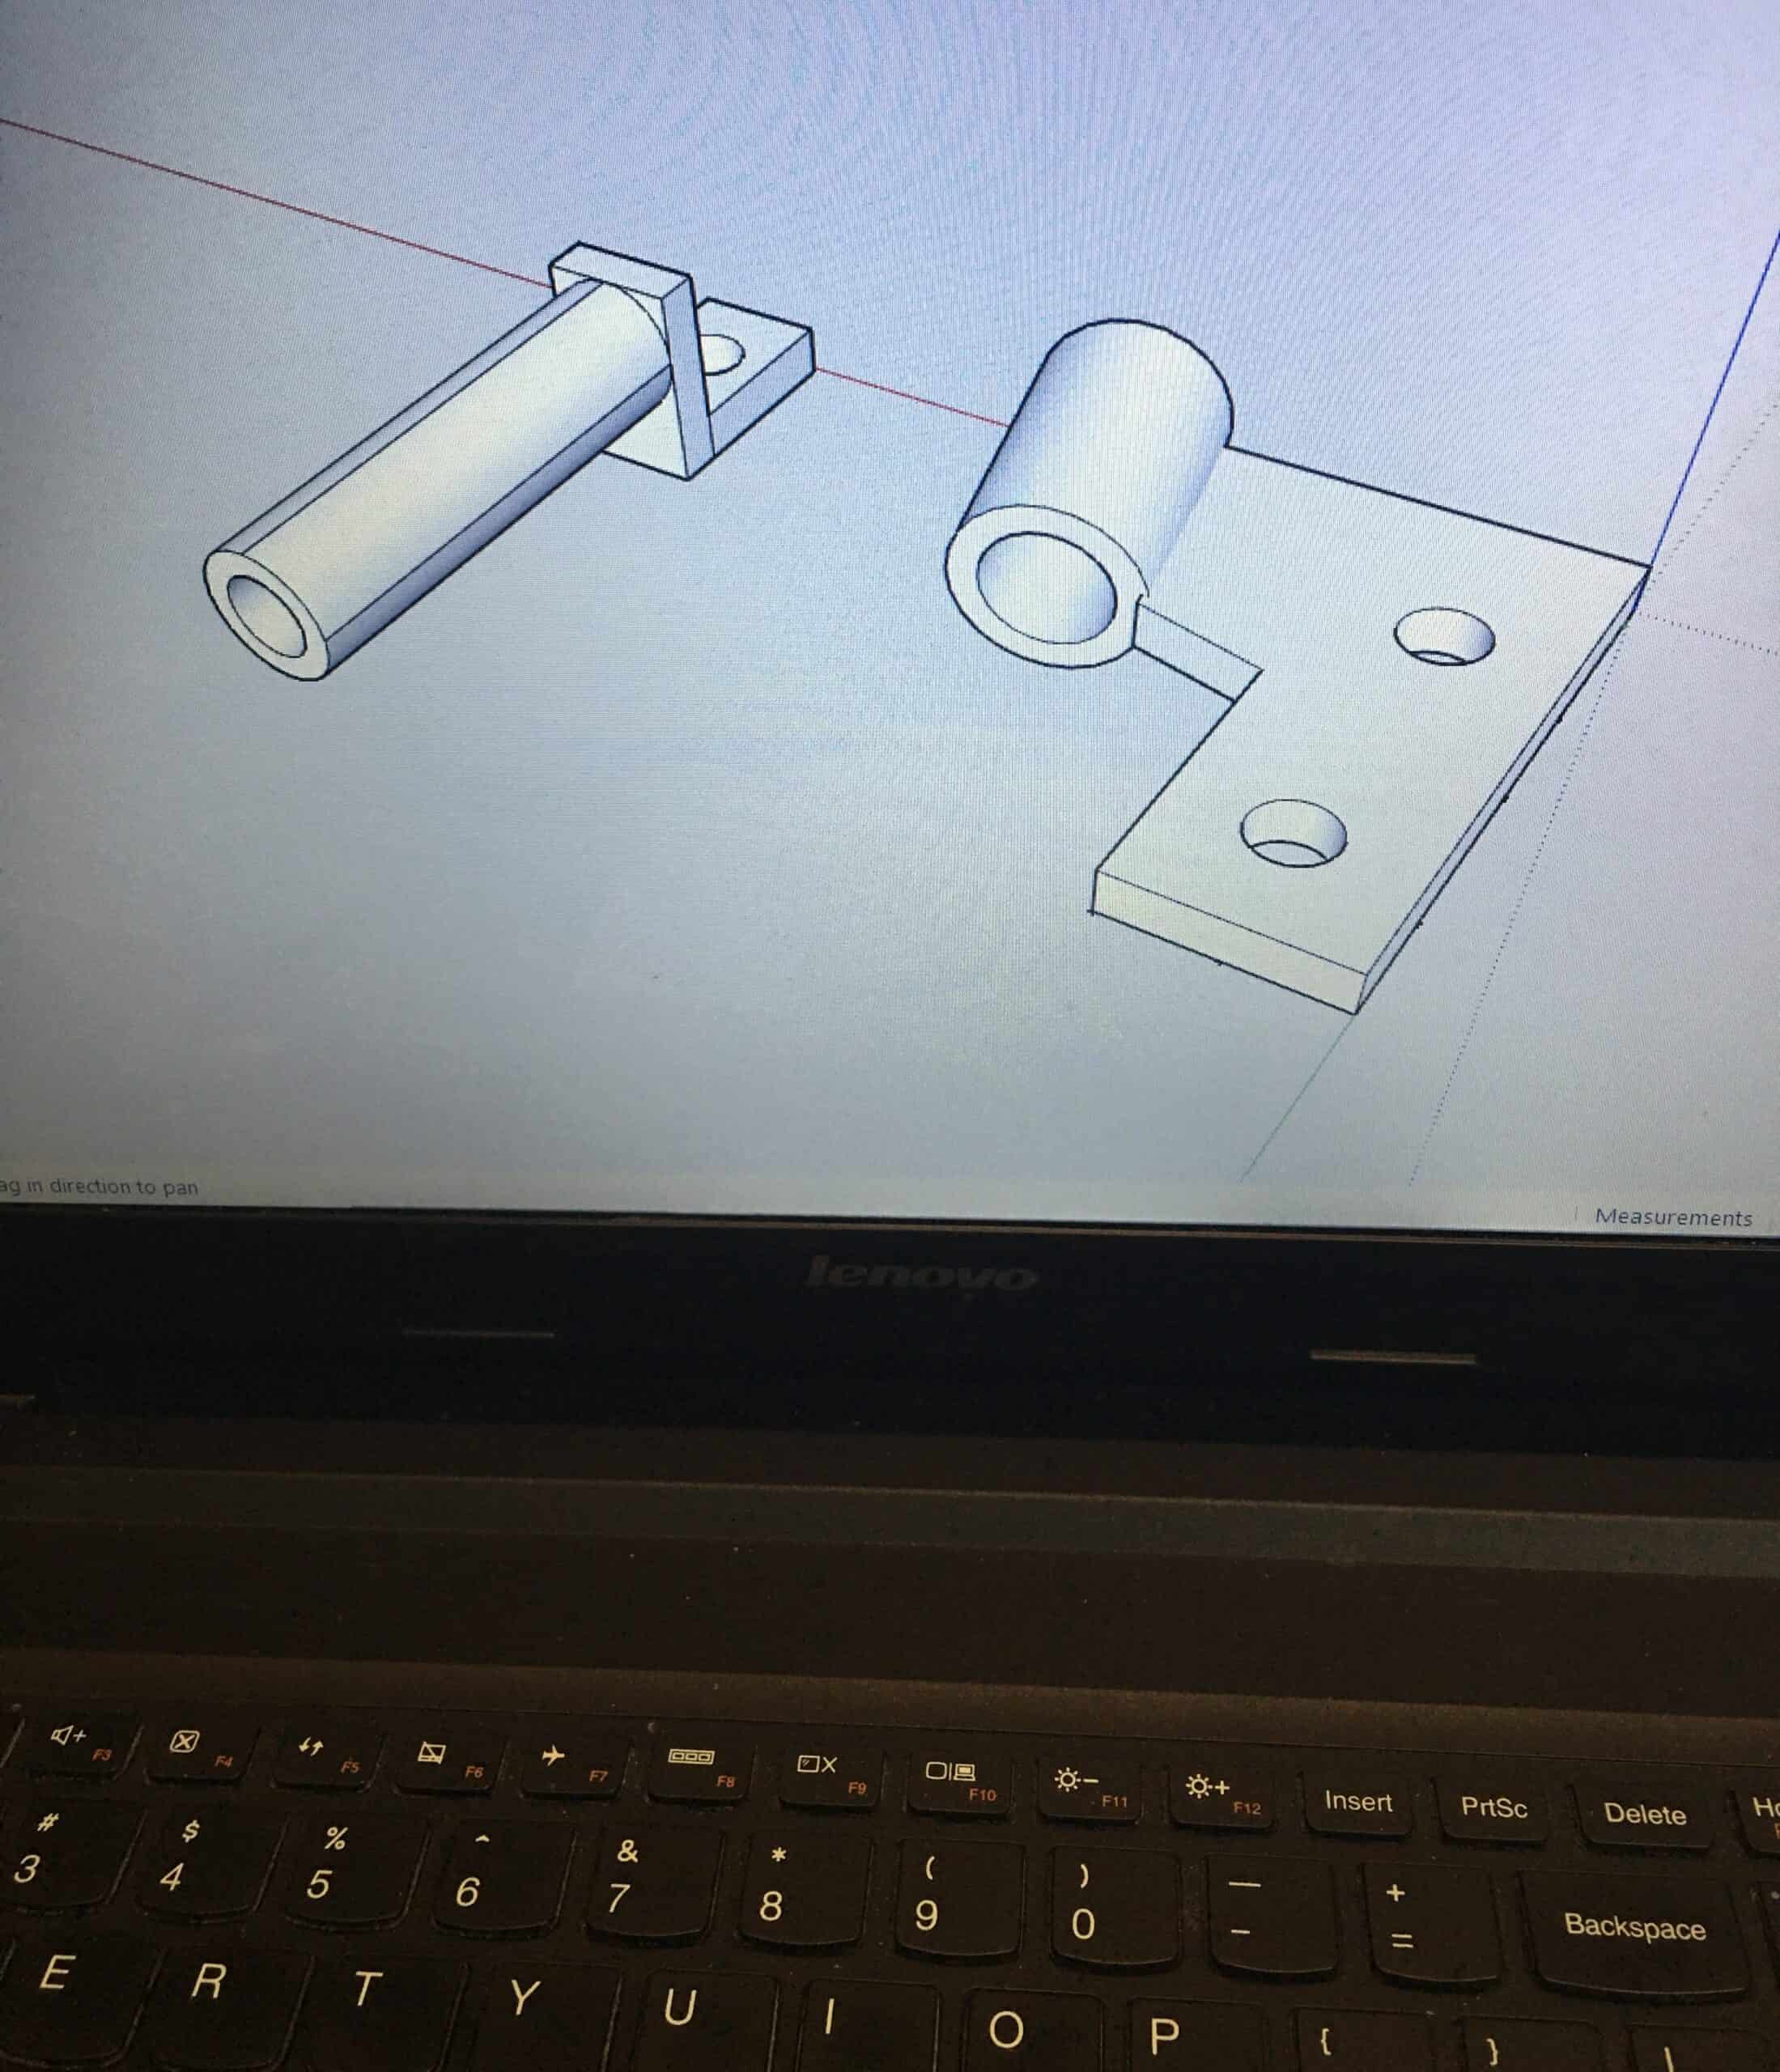
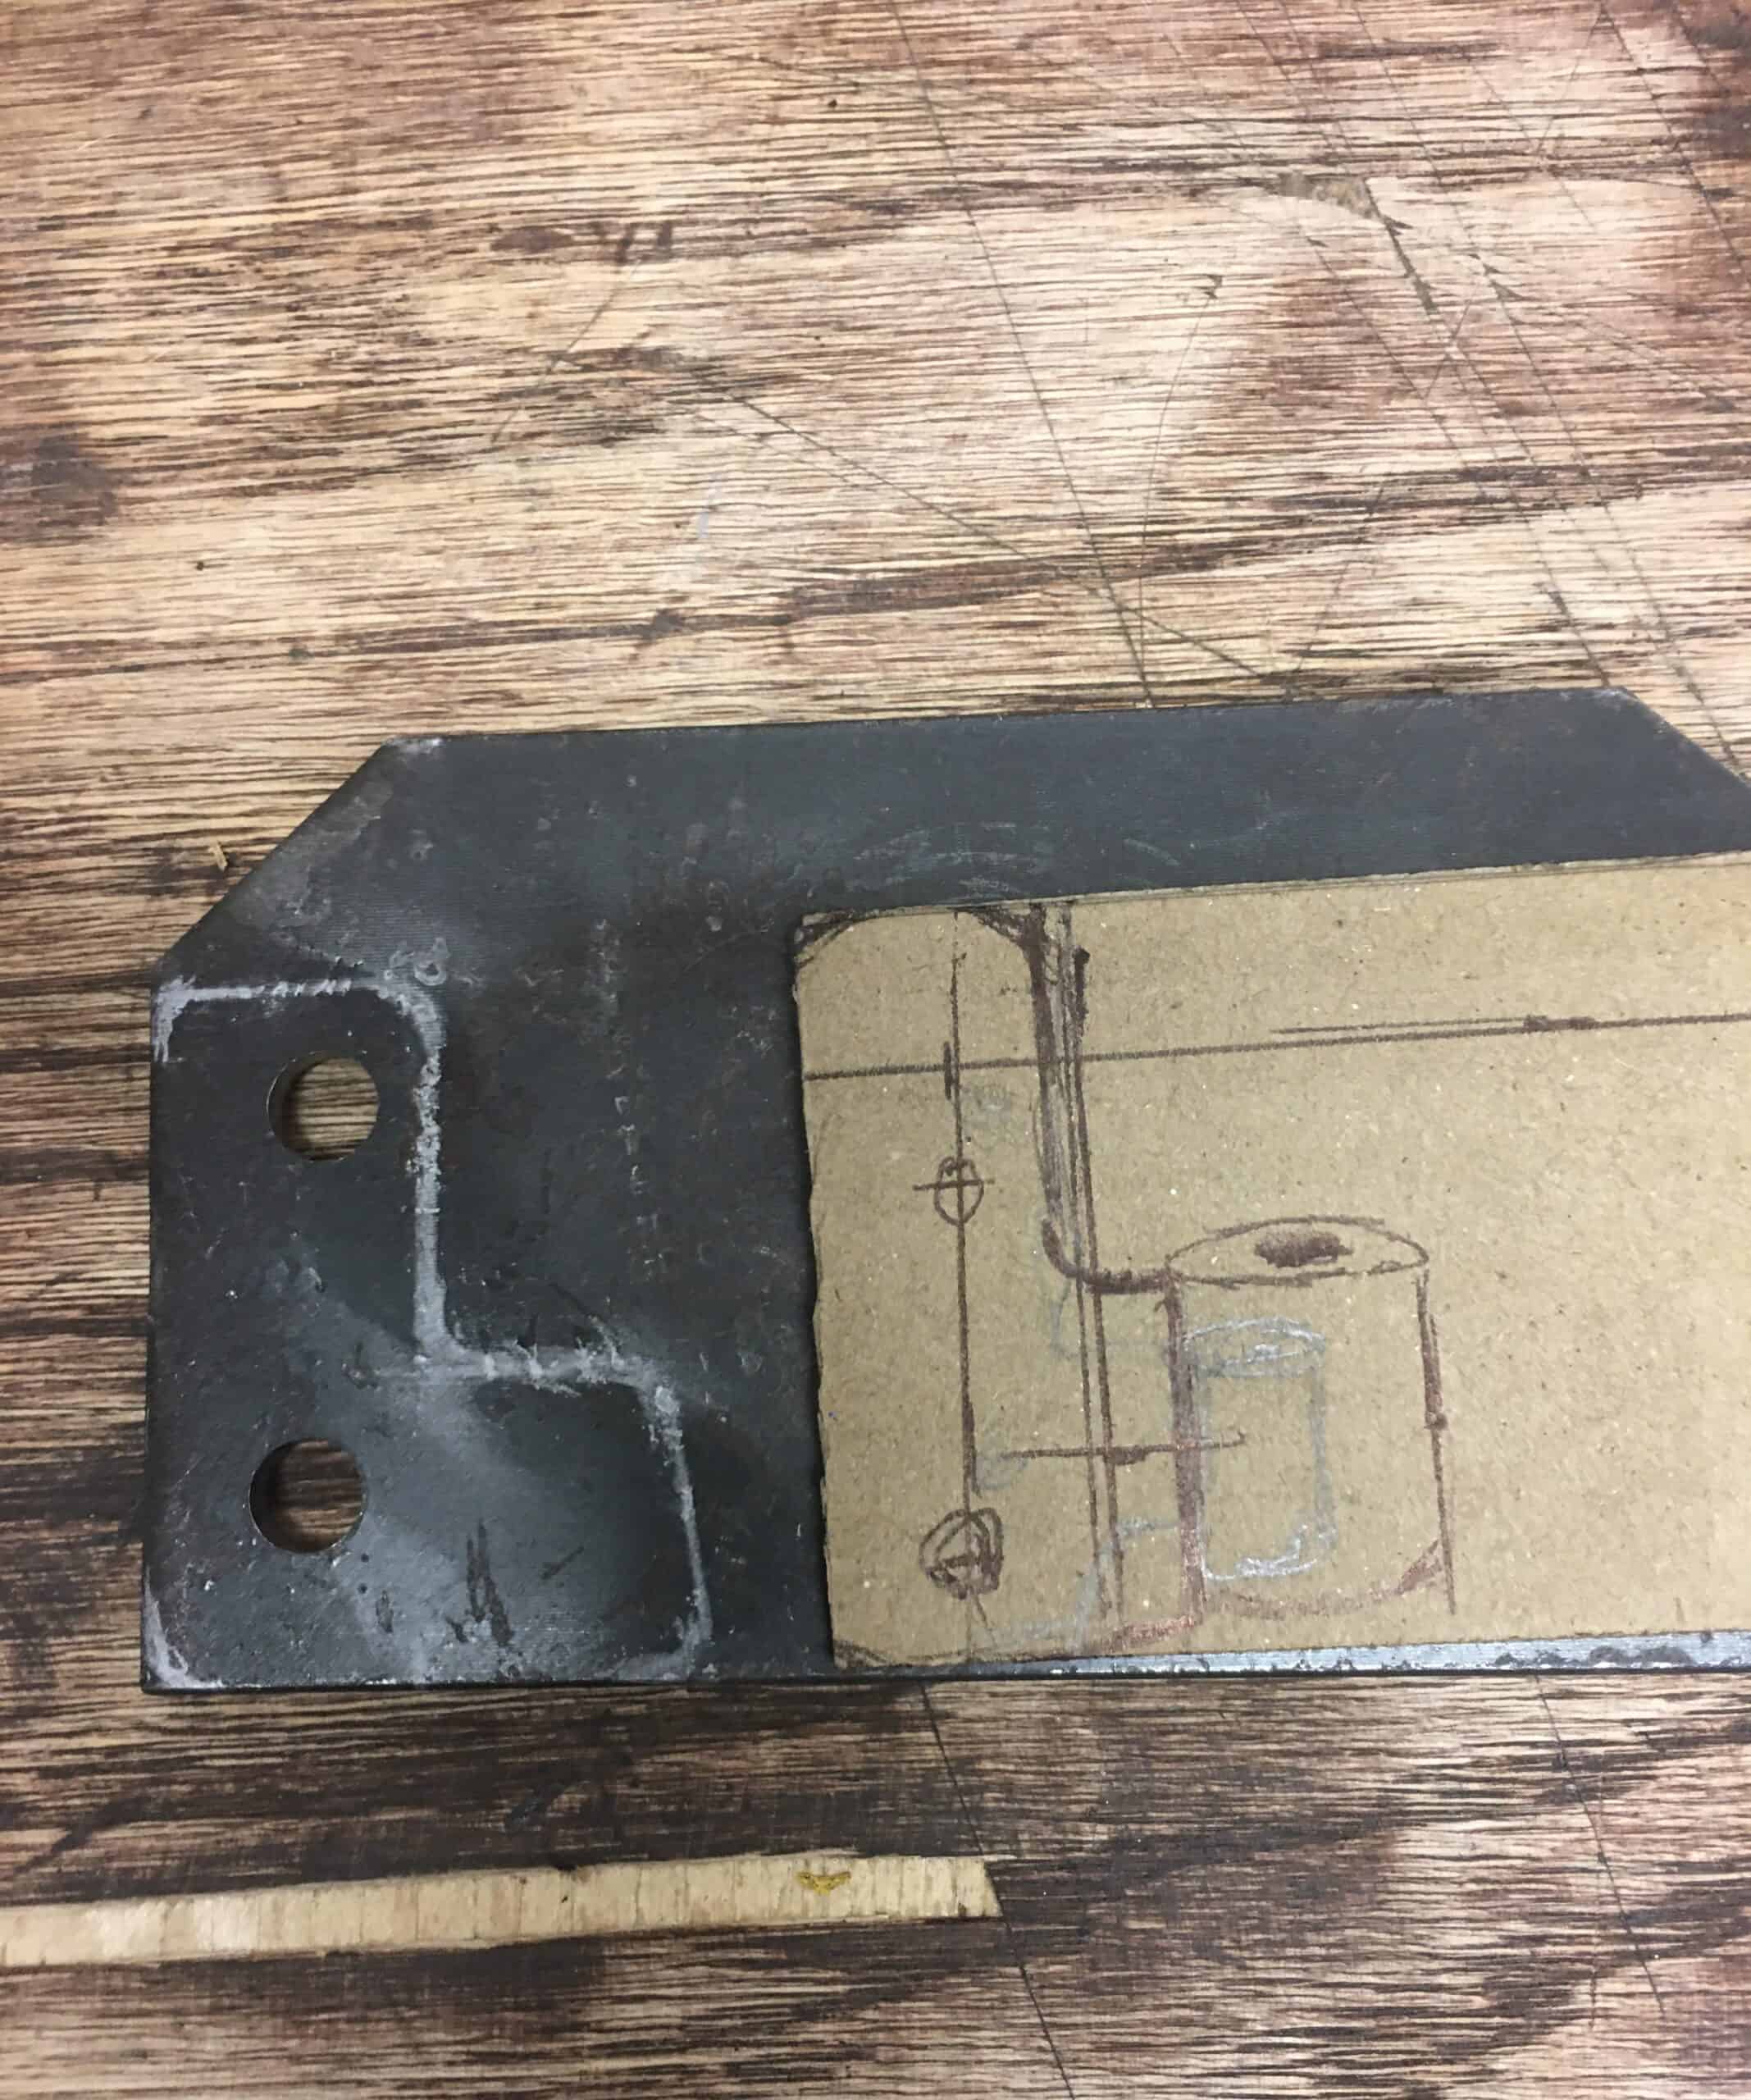
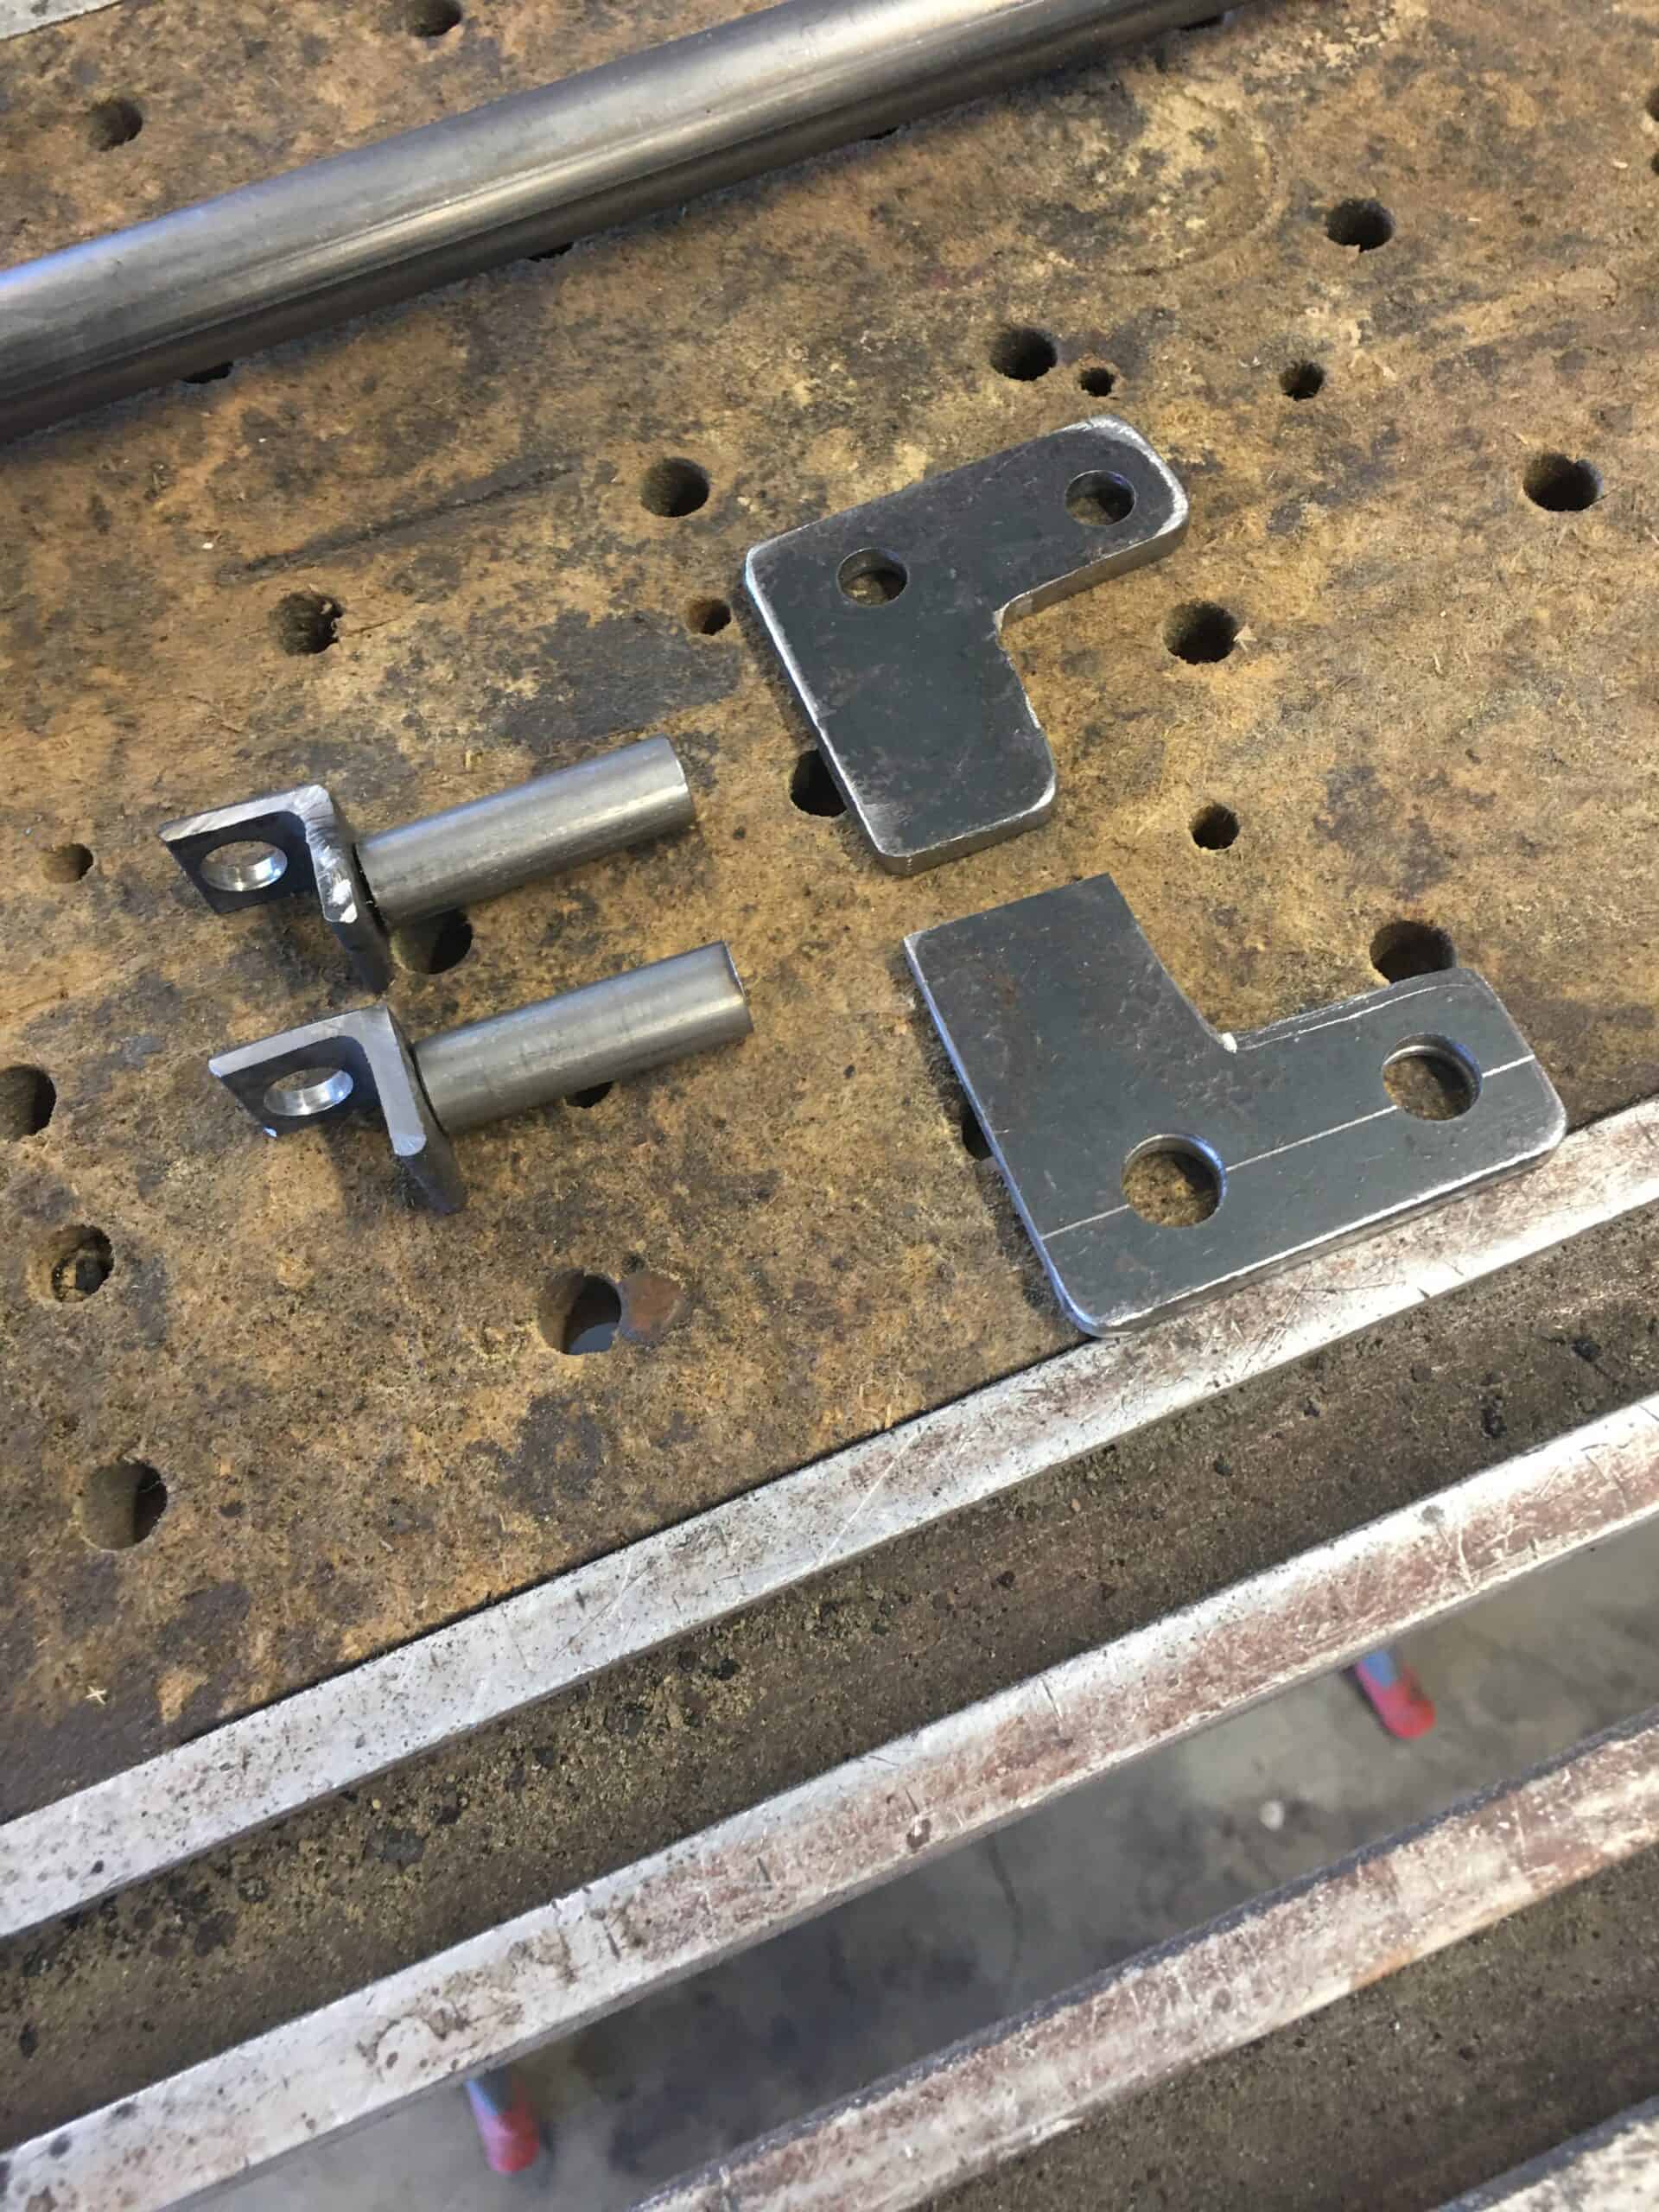
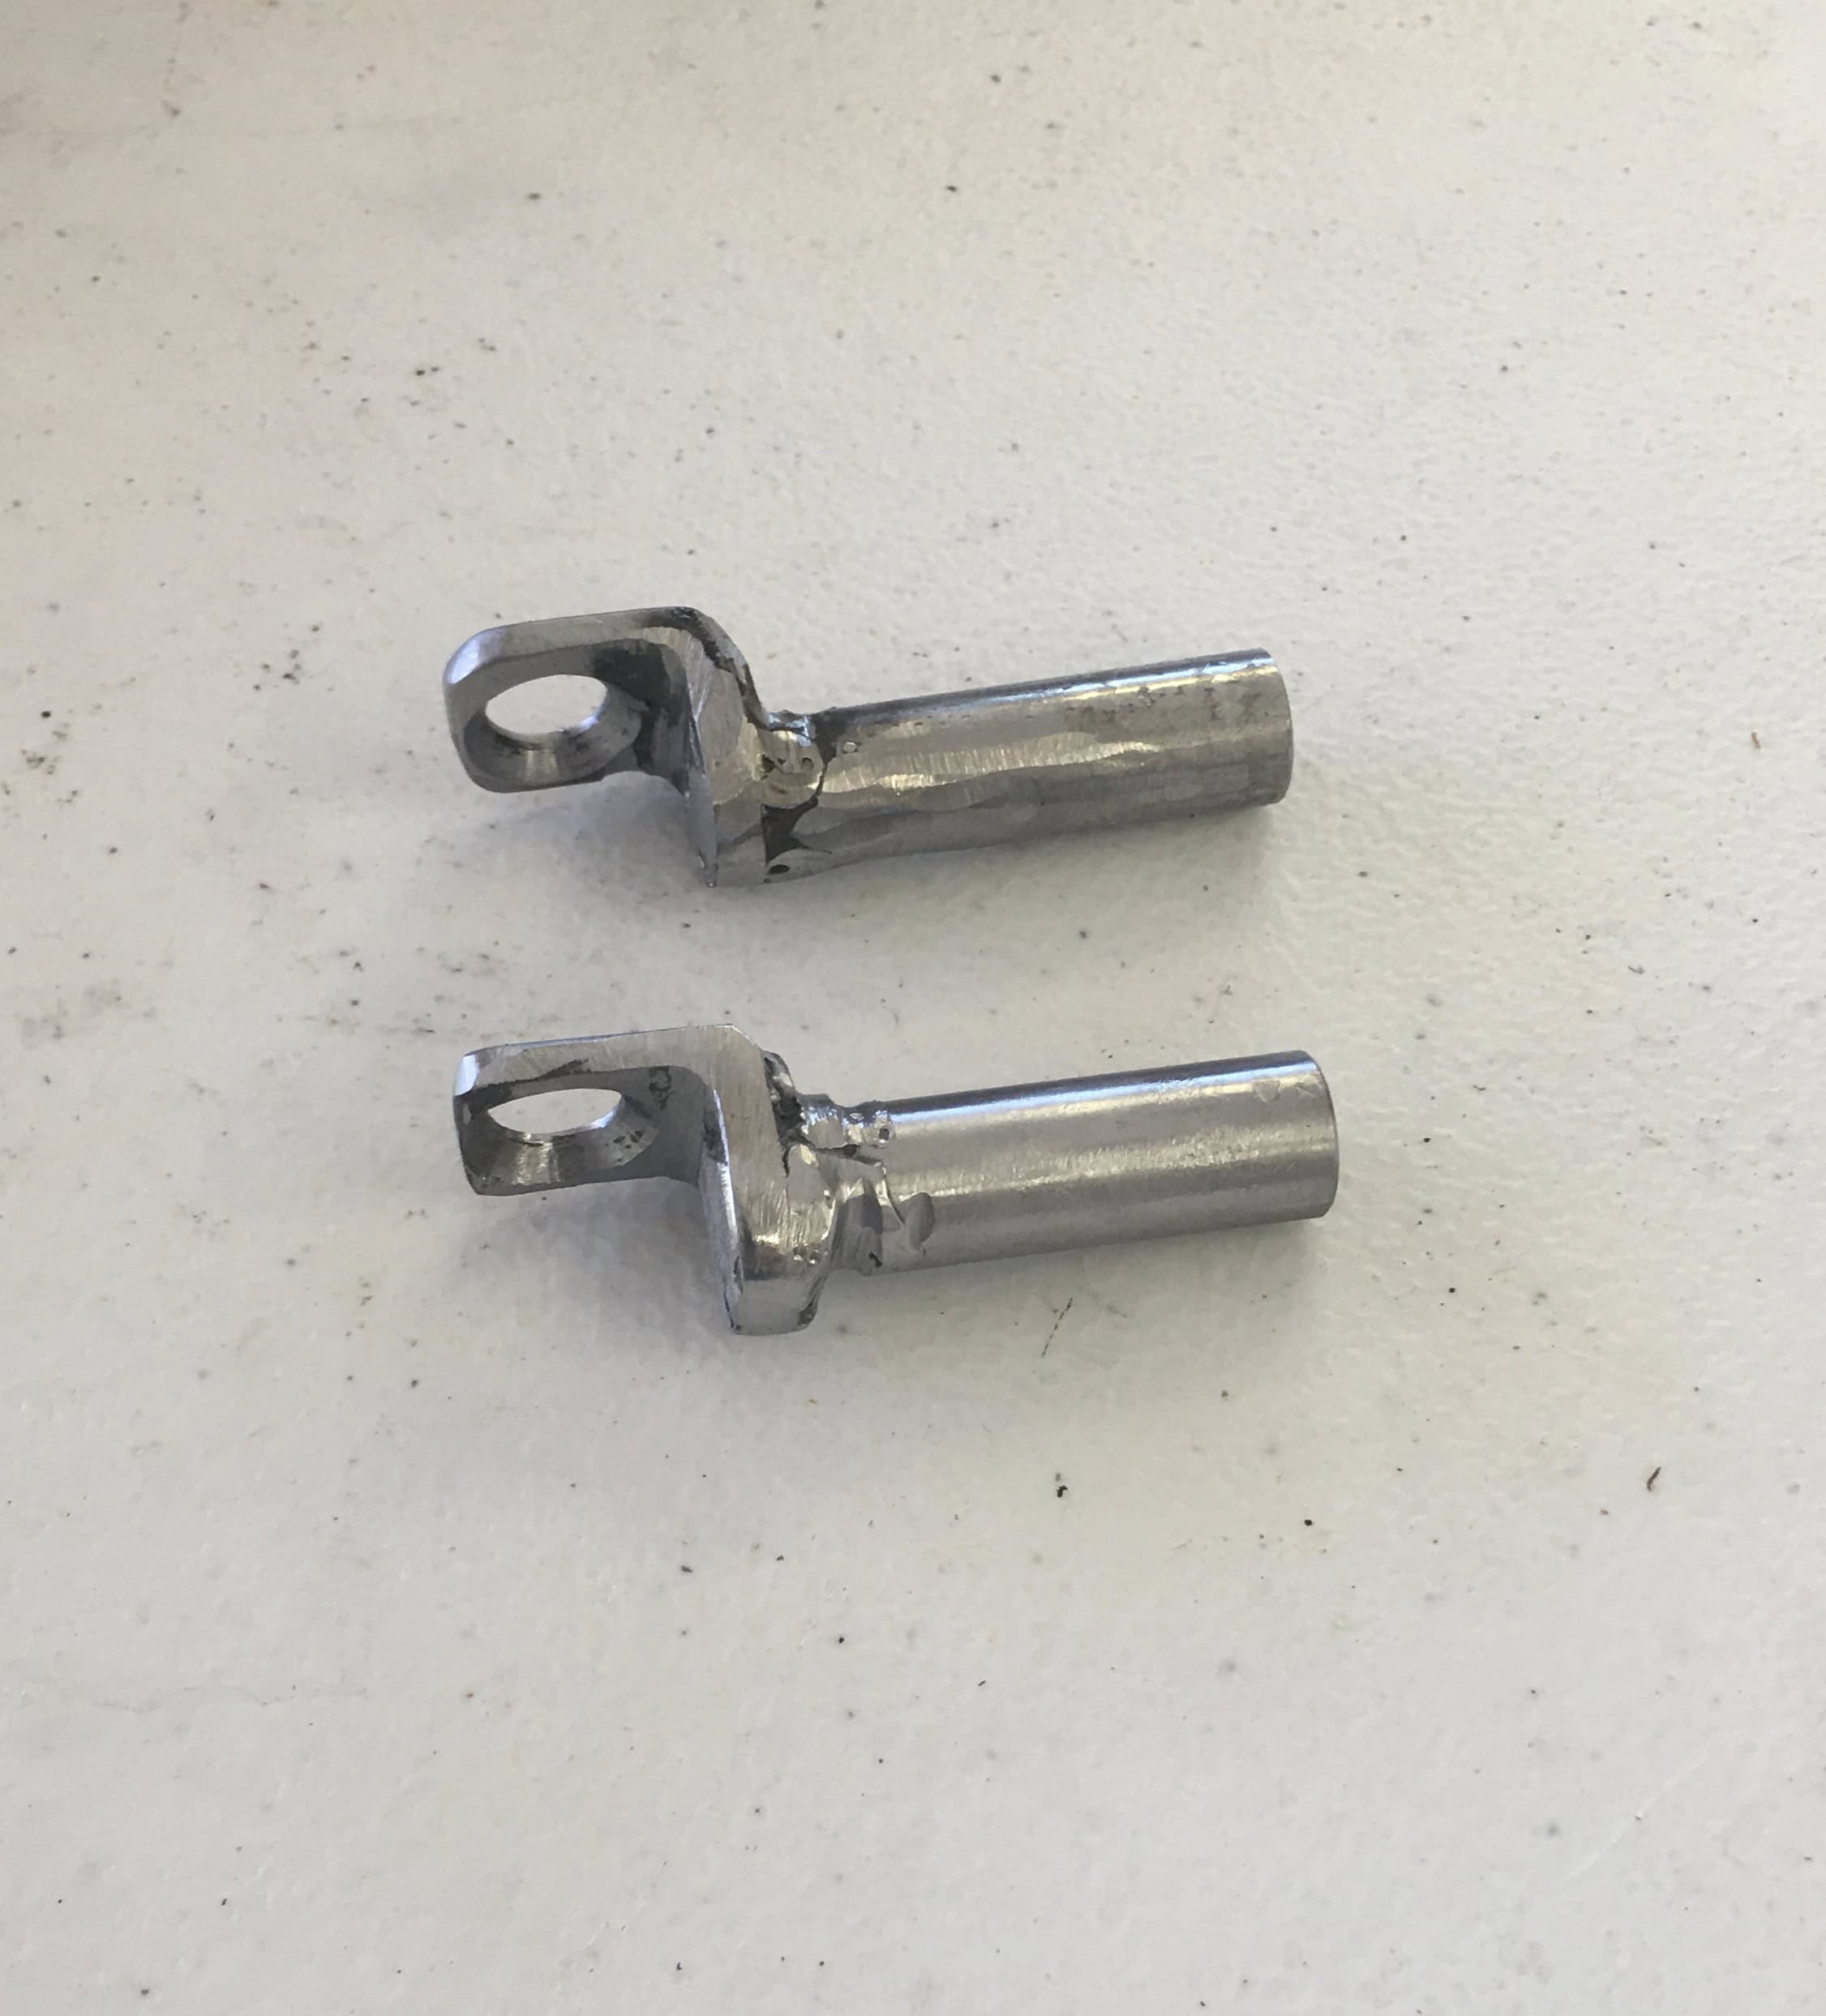
First, I made the B post brackets, which were either unavailable or crazy expensive.
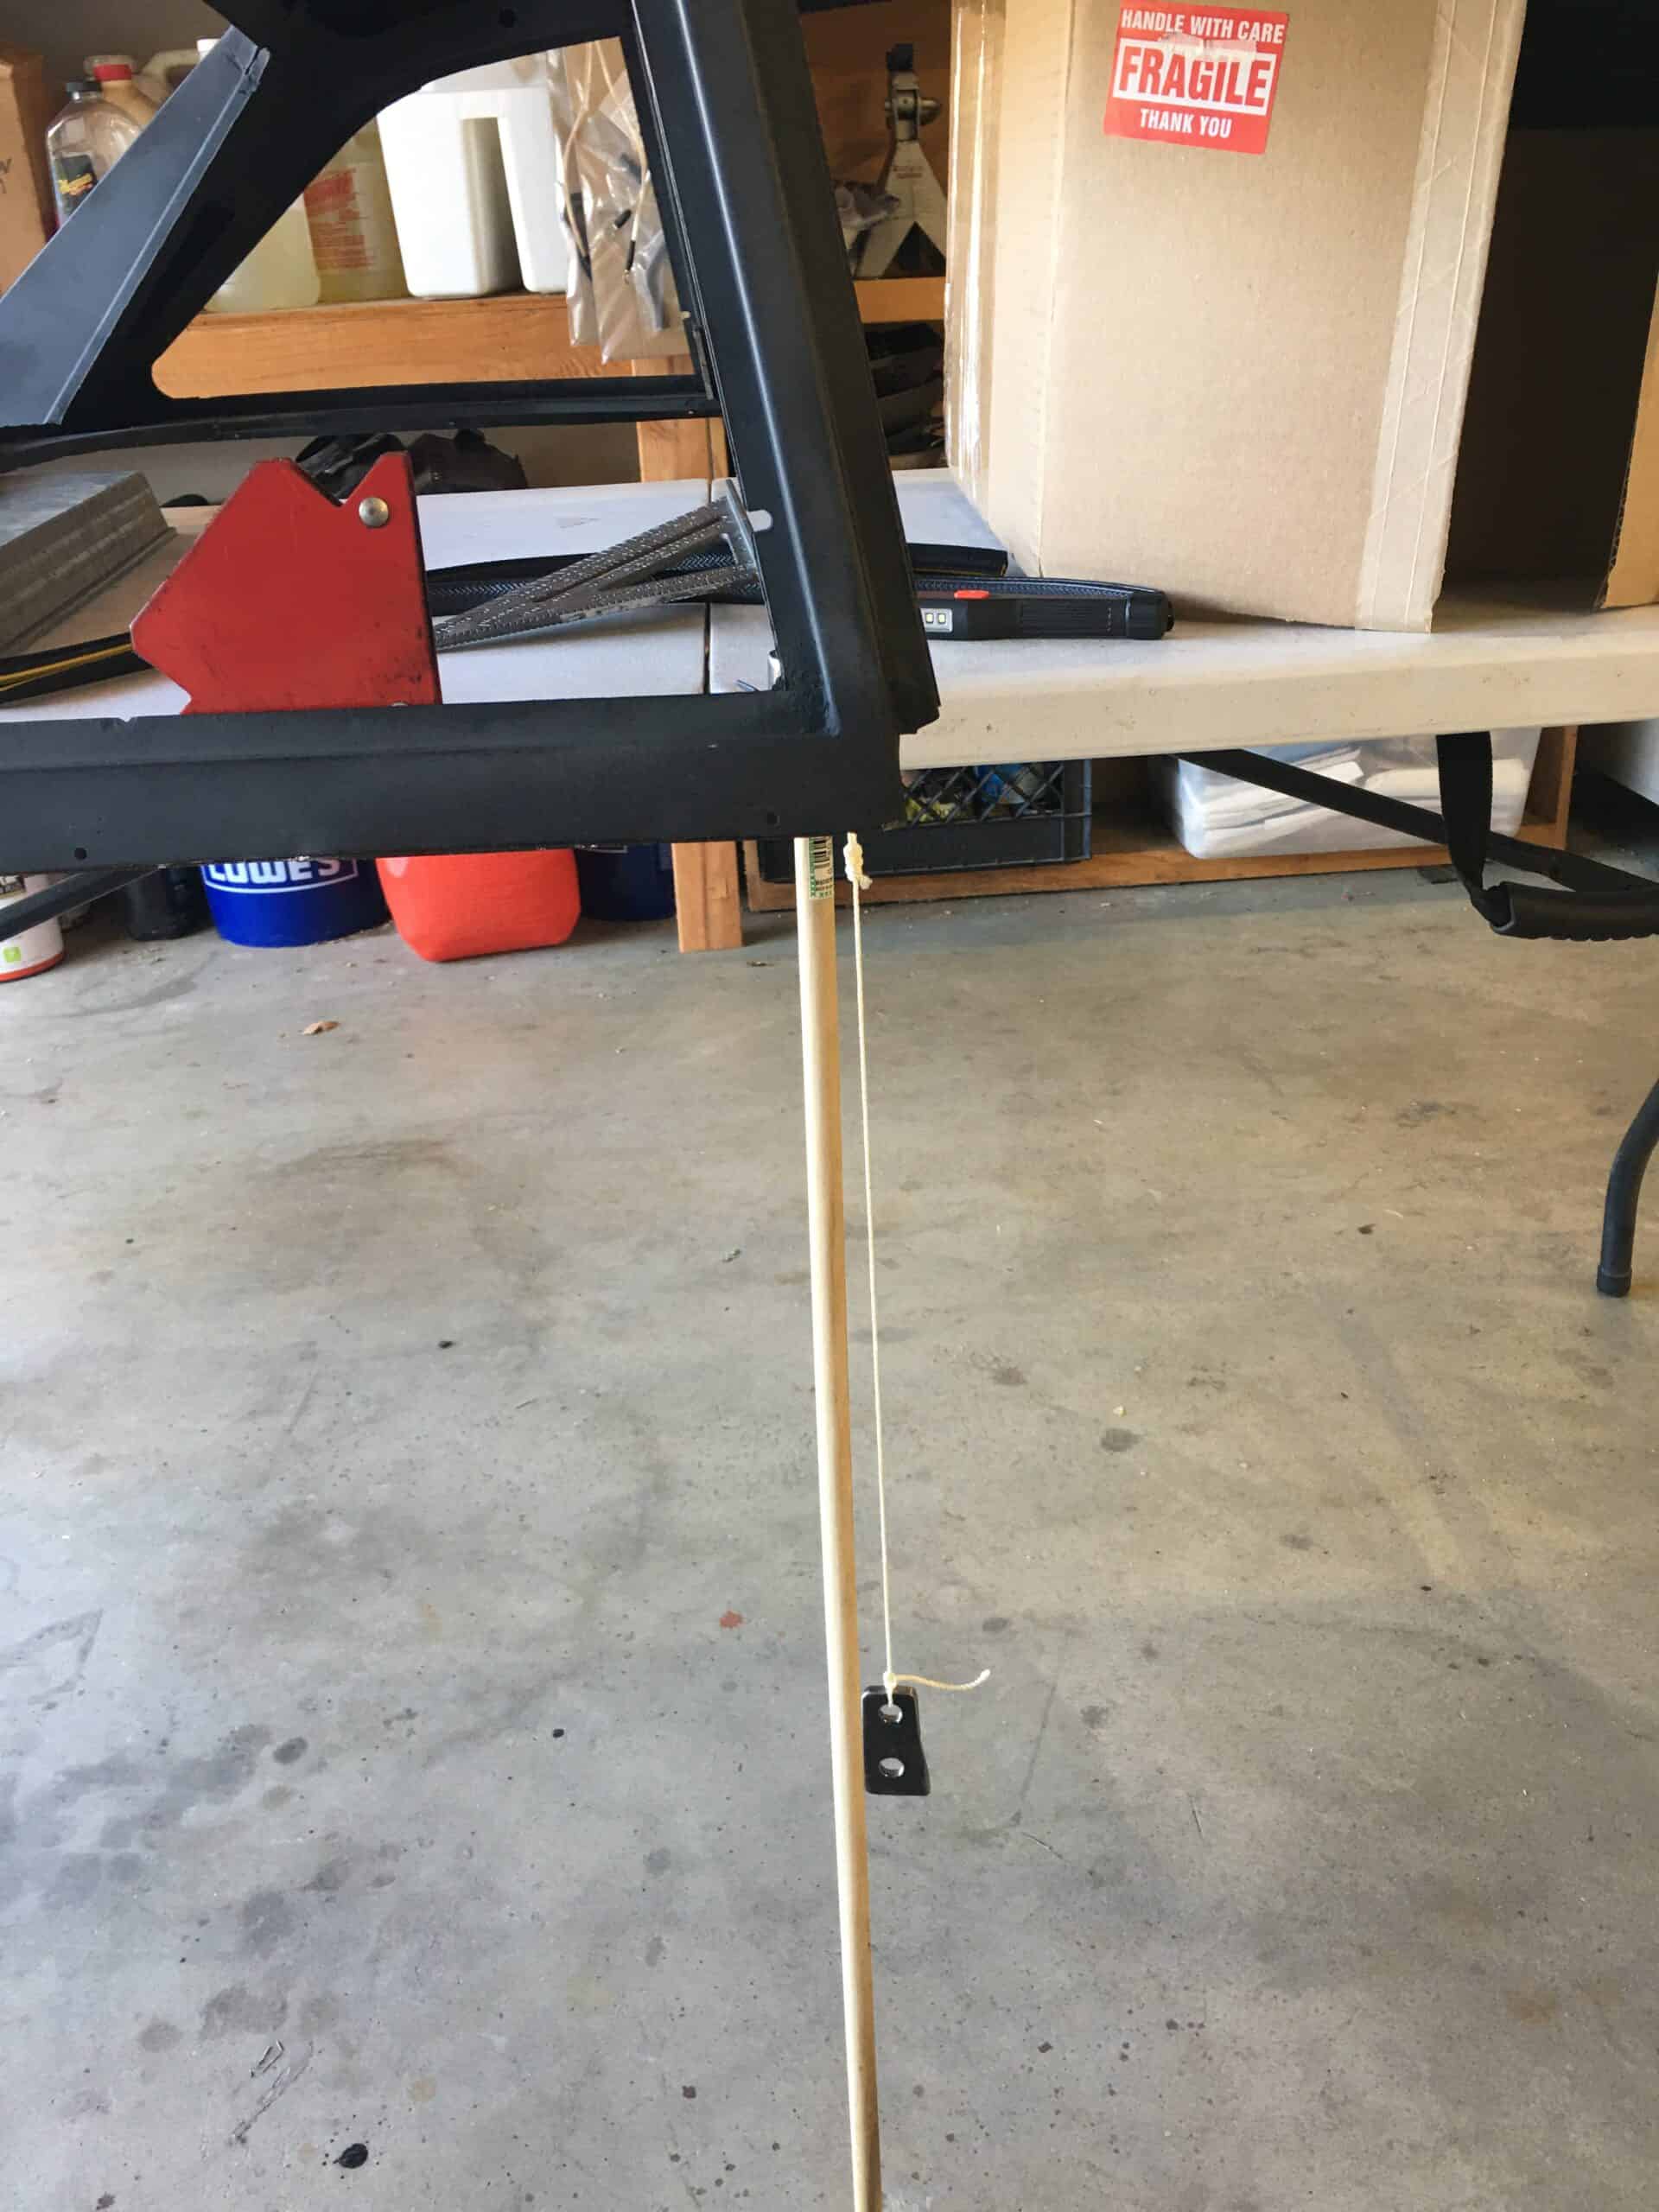
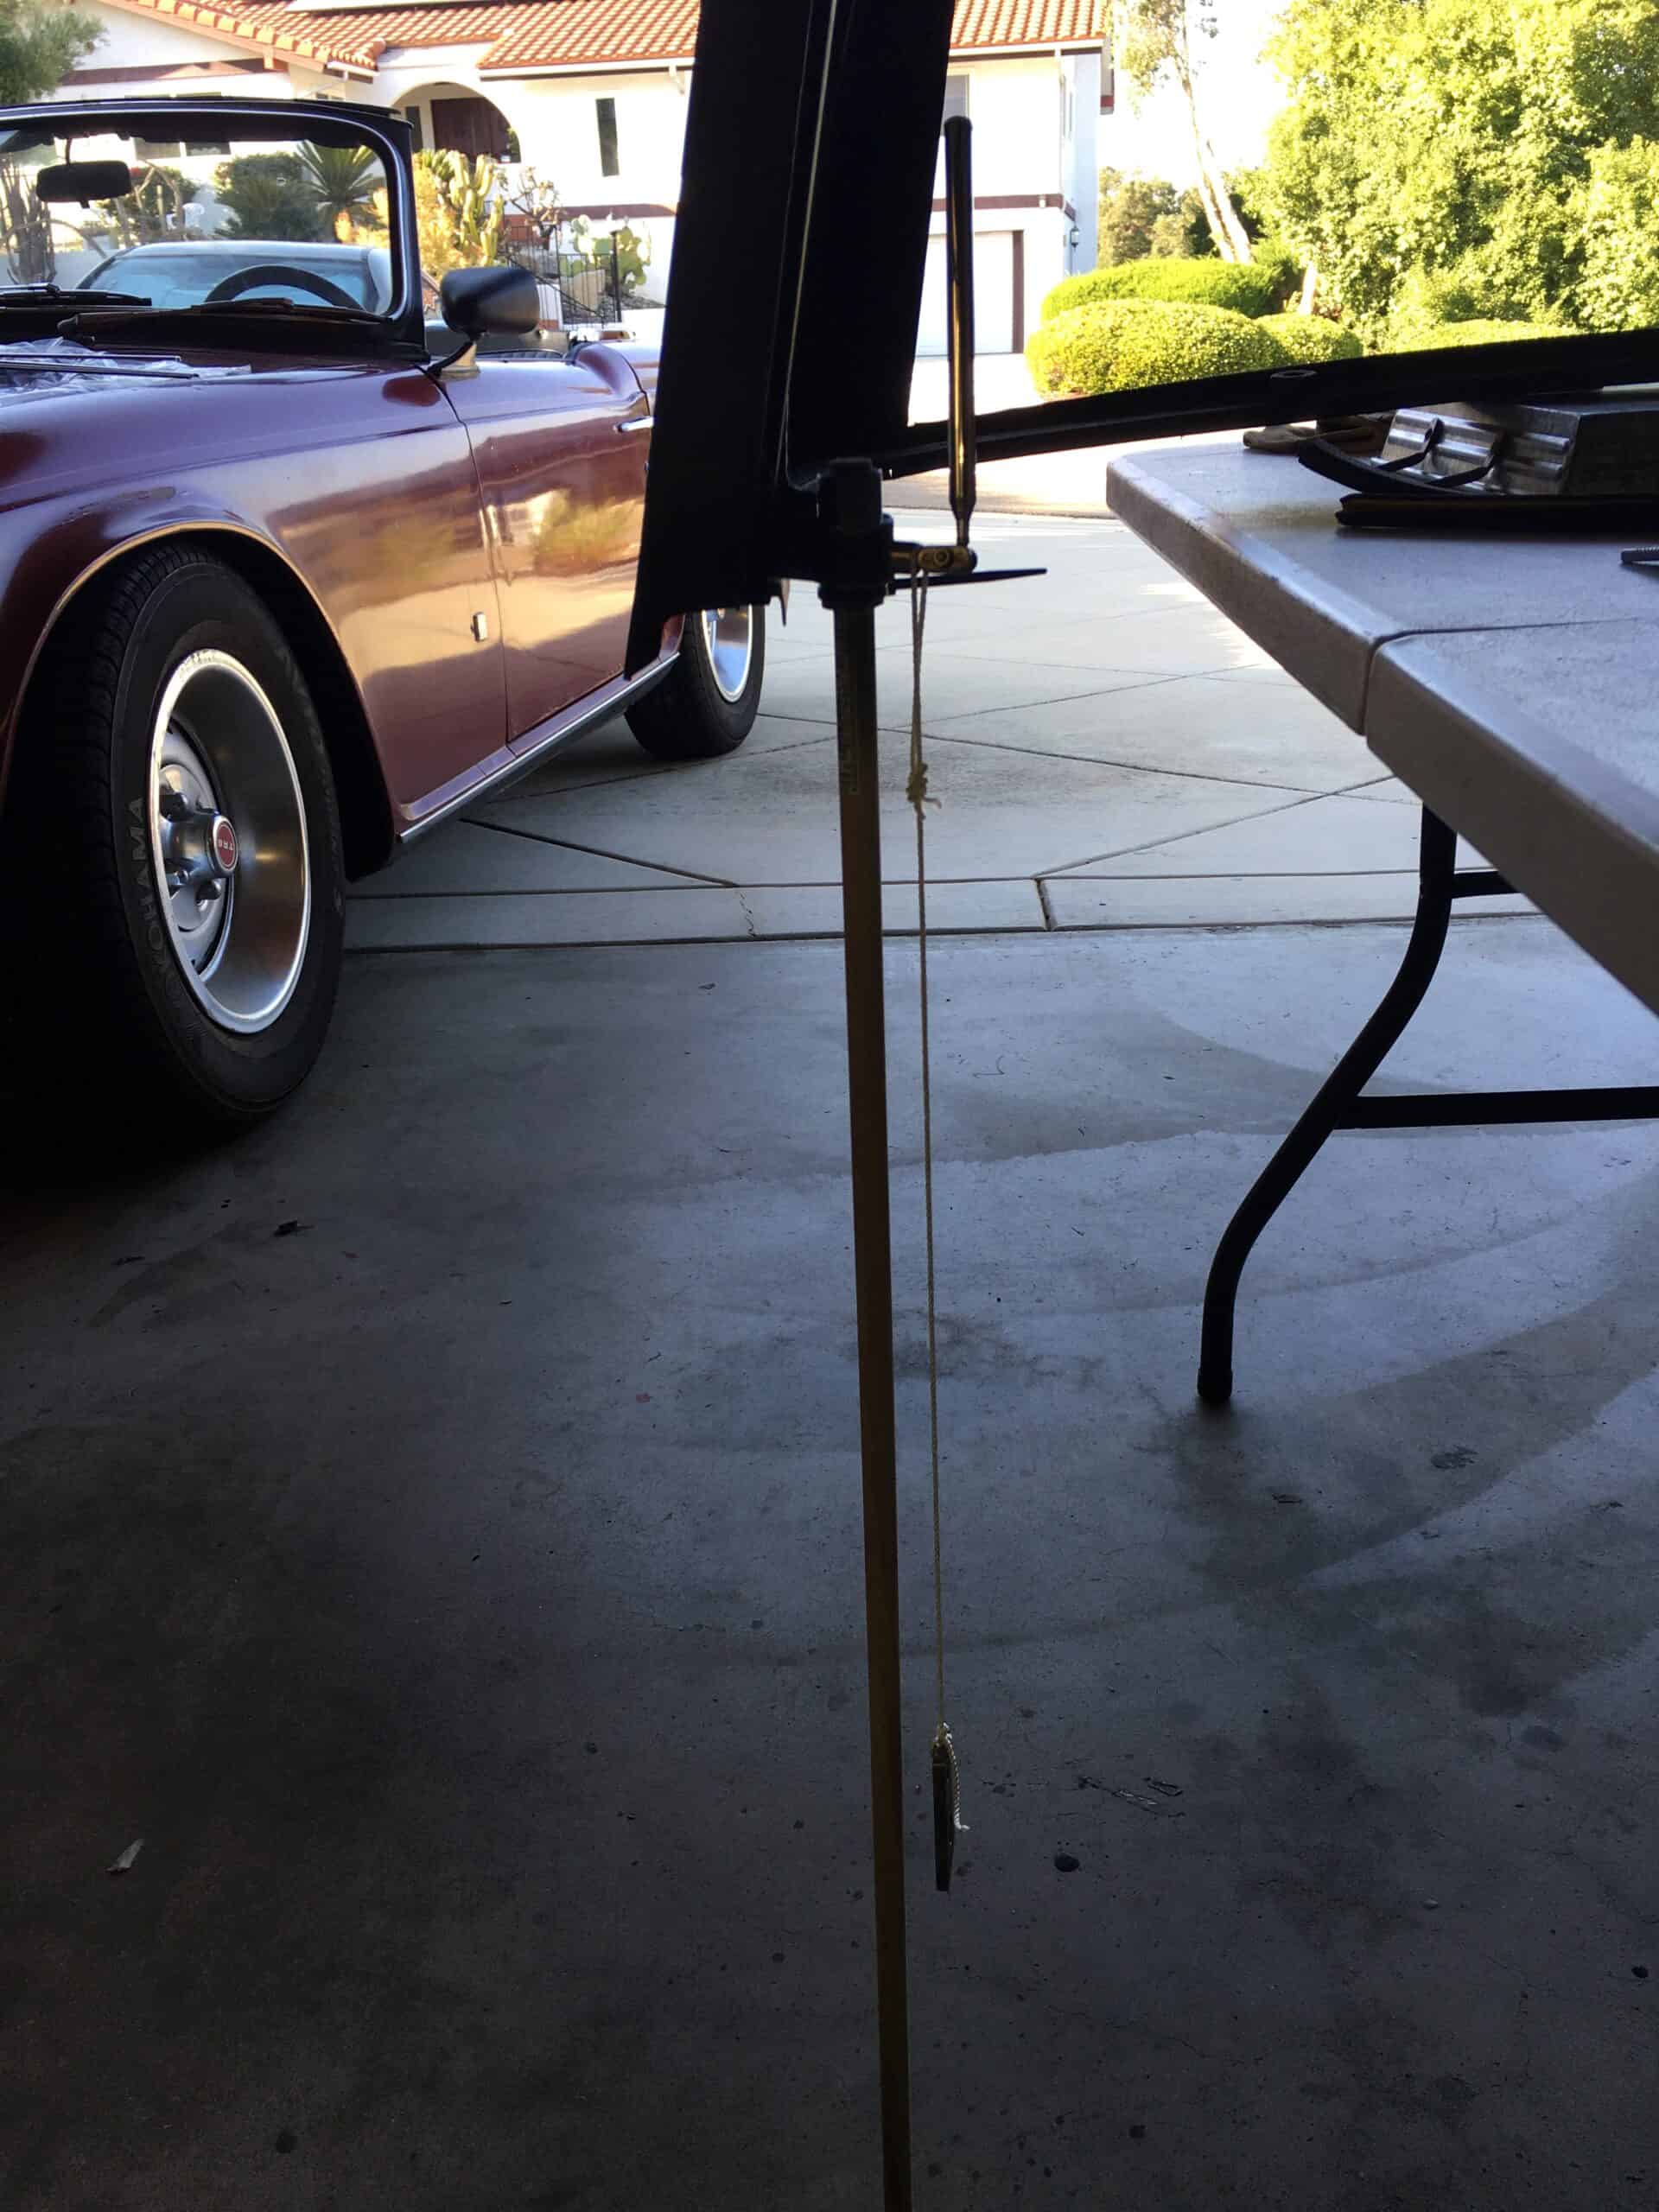
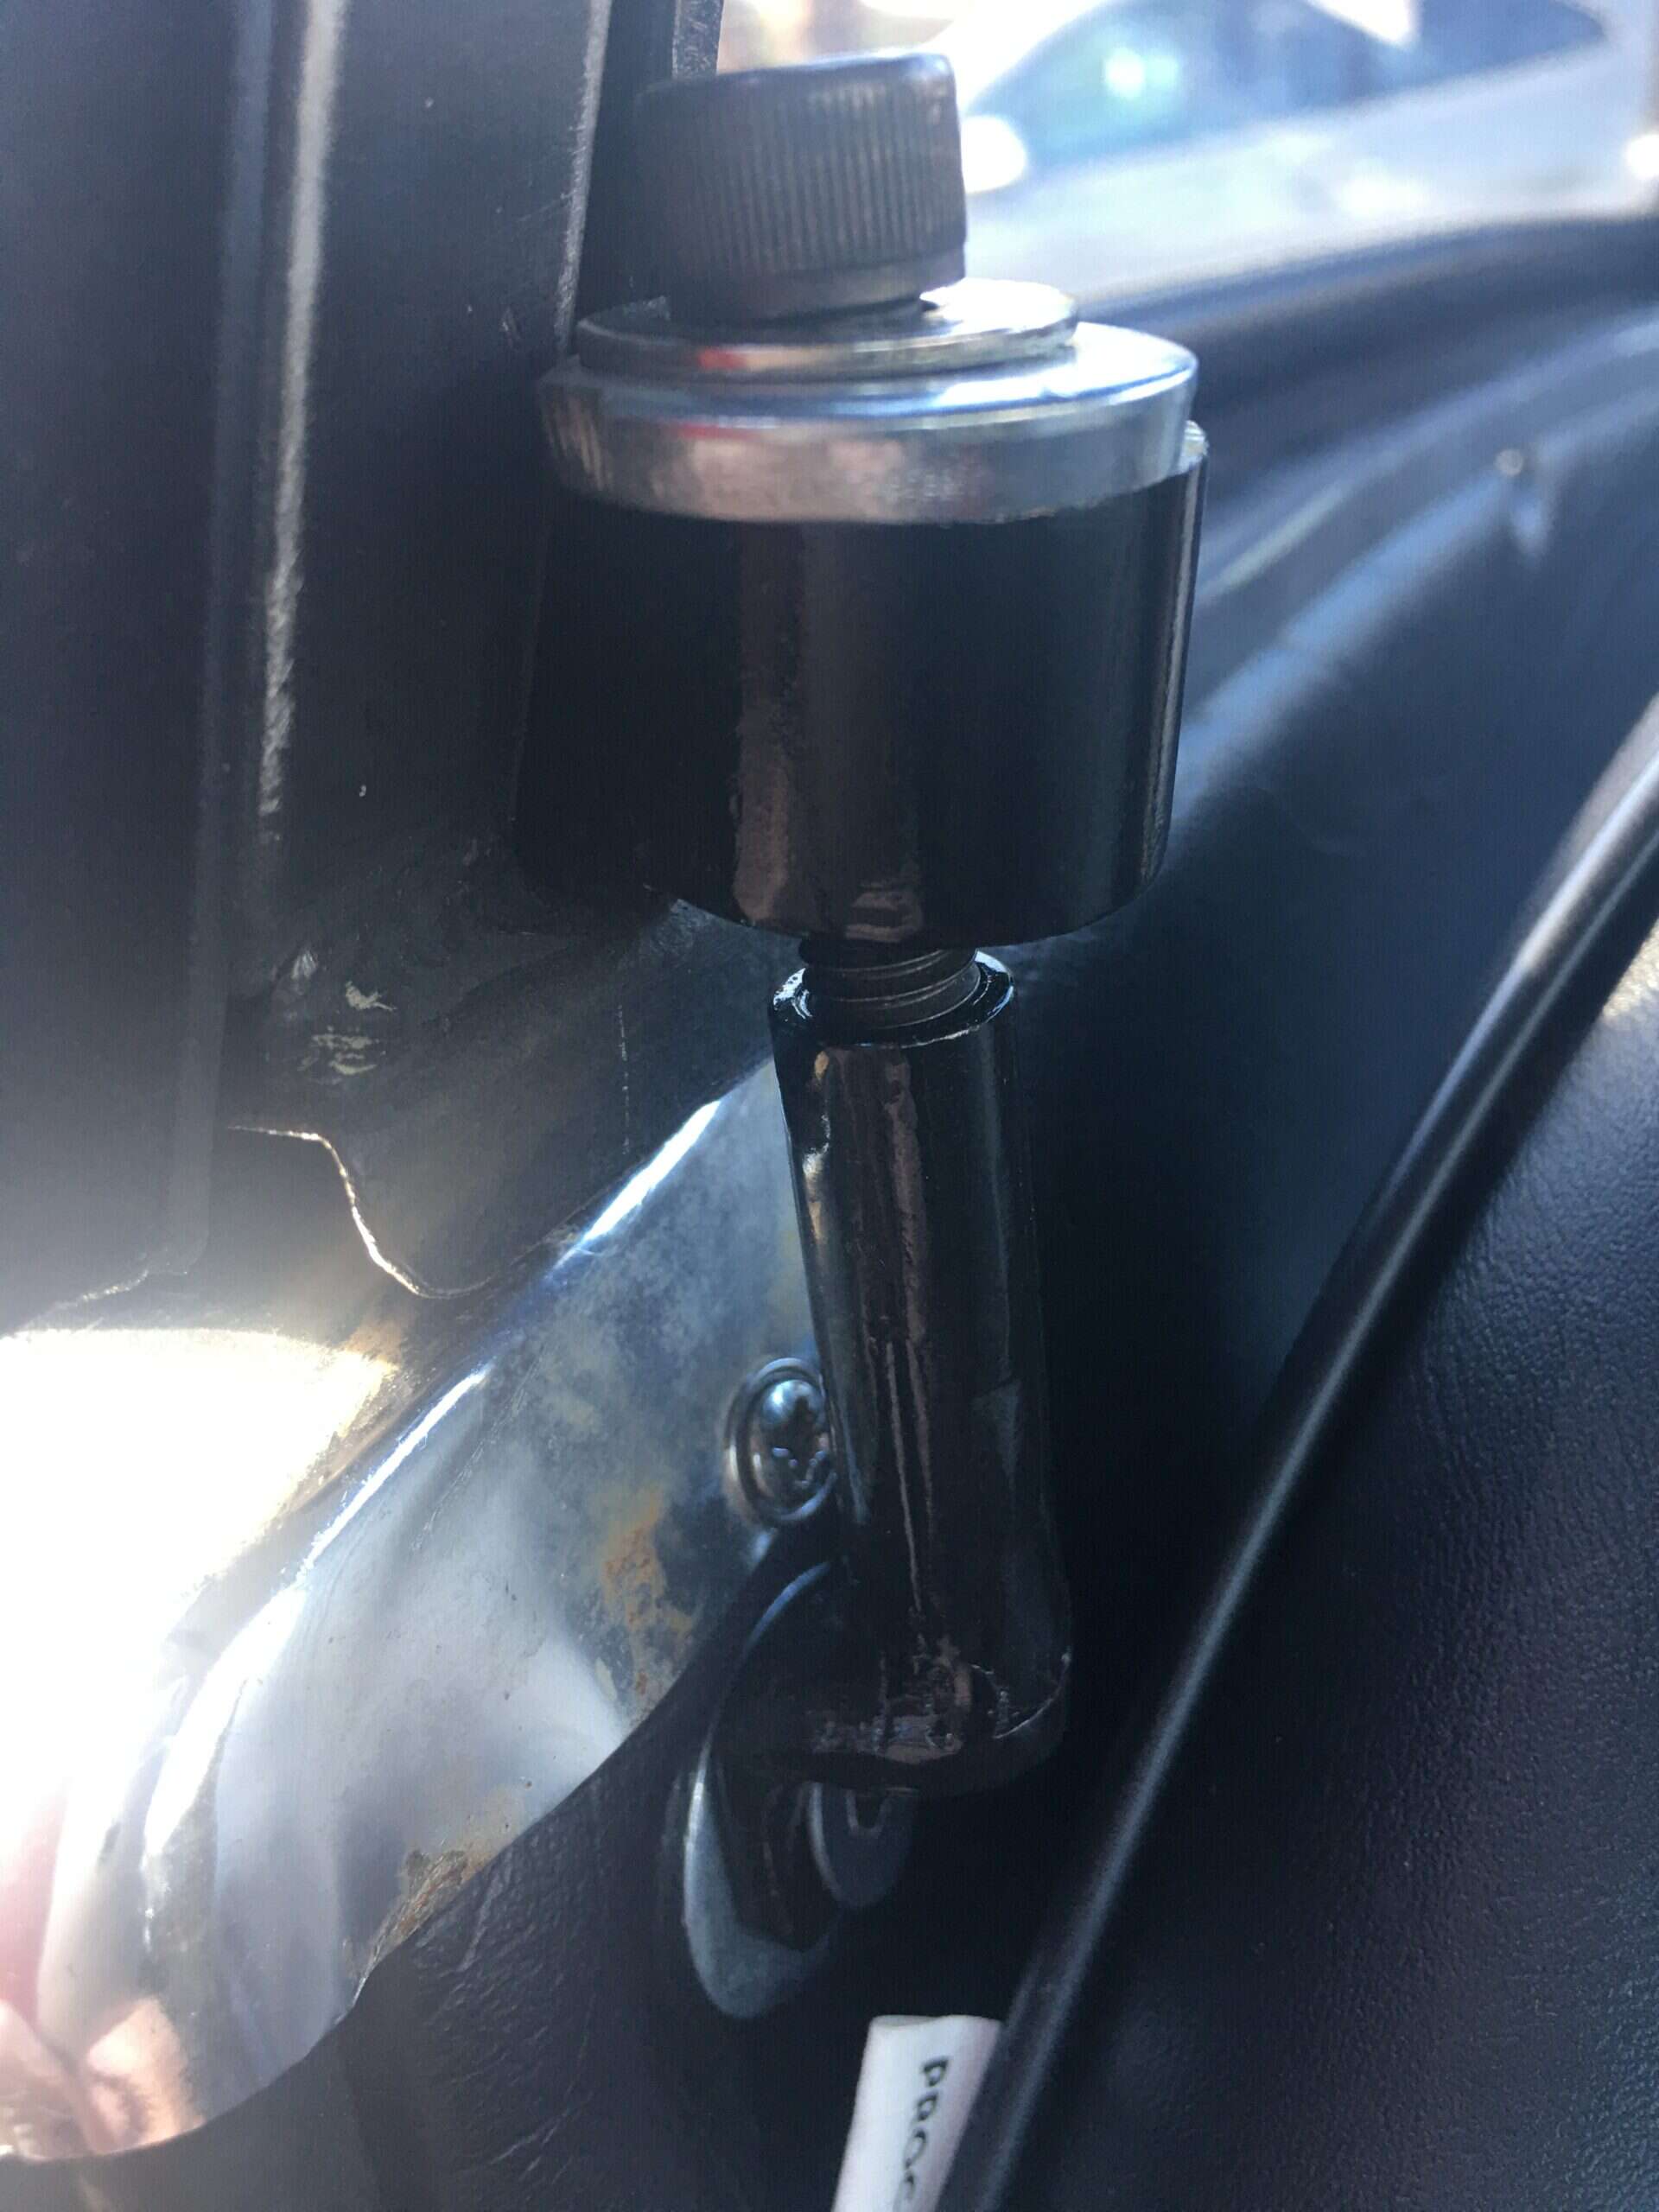
B post brackets were unobtaniumSketchUp to visualize what I needed to makeTime to cut some metal, 3/16th steelAngle iron, internally threaded tube, and the 3/16th platesWelds are a bit rough because I didn’t use our gas shielded rig at the barn, but good enoughTest fittingGetting the top level for the next stepPlumb bobbing, there are two angles to deal with… just trying to get close.The B-post leans toward center of the car and leans toward the rear, so we are plumbobbulating. Your new word for the day.Eye-ballingDrawing lines and eye-balling againA little black paint, a couple washers, and we’re doneFinished B-post bracket, not perfectly aligned, but the top is easy to install and it’s not going to fly off
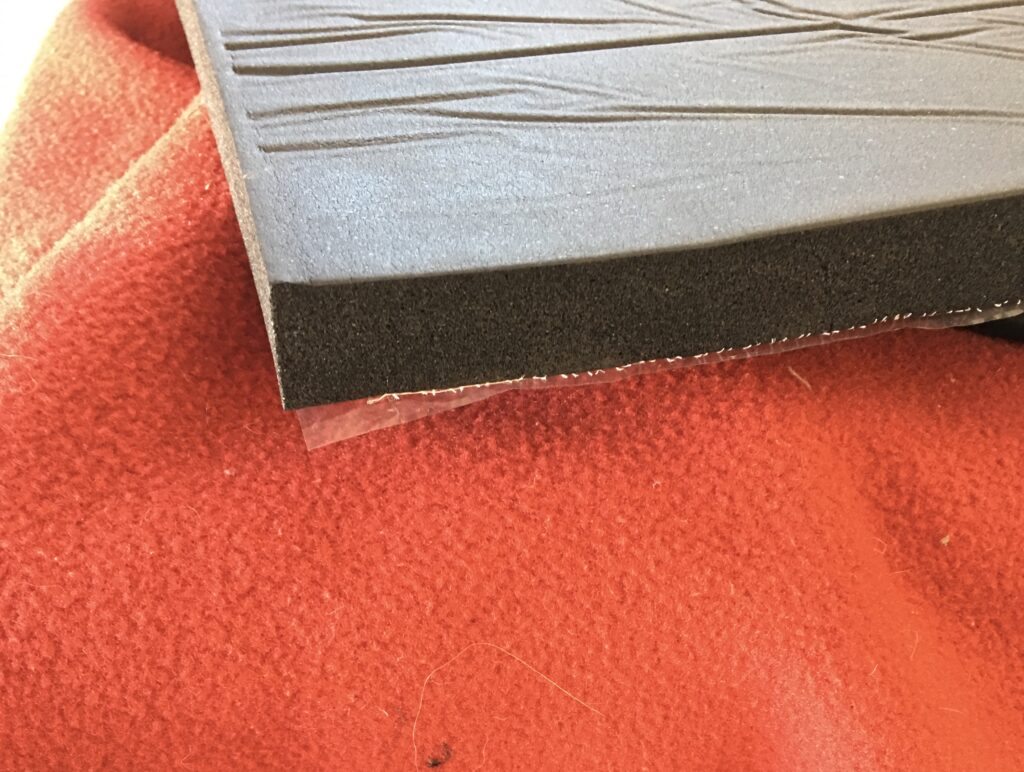
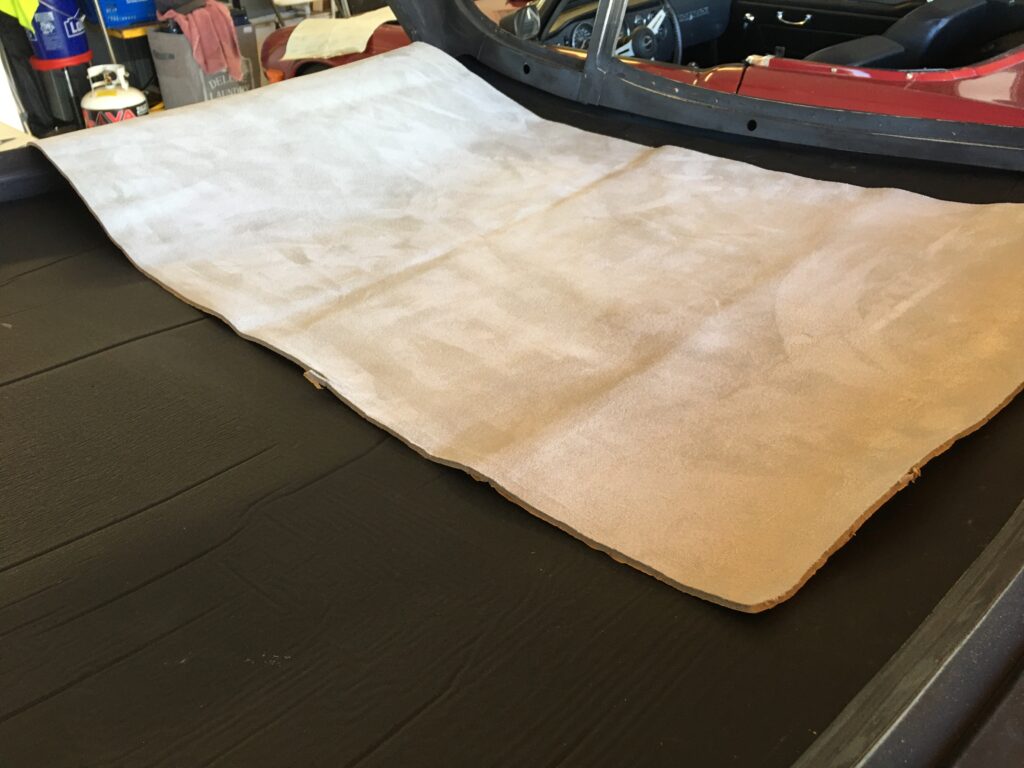
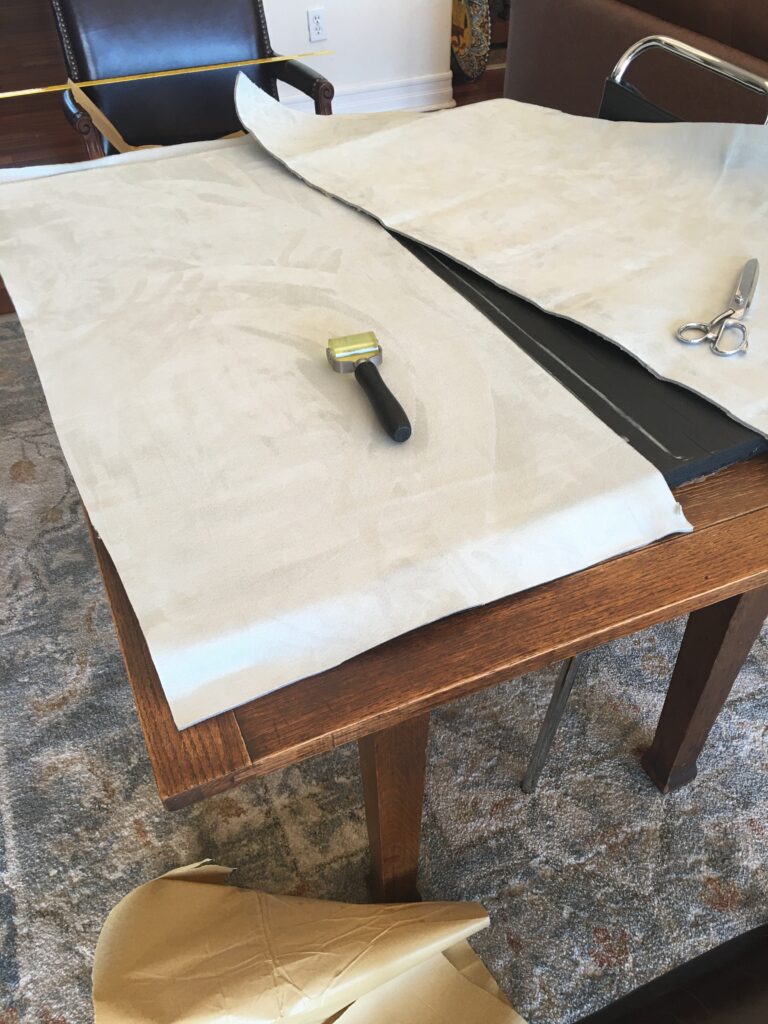
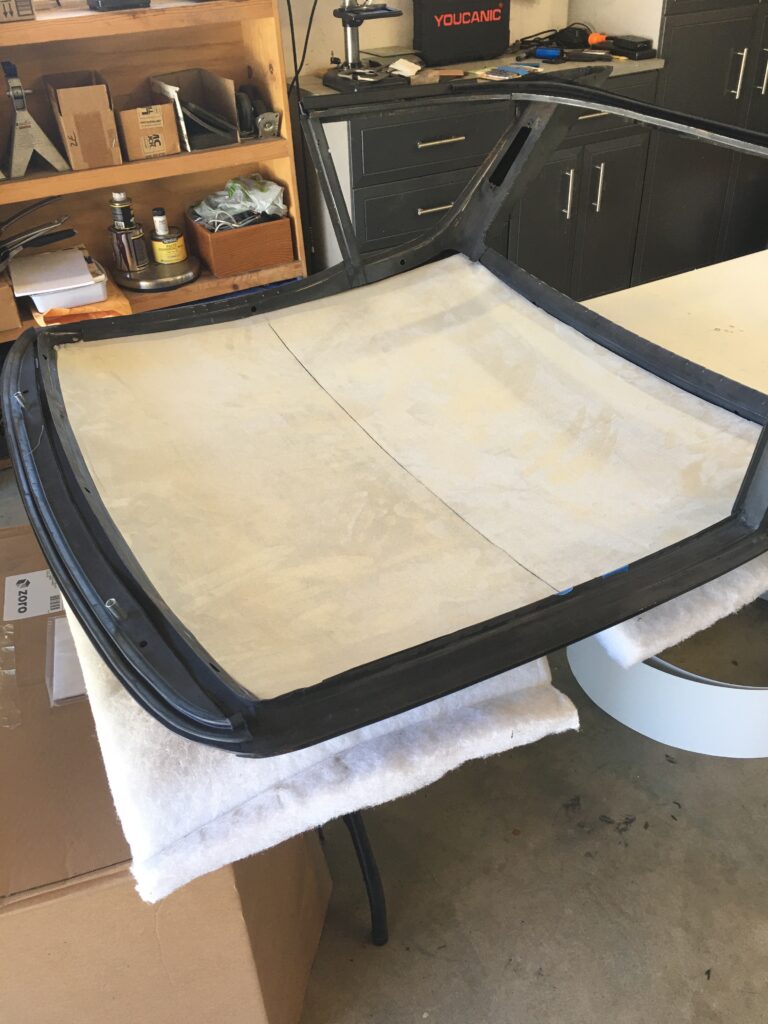
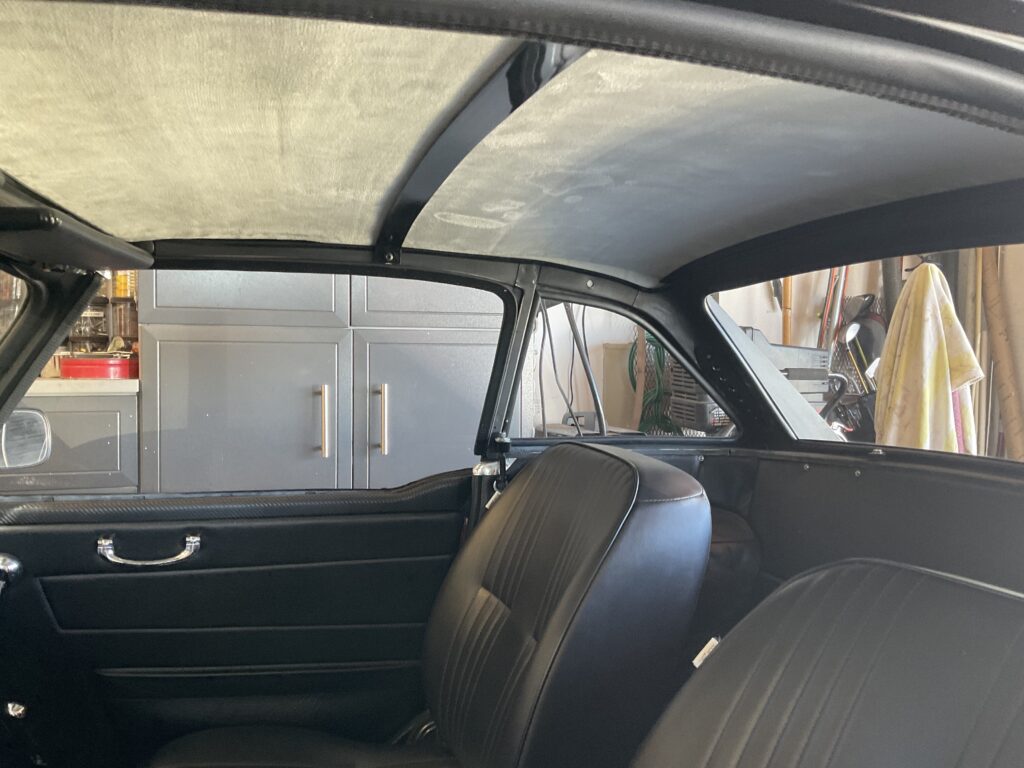
Although I’m not finishing the top at this time, I did want to experience enclosed driving through the winter, and decided to try and make it quiet with insulation and headliner.
Adhesive backed 3/4 inch foamNice soft suede, 1/4 inch foam, also adhesive backedTest fitting the insulationGetting set to cut the headliner to fit the 3/4 insulationThe suede headliner I selected required a two-piece approachAll stuck togetherMetal rib covers the seamNot a bad result, with a total of an inch insulation, around $100 for the materials
The final steps included installation of the seals, the glass, and the chrome trim. I chose to have the glass done by Grace Auto Glass, as I had used them previously when assembling the windshield a few years ago.
It seemed to me there were some conflicting and incorrect comments re installing the seal between the hardtop and the windshield. So, quoting the official Fitting Instructions for Item 11, the Hardtop to Windshield seal, this is the process I followed…
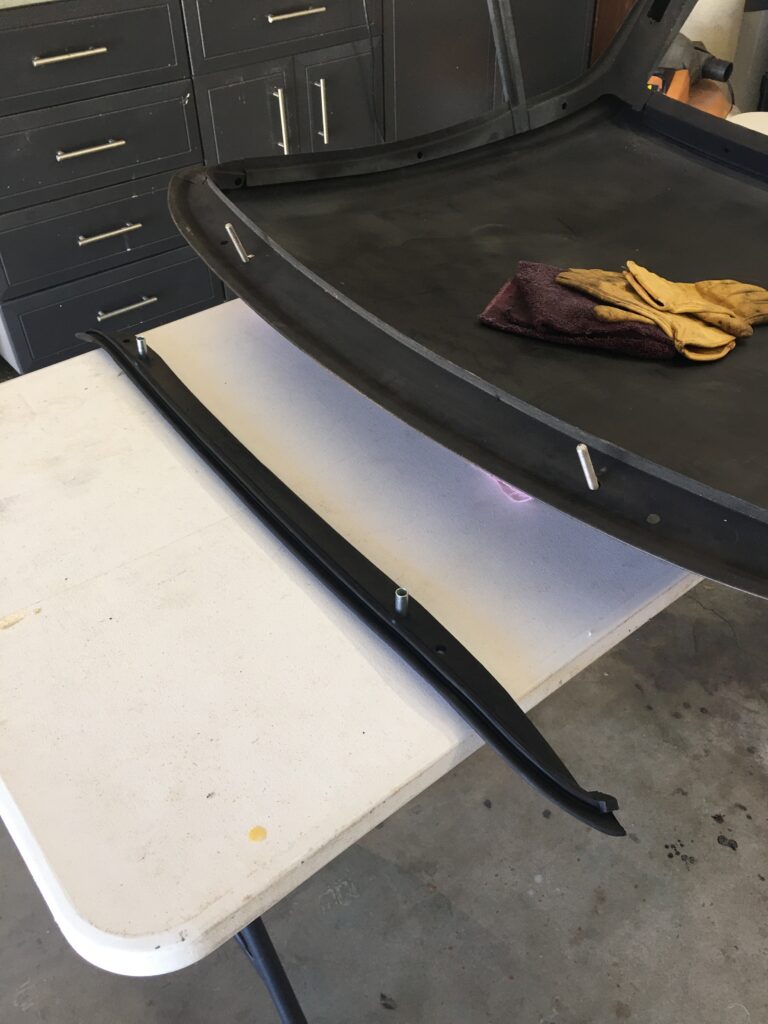
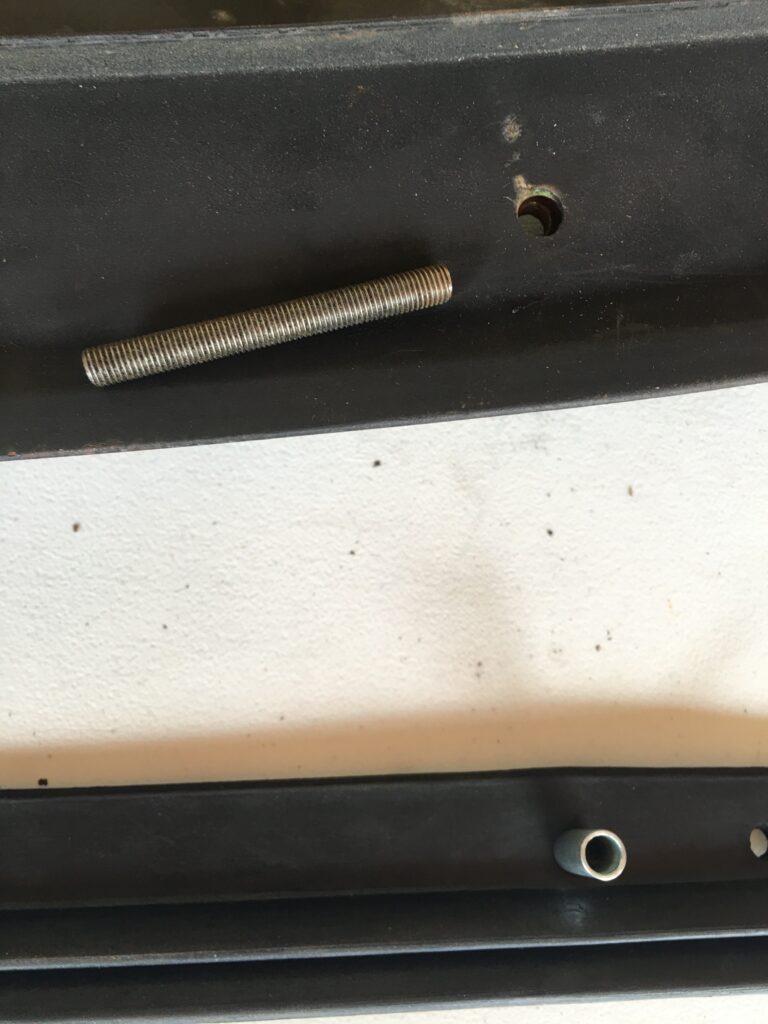
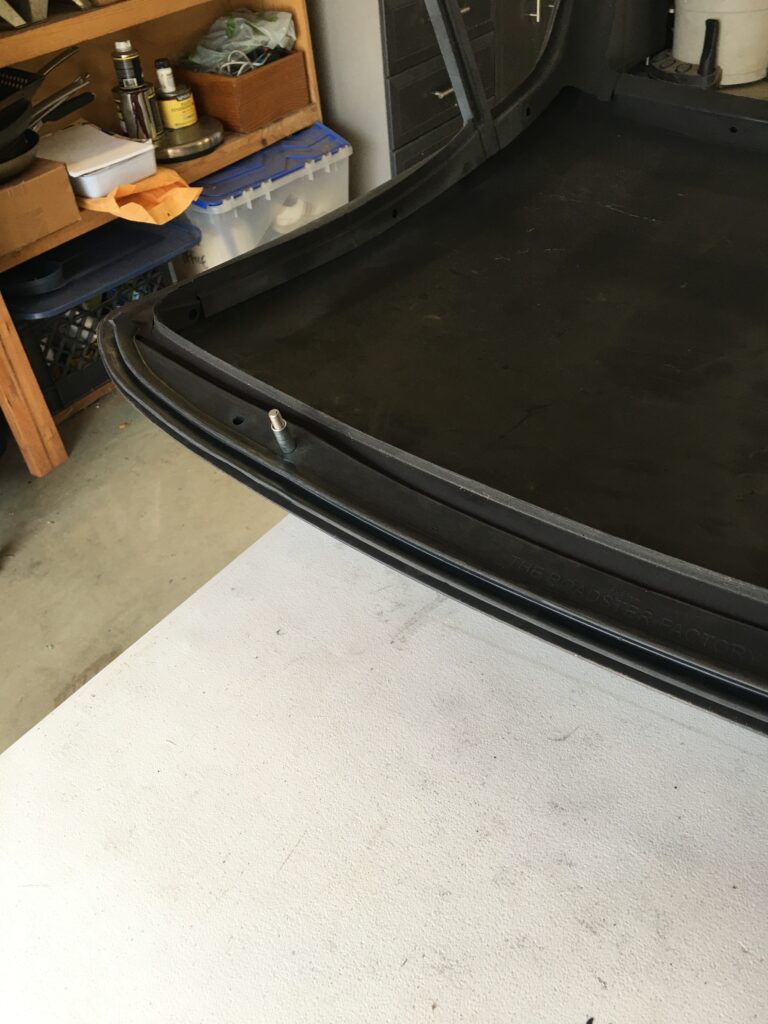
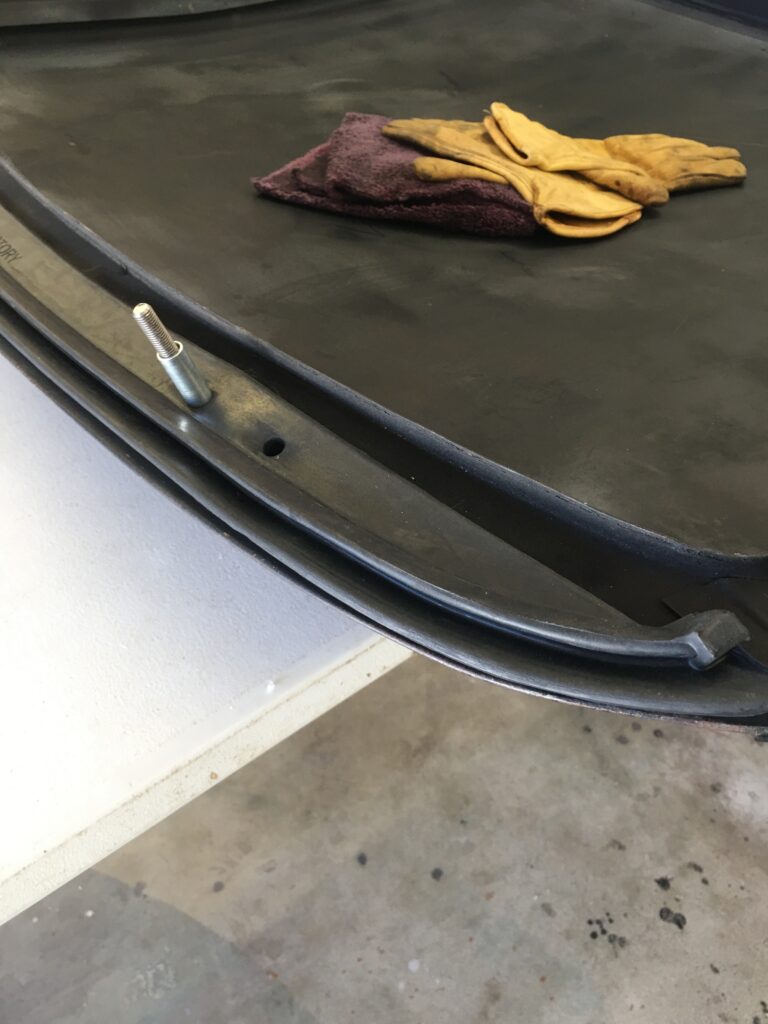
Place the rubber with flat side facing upwards and apply adhesive to the complete area of the flat surface. Insert distance tubes through the inner holes of the rubber. Screw a 5/16 inch “slave” stud finger tight to each of the two weld nuts in the header panel of the Hard Top, in order to locate the exact position of the rubber. Position the rubber to header rail and press down firmly to ensure satisfactory bond. Remove “slave” studs.
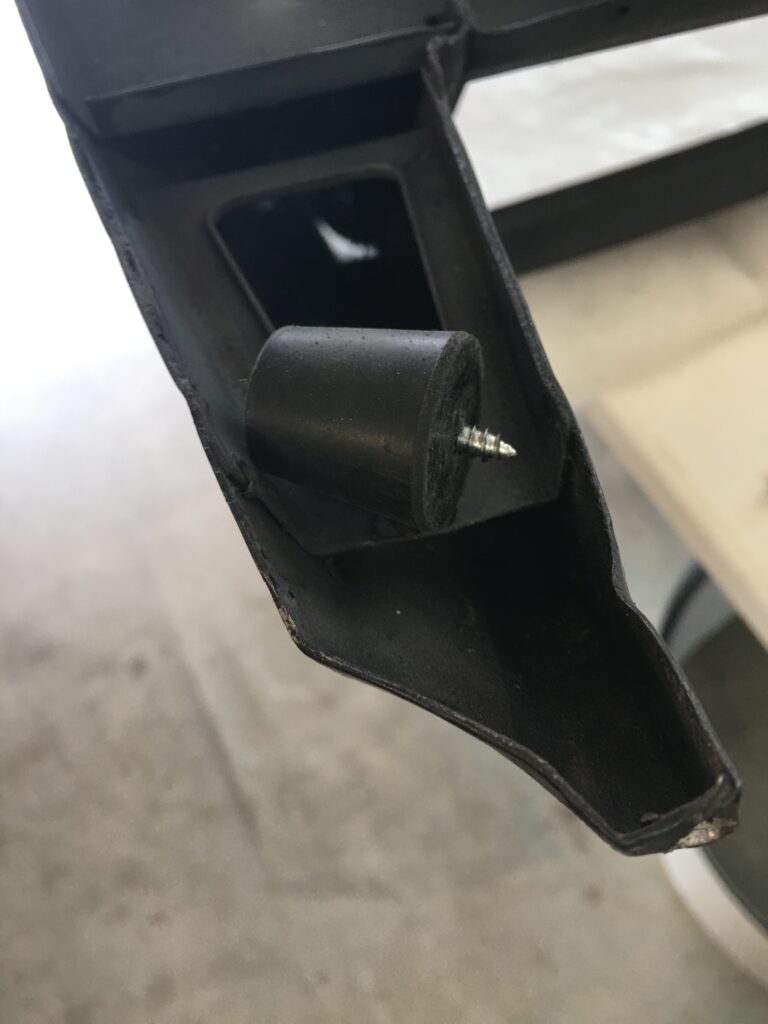
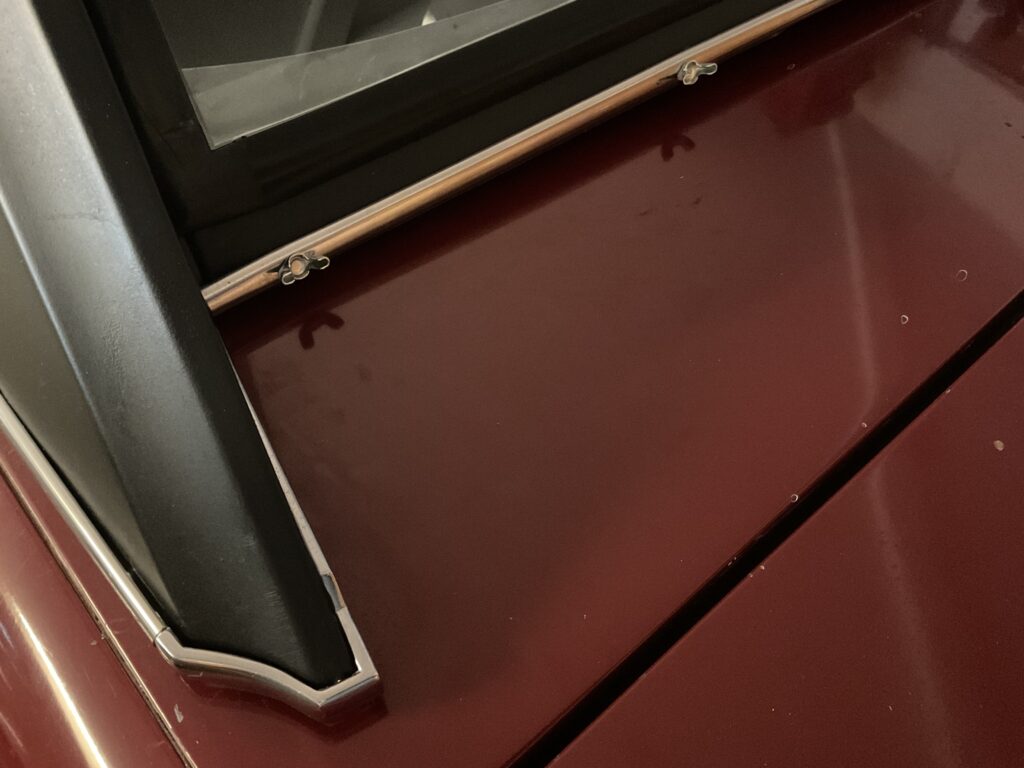
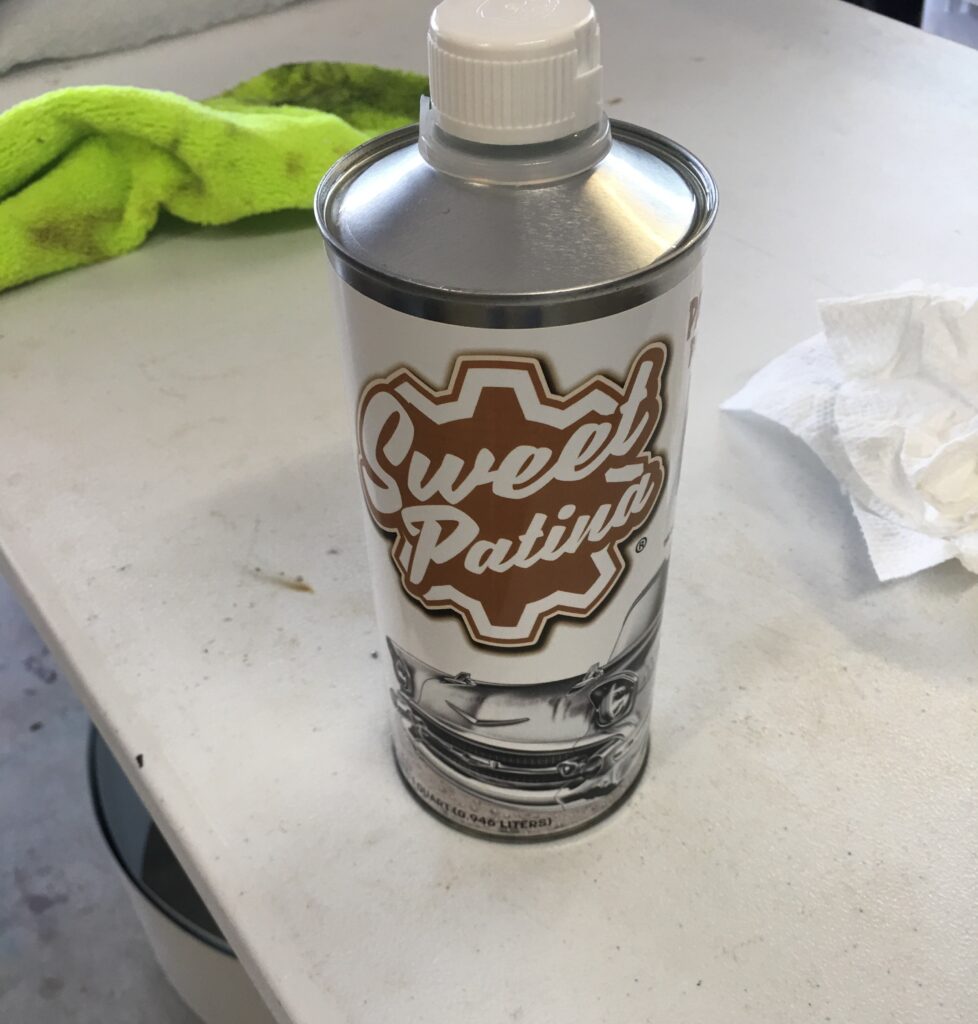
HT to WS seal, studs finger tight into captive nuts, distance pieces inserted through the rubber seal, ready to apply adhesive5/16 – 18 studsGlued, but I did not apply adhesive across the entire seal, just from a few inches inboard of the distance pieces and out to the endsGlued down, and ready to unscrew the “slave” studsThis seal was a bit tricky, but after cleaning up the channel, and slightly opening up the channel around the sweeping 90 degree turn, it slid in pretty easily. I then tightened the channel up a bit with pliersTrip to Ace Hardware for these stoppers that I drilled through to use as the buffers between HT and rear deckInstalled, with glass and chrome!I could not get the long chrome piece to stay on the rivets, so I got creative. Oh wellSince I am holding off on painting the top (and the entire car) I applied Sweet Patina on the top to offer a little protection against the elements this winter.
The Six actually seems like a real car now rather than a toy, but I’m pretty sure that come next spring the hardtop will be coming back off. For now, I will experience cozy comfort through the San Diego “winter.”