

The final major project at this stage was installation of the interior components. Perhaps installing a new wiring harness did merit its own article, but for some reason I took zero pictures of the wiring job. Too busy looking at wiring diagrams and reading Dan Masters’ Electrical Maintenance Manual, I guess. It was a tedious job but, given the state of the original main harness, had to be done. The only part of the original wiring that I felt comfortable repairing was the rear section.
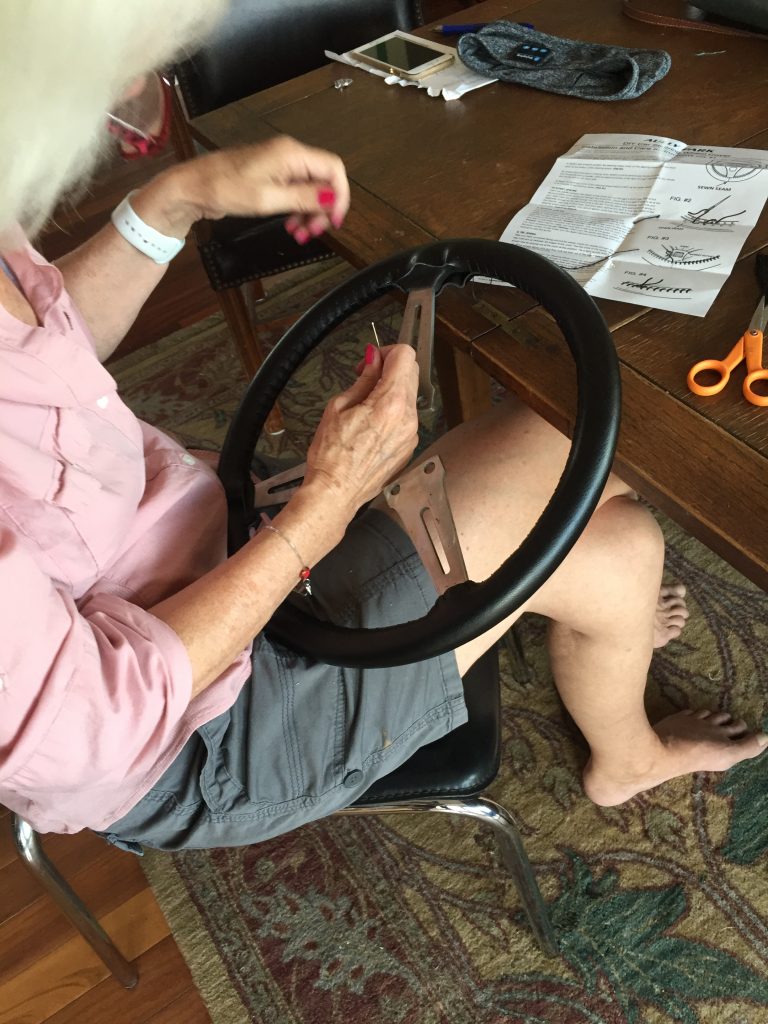
The very first thing restored was the steering wheel, which my wife Linda took care of, sewing a new leather cover on it. That steering wheel was on display in my office for nearly two years, badly missing my initial time table of “a few months” for the whole project.
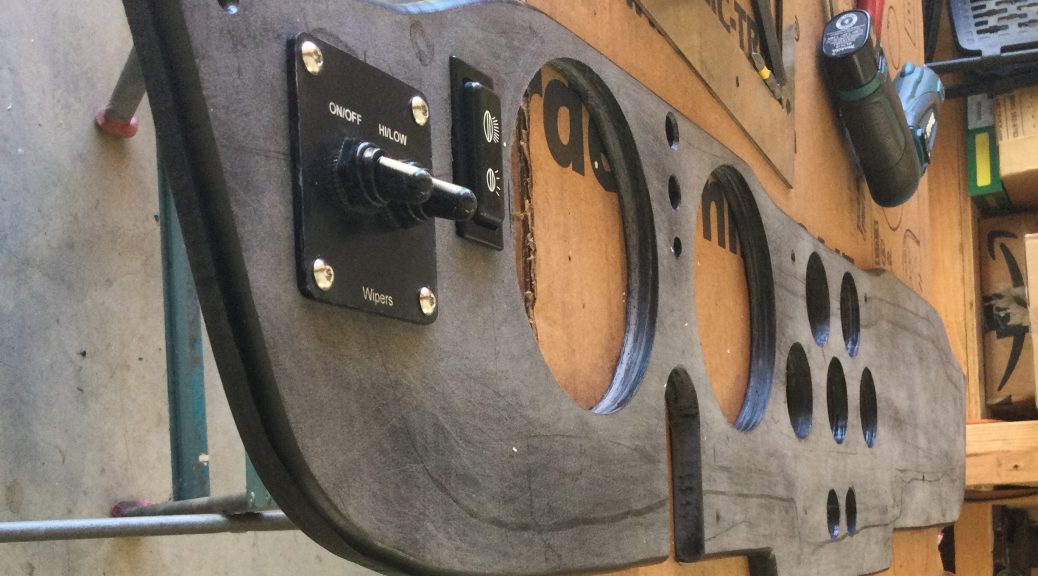
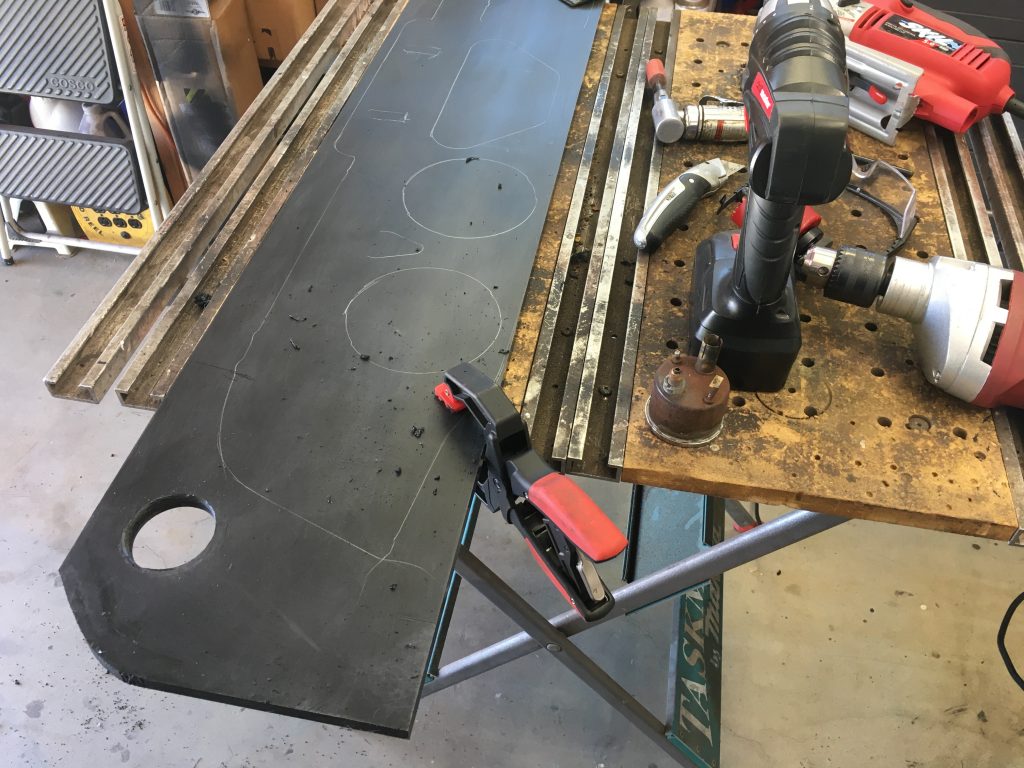
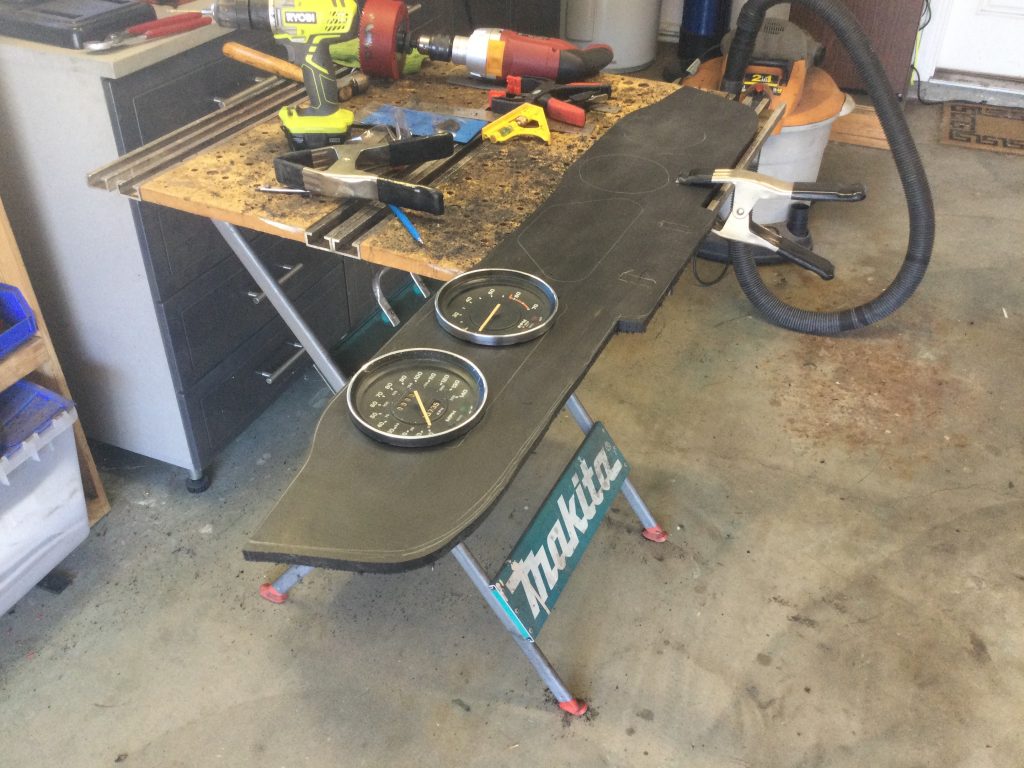
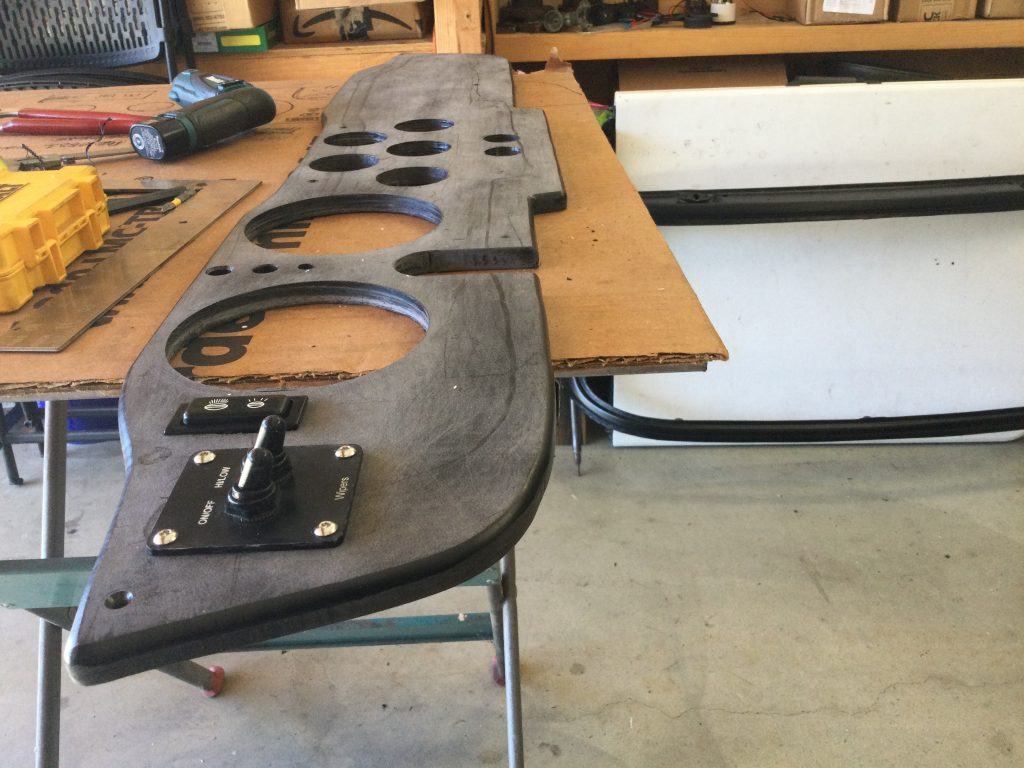
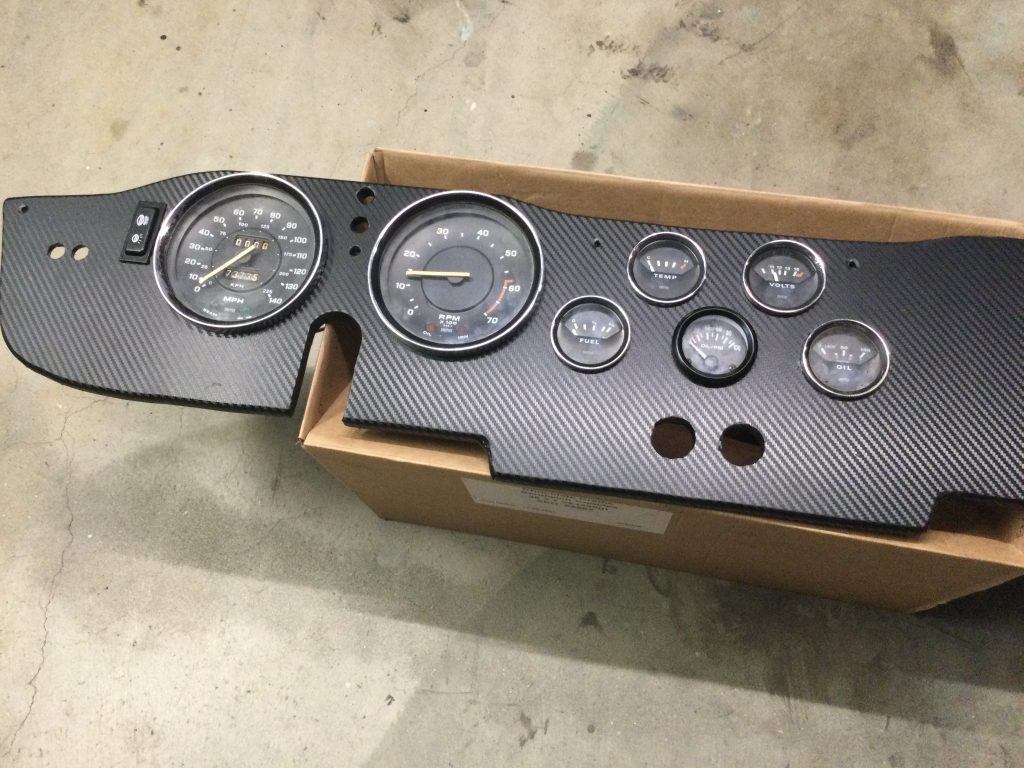
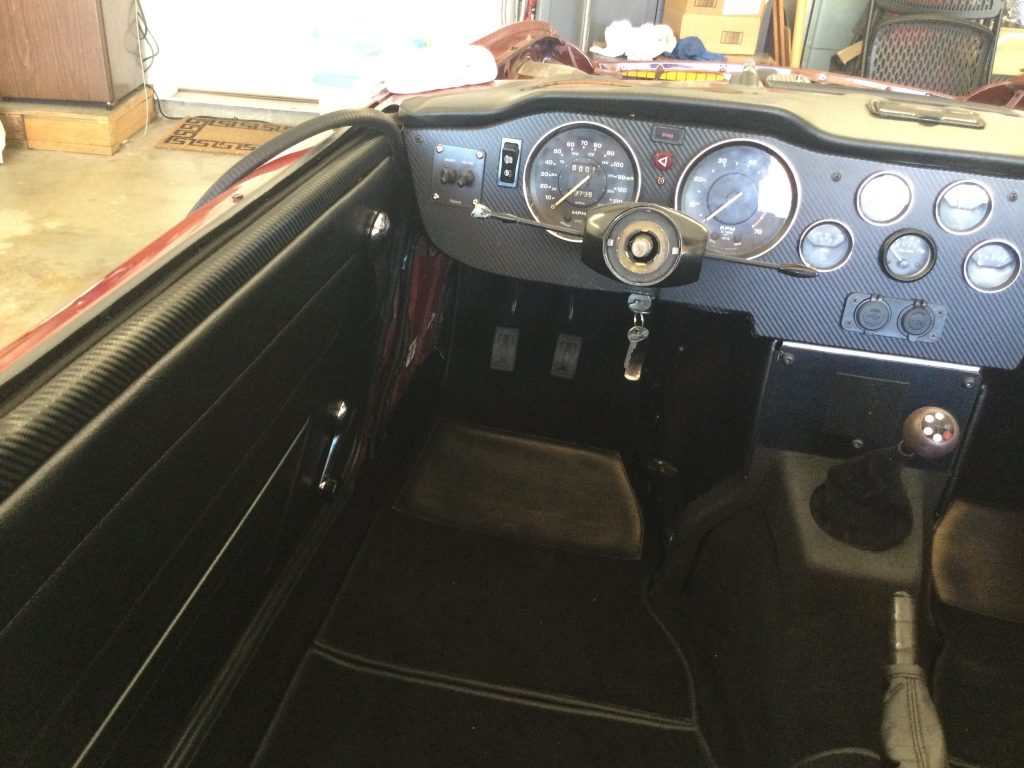
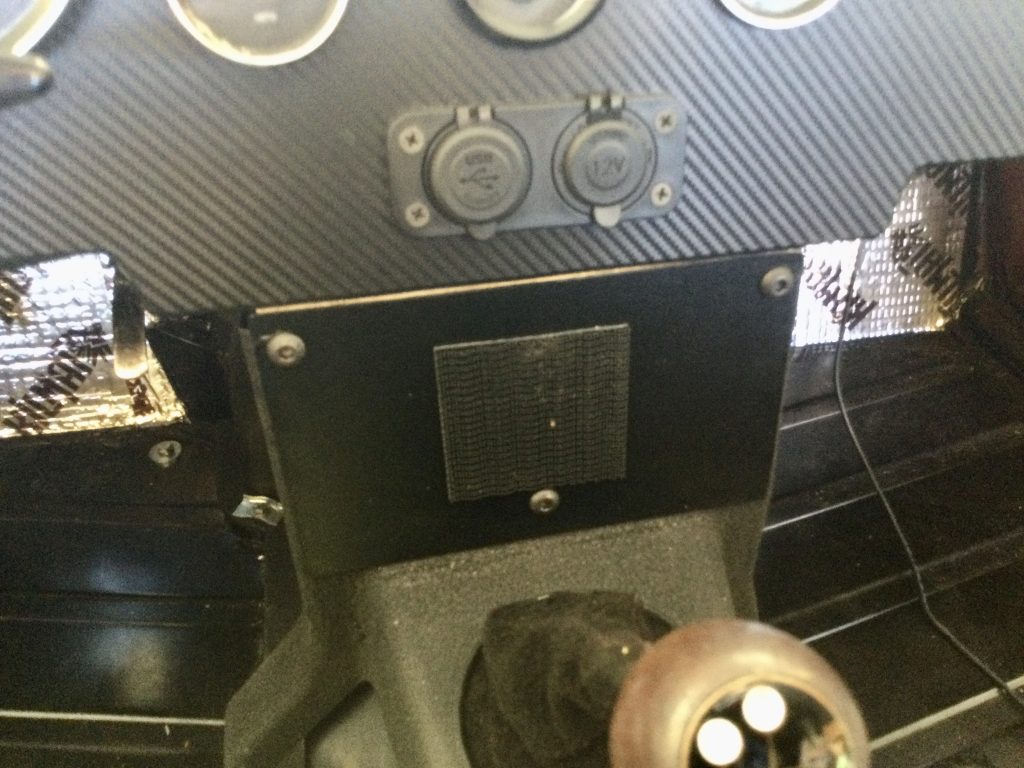
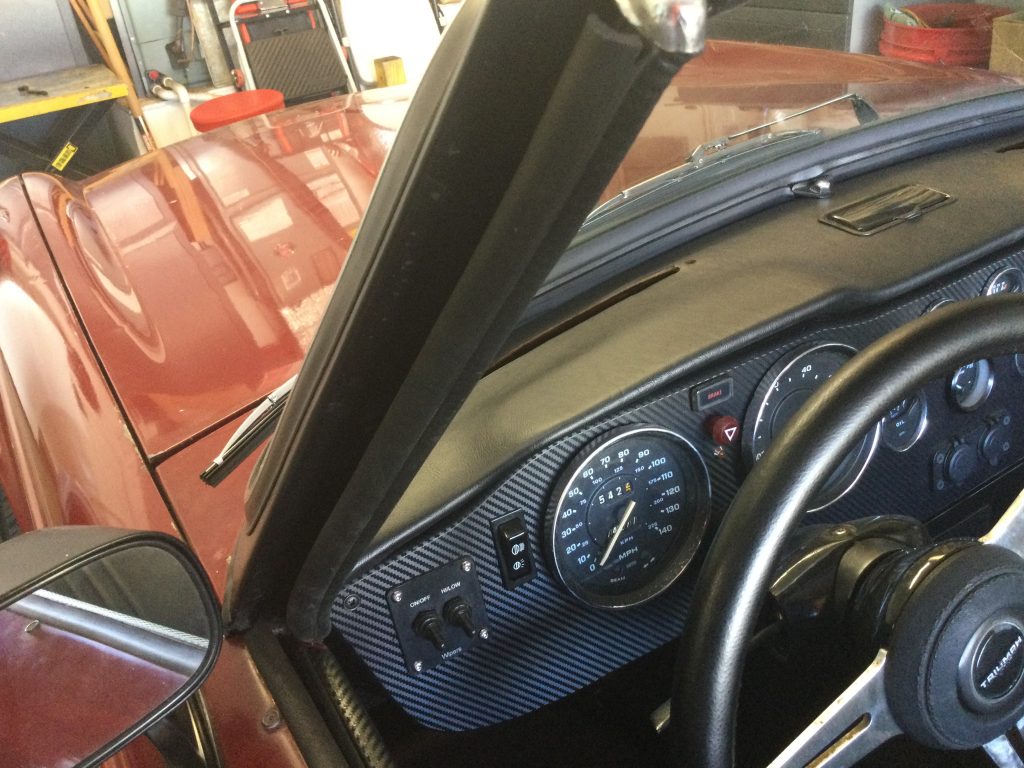
I chose to go in a different direction with the dash panel, opting for 1/2″ thick HDPE. The sheet I bought was 9″ by 48″ and cost around fifty bucks. Adding the $12 for the vinyl “carbon fiber” wrap that covered it made it a pretty cost effective solution. Purists may cringe, but I’m a little sick of the wood dash look anyway. The HDPE does require a little preparation to get paint or vinyl to stick to it… burning off the surface oil with a torch and spraying with an adhesion promotor.
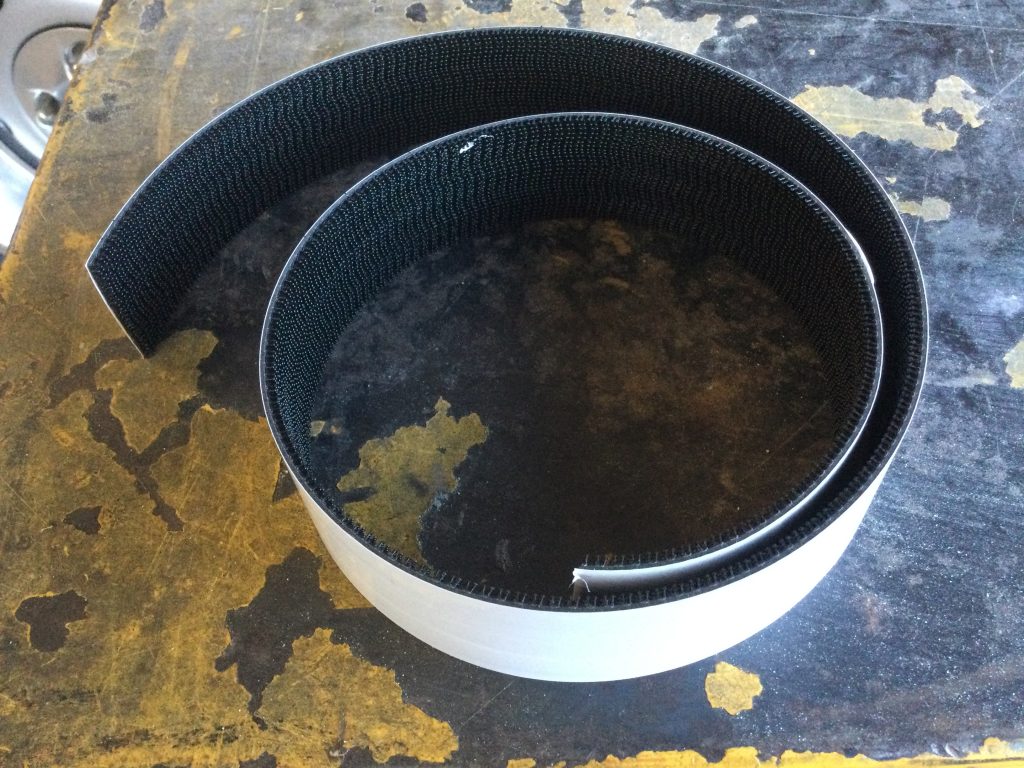
The gauges are all a press fit, as several of the threaded studs holding the original gauges were rusted and broken. This also made the wiring job much easier since I could wire the gauges and not bother with reaching around behind the dash. I simply wrapped some of the vinyl wrap around the gauges until the fit was snug. As I have done in other restorations, I opted for an electric oil pressure gauge, which is the odd duck in the middle of the cluster. The original oil pressure gauge was installed with the illumination light just to satisfy my sense of symmetry. The “velcro” that I used for the Samsung tablet and to mount the ECM computer is the plastic mushroom shaped interlocking style. Very strong and the adhesive grips so well that if you decide to relocate this stuff, it will rip the paint right off the car. Don’t ask me how I know this.
After fiddling with the original rotary wiper switch and a replacement version, I chucked it all and went with a double toggle switch arrangement. That idea is from Masters’ manual. I also added a double USB outlet and lighter outlet for convenience. Since there is no heater in the car, and no top, I am hoping I can plug a heated blanket into the lighter socket on the remote chance that Linda will want to ride with me on a cold morning or evening. In truth, it’s probably the way I drive that keeps her out of the passenger seat.
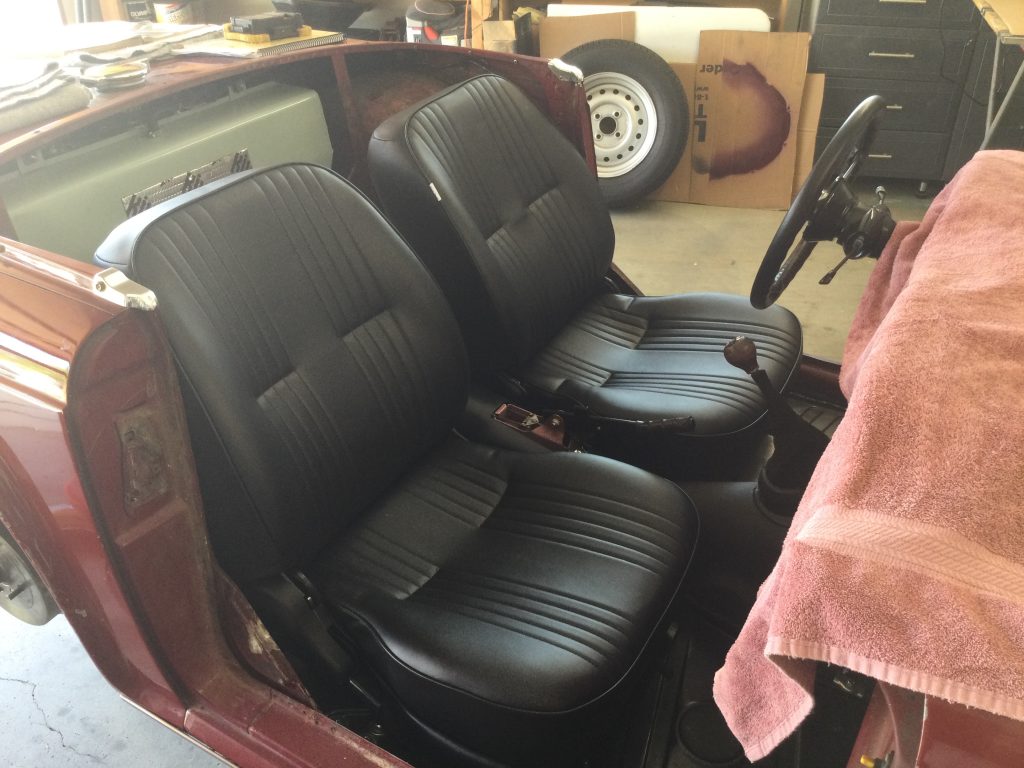
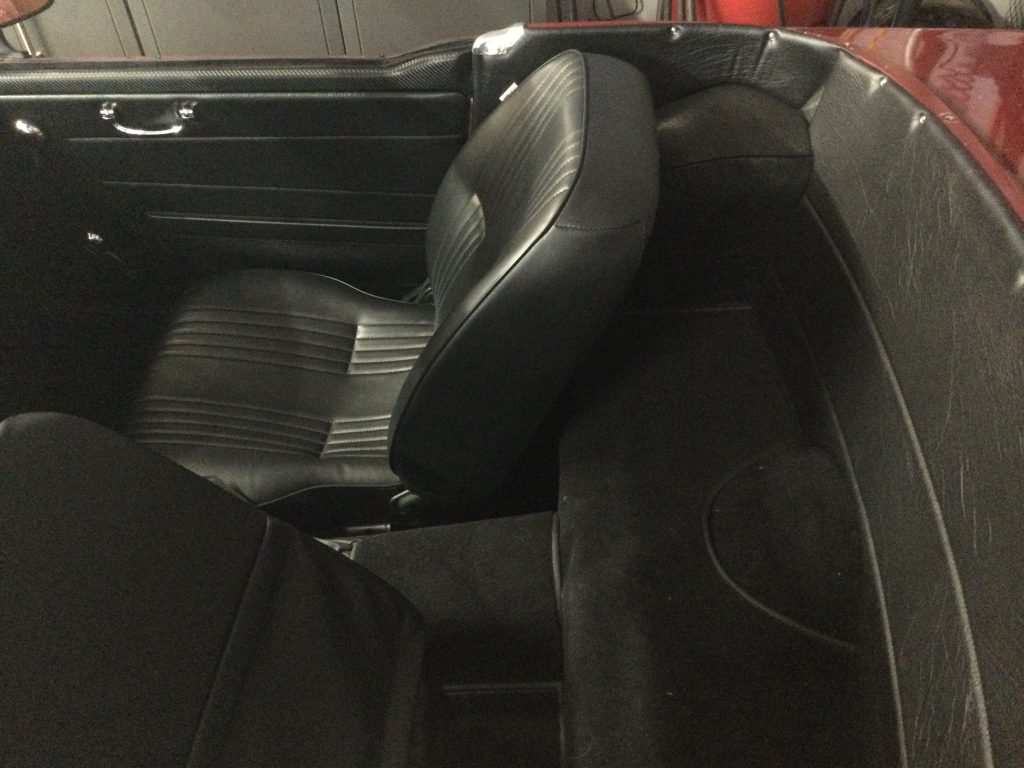
I installed Pro Car seats sourced from Carid.com, and for the interior panels went with Bob Danielson’s excellent product. The only thing I’ll note about the seats is that the seatbacks are considerably thicker than the original seats, so I’ve had that cover off a few times to carve away foam. It is a simple job but of course requires removal of the seat. I’ve got it down to about an hour job to remove, carve, and re-install. Nearly there now.
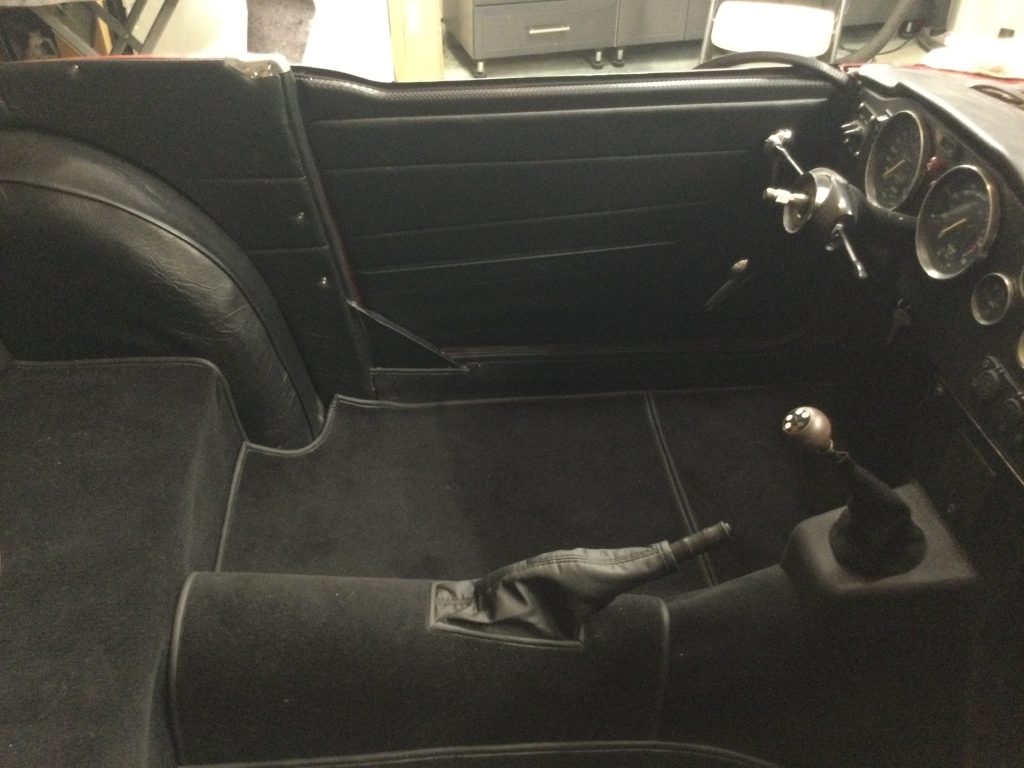
For door seals, as well as boot and bonnet seals, I decided to go with Martin MacGregor’s products from macgregorukcarparts.com… they are perfect and so easy to install compared to the nightmare I remember from my truck restorations. Plus he’s another of those great sellers who is a pleasure to deal with from a customer service perspective. Fun talking with him.
And on that note, I’m all talked out. The sun is shining and the forecast says 70 degrees here in San Diego, a week before Thanksgiving. Time for a cruise.
While you are getting skilled at pulling out seats, I’m getting skilled at pulling out the dash. It all started with getting the speedometer cleaned, calibrated, and repaired. The speedometer is still out of the dash and I’m figuring out how to get everything else back the way it was. That is after refinishing the dashboard. This putting things back is easier once you’ve done it but I’m finding a number of ways to redo things to get at something else. I guess it’s the nature of the process.
Good luck with your project!