British invasion, The ’73 Triumph

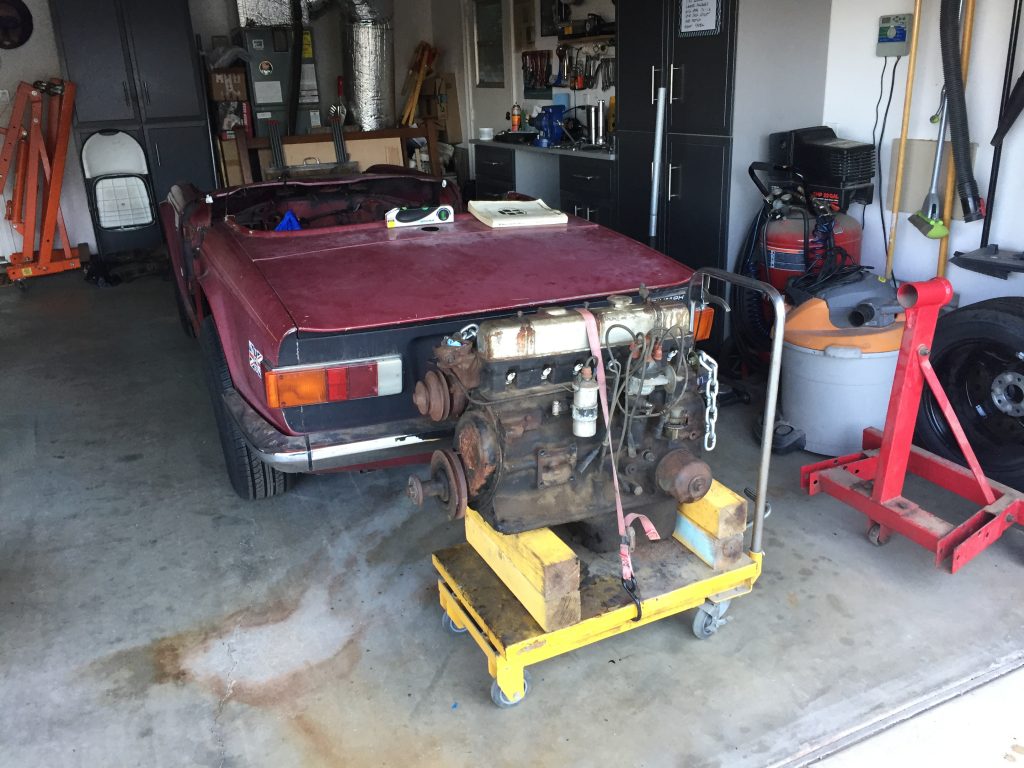
After declining to rebuild my neighbor Wendy’s Triumph TR6 for a few years because I was too busy building these old trucks, she finally approached me with an offer I couldn’t refuse. “Give me $250 and send another $250 to my favorite charity, and it’s yours.” Thus began a two year rebuild… not at the Barn but in my garage at home.

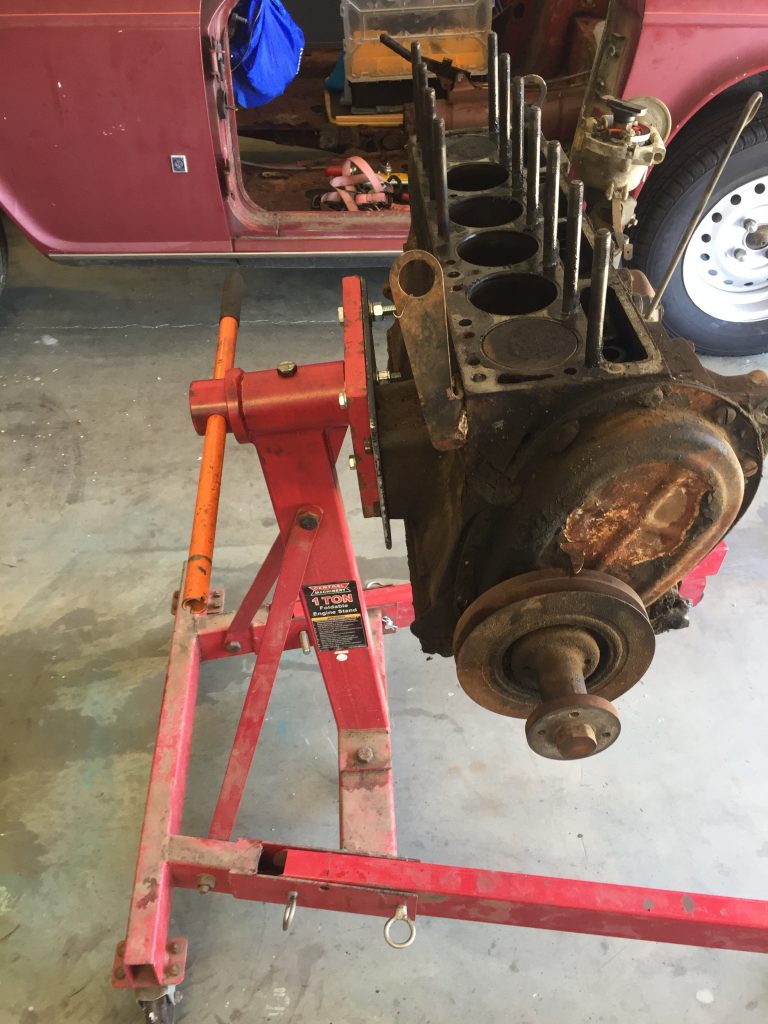
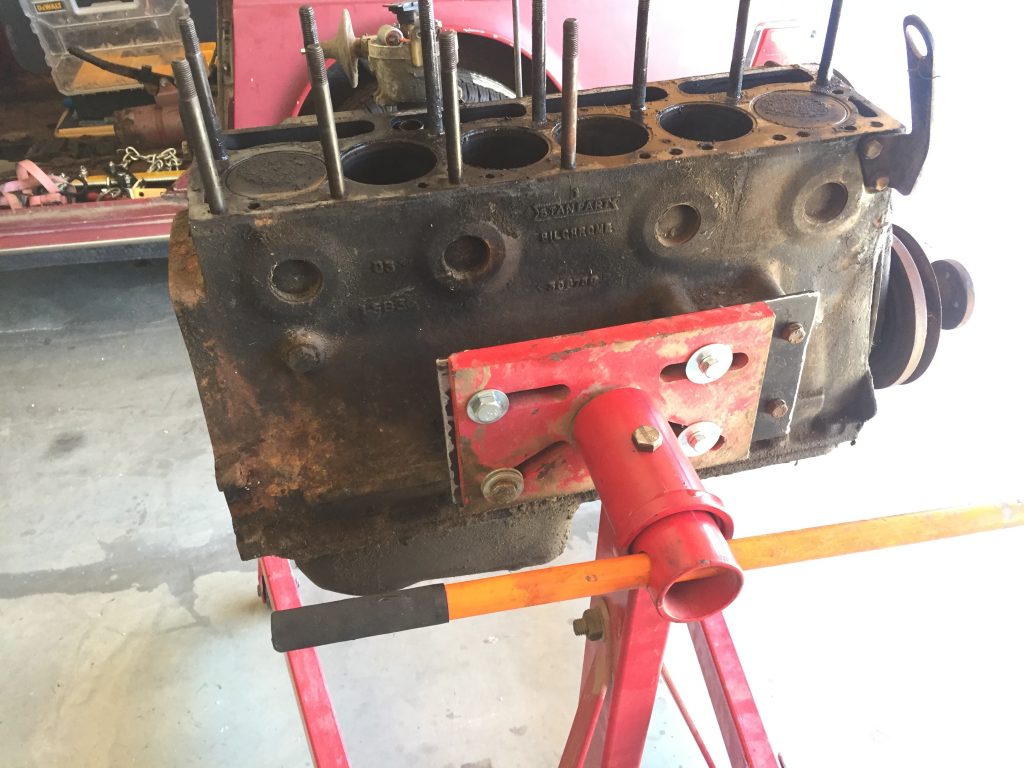
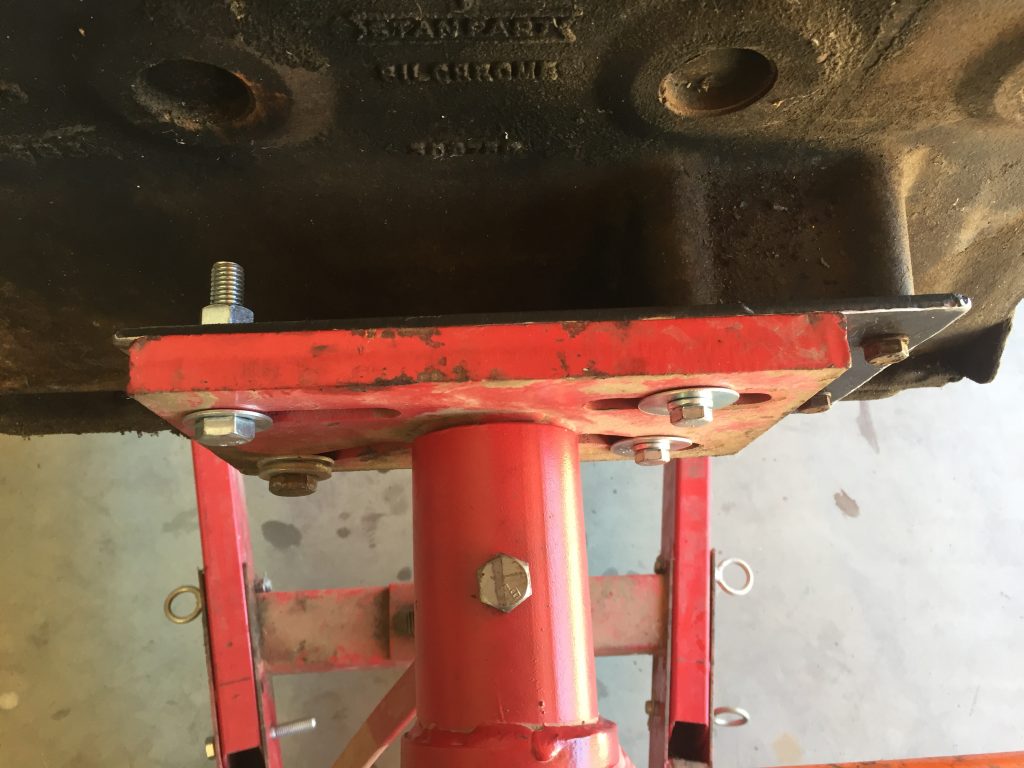
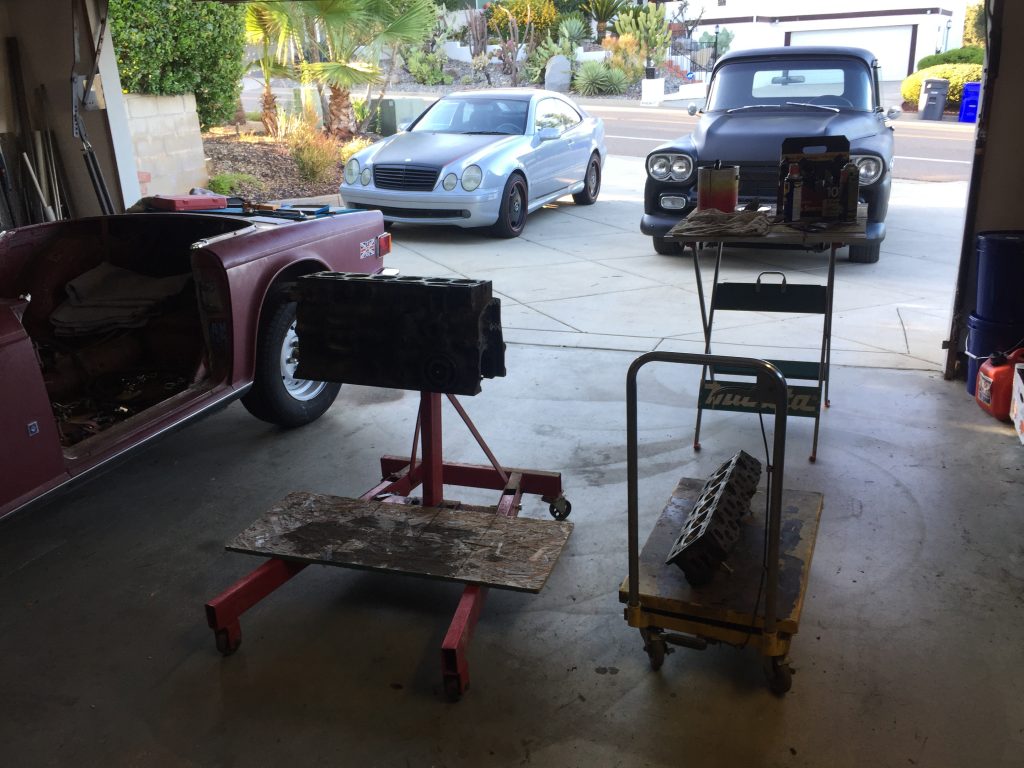
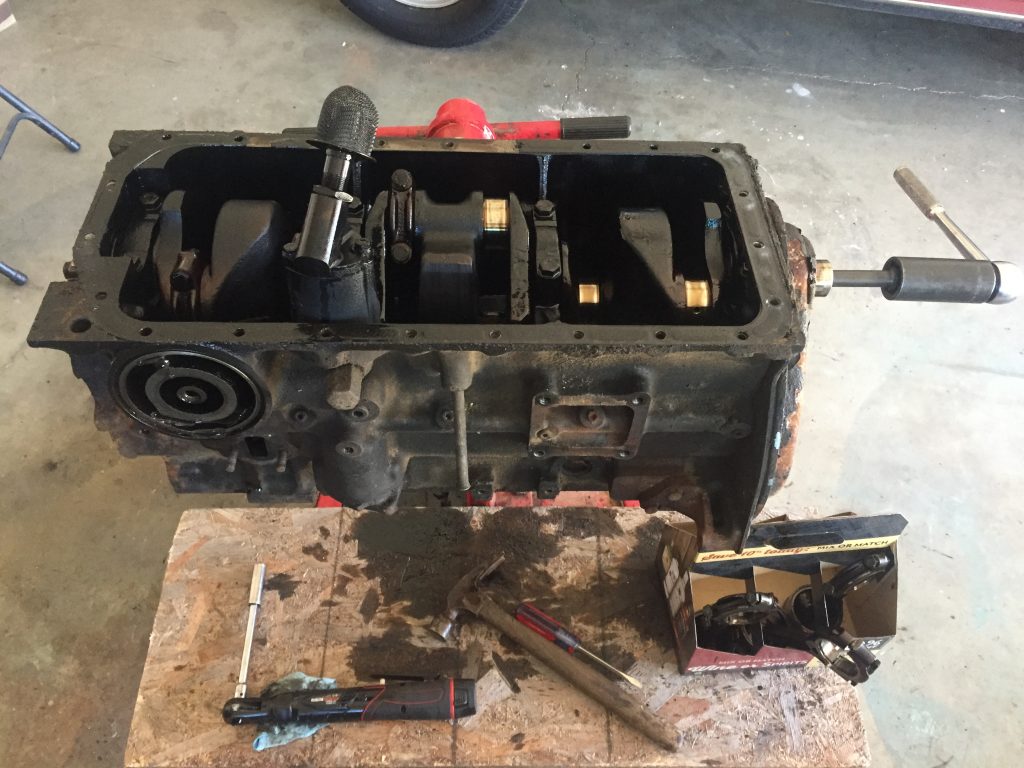
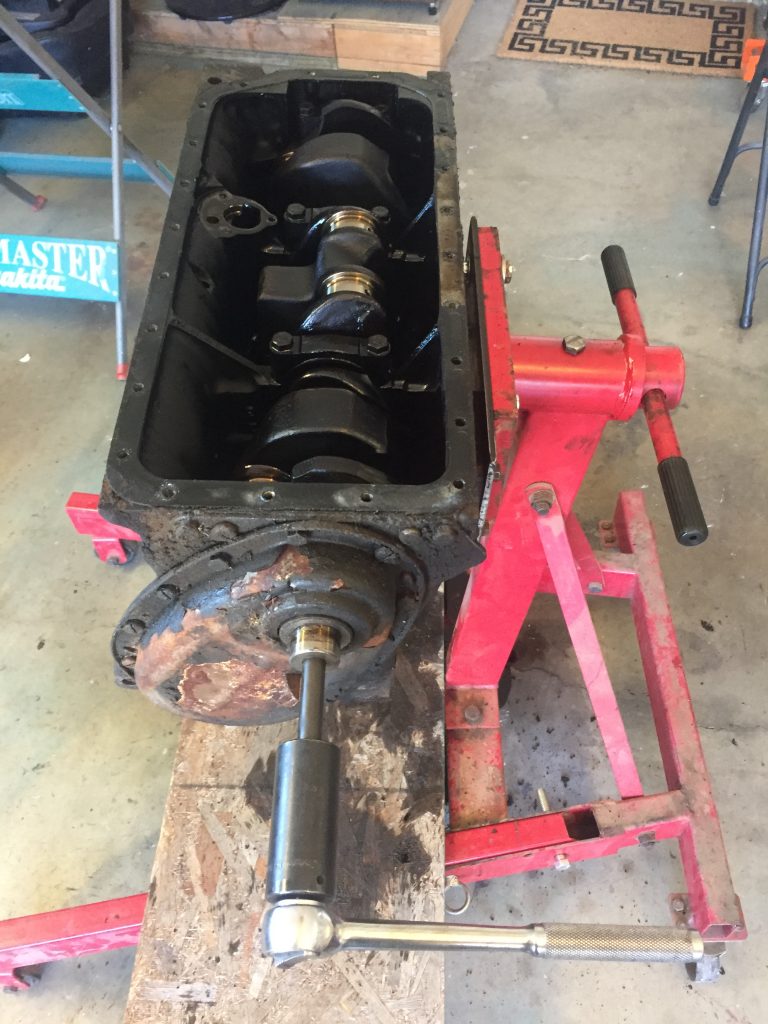
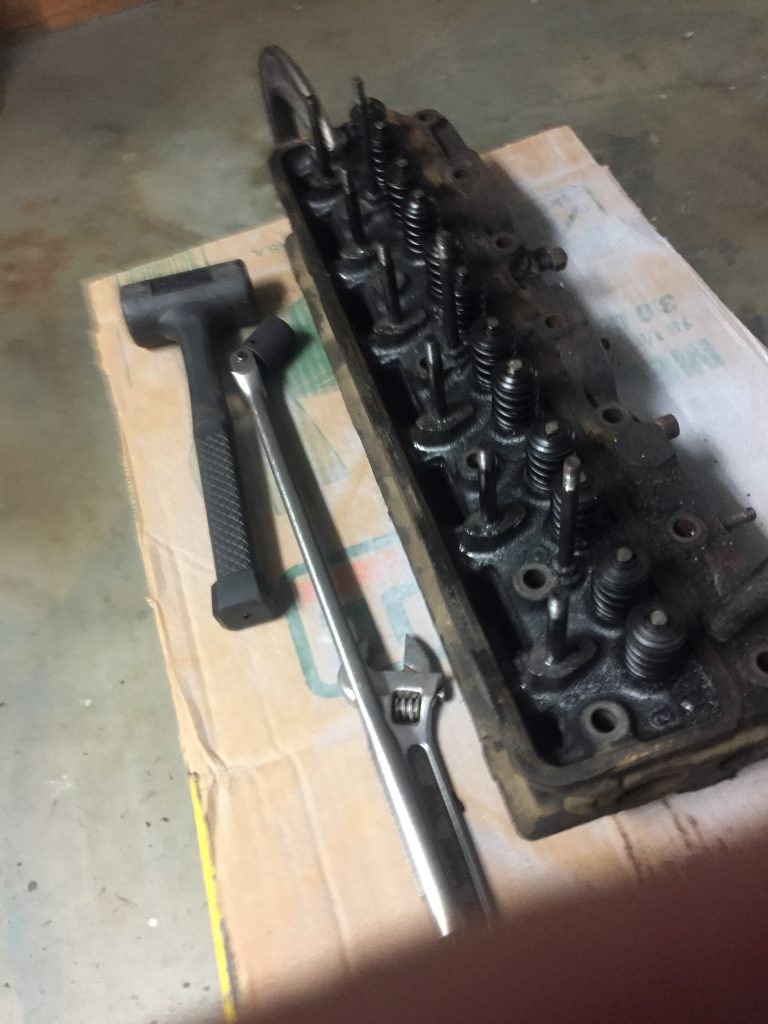
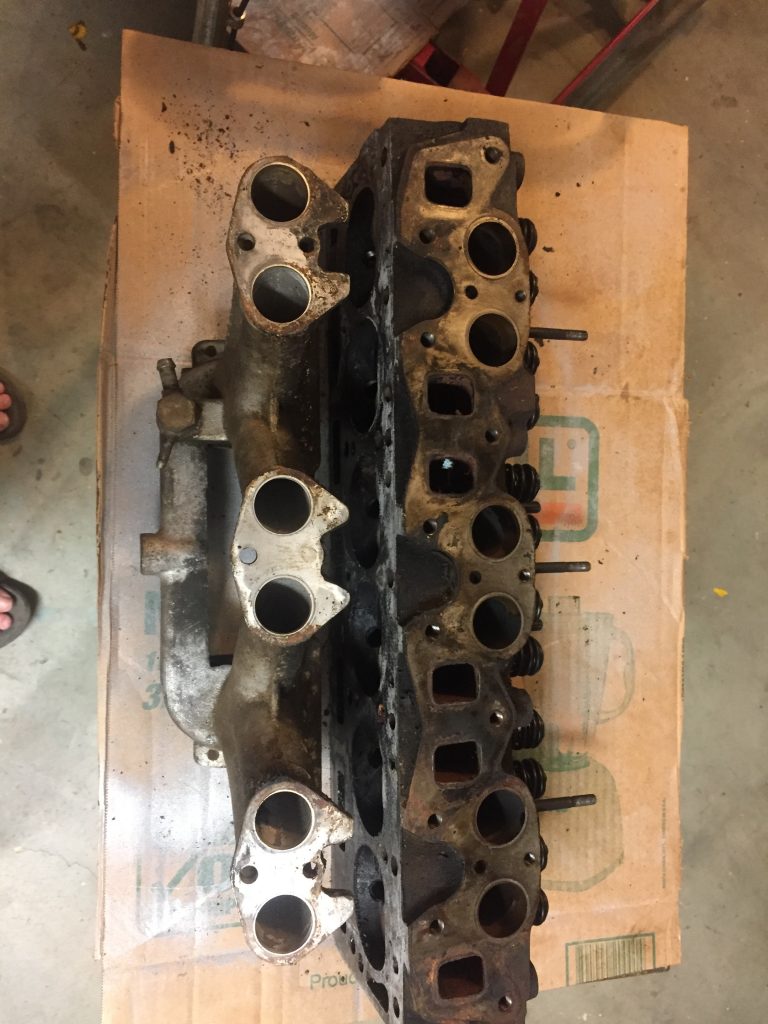
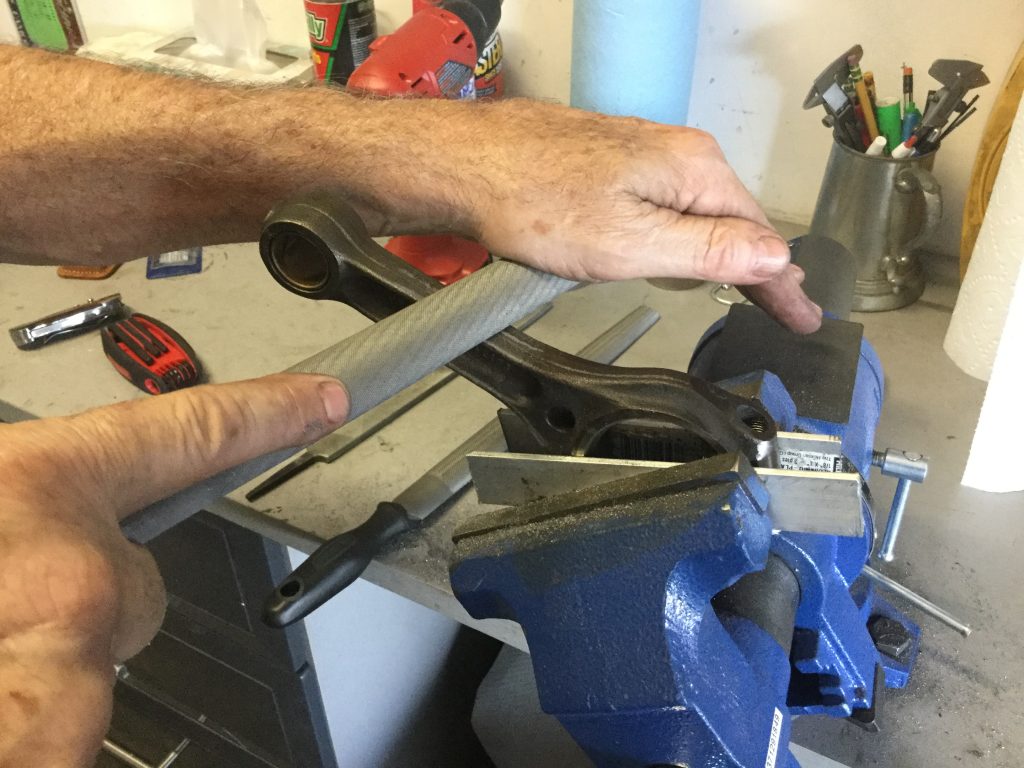
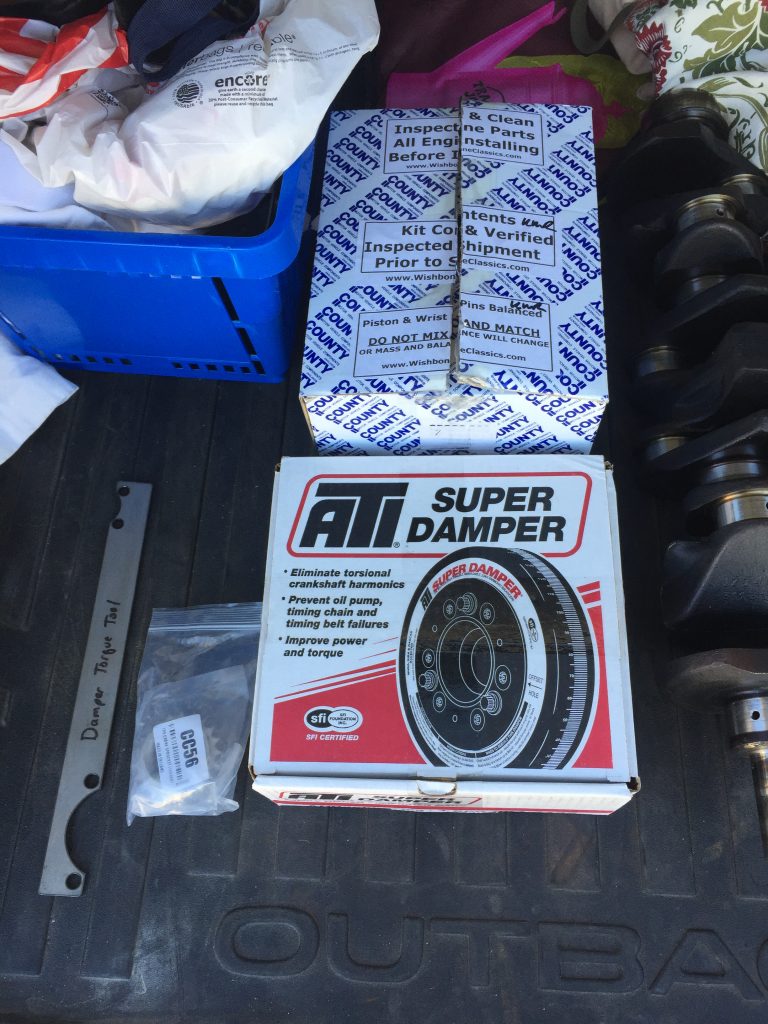
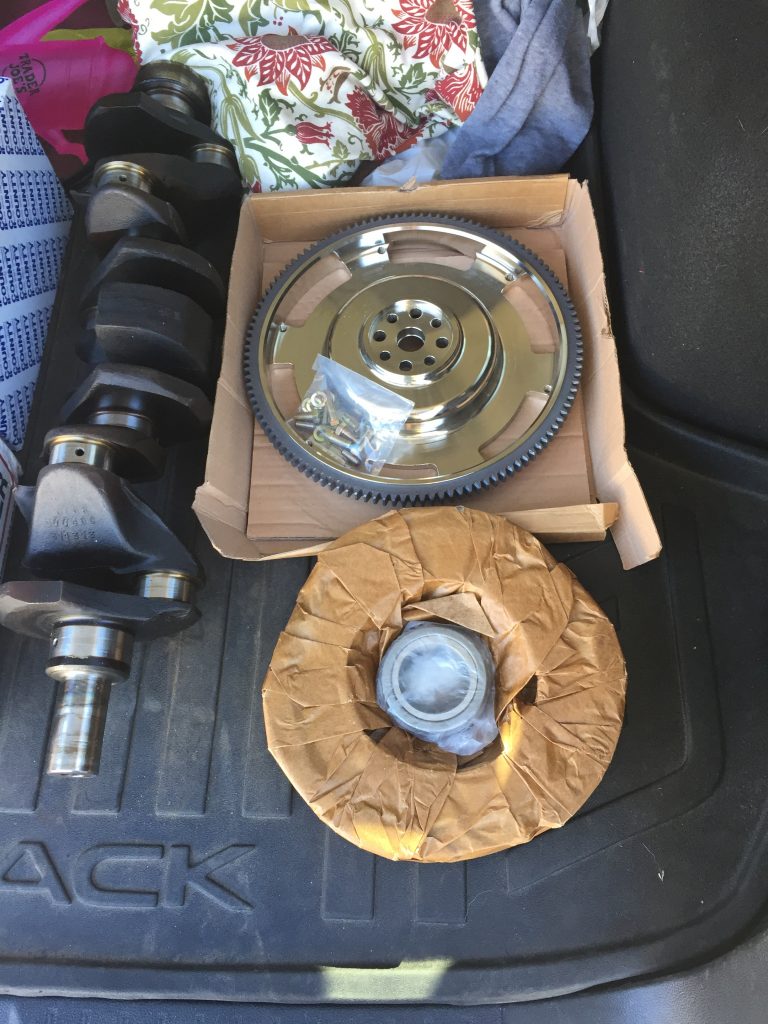
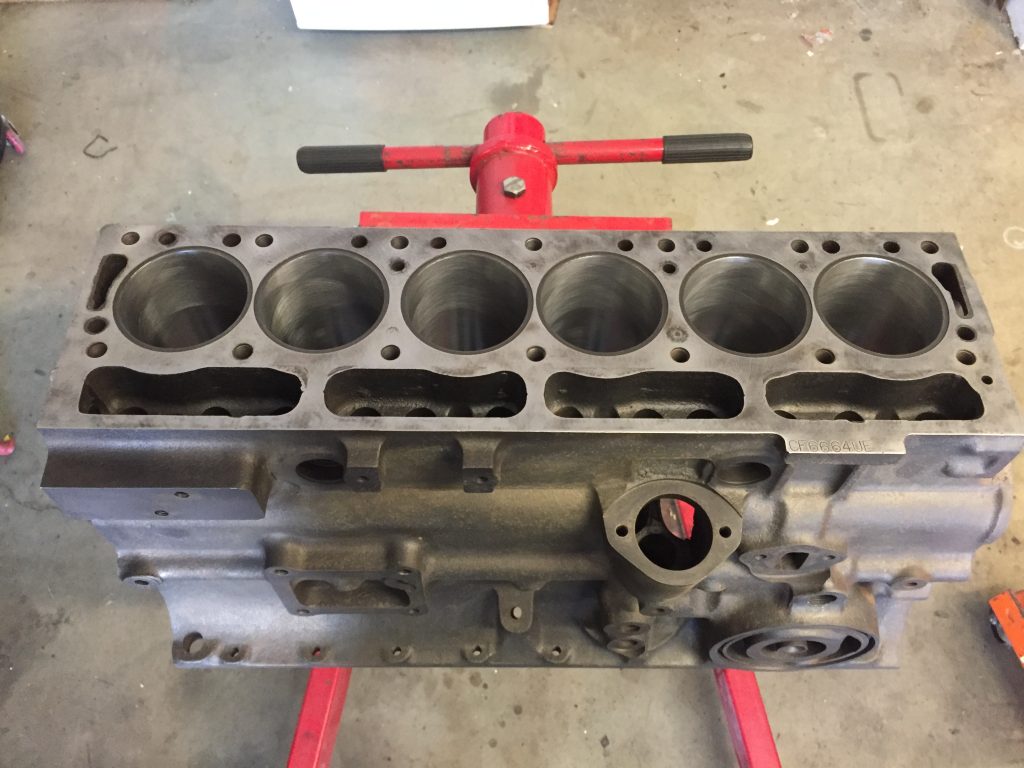
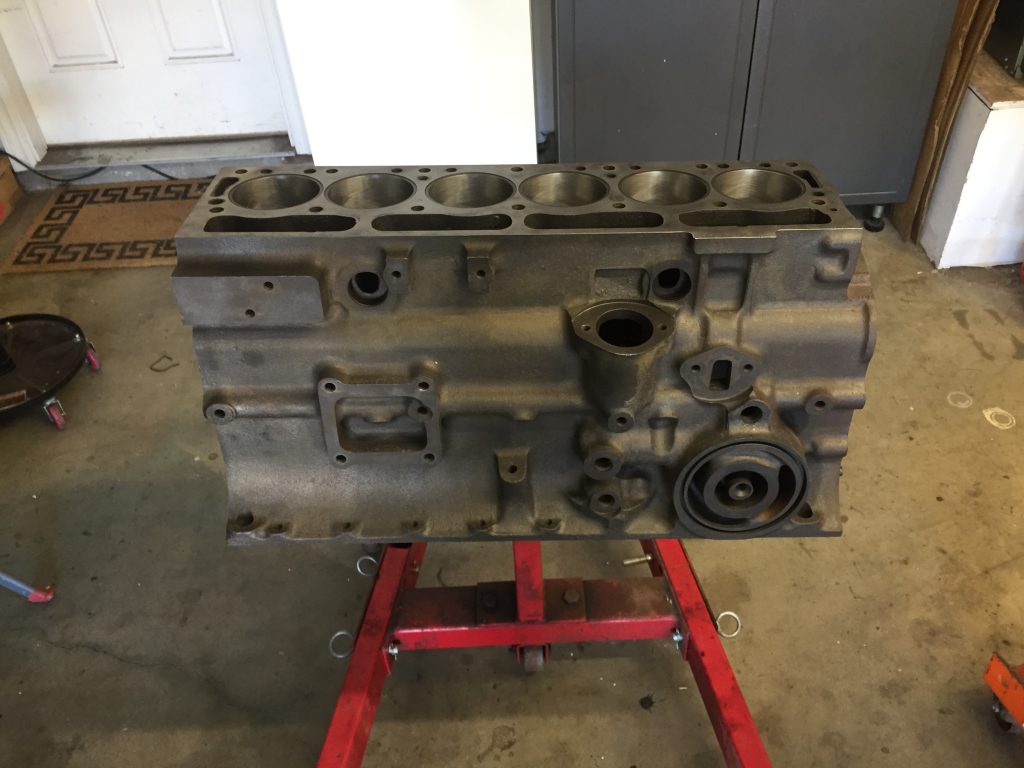
My plan for this narrative is just to post pictures of the process, with captions. I’m sure that there will be posts dedicated to specific problems and solutions, but this build story will be heavy on photos.

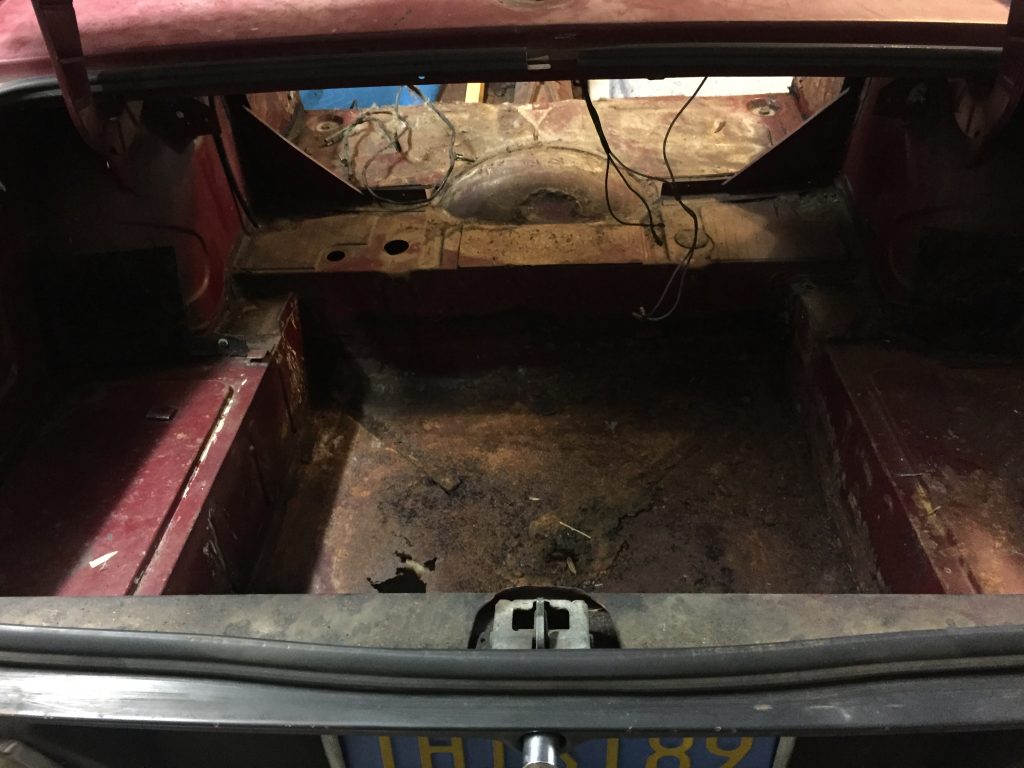
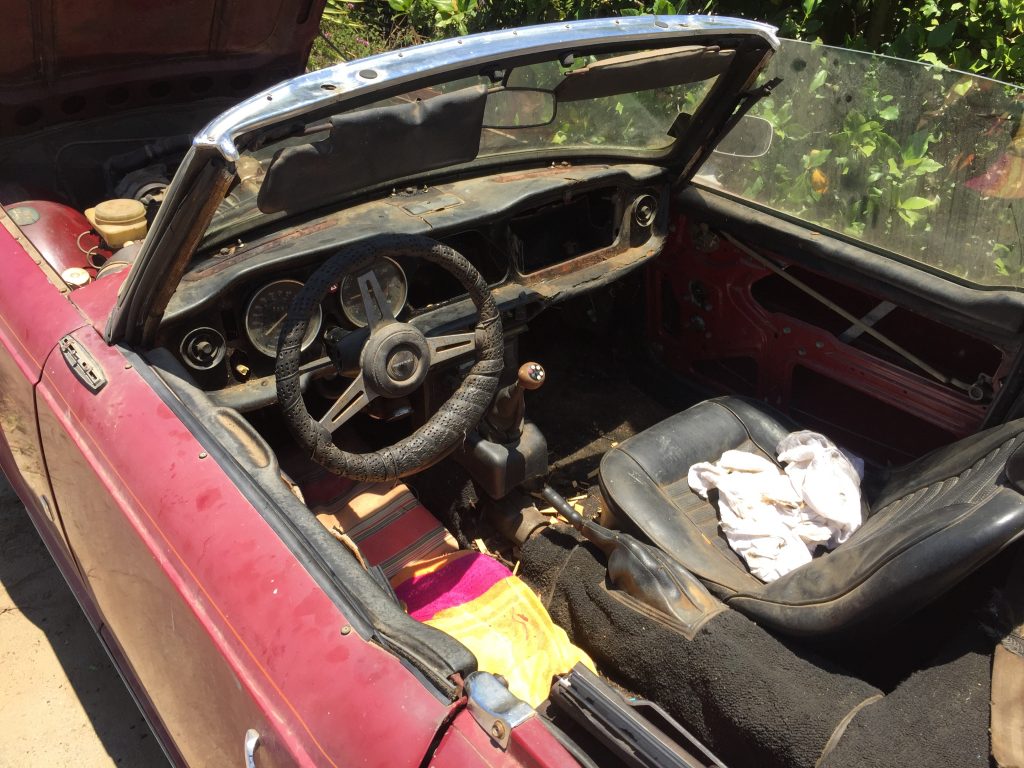
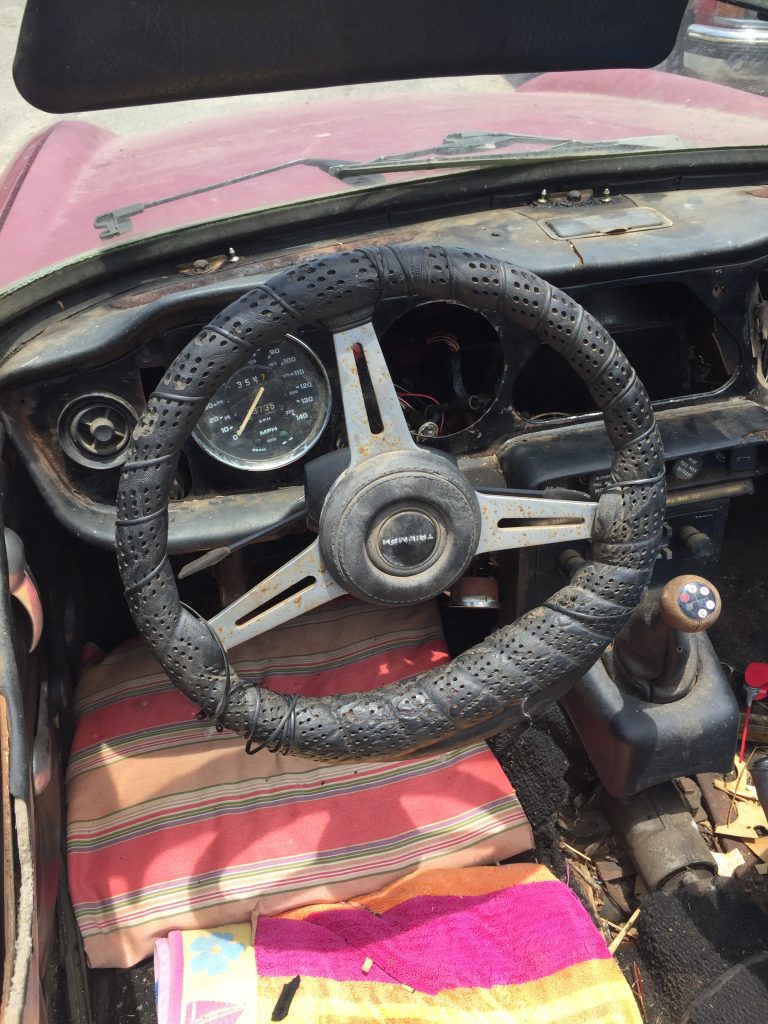
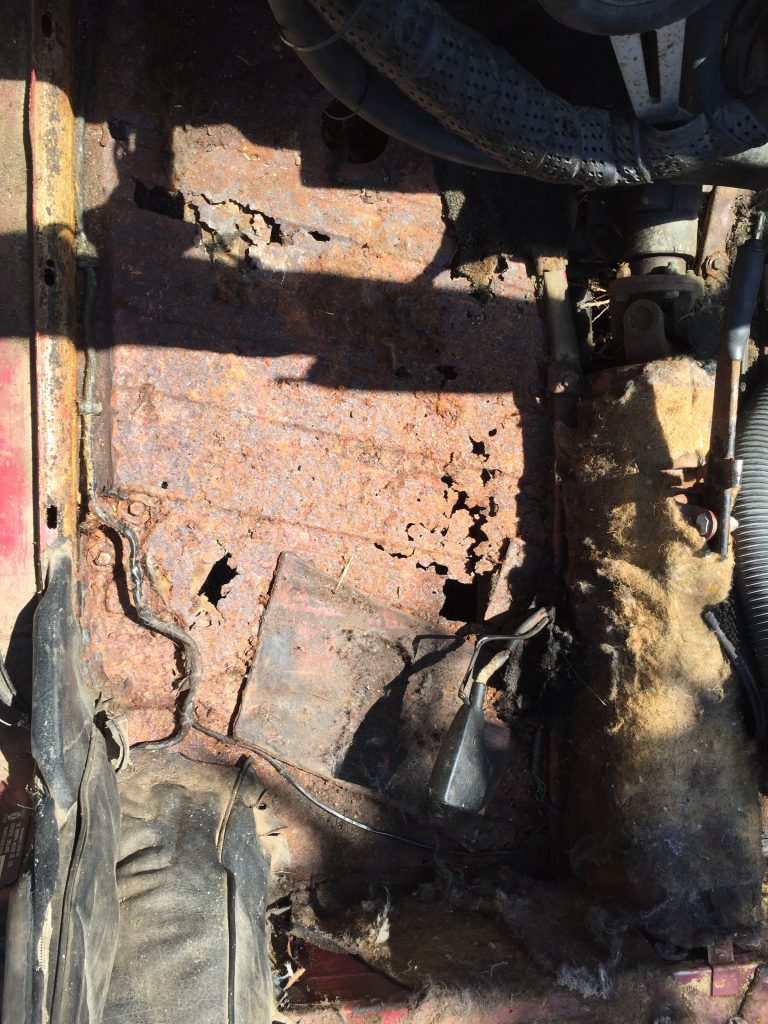
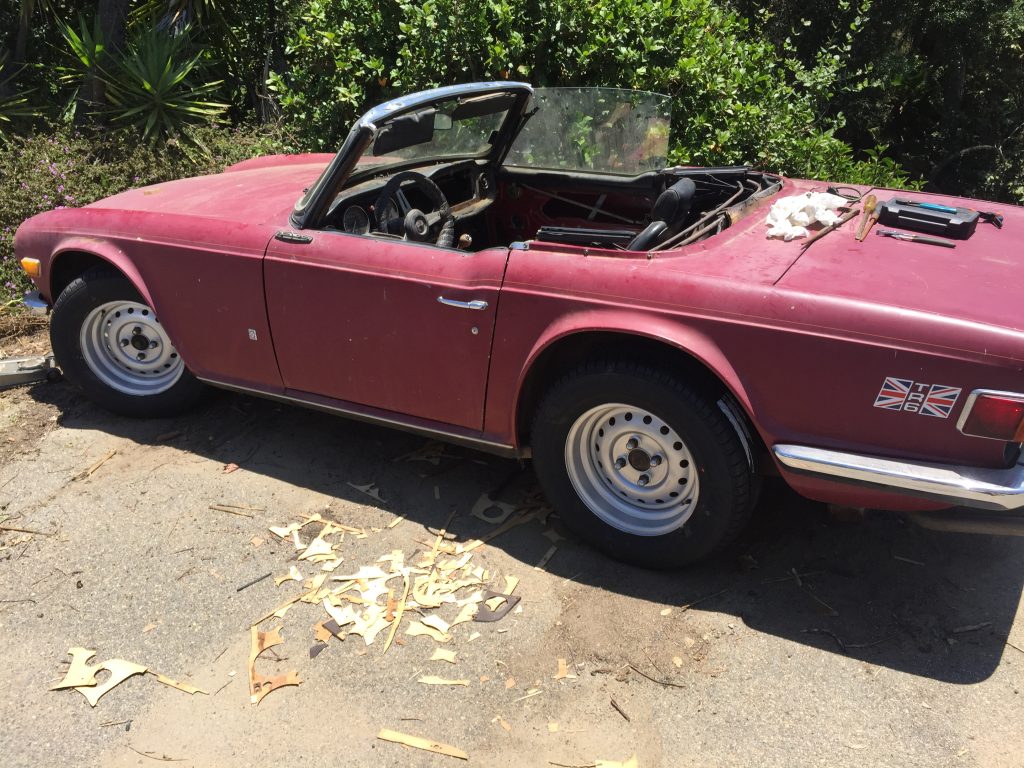
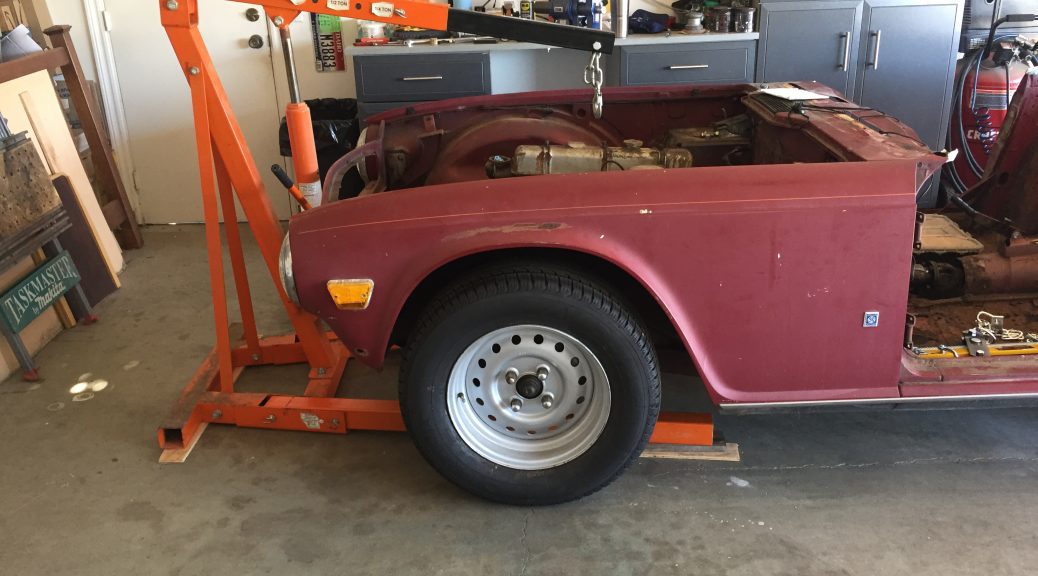
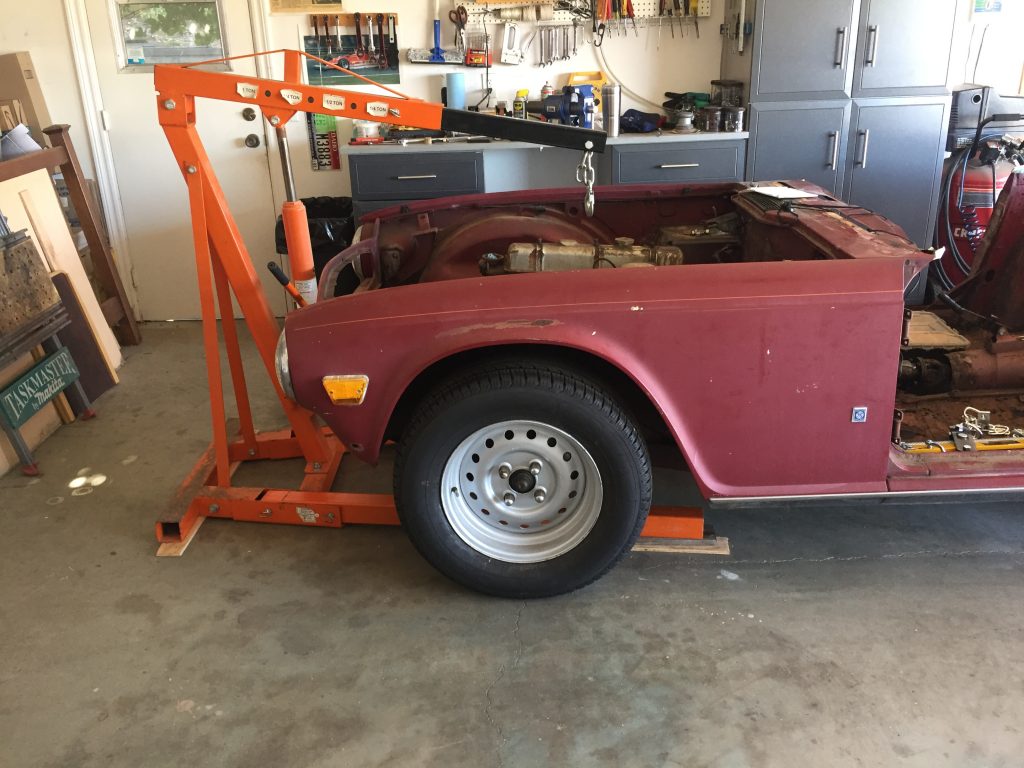
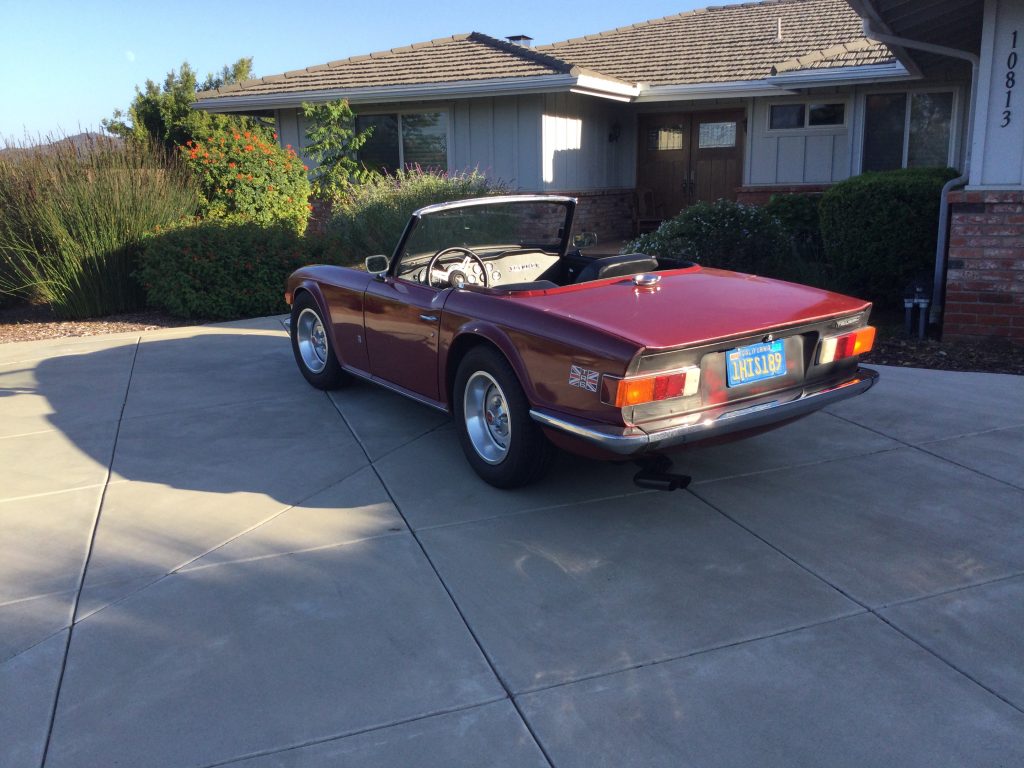
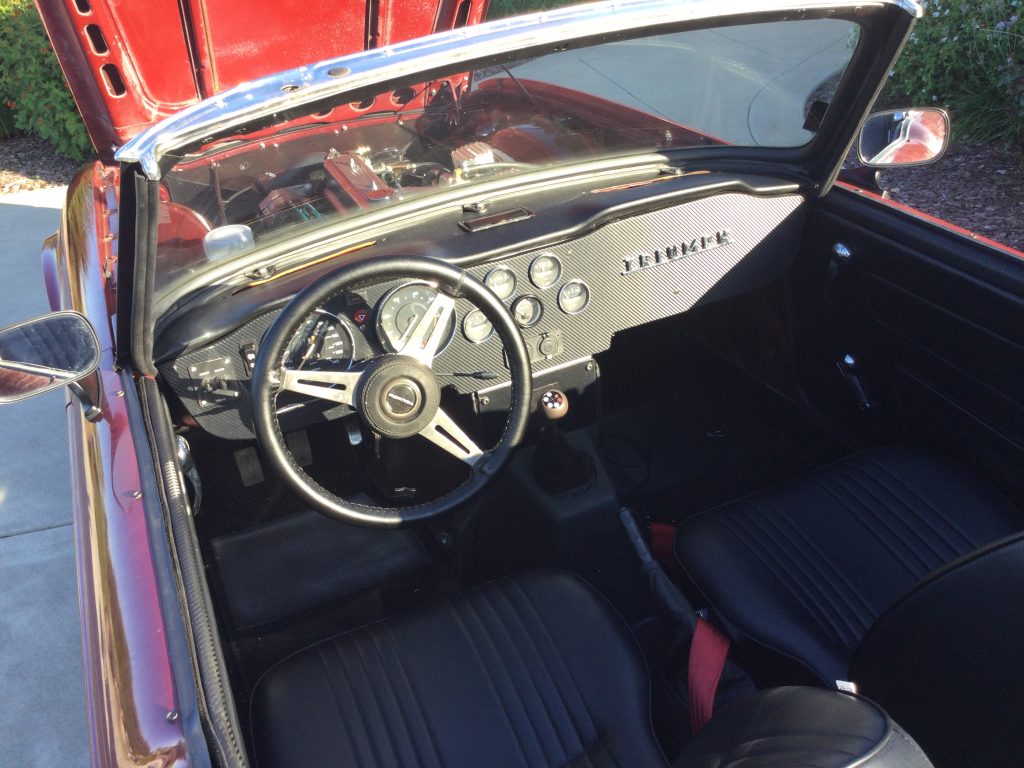
Here is the current state of the TR6 as of Fall 2021…

Short drive in the TR6 on a nearby twisty road.

Enjoy the (mostly) photographic narrative of the two year journey. Click on the Triumph link in the table of contents at the top or left side of the page for a complete archive of posts. There is a list of vendors we used on this project in the Stuff We Like post.

1973 Triumph TR6 rescue and restoration

Here are a few pictures depicting the state of the Triumph after sitting outside under a fabric car cover for twenty years… thank goodness it resided in Southern California. But it was truly a rodent hotel.

Clearly we are looking at new floor pans in the passenger area, as well as the trunk. And pretty much everything else!

One word of advice for you when cleaning out an old car that has been host to rodents… MASK! The trunk, for example was at least four or five inches deep in droppings and twigs and nut shells and dirt. Gross.

I was somewhat careful about wearing a mask as we filled a garbage can with rodent droppings and shells and whatever the heck all that other stuff was, but not as careful as I should have been. My lungs have literally never been the same since that original cleanup. This is serious advice, heed it, please! Best practice would have been a good painter’s mask with dual filters, reasonably priced at Harbor Freight. I did utilize one, but there were occasions when I just wore a paper or cloth mask… that is not sufficient.

Triumph TR6 restoration: Removing the engine

The engine removal was straightforward. I left transmission and cylinder head attached, but removed manifolds and alternator, disconnected driveshaft, wires, and hoses. The head was stuck on the block so we used the hoist to separate it from the block, making sure it was pulled up evenly. Because the hoist was fully extended to the 1/4 ton hole, I added a reinforcing square tube all the way to the hook, which required drilling a hole for the 1/4 ton pin.

Triumph TR6 restoration: Engine stand installation

The other engines I’ve rebuilt were always mounted onto the stand at the rear of the block. After reading what other TR6 owners had done, I chose the side mount. This worked out very well, and the 12″x6″ quarter inch thick plate was plenty strong… no flexing or movement at all.

Triumph TR6 restoration: disassembling the engine

Well, everything looked as expected for an engine that probably hasn’t been freshened up since it was manufactured nearly fifty years ago. The cylinders looked fine to me, as did the pistons, but my machine shop of choice HDS/Carquest in San Marcos thought otherwise. Casey, the owner, knows what he’s doing. I absolutely trust him. Before getting the block and head over to him for the serious business, I decided to clean up the combustion chambers, ports, and connecting rods myself, as shown in subsequent posts.

Triumph TR6 Restoration: Engine prep before taking it to the machine shop

Easily one of the most enjoyable parts of my rebuild was the file work on the connecting rods. I have read the stock connecting rods weigh in at 684 grams, which means I filed about 44 grams off each. My aim wasn’t lightening them, though, just wanted to remove any sharp edges, grooves, etc., that might be a point of failure by propogating cracks. HDS would restore surface strength with their peening process.

With the ports and manifolds, my goal was just to clean them up a little to aid the flow. I would advise being very careful around the valve seats… make sure you leave enough material to insert new seats and still have a nice smooth transition to the port with no big pockets behind the seats. I tried to be very conservative there.

In the combustion chambers, I was again just focused on removing sharp edges to eliminate hot spots and smooth things out a little bit. It comes at a very slight cost in terms of compression ratio since I was making the chamber a little larger in volume. I was asking HDS to lop .140 of the heads, so it was of no concern at all.

Triumph TR6 Restoration: machine shop work performed on the engine

I brought the engine block and cylinder to head to Casey down at HDS Autoparts & Machine Shop in Escondido, California. Along with those heavy pieces I dropped off the following:

GP3-110 camshaft; ATI Super Damper; lightweight steel flywheel; new clutch and pressure plate; hardened valve seats; new valves; ARP head studs — all from Goodparts. I brought Casey my matched-weight set of County .020 pistons/rings/pins from Wishbone Classics. I also brought him my crankshaft; new timing gear; and my lightened 640 gram connecting rods. And probably other stuff I’m forgetting. Anyway he got the entire rotating assembly from damper to pressure plate.

HDS cleaned and magnafluxed the engine; bored the block and installed cam bearings; bored the cylinders .020″ and surfaced the block; peened my modified connecting rods; kissed the small end of the rods; modified the rods for ARP rod bolts; installed cast iron valve guides and hardened valve seats; polished the crankshaft; machined .140″ from the cylinder head; and balanced the entire rotating assembly. The compression ratio should be in the area of 9.5:1 with the milled head.

With the matched piston and rod weights, there wasn’t much to do on the rotating assembly except for the pressure plate. As you can see from the photo above, quite a bit of drilling (metal removal) was needed to balance that puppy. Should be smooth sailing, especially with the inherent smoothness of the six.

Postscript: the spec I gave Casey for the valve guide height was from the factory manual. That was a big oops, explained in the engine assembly article later.