1959 Chevrolet Apache: Impetus for the Engine Rebuild

From the day we bought the Apache, it needed an engine rebuild. Perhaps the biggest factor in its poor-running was the Rochester Quadrajet carburetor. I know they are a fine when in good condition, but this one was well past its “use by” date. It was in need of a complete rebuild or replacement.

We tolerated the crappy running motor while busying ourselves with body and interior jobs, and brakes, and steering. Until one day, this happened. The truck had been sitting for three days on a slope with the nose down. I tried to start it but the battery wasn’t strong enough to turn it over. After charging it up for half an hour, I checked the voltage and gave it another try. Still it wouldn’t turn over!

Inspecting the engine, I noticed a couple little puddles of gasoline on the intake manifold. Then the light bulb went on… I reckoned that the Q-Jet’s floats had caused the needle valve to stay open, filling the motor with gasoline. Remember, the Apache’s fuel tank sits high, inside the cab. I pulled a spark plug and found that, sure enough, the engine was locked up because the cylinders were full of premium unleaded.

So, I removed the rest of the spark plugs and cranked over the engine, pumping the gas out of the cylinders. I’m not sure if the idea of getting started with the engine rebuild came before or after the fireball. I do know the fireball looked impressive from the driver’s seat. And Russel’s response time with the fire extinguisher was also impressive. These events provided the final impetus to get going on the rebuild, and the final nail in the coffin for the Q-jet.

p.s.:  DO remember to disconnect coil wire next time.

Fire extinguisher should be a fixture in every shop
Good idea to have two or three of these around.

I visited a couple of local machine shops specializing in engine rebuilding and estimated that I could expect to pay at least $1200 for a complete rebuild. I trusted both of these shops and knew they would deliver a solid value, and it was tempting to just load the engine into the pickup and get it back a week later ready to install.

Instead, we decided to save some bucks and have a go at the rebuild ourselves… something Russel and I had always looked forward to doing. Tallying the bills after we finished showed we spent a little less than $500 on the rebuild plus another $290 (which would have been added to the professional build, as well) for a used Edelbrock carburetor and manifold. Check out the engine rebuild article for details.

1959 Chevrolet Apache: 350 Engine Rebuild

Hoisting 350 engine from 1959 Chevy truck
The old boat anchor is hoisted.

First order of business:  pulling the engine. With a chain hoist strapped to the cross beam of our lift, and after first removing the Saginaw transmission, it wasn’t difficult to remove the engine without assistance.

1959 Apache engine on table for flywheel removal
Pause for flywheel removal.


After the engine block was stripped, the expansion plugs were removed, along with the oil gallery plugs. The only problematic ones were the three threaded oil gallery plugs at the back of the block. With these we applied penetrating oil, heat, a long breaker bar, and brute strength. In one case we needed to drill through the plug and use a bolt extractor, taking care not to damage the threads in the block.

350 engine stripped down during rebuild
The tear down.

Brushes, scrapers, a pressure washer, and compressed air were used to thoroughly clean every nook and cranny of the block. This engine ran hot, and after seeing how much rusty, flaky, corroded metal we blew out of the water jackets, it was no surprise. We cleaned up every hole that was going to have a bolt threaded in, used scrapers and scouring pads on all sealing surfaces, used brushes and air in all the oil passages, and followed with more pressure washing. WD-40 was used to prevent the cylinders and bearing journals from rusting.

350 Chevrolet engine, cleaning the oil passages
Clean everything… three times!

After the tedious job of measuring the cylinder bores at the bottom, middle, and top in two perpendicular directions (with a telescoping gauge and caliper), we were satisfied that we could just hone the cylinders and install new rings on the old pistons. Most of the clean up was done with a 240 grit rigid hone, but to produce a better cross-hatch we switched to a flex-hone to finish the cylinders. A final wash with water and a cylinder brush, followed by another coat of WD-40, and the cylinder work was checked off.

Cleaning 350 Chevrolet engine water jackets
Our junior mechanic, Tommy, blowing out the water jackets.

The crankshaft journals were cleaned up with 2000 grit sandpaper, cut into strips. We used our telescoping gauge, caliper, and micrometer to determine which bearing shells to order. Then we picked up some plastigage at the parts store, and installed the caps to the recommended torque to confirm that our new (standard size) main bearings and rod bearings were within spec.

We had purchased a $32 camshaft bearing tool  and used it to remove the old and install the new cam bearings. Then we slid the new 1103 camshaft from Summit Racing (slightly more aggressive than the stock camshaft), new lifters, pushrods, rocker arms, gaskets, and valve covers. We decided to put the 487 heads on the shelf for future fun (porting practice), and instead used the 624 heads that we had in the barn. These particular heads have smaller combustion chambers (58 cc versus 76 cc) and valves, but the main motivation was that they were ready to install.

bottom end view of 350 engine during rebuild
Bottom end coming together.

We felt the reduced valve sizes didn’t matter with this truck, since we weren’t going racing with it and didn’t care about power up high in the rpm range. We do like torque. The combination of the 1103 camshaft, the increase in compression ratio, the Edelbrock 1406 carburetor on a Performer manifold, plus new rings sealing the pistons in our freshly honed cylinders resulted in a very nice motor for the Apache.

The rebuild included a new oil pump, fuel pump, water pump, oil pan, spark plugs and wires, harmonic balancer, timing chain set, timing chain cover, and gaskets. We purchased an HEI distributor, but then decided we didn’t want to tear up the carpet and tunnel to accommodate the bigger cap. We stuck with our Pertronix setup and an external coil.

1959 Chevrolet Apache 350 V8 engine on stand after rebuild
Nearly there.

Excluding the Edelbrock carb and manifold, which cost us $290, the rebuild came to just under $500. Based on the estimate of $1200 for a professional rebuild – by a trusted machine shop – it amounted to quite a saving. Plus, we really wanted to rebuild an engine ourselves… the Apache was the perfect opportunity.

Rebuilt 350 engine re-installed in 1959 Apache truck
Home again.

1956 Chevrolet 3600: Starting Work on the Farm Truck

After finally getting the ’59 Apache painted and back on the road, we were ready to begin on the “farm truck.” It didn’t take long to figure out that the 3/4 ton truck was going to be more problematic regarding parts. They tended to vary between unobtainium and ridiculously expensive. But, since the truck has been in the Lewie’s family for fifty years, we all felt that restoring 3600 flatbed to it’s former glory was preferable to converting various systems to half-ton spec.

Chevrolet 235 six firing order
Time to learn a new firing order… the venerable 235 six.

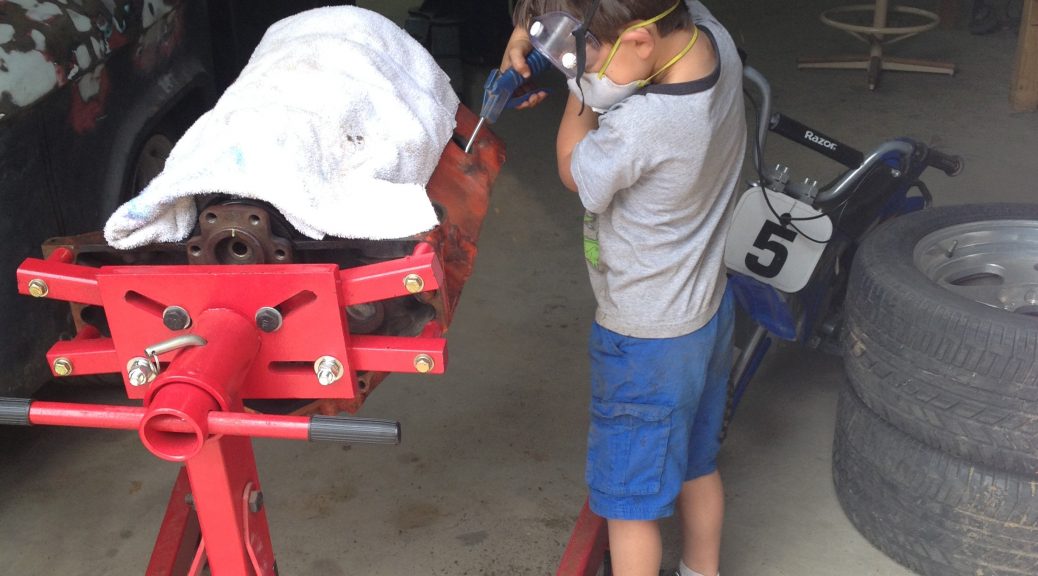
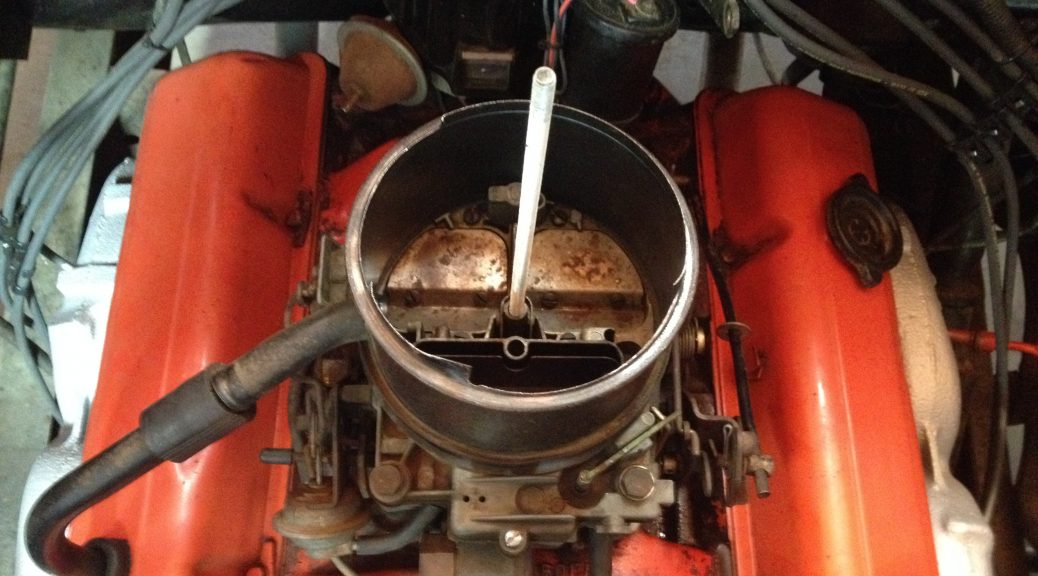
We performed a couple of reasonably quick and easy checks of the engine which confirmed that the easy starting, smooth running 235 straight six was in good condition.

Chevrolet 235 six compression test results
Not bad for a sixty year old engine!

We checked the compression dry and then wet, and were satisfied with those results. We intended to follow with a leak down check, but the rib cages were screaming for mercy after reaching for those rear cylinders, so we moved on to the vacuum test…  it couldn’t have looked much better. We can put an engine refresh on the back burner for now. There are a couple leaks that need to be dealt with, but nothing major.

Chevrolet 235 six manifold vacuum test result
Looking good and instilling confidence.


Flatbed Disassembly

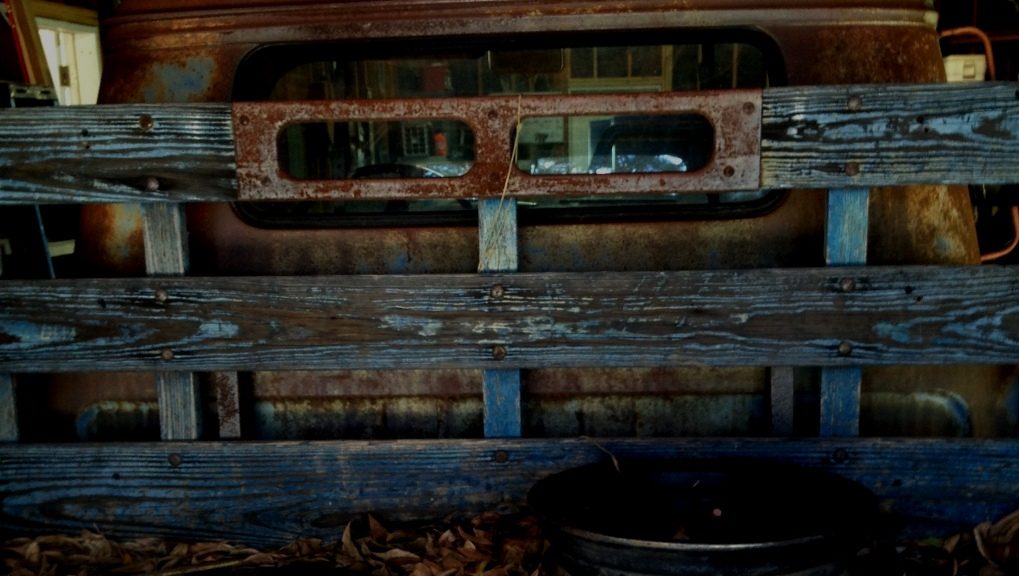
Next we decided to disassemble the flatbed to make it presentable again. We determined that we could use the existing planks if they were flipped over, but the metal strips were too rusty to re-use.

Flat bed lifted off of 1956 Chevrolet 3600 truck
LIft off!

Mar-K Manufacturing in Oklahoma City makes replacement metal strips. We filled out the online form with the required dimensions:  overall length, location of the bolt holes, size of the bolt holes, and quantity. Within a few hours, we had a price quote for our nine strips ($14 each, plus a setup fee and shipping).

Disassembly of the Chevy 3600 flat bed
Ready for disassembly.

Removing the rear of the flatbed frame allowed us to slide the 1.25″ thick planks out the back. The planks are 92″ long and of varying widths, and the top side has been routed and grooved so that the strips sit more level with the wood surface and lock the adjacent planks together.

Wood beam supporting the flatbed was rotted in one area
Wood at the front of this beam is soft and collapsed where the bolts pass through.

We found that one of the two main fore-aft beams supporting the flatbed was rotted out and soft at the front, so we will need to graft on a new piece or have a complete new beam built to spec. More on that later.

Flatbed parts for the 1956 Chevy truck disassembled
Keeping the barn tidy… all the flatbed pieces on one cart.