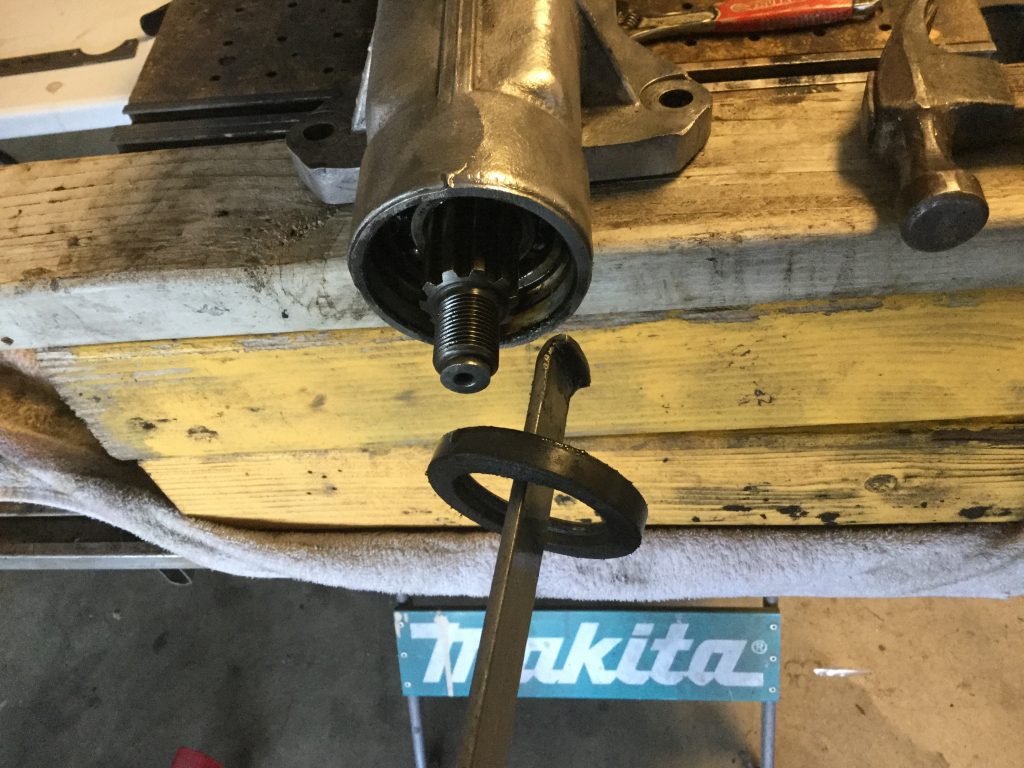
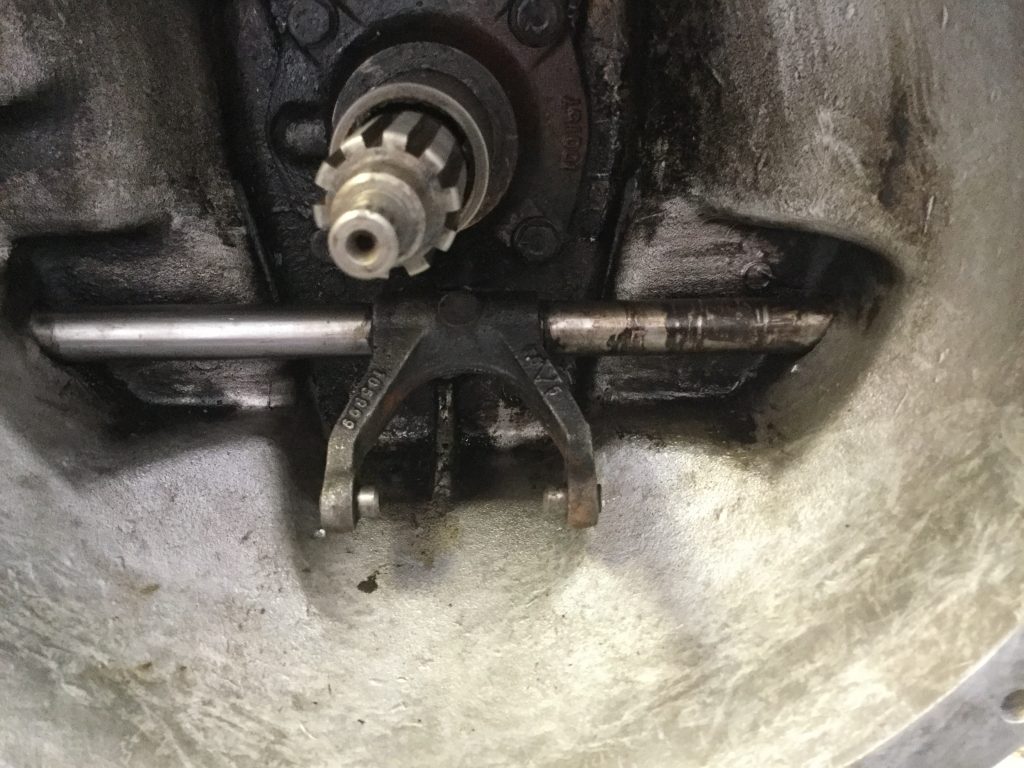
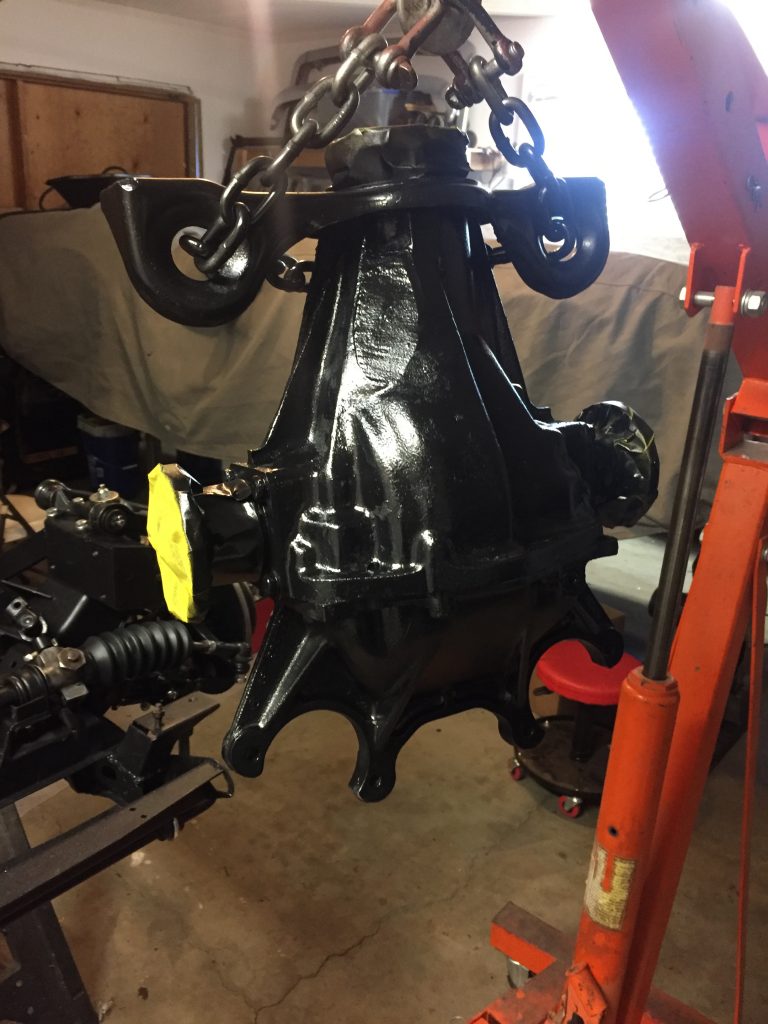
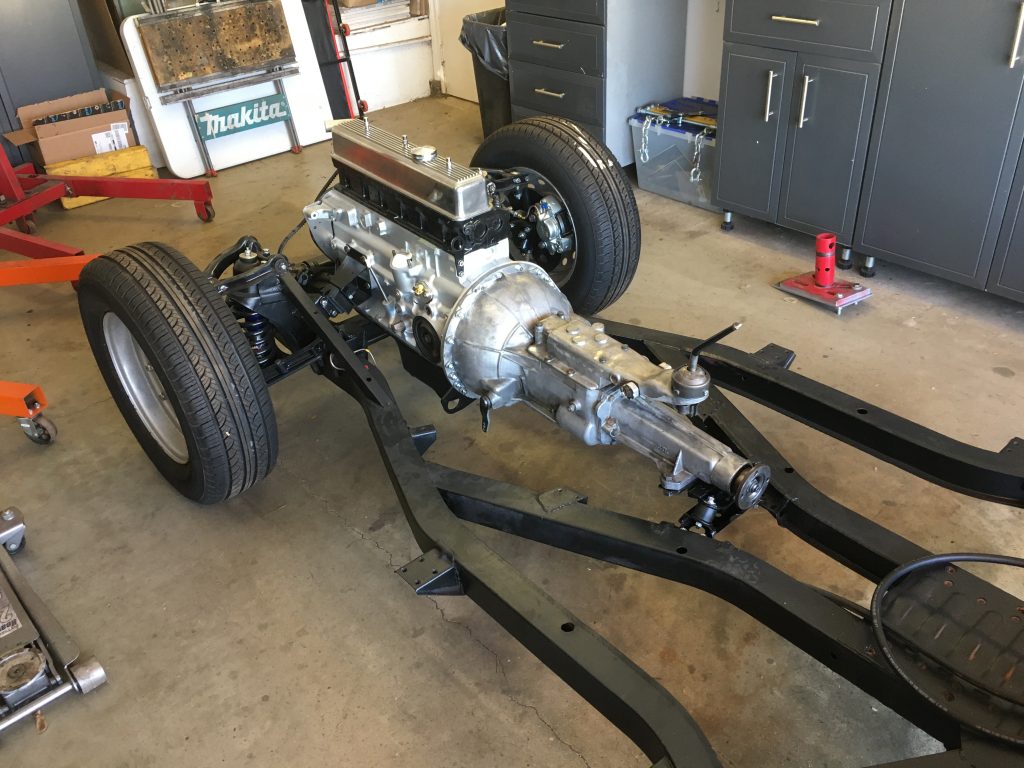
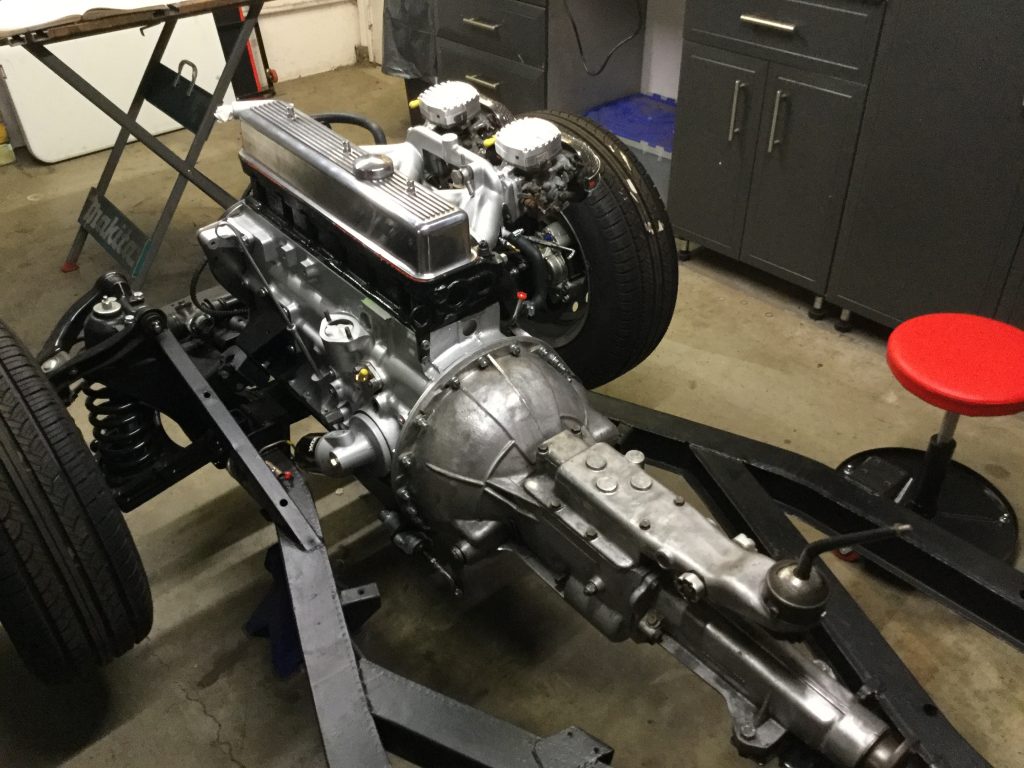
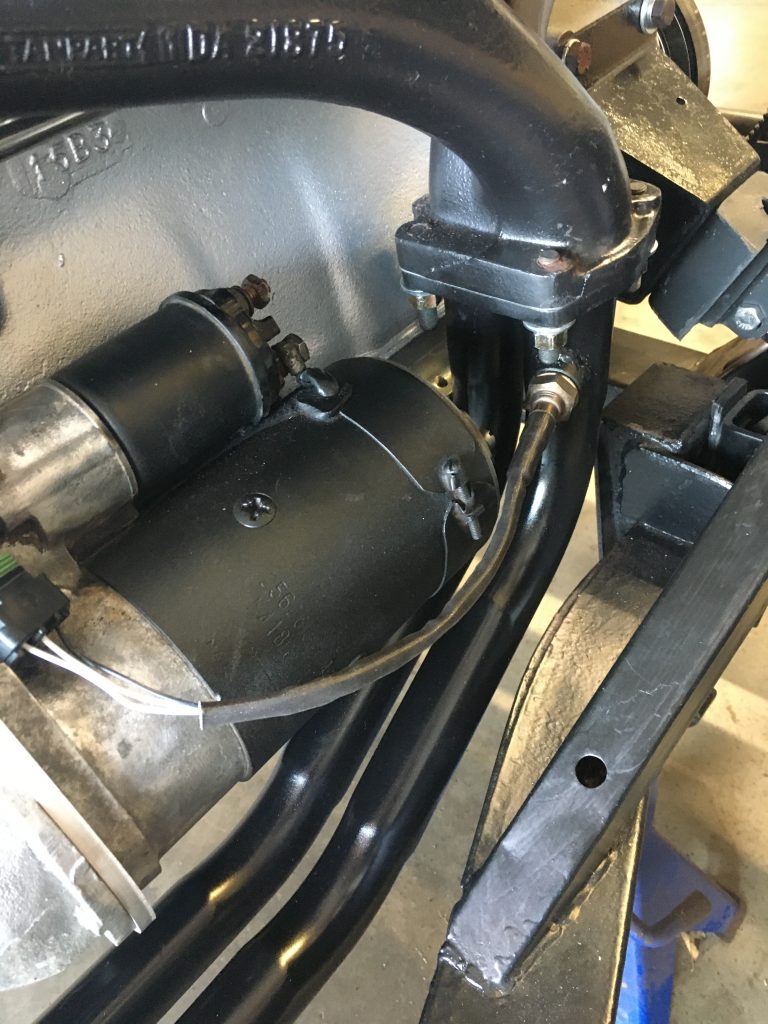
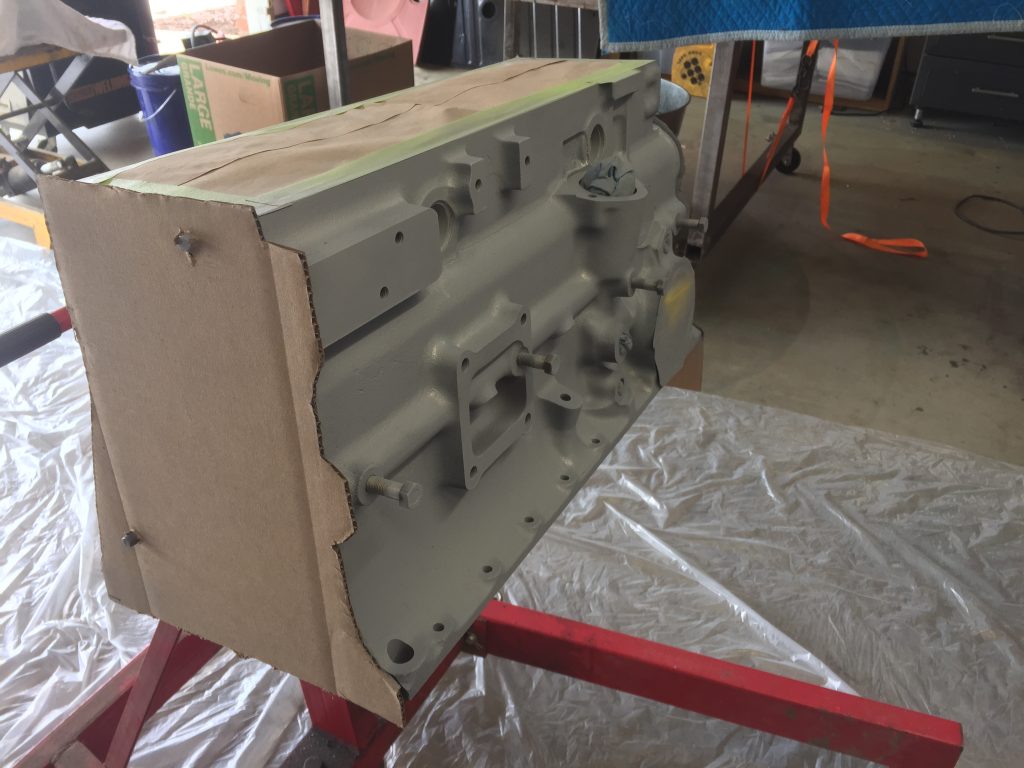
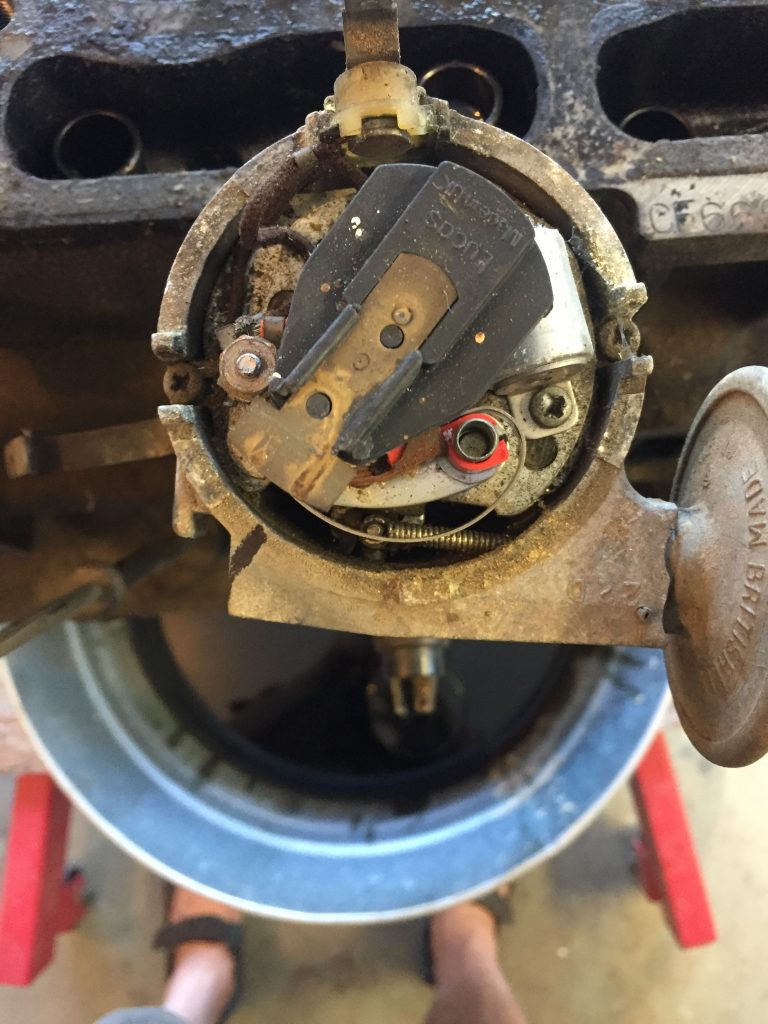
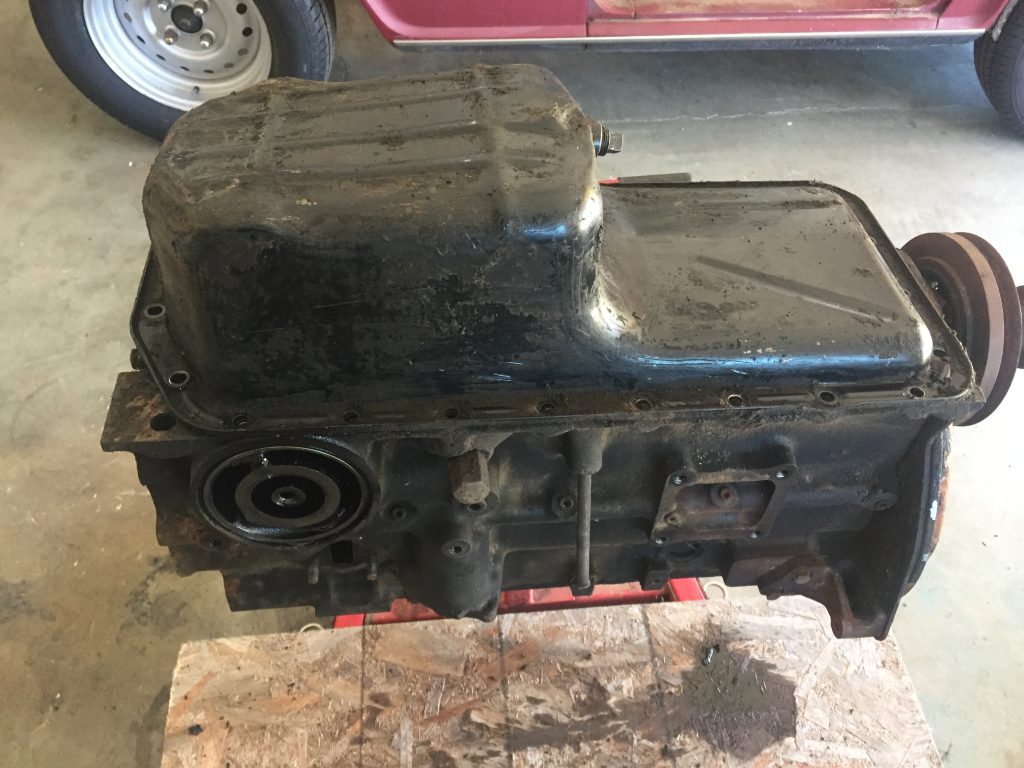
Time for trans cleanupTool I made for pulling trans sealsFront seal, too, plus hardwareTime to marry the two Diff cleanupAnd paintDiff mount stabilizer cupsStarter just clearing the O2 sensor (TBI)Stainless pipes from manifold backCoil would be replaced later with Sport CoilHigh temp ceramic paintGetting ready to spin the oil pump
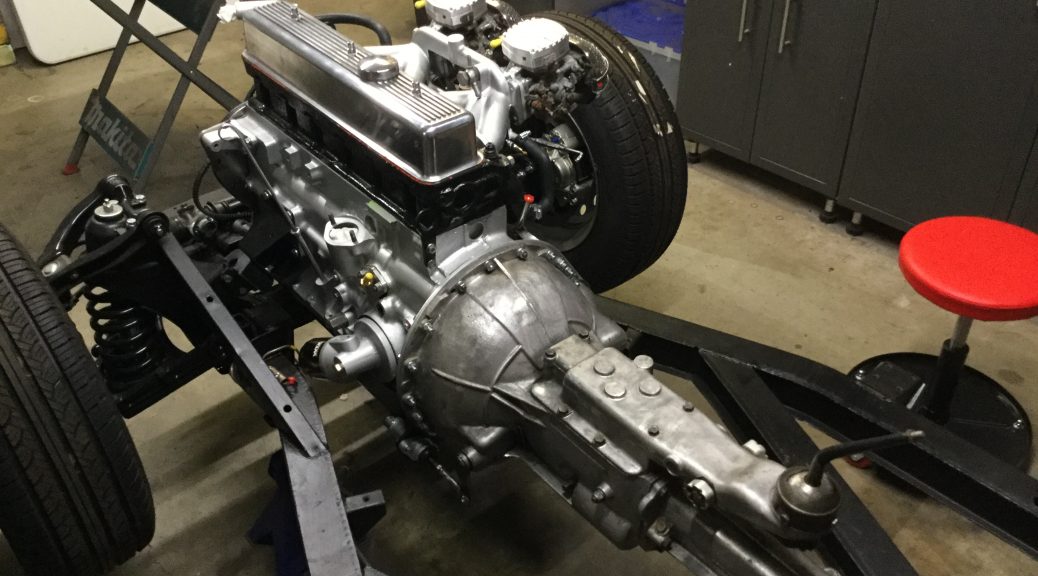
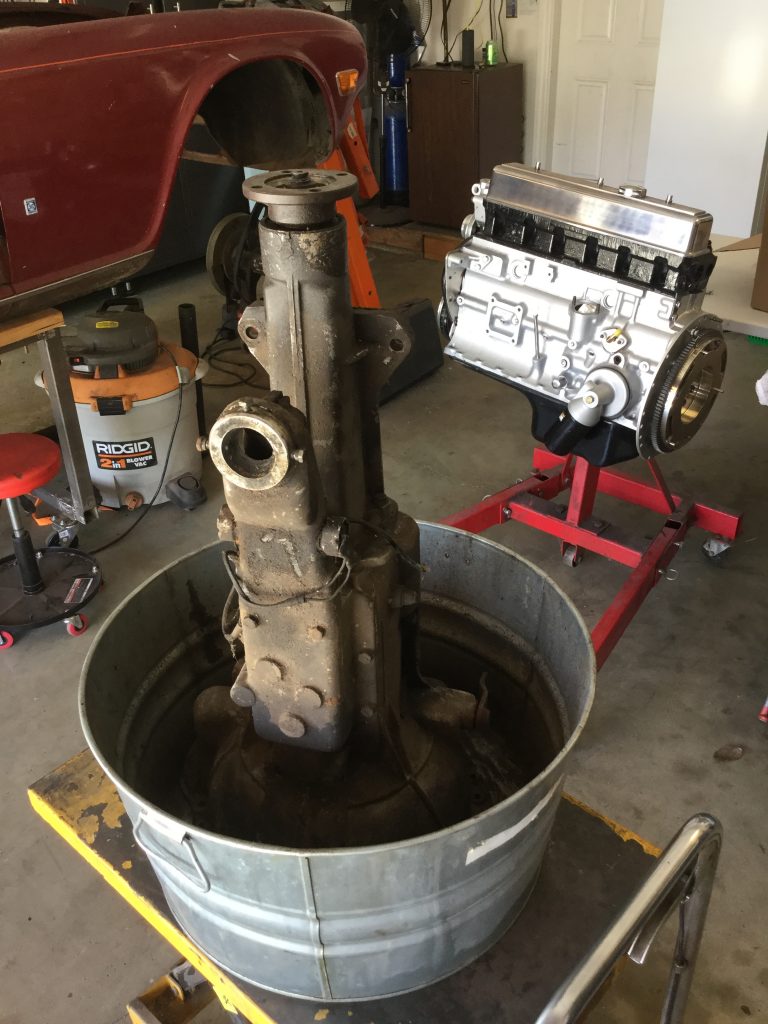
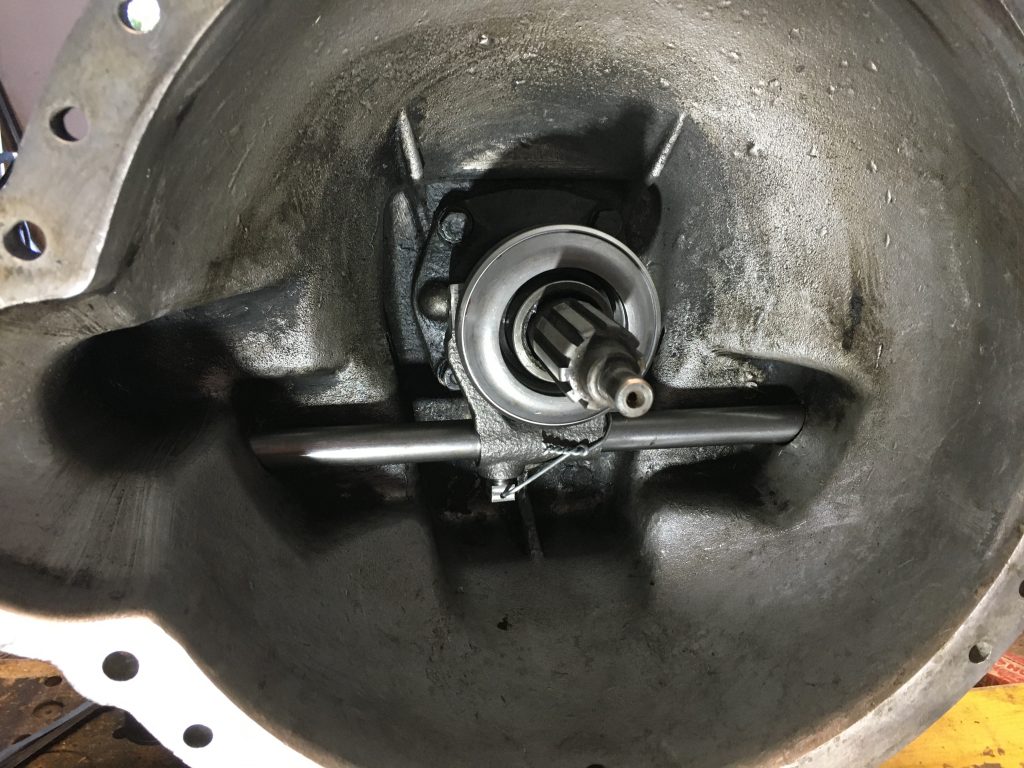
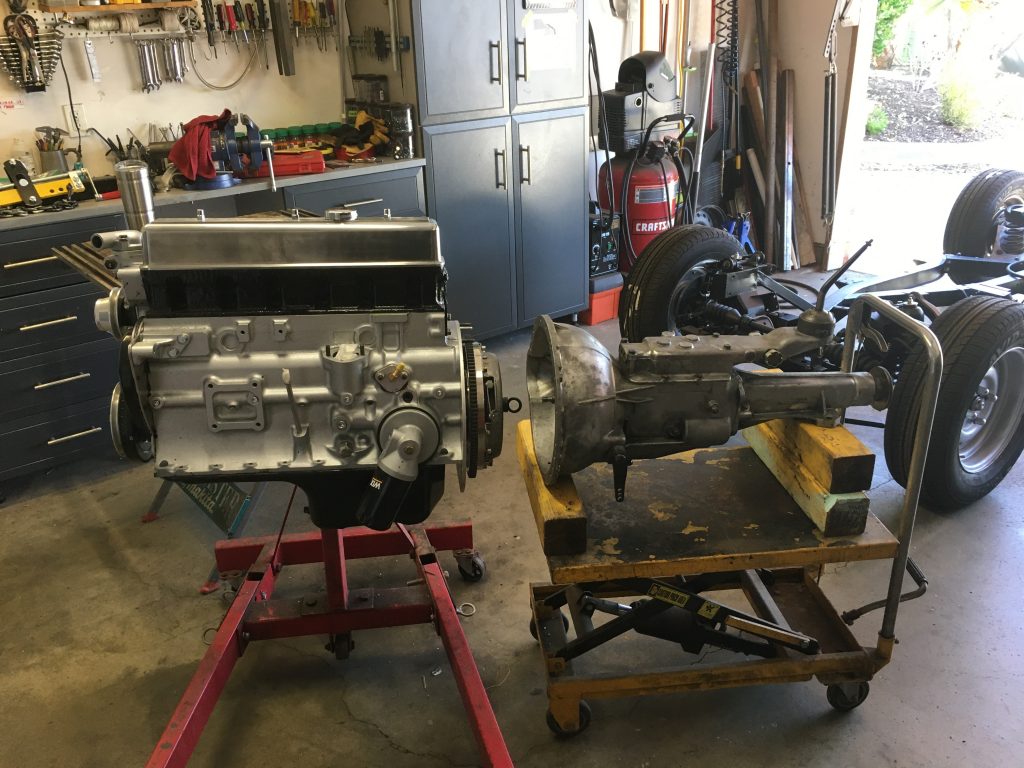
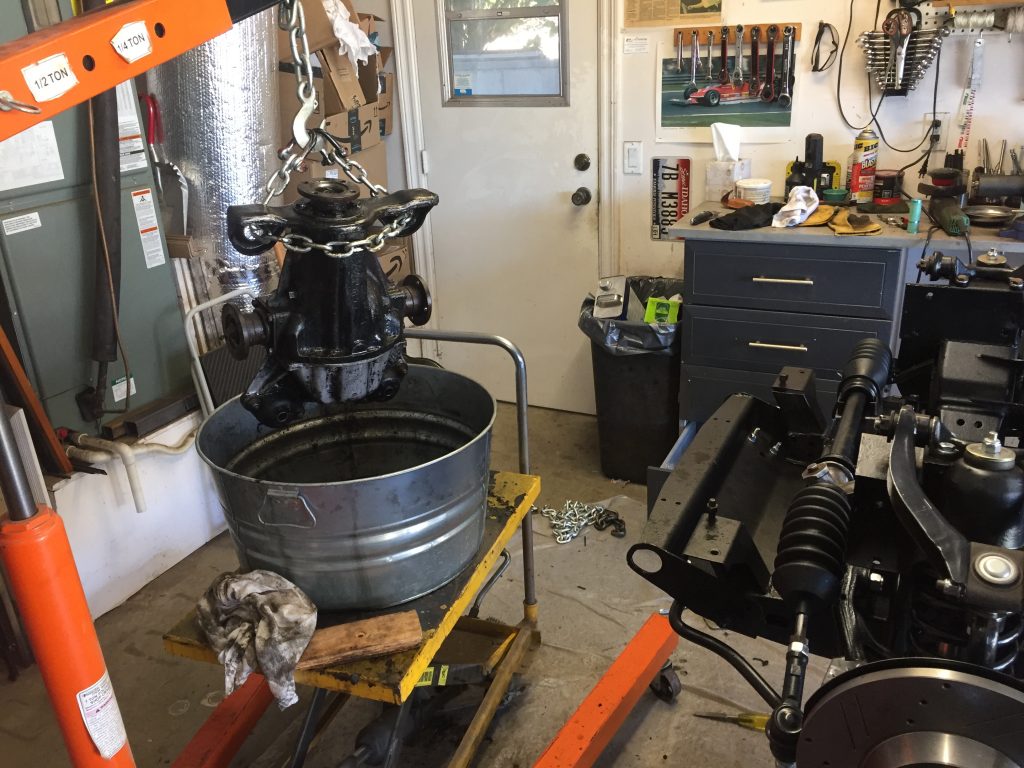
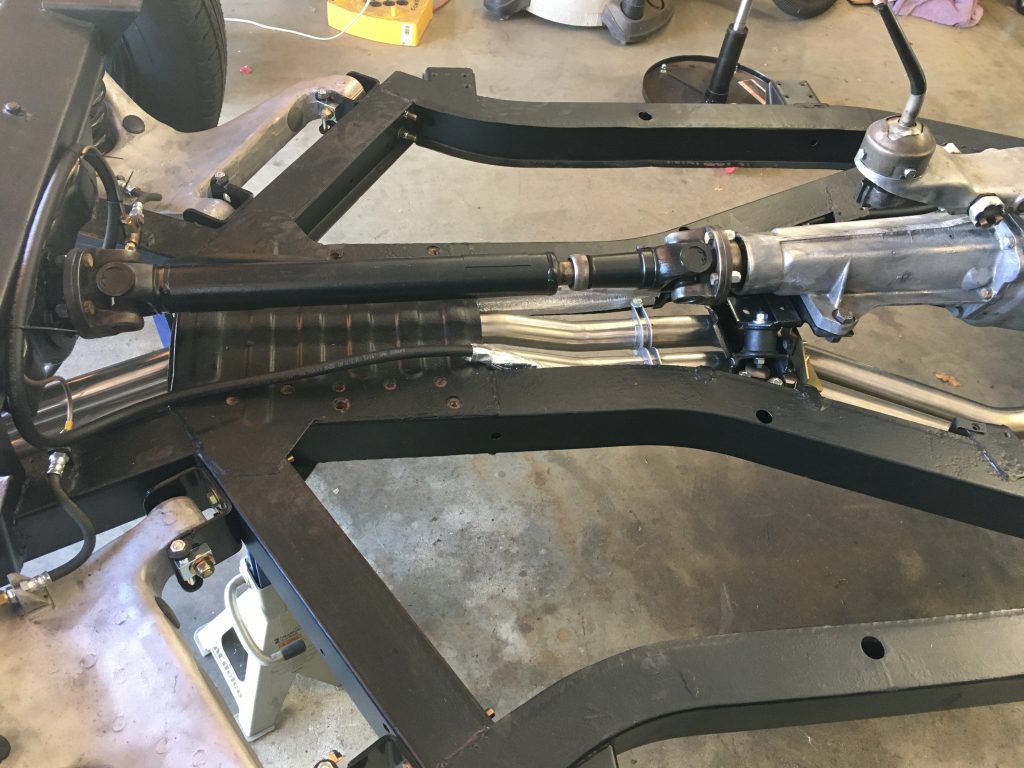
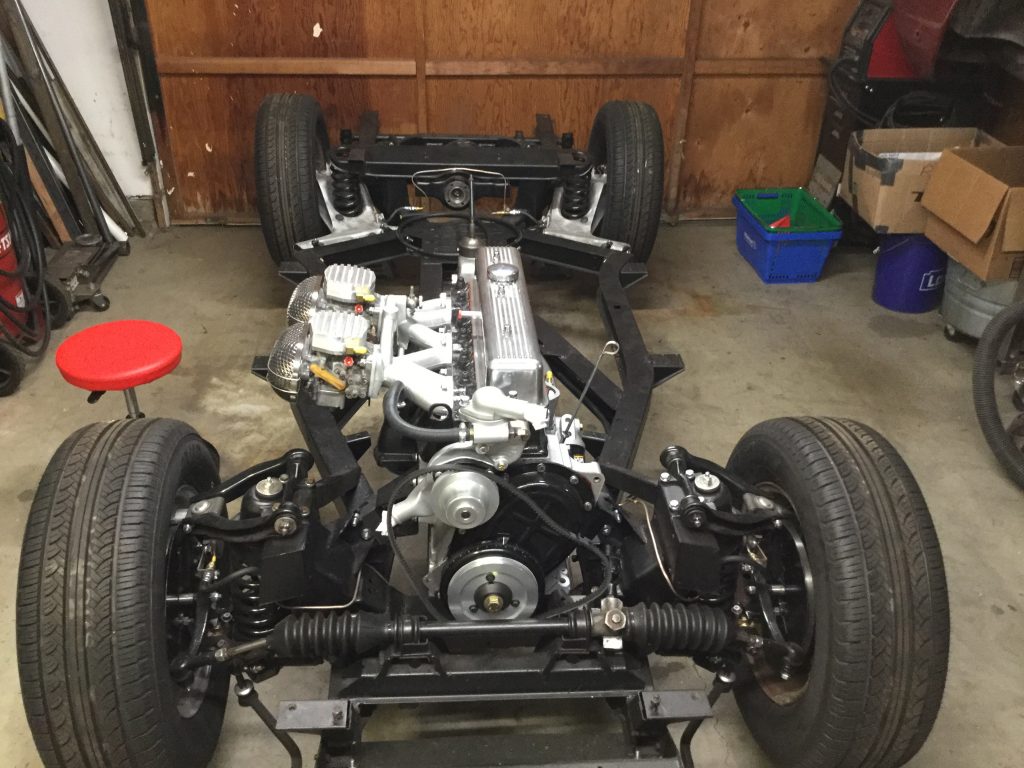
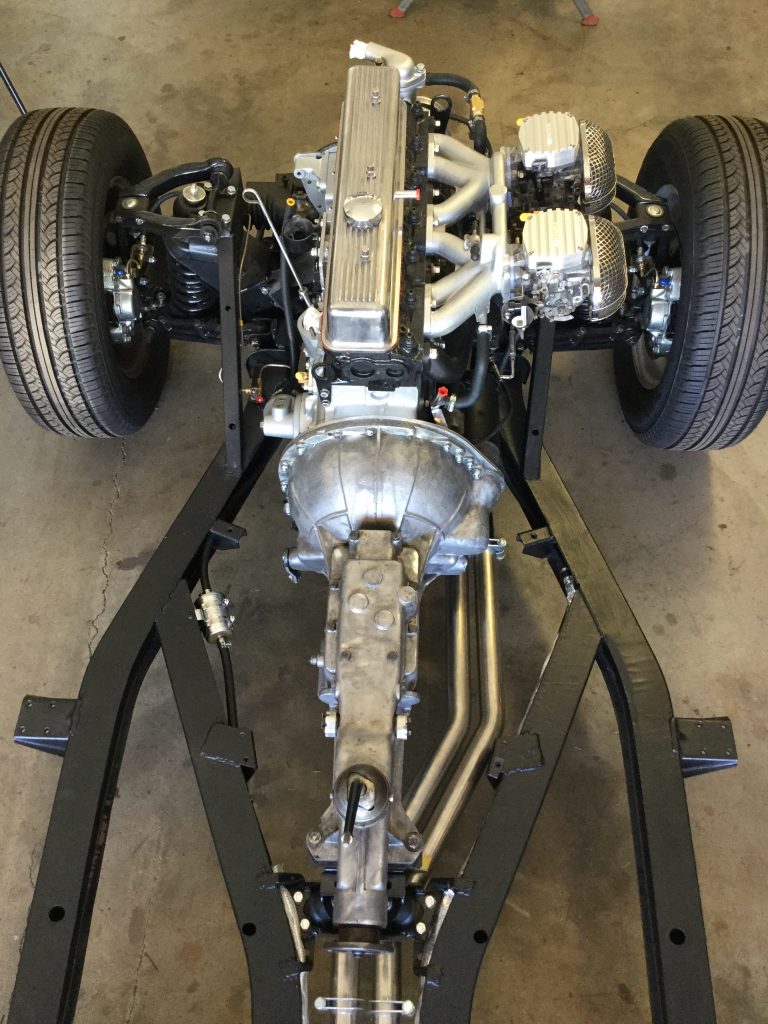
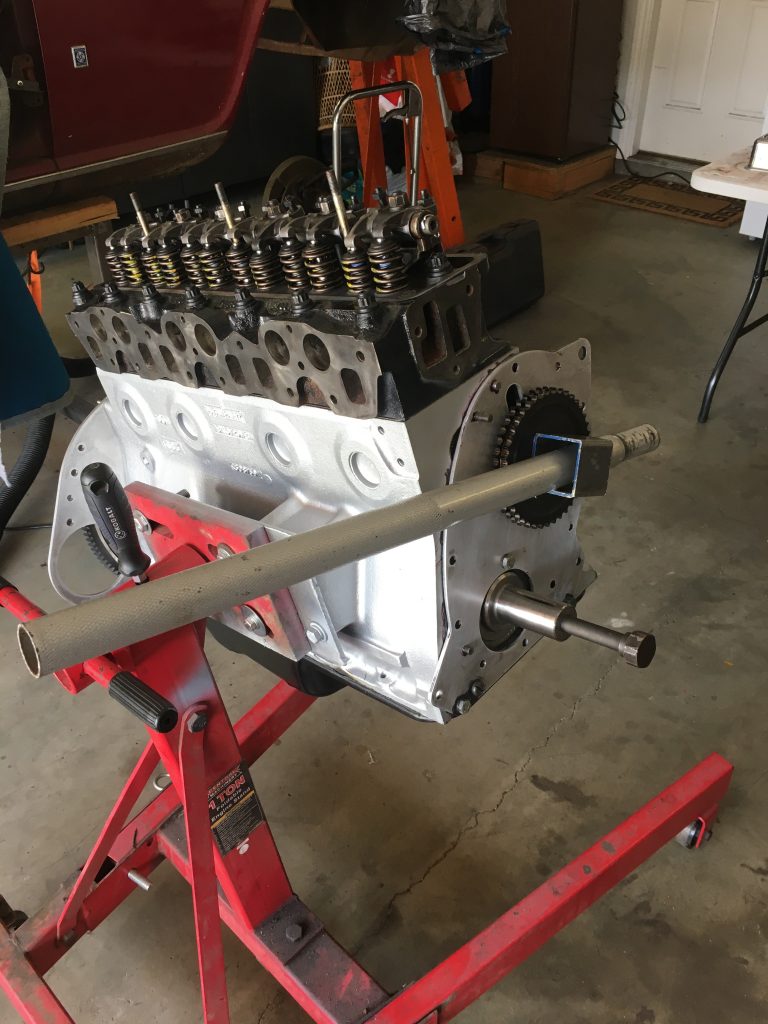
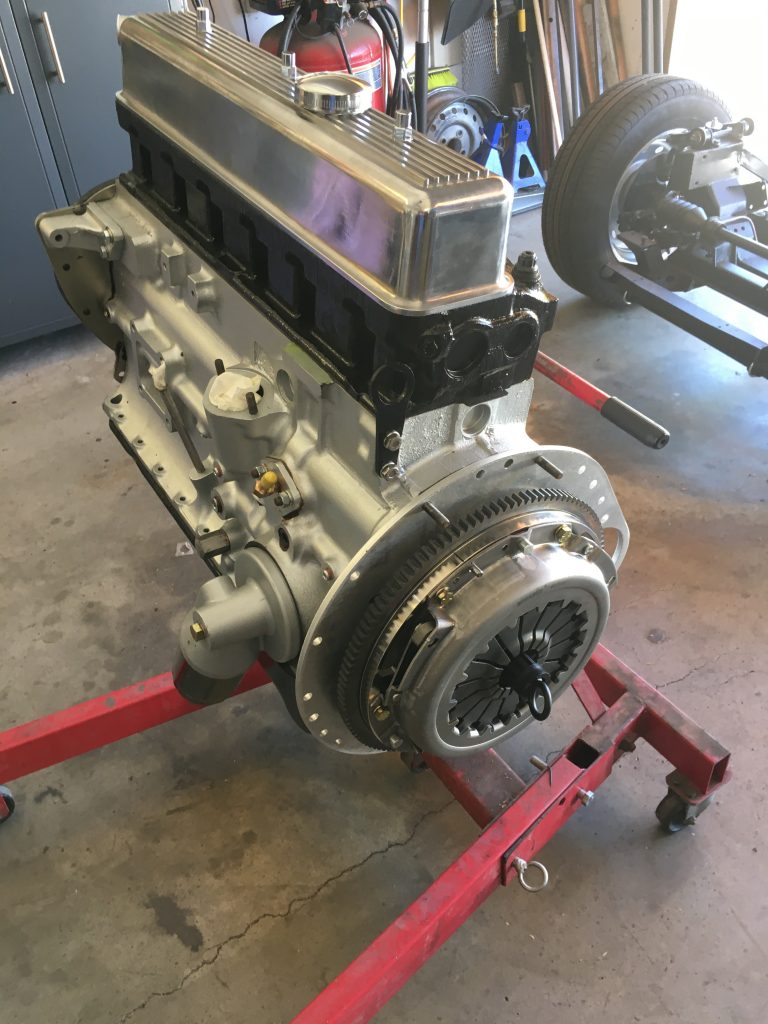
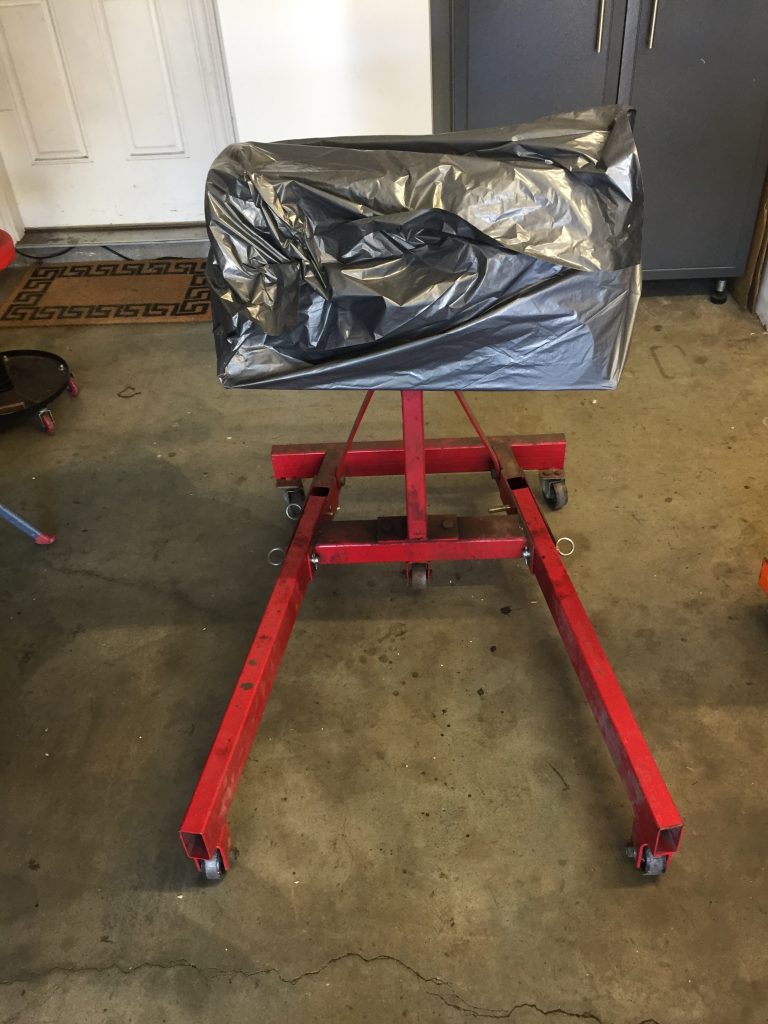
Installing the engine and transmission went smoothly, with the assistance of a friend to guide it into place. The hoist (tempted to capitalize and bold that word, it came in so handy) was used not only for installation, but also for the cleanup of the transmission as I hung it over a tub. The previous owner indicated that it shifted fine so I did not open it up. Just cleaned it, replaced front and rear seals and the clutch bits at the front of the transmission (throwout bearing, fork, and shaft). I did spin the trans with a drill to make sure the gears did in fact work.
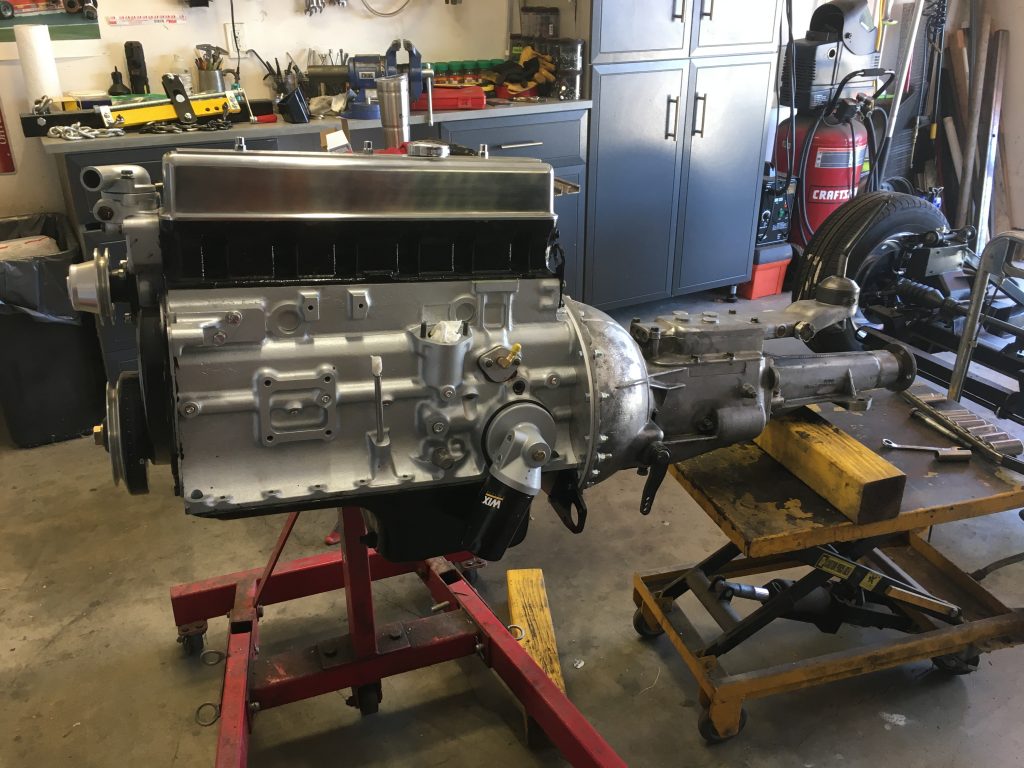
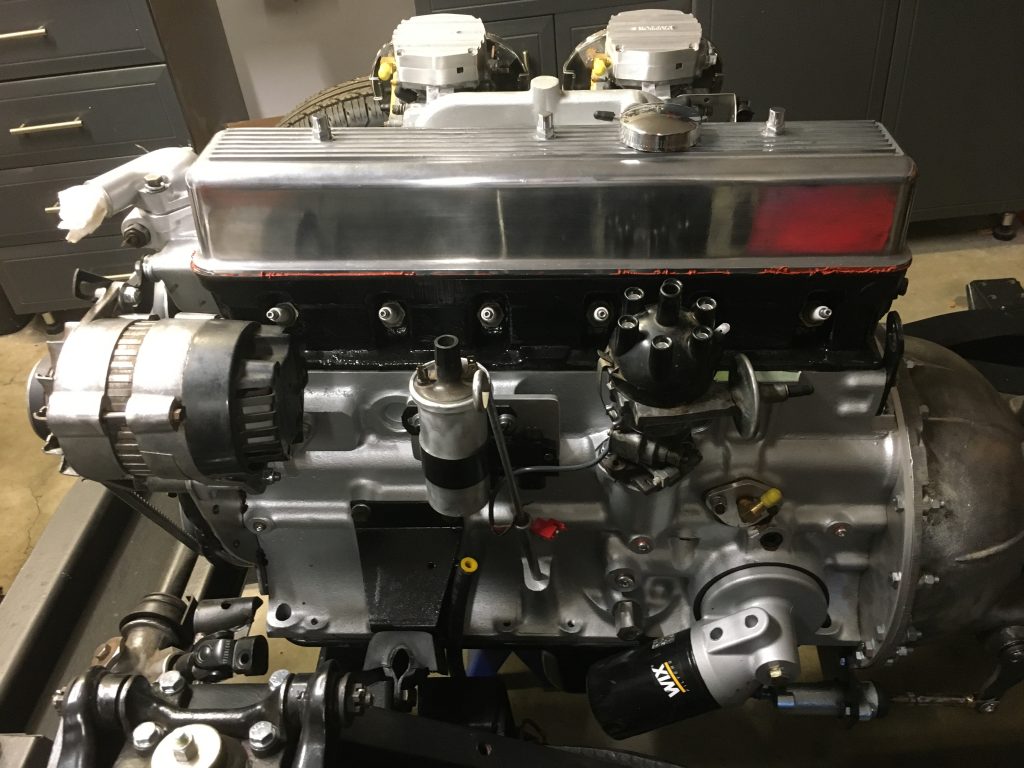
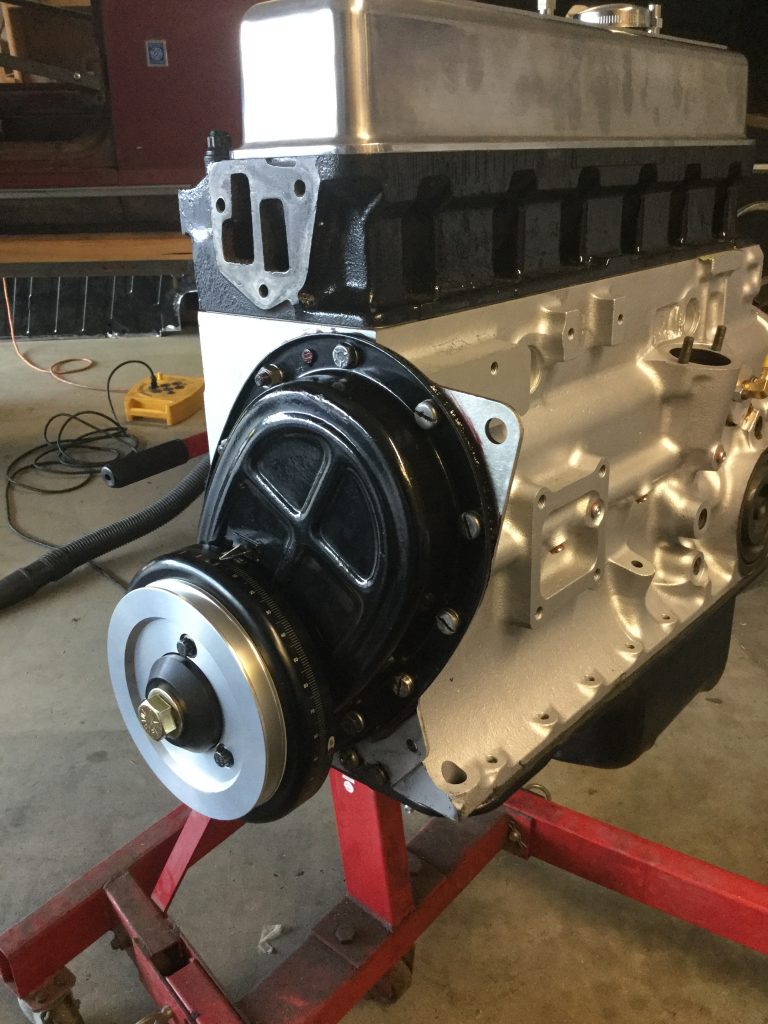
After reading about heat and noise factors in the various forums, I decided to stay with a stock exhaust system. The manifold is stout, the stainless steel pipes guarantee a long life, there was no need to worry about fitting headers, and the exhaust note with the stock system, including the muffler, is perfect.
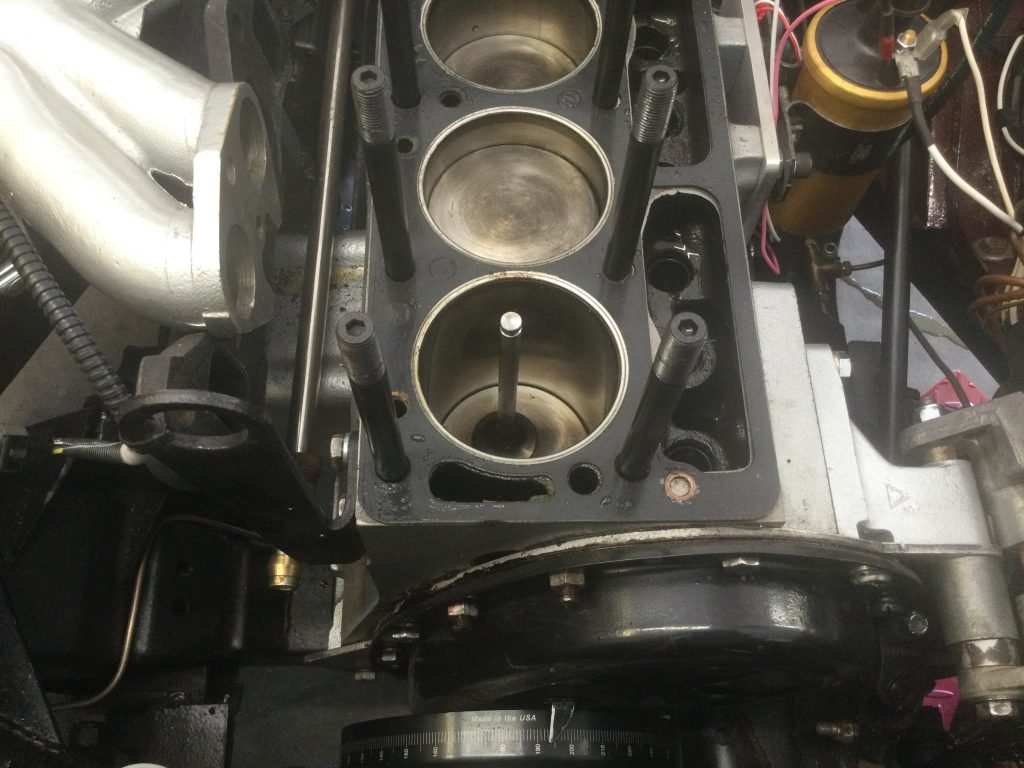
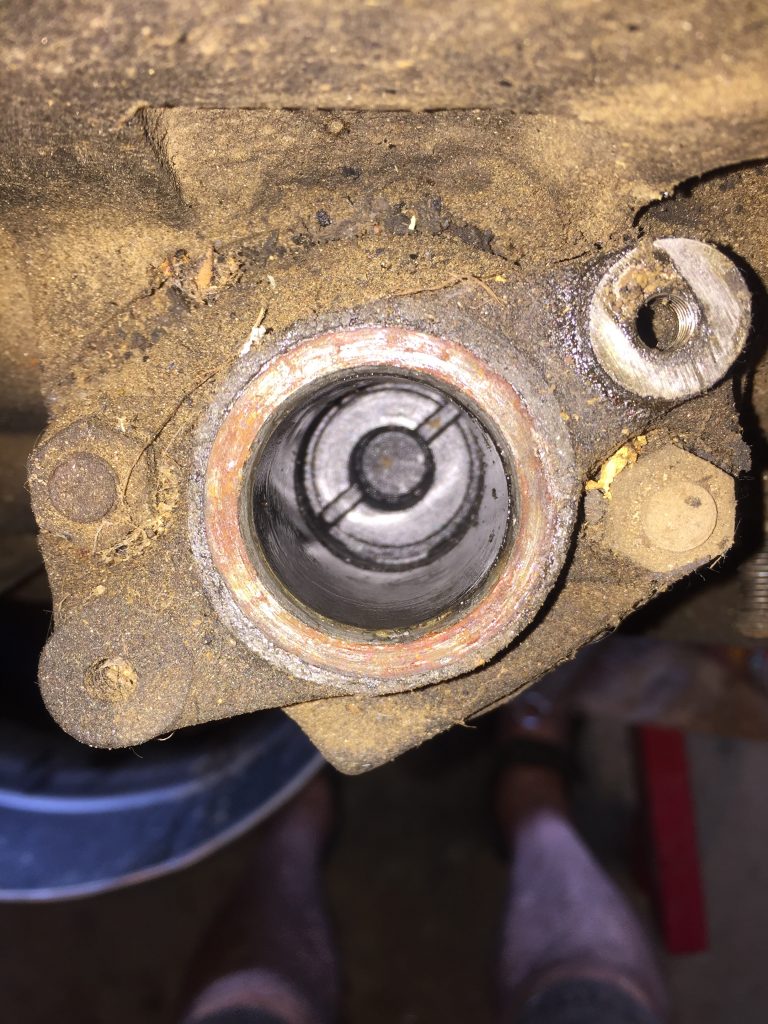
I added a bung into one of the downpipes for the O2 sensor, which is one of the inputs to the TBI computer. It just barely cleared the original starter, so I could have aimed it slightly more to the outside. Of course a single downpipe would have made more sense for the O2 reading but the ’73 is the dual downpipe manifold system so the bung was welded into the more accessible outside downpipe. It seems to work fine this way… no problems with the way the engine starts and runs.
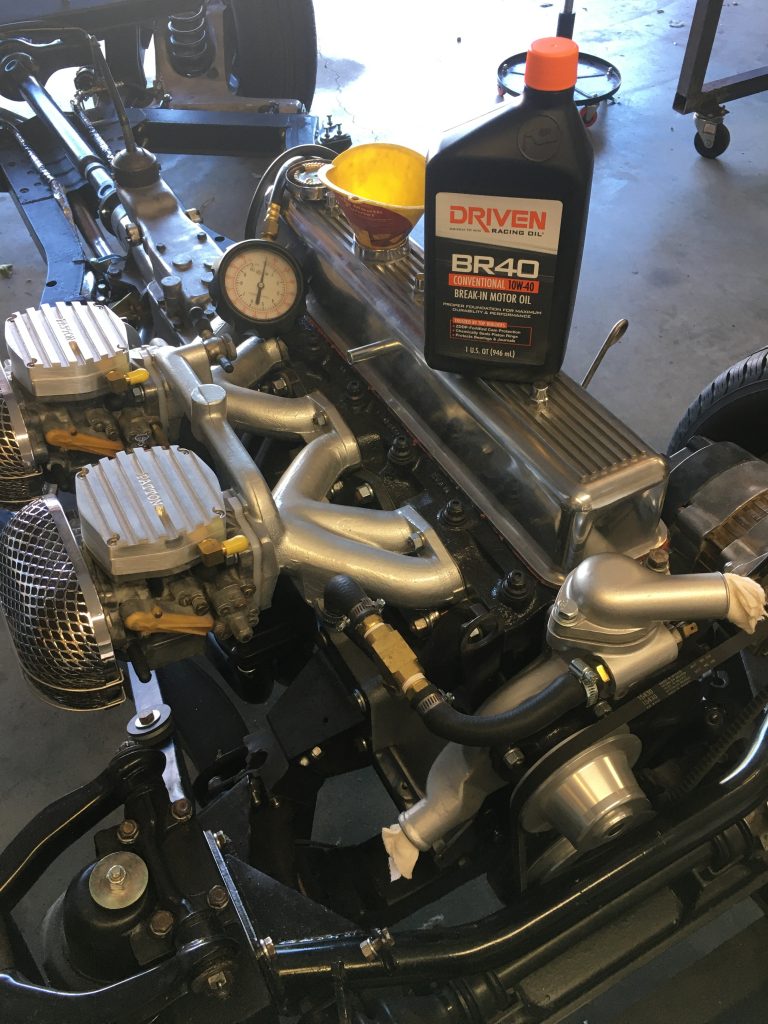
Even though I was months away from actually starting the engine, I decided to fill the engine with oil and spin the oil pump with my drill to make sure I had oil pressure before going any further. I used Driven 10w40 break in oil.
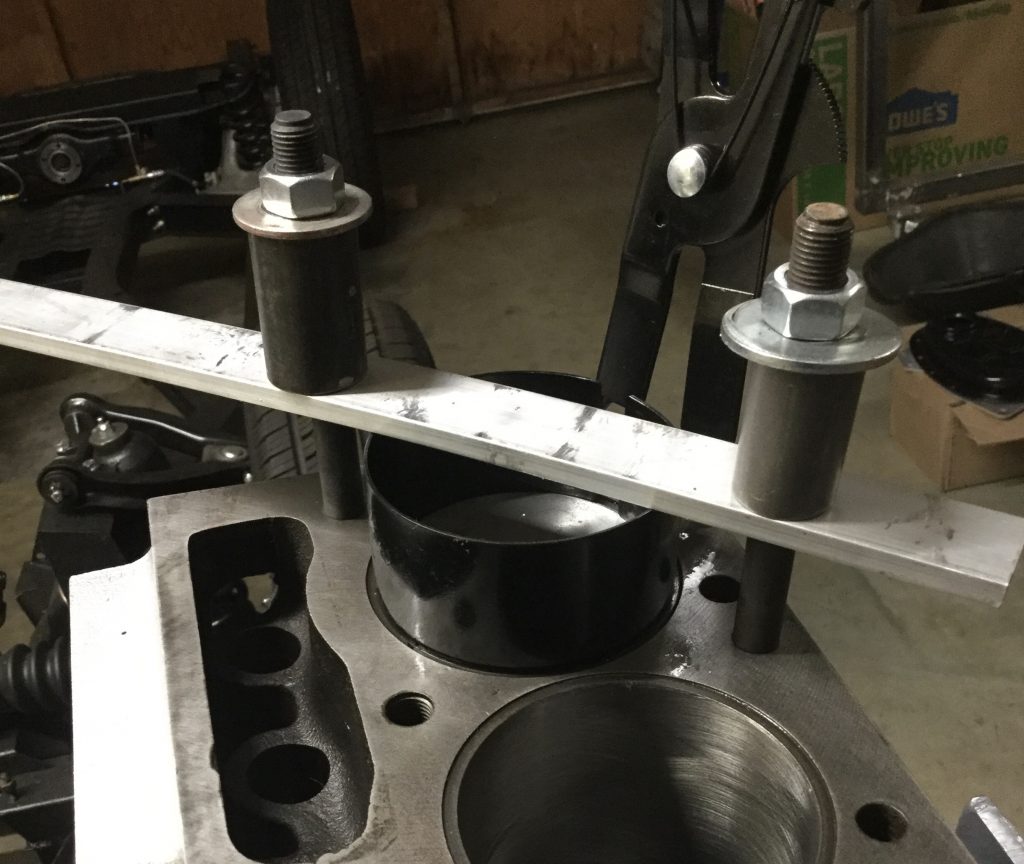
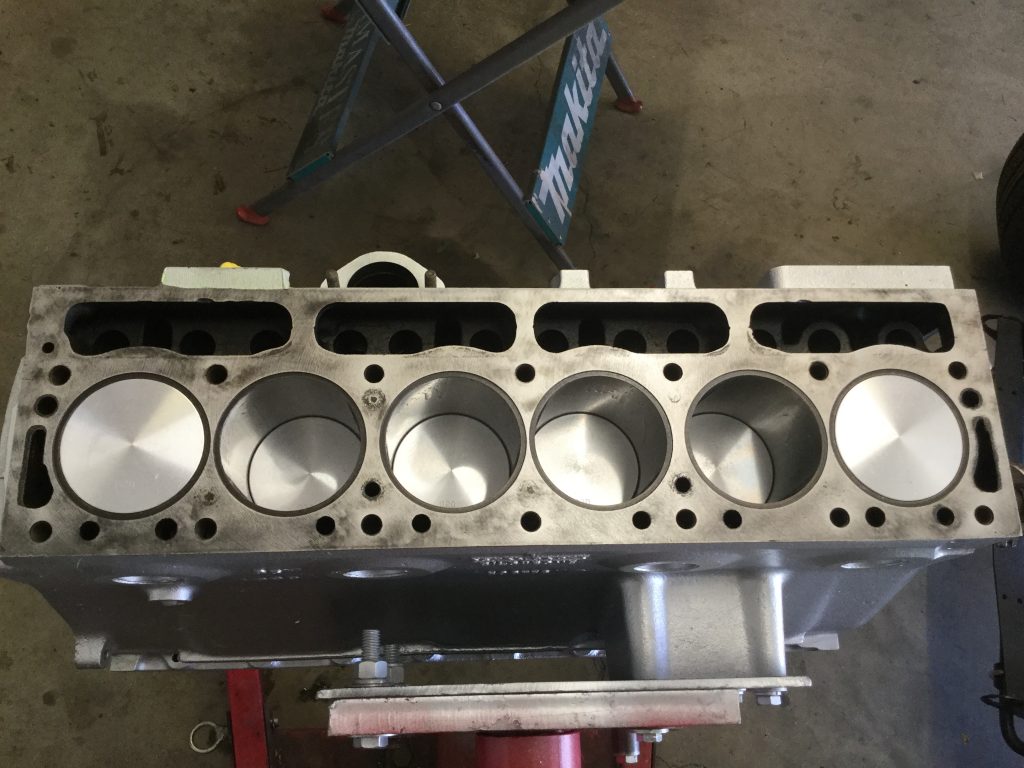
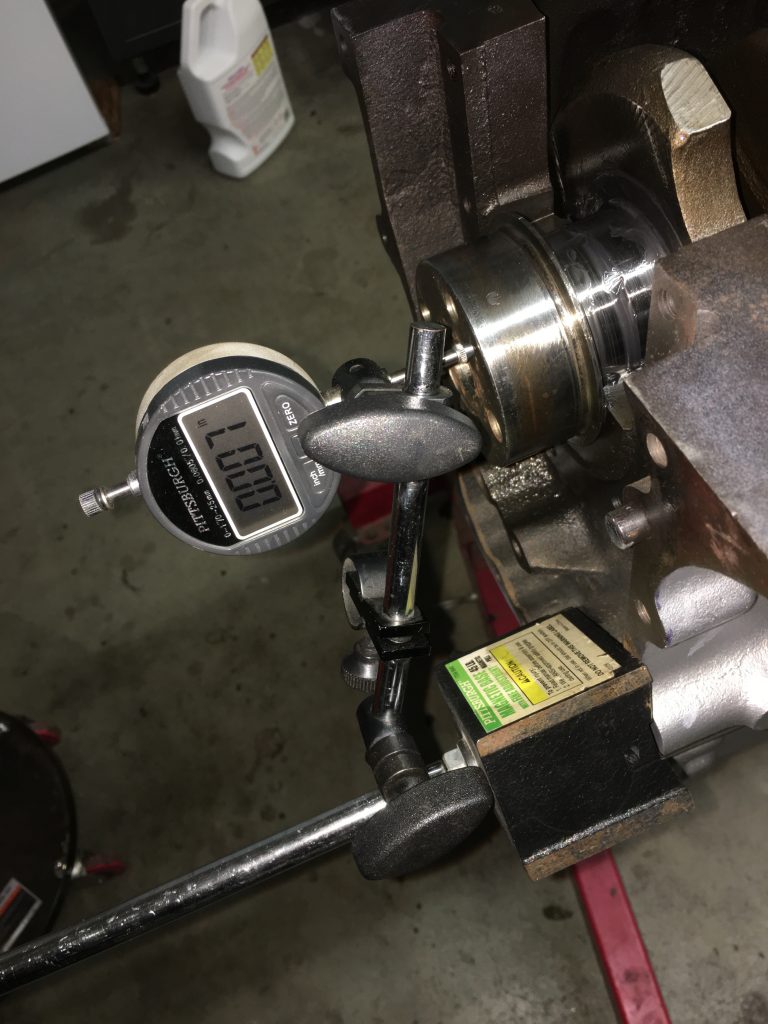
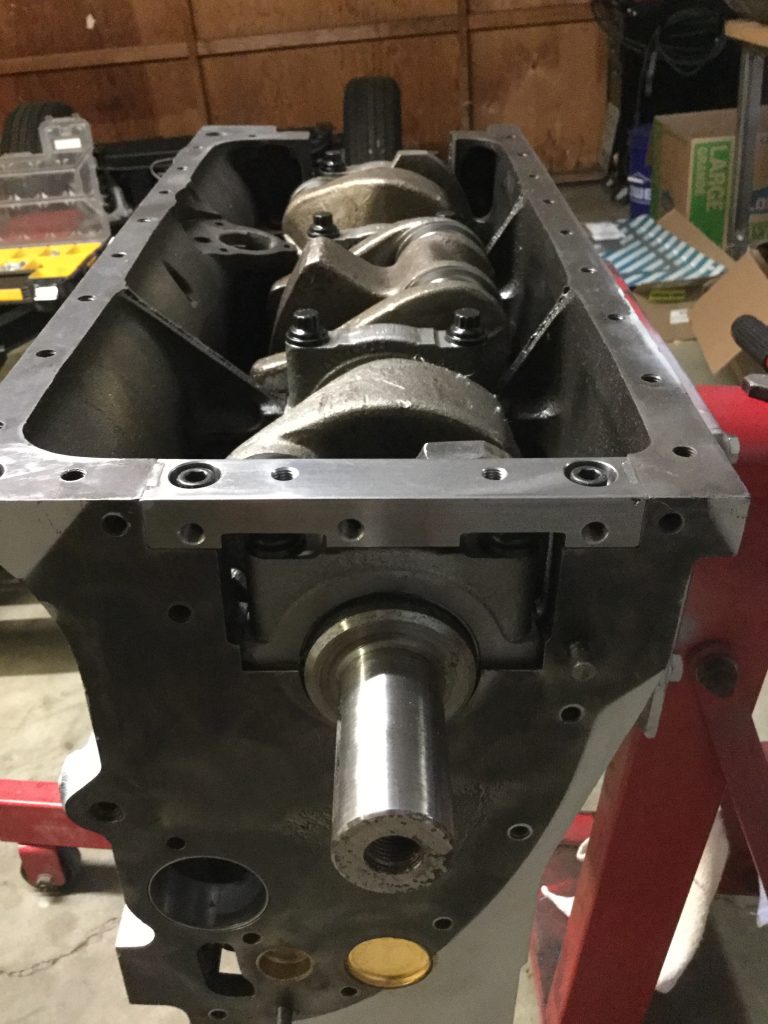
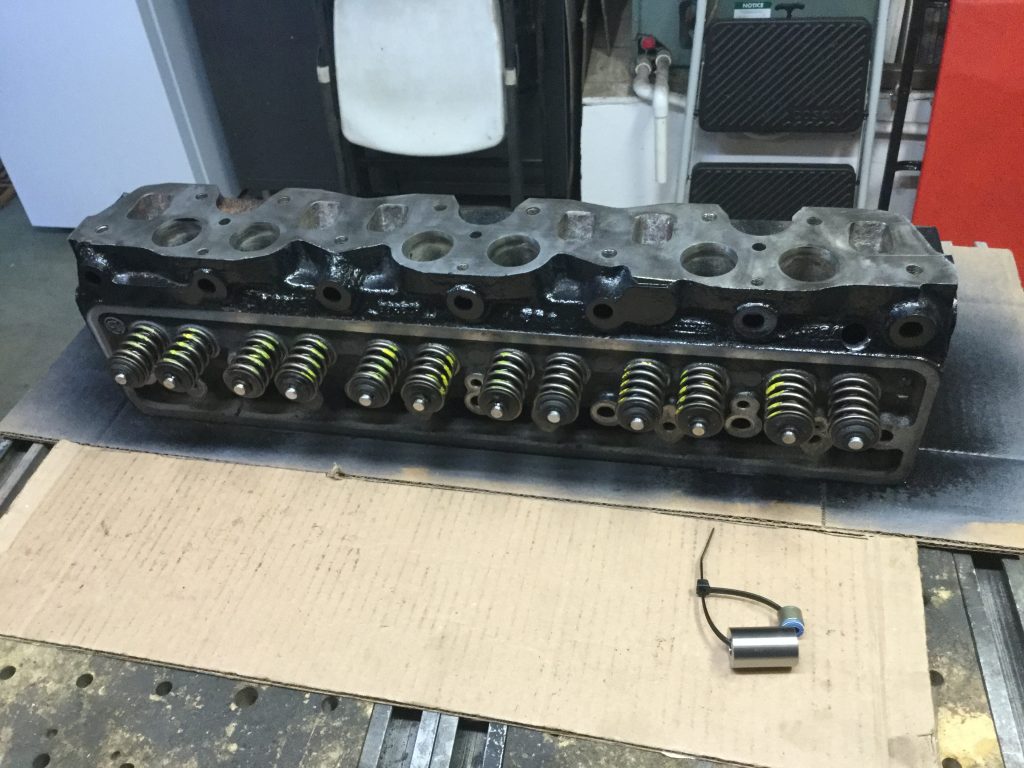
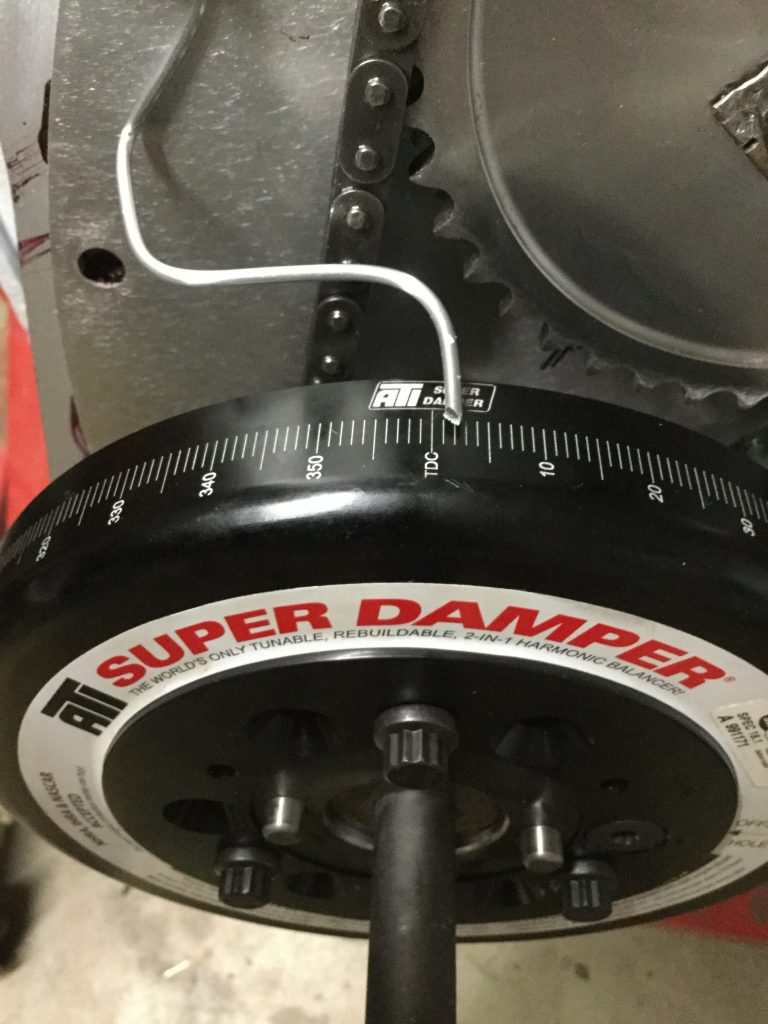
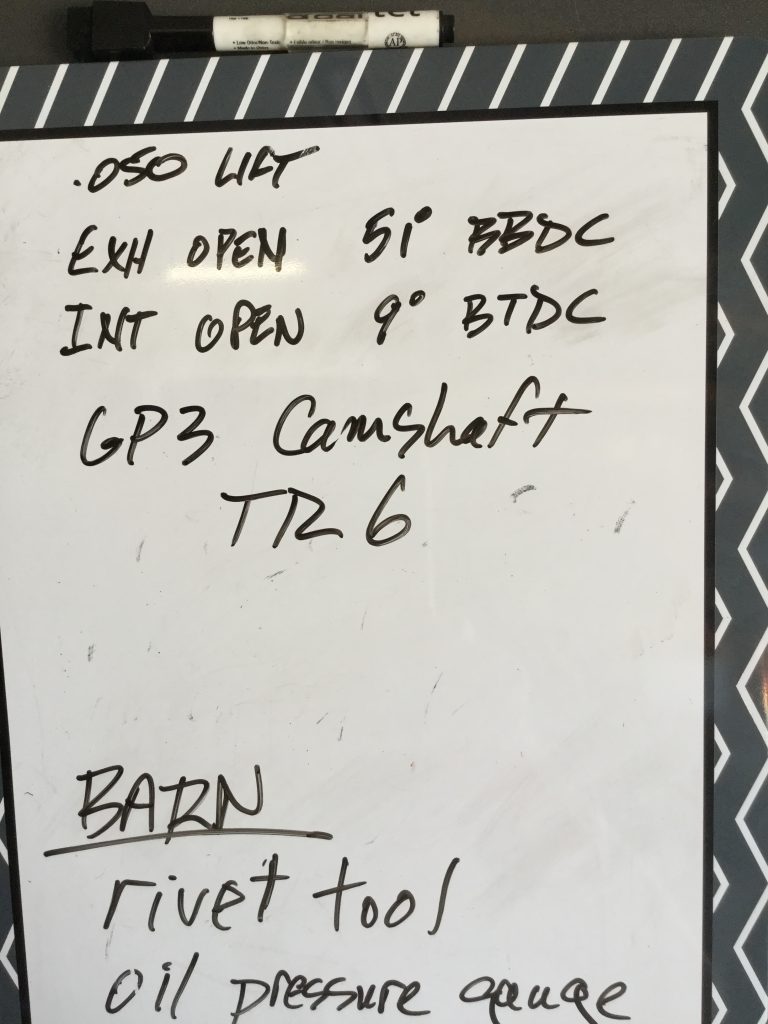
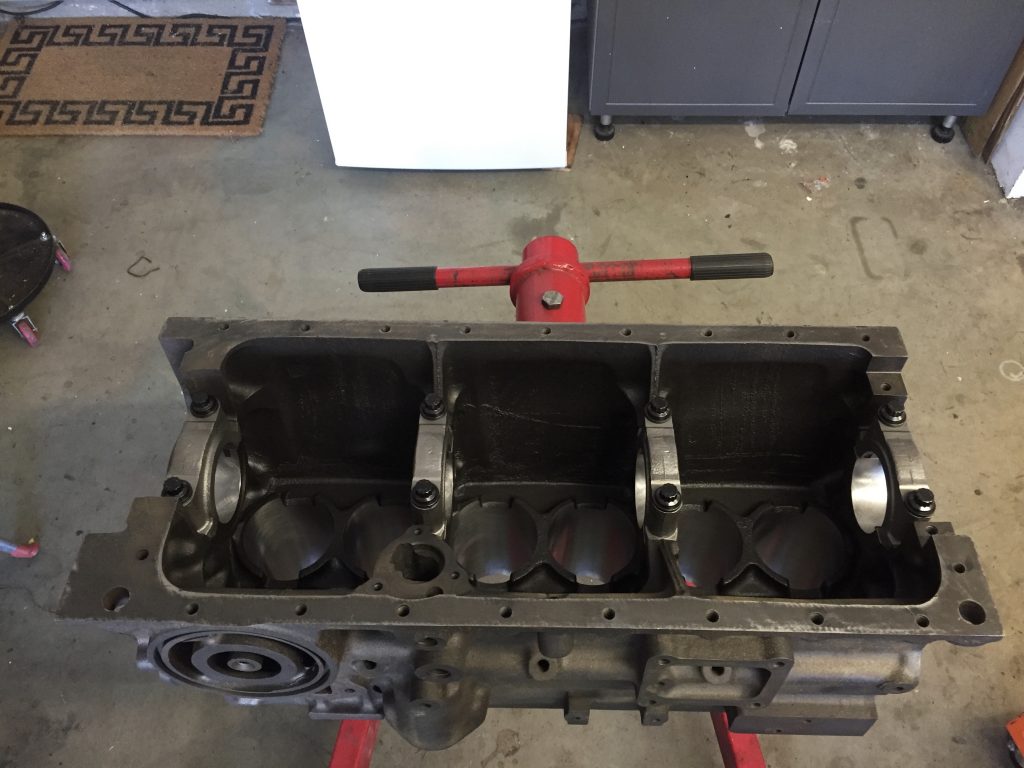
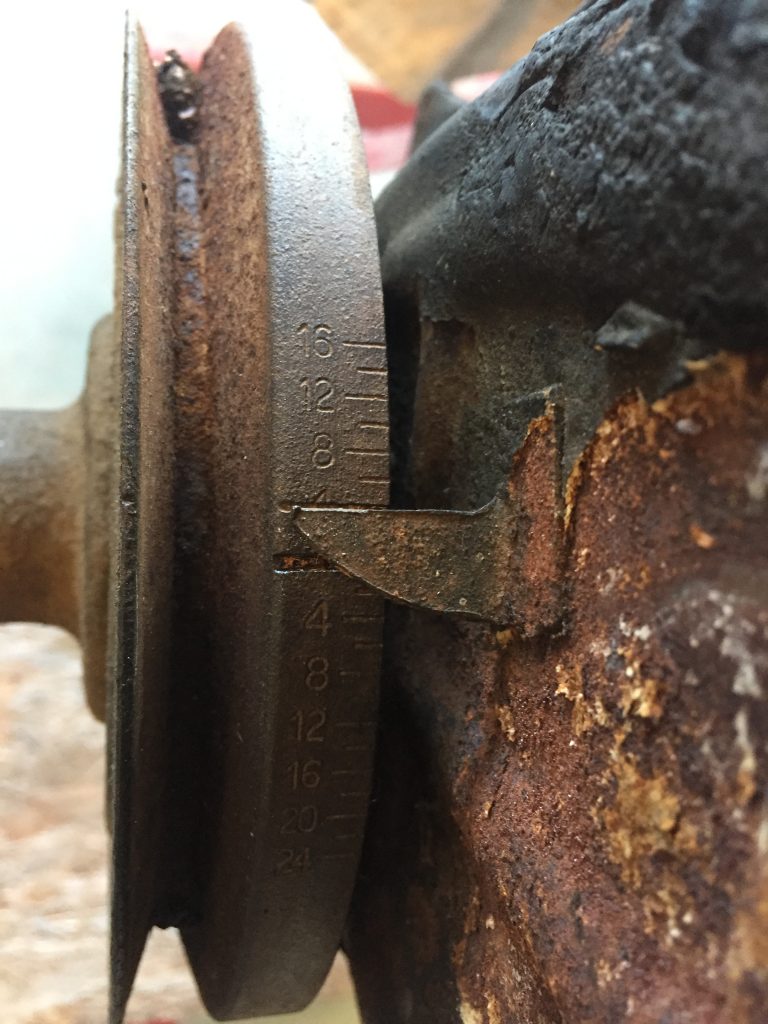
Ready for piston installationThe ring compressor worked okay, but…I had to do this to hold it down against the blockMeasuring end floatClassic Technologies steel front sealing blockShortened the ARP bolt head for clearanceCamshaft installedSpring compressor from my Formula Ford daysHead is complete!Setting the valve timingEnded up hereAlloy front plateDitto at the rearViton valve stem seals and installation toolLooked good at this stageOMG! The quarter is for size reference, it wasn’t in the engine!This valve is flipping me off
Naturally I wanted to do everything correctly in restoring the Triumph, but if there was one particular part of the build that REALLY needed to go right, it was the engine assembly. Pulling the engine and trans back out because something was screwed up is the last thing anyone would want to do. This is not my first rebuild, in fact there’s a write up of the SBC Chevy engine for the Apache truck elsewhere in barndogtrucks. But the Triumph engine was new territory for me compared to the Chevy engine. Thankfully we have our great shop manual available, plus live help from vendors like Richard Good and Casey over at HDS Machine shop. And, of course, the fantastic British car forums.
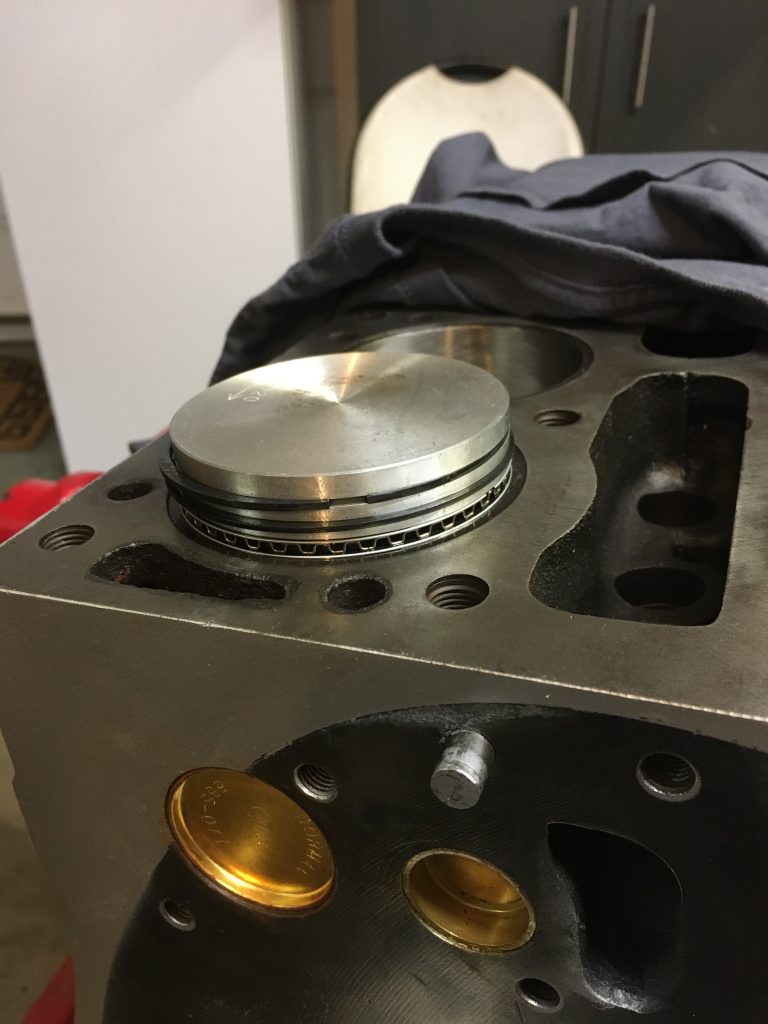
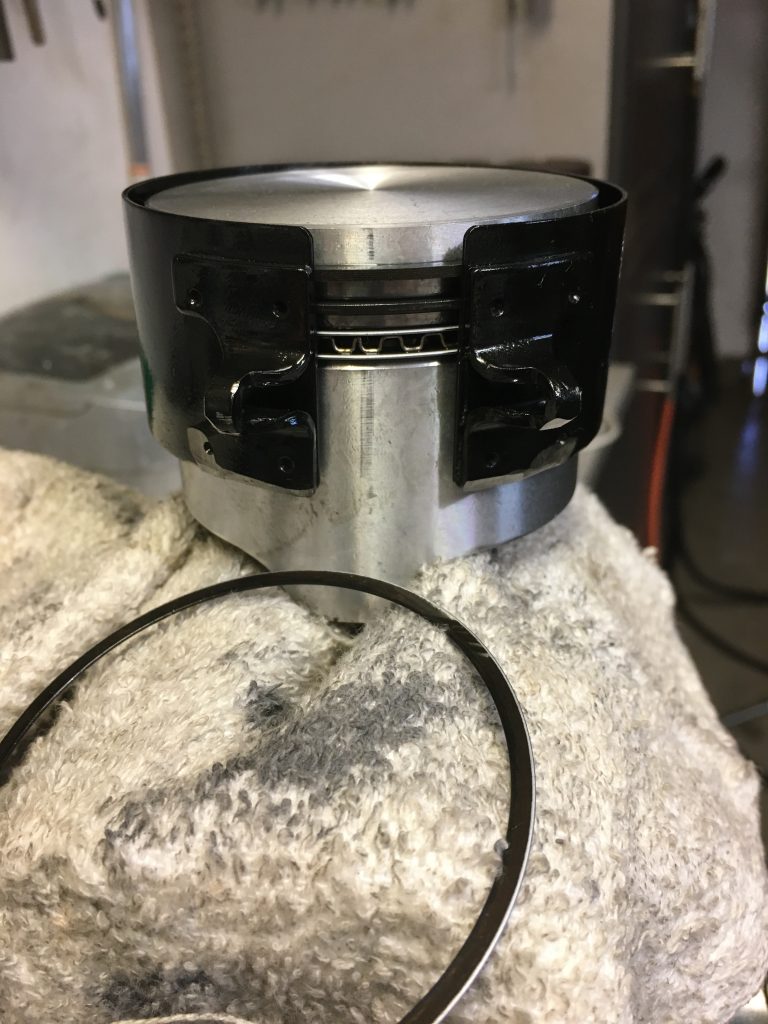
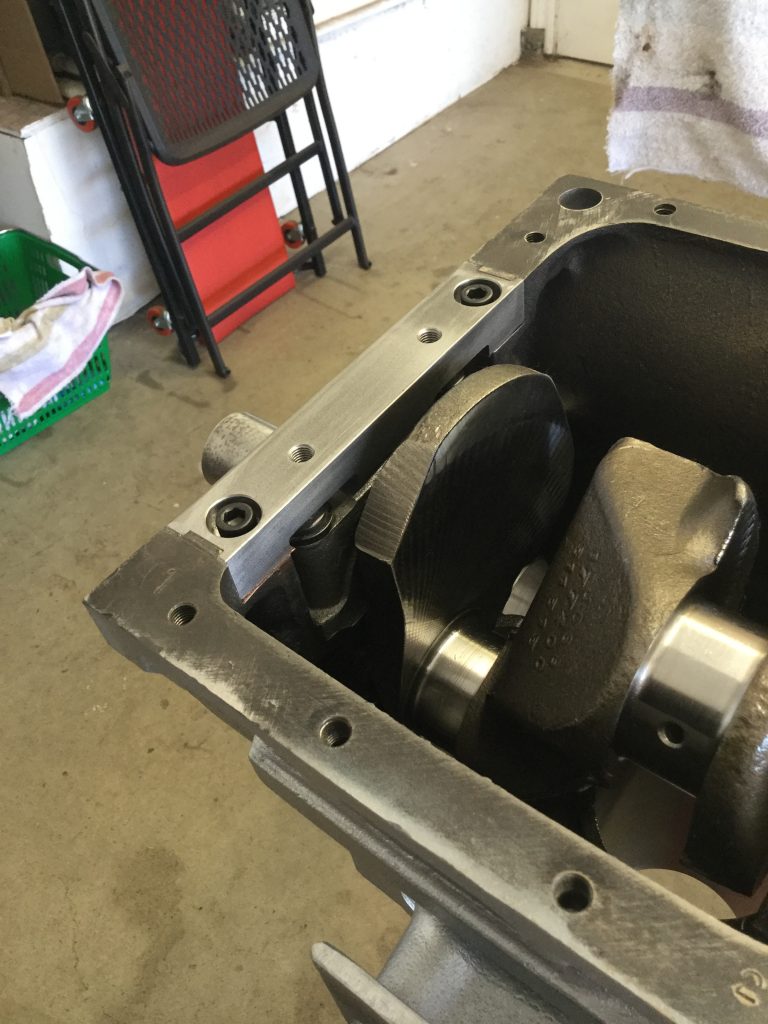
I had a bit of an issue installing the pistons with the pliers style ring compressor. By hand, I could not hold the compressor down firmly enough to squeeze the rings into the cylinders. As depicted above I came up with a solution that made it a breeze. With the Chevy engine I had the advantage of a tapered ring compressor which really made it simple. No such thing seems to exist for the Triumph bores. I do like the pliers style compressor with the locking ratchet, but that recess at the top of the block complicated things for me, thus the mechanical help holding the compressor down.
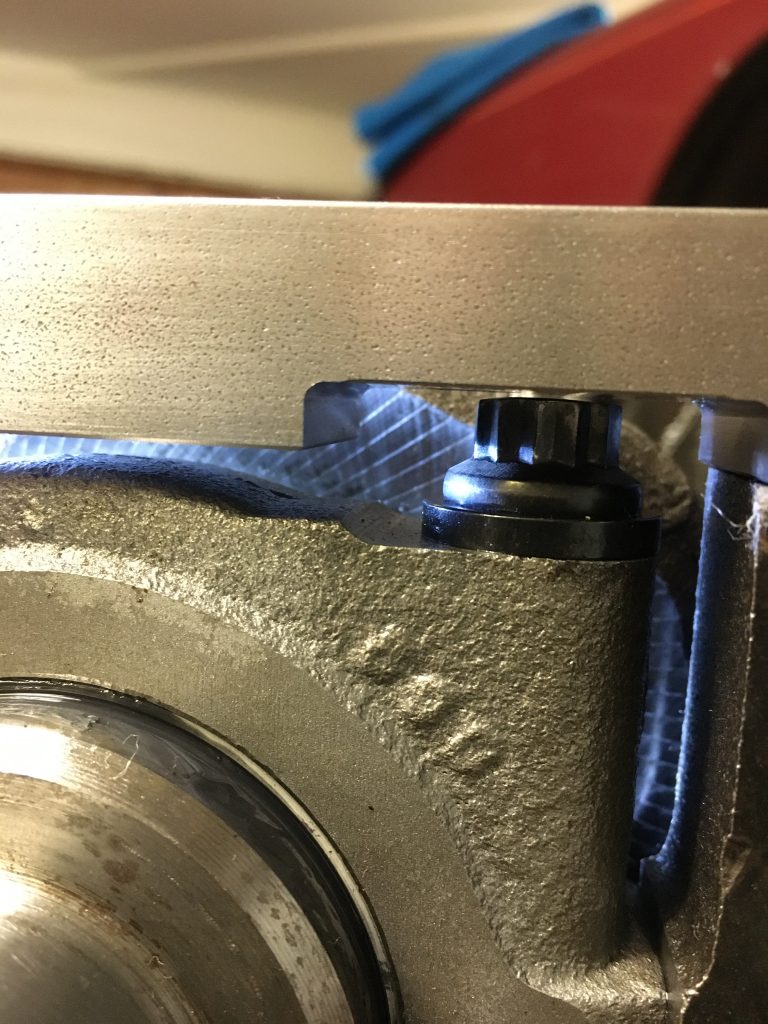
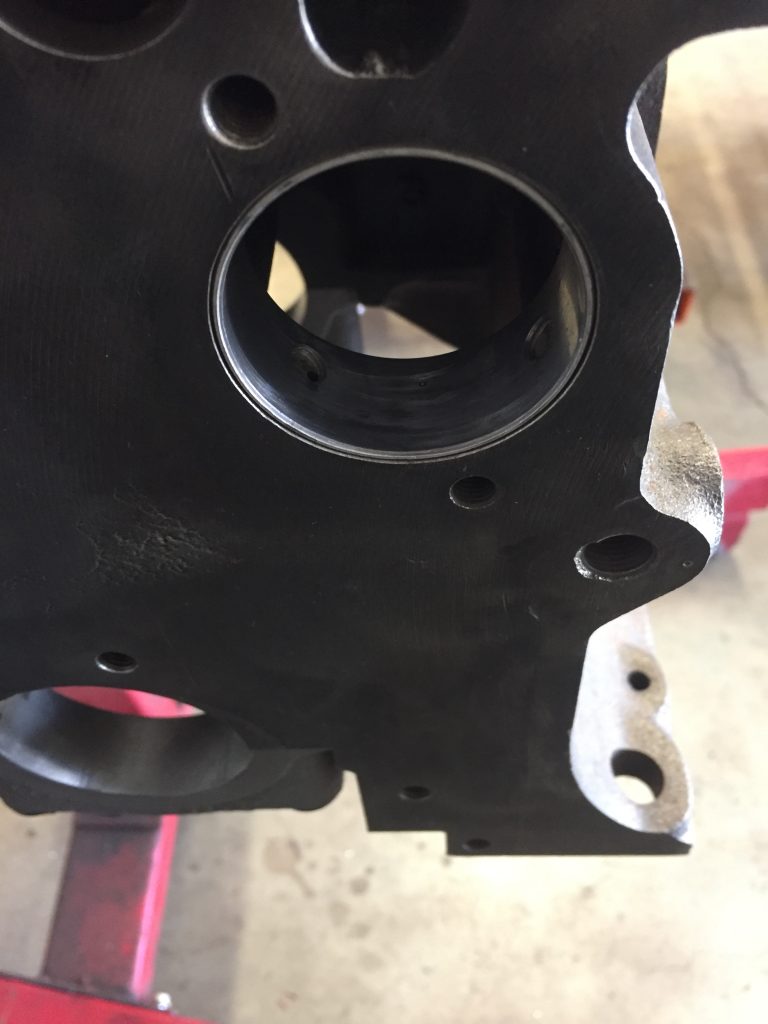
I chose to use Classic Technologies steel sealing block for the front of the engine for my peace of mind. However, I had to grind down the top of the ARP main bearing cap bolts for clearance.
With help from Richard Good and a magnetic dial indicator, setting up the camshaft was pretty straightforward. It is great to find people who back up their sales with enthusiastic customer service, and I encountered that throughout the restoration of the TR6 with Richard and everyone else along the way. He spent a good amount of time on the phone with me diagnosing a problem I found AFTER the car had been driven for a few weeks. My bad, of course…
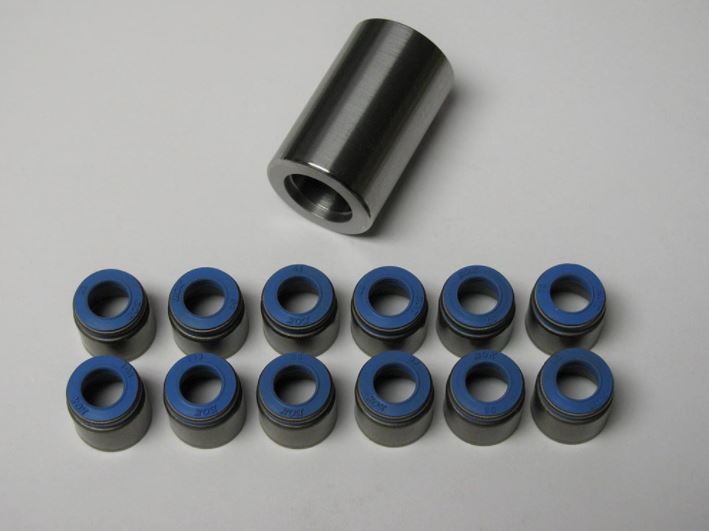
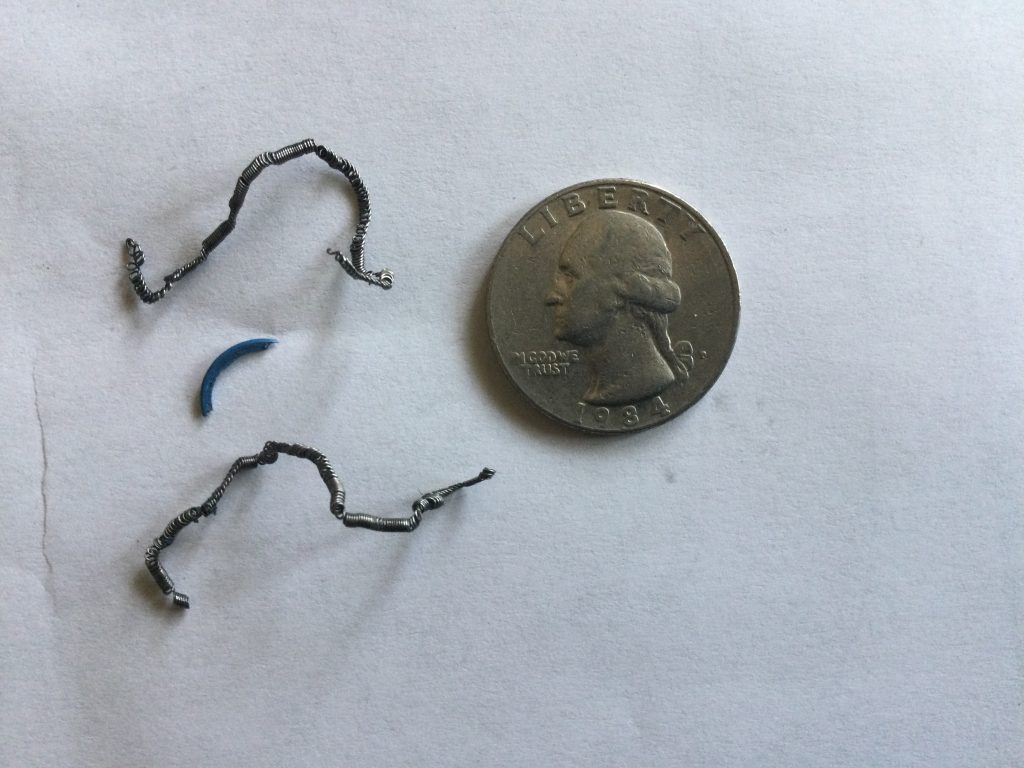
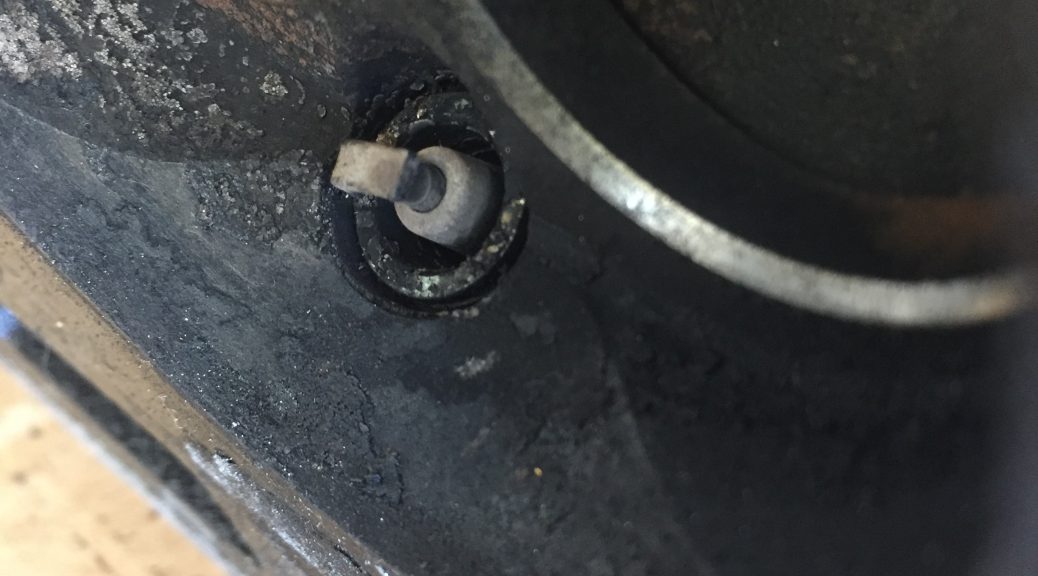
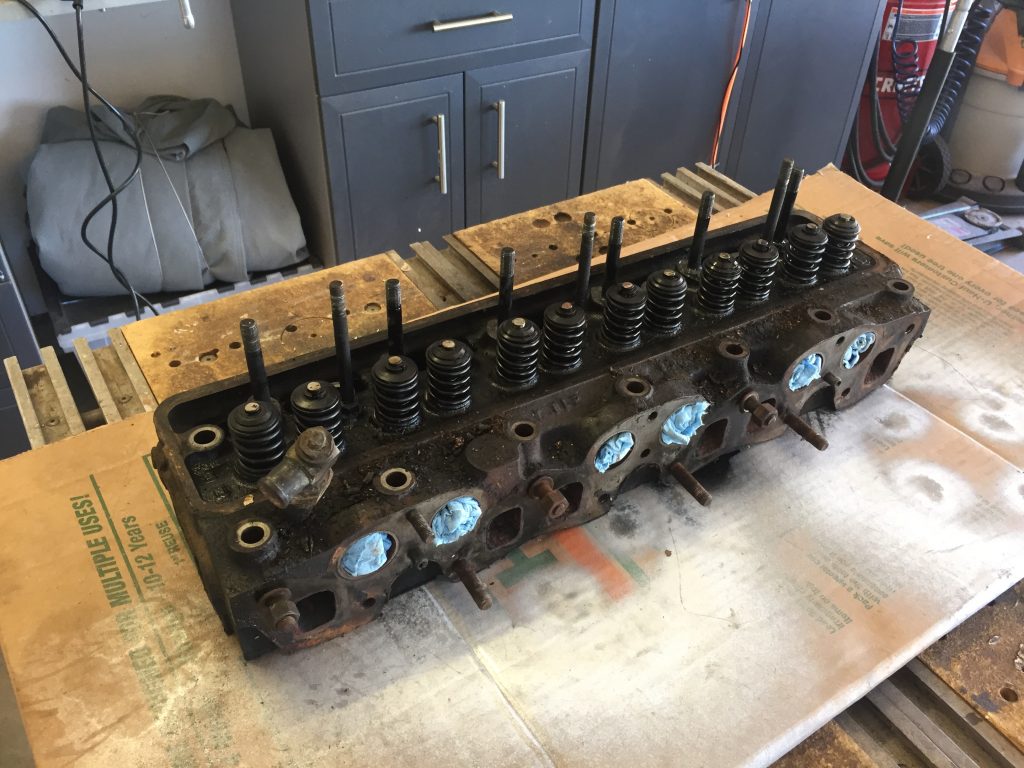
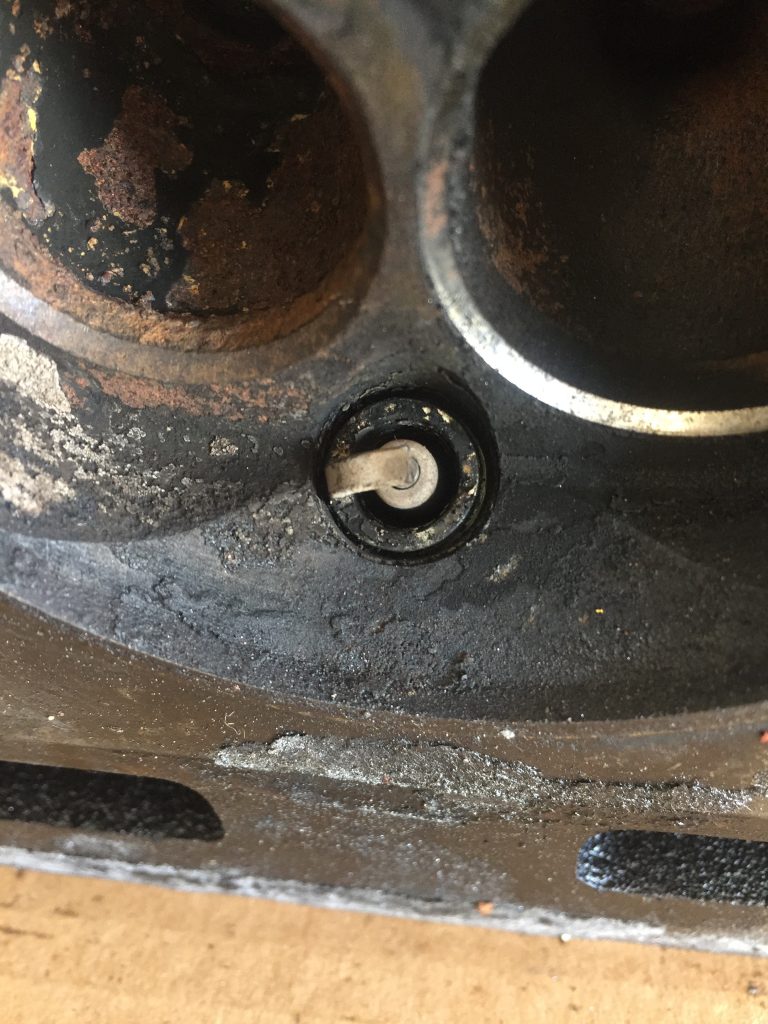
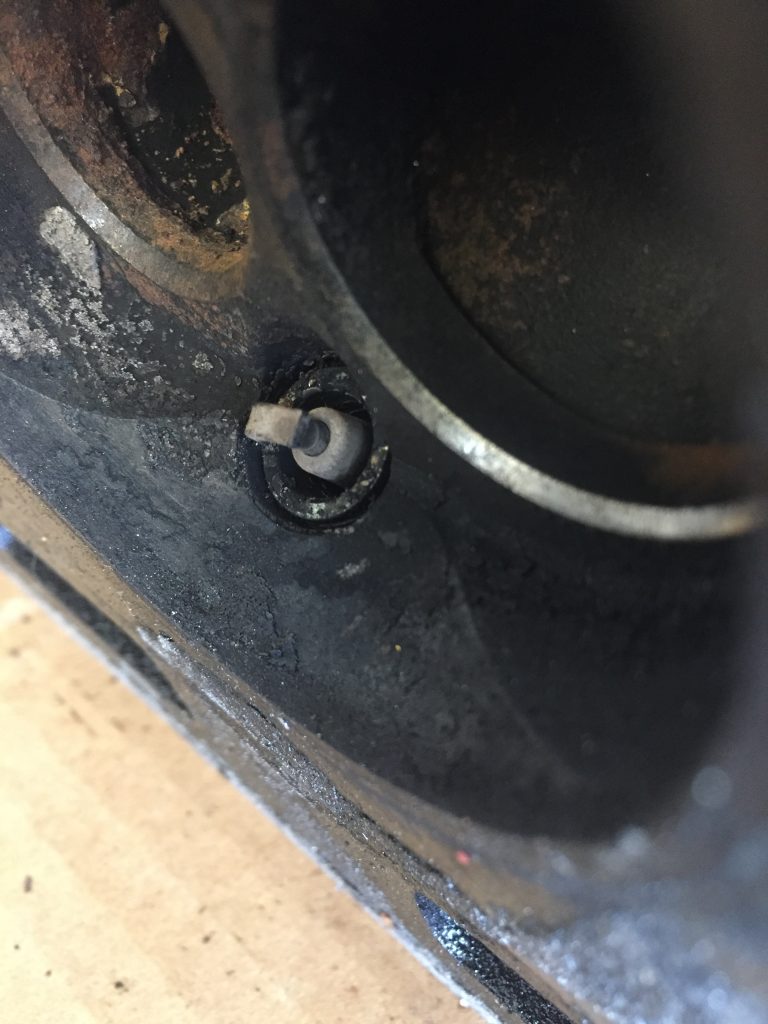
I had decided to use Viton valve stem seals, but I told Casey at HDS to set the height of the valve guides per the factory manual number. After driving the car for a couple hundred miles, I popped the valve cover off to re-torque the head and I found that the oil seals had been smashed and there were little bits lying around the cylinder head near the valve springs… see the picture. With the higher lift camshaft, the stock valve guide height spec is a little too tall. In fact, their installation tool, which I used to install the seals, is also to be used to set the valve guide height. Didn’t even occur to me.
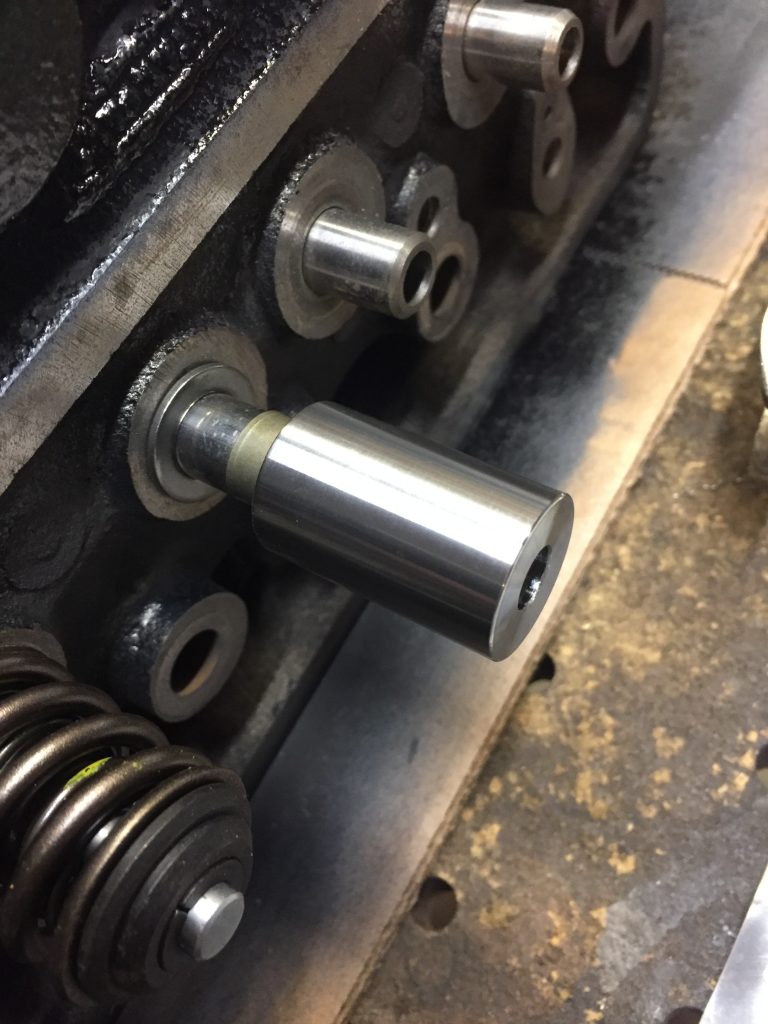
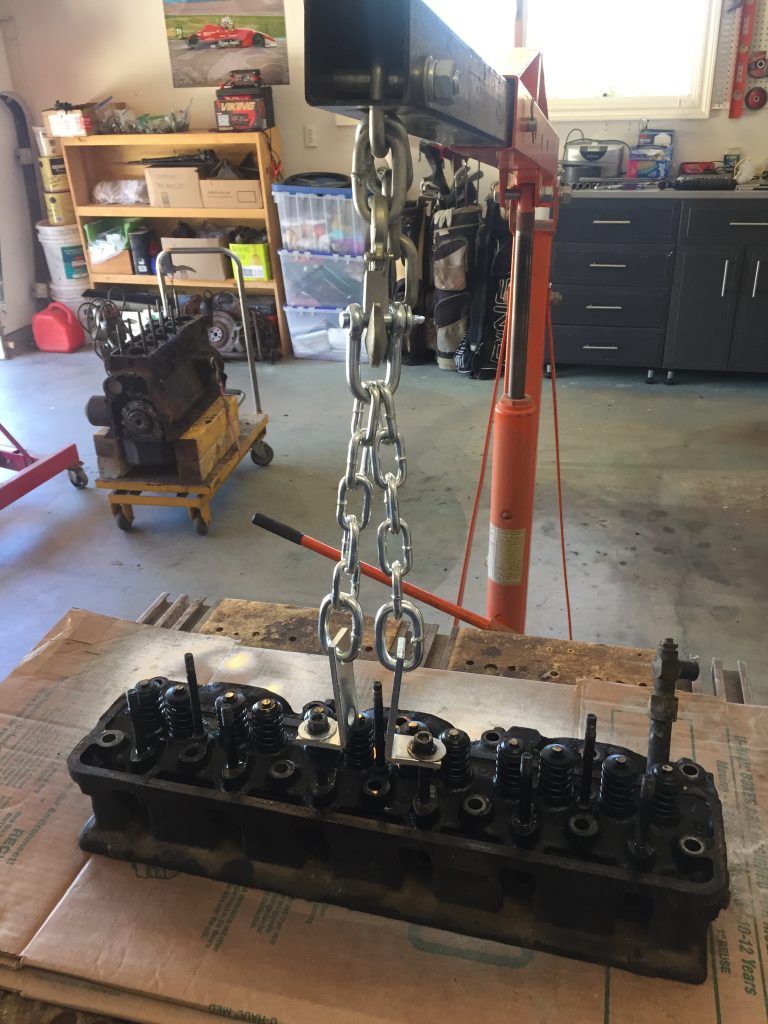
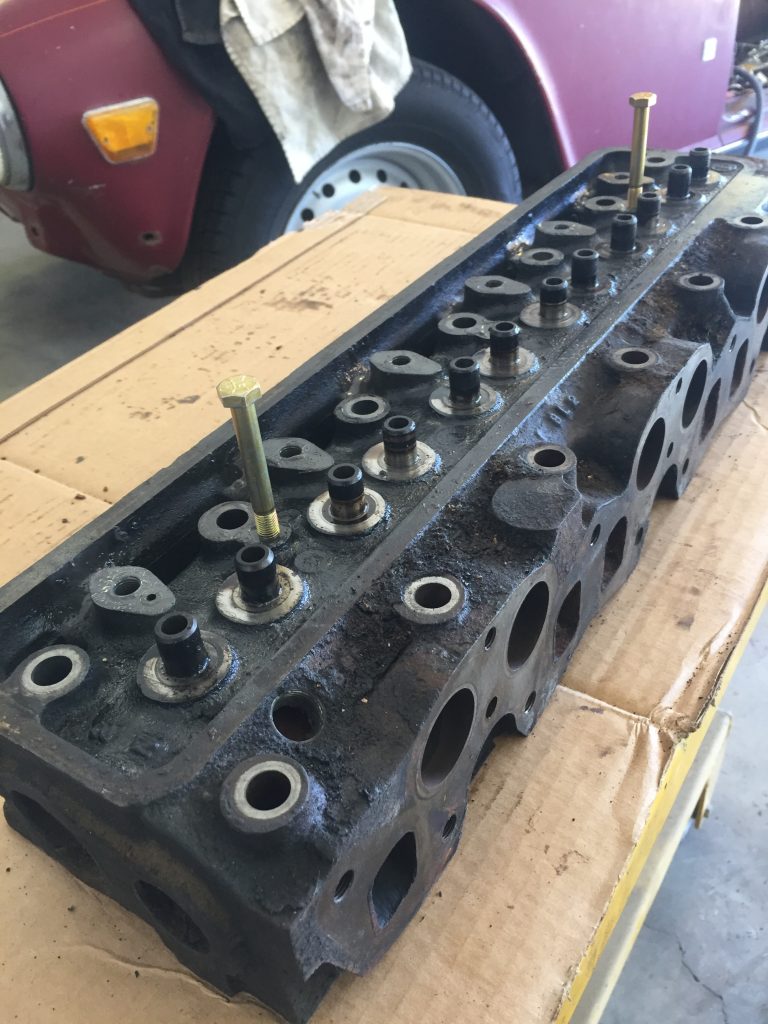
I attempted to rectify the problem by discarding the seals, using compressed air to hold the valves up while I removed the springs. After all, the factory doesn’t install seals. But, dang, I didn’t use enough air pressure and the first valve dropped into the cylinder, onto the top of the piston. When I removed the head it was standing upright, as my son-in-law Russel said “like it was giving you the finger.” Ouch. So the head came off, and it was painful, but for the best. The Lisle “hit it with a hammer” tool works very well for removing valve springs but was problematic for installation. I reverted to my old valve spring compressor to finish the job.
Helluva a lot more than I wanted to do, but after putting it all back together and changing oil and filter, all is well. No damage done.
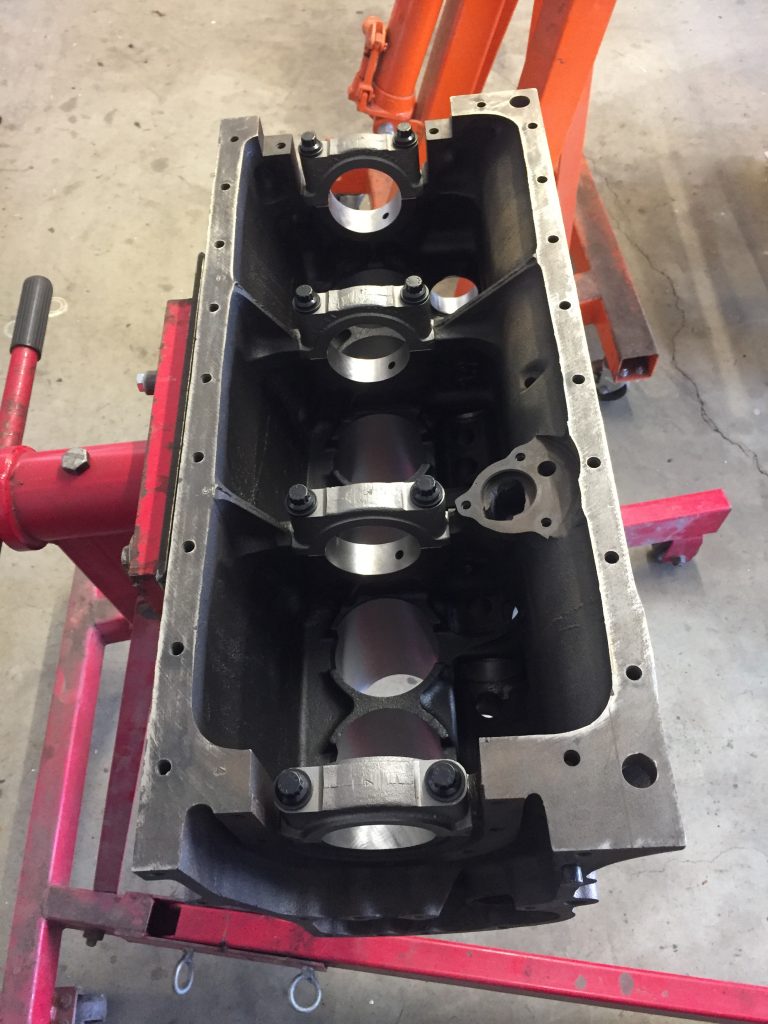
Note all the holes drilled to balance the assemblyLooding up for the trip to machine shopMore goodies for HDSBored and waiting for those new pistonsCamshaft will now spin in bearingsRear viewSo cleanReady for assembly
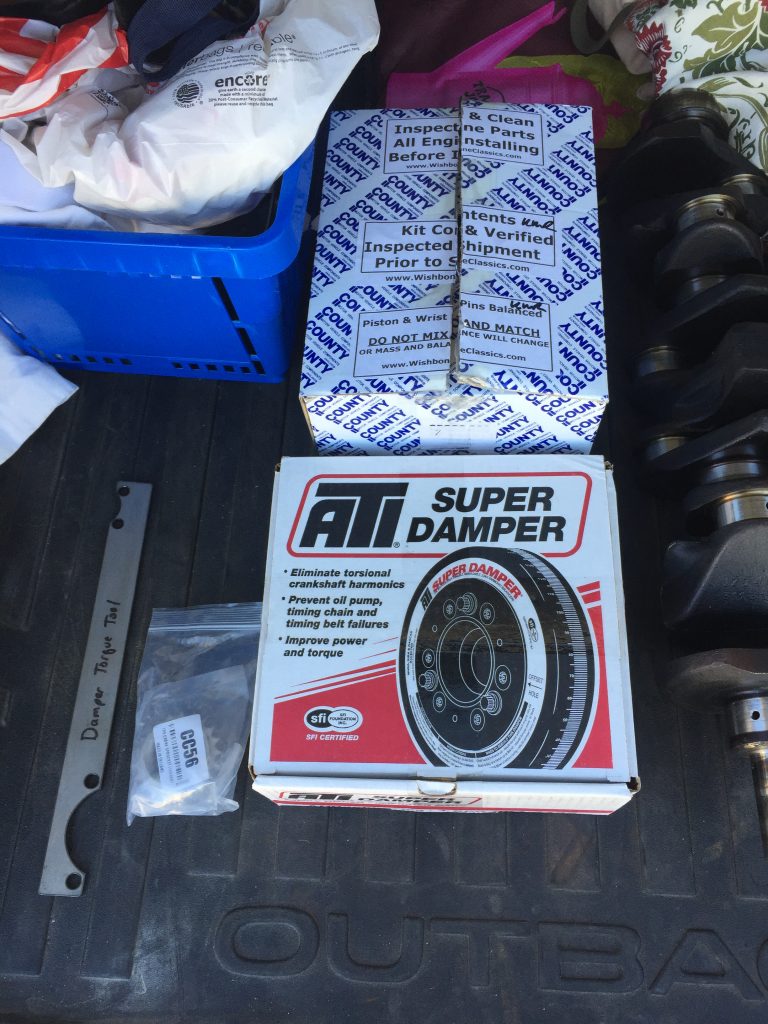
I brought the engine block and cylinder to head to Casey down at HDS Autoparts & Machine Shop in Escondido, California. Along with those heavy pieces I dropped off the following:
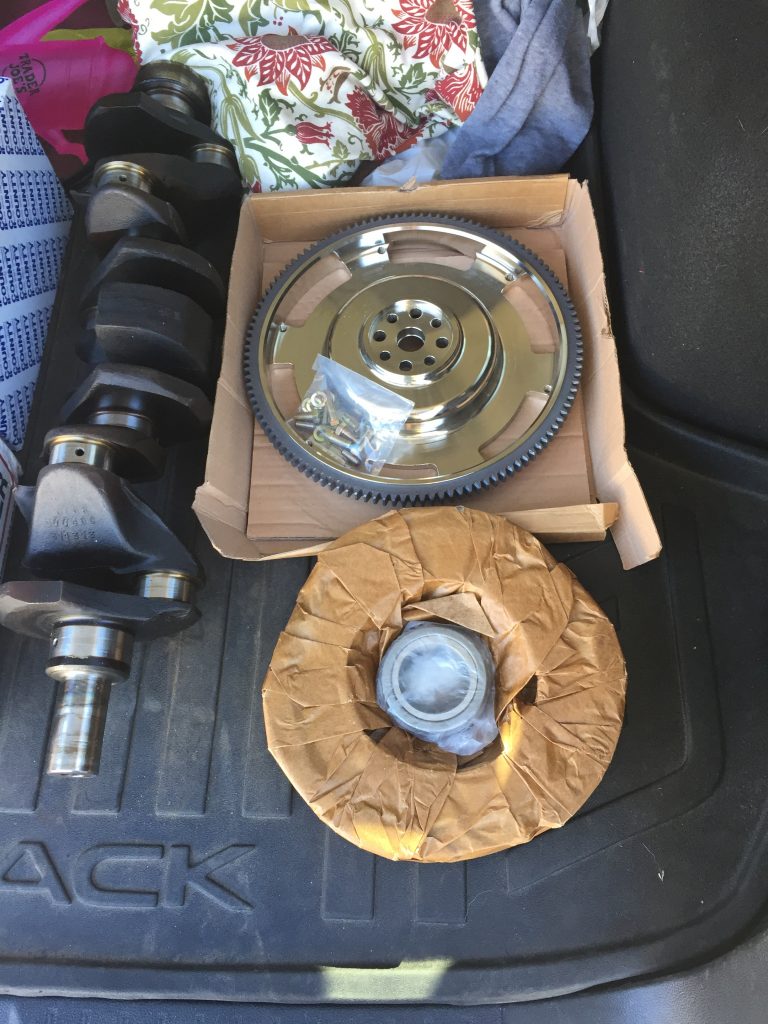
GP3-110 camshaft; ATI Super Damper; lightweight steel flywheel; new clutch and pressure plate; hardened valve seats; new valves; ARP head studs — all from Goodparts. I brought Casey my matched-weight set of County .020 pistons/rings/pins from Wishbone Classics. I also brought him my crankshaft; new timing gear; and my lightened 640 gram connecting rods. And probably other stuff I’m forgetting. Anyway he got the entire rotating assembly from damper to pressure plate.
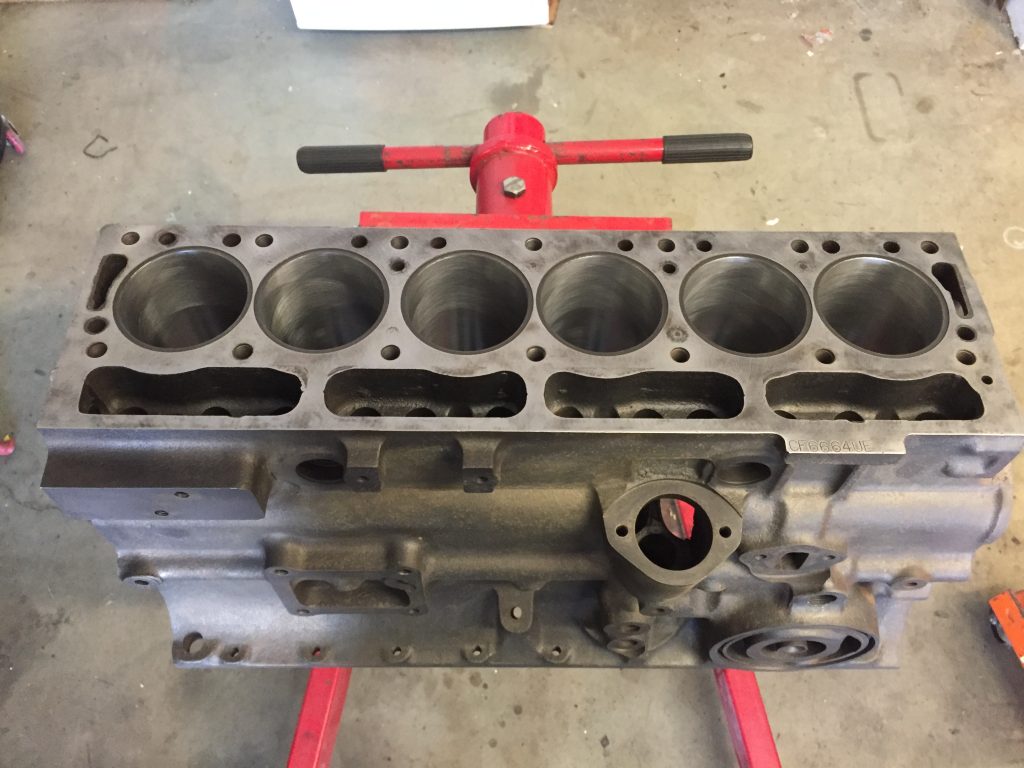
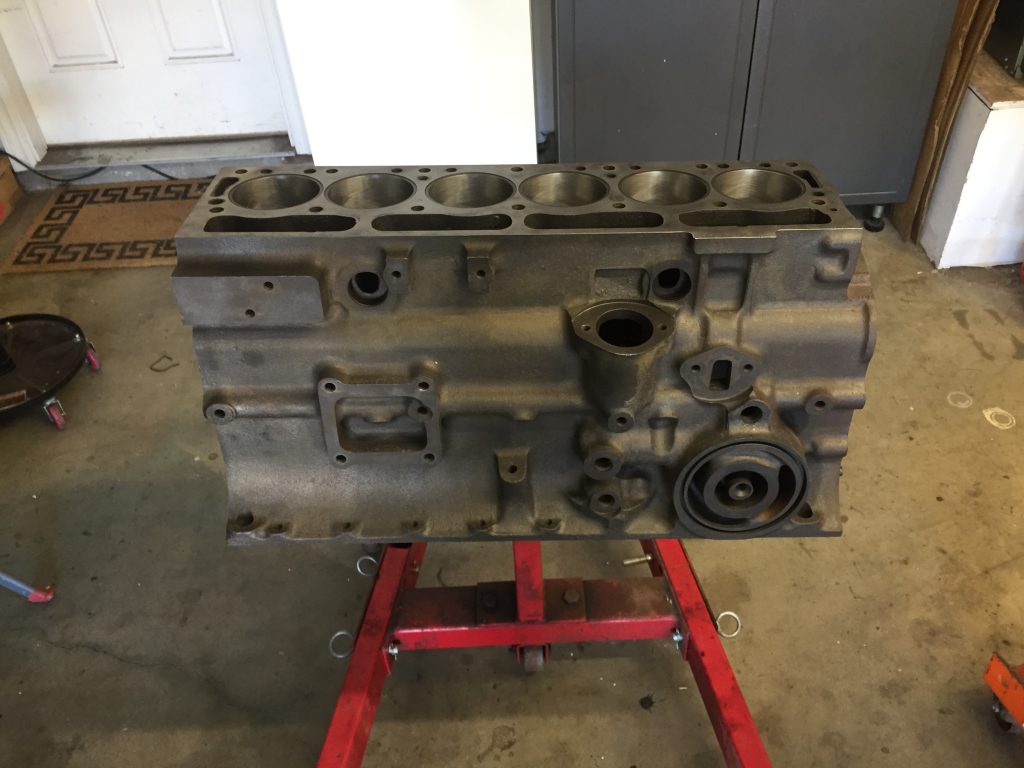
HDS cleaned and magnafluxed the engine; bored the block and installed cam bearings; bored the cylinders .020″ and surfaced the block; peened my modified connecting rods; kissed the small end of the rods; modified the rods for ARP rod bolts; installed cast iron valve guides and hardened valve seats; polished the crankshaft; machined .140″ from the cylinder head; and balanced the entire rotating assembly. The compression ratio should be in the area of 9.5:1 with the milled head.
With the matched piston and rod weights, there wasn’t much to do on the rotating assembly except for the pressure plate. As you can see from the photo above, quite a bit of drilling (metal removal) was needed to balance that puppy. Should be smooth sailing, especially with the inherent smoothness of the six.
Postscript: the spec I gave Casey for the valve guide height was from the factory manual. That was a big oops, explained in the engine assembly article later.
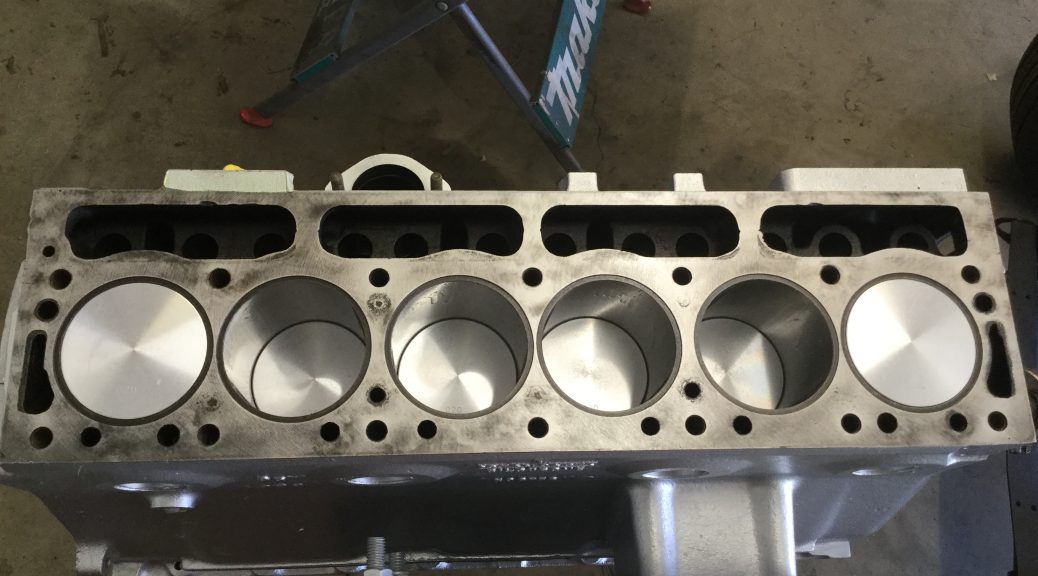
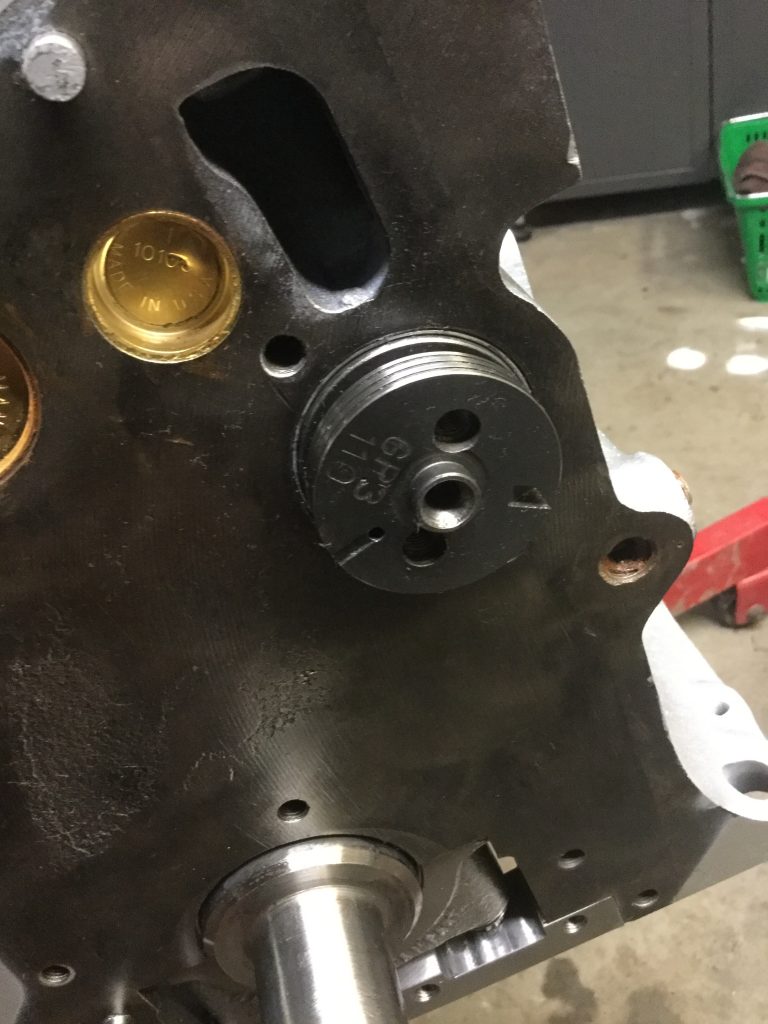
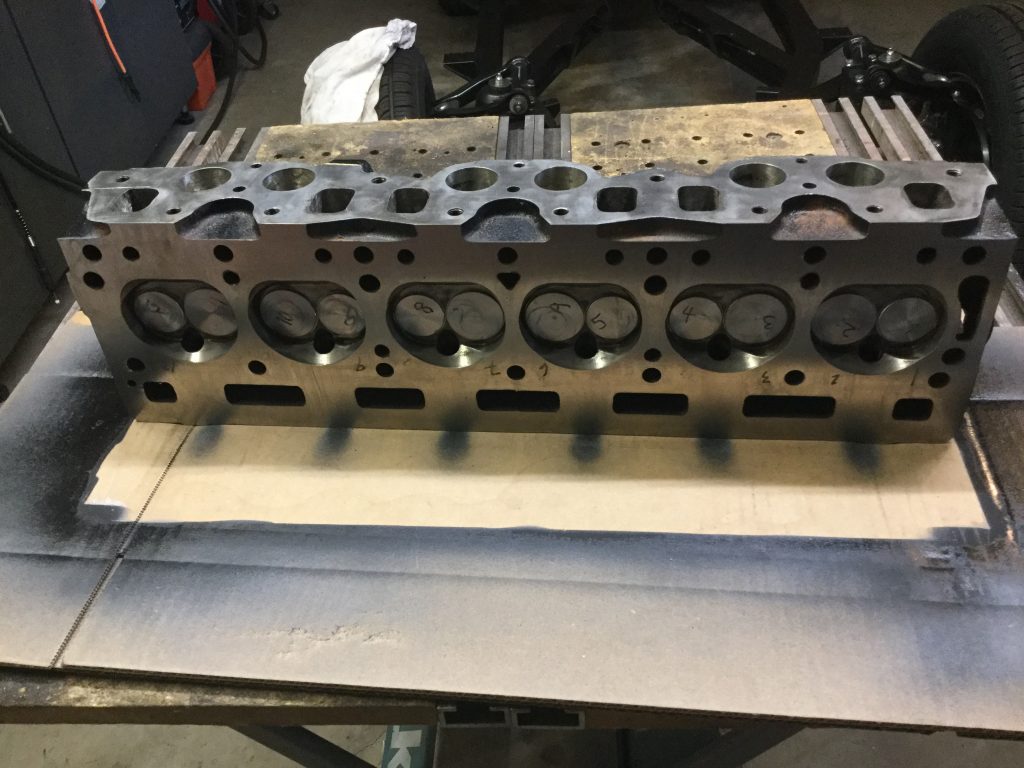
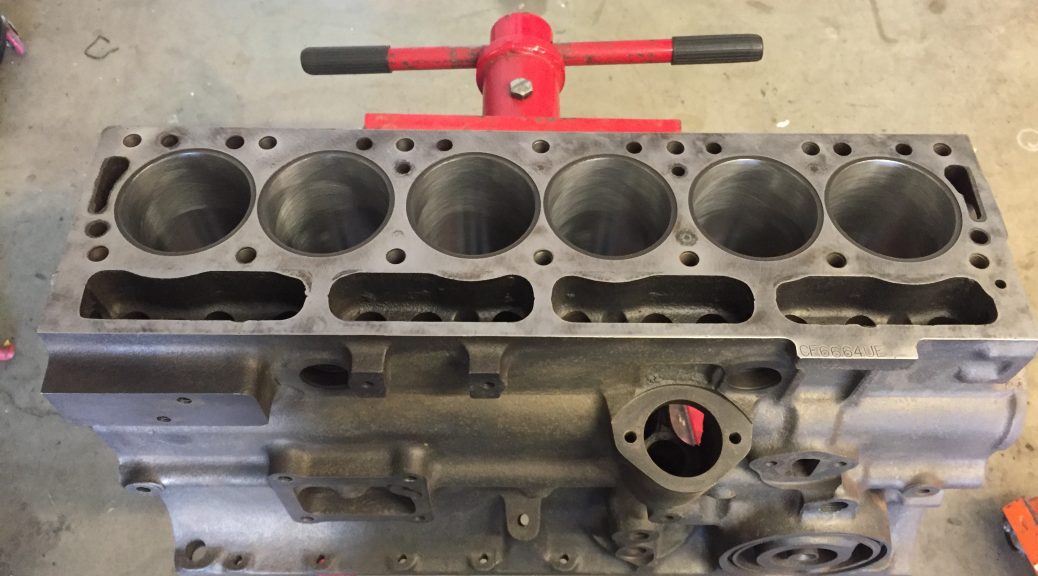
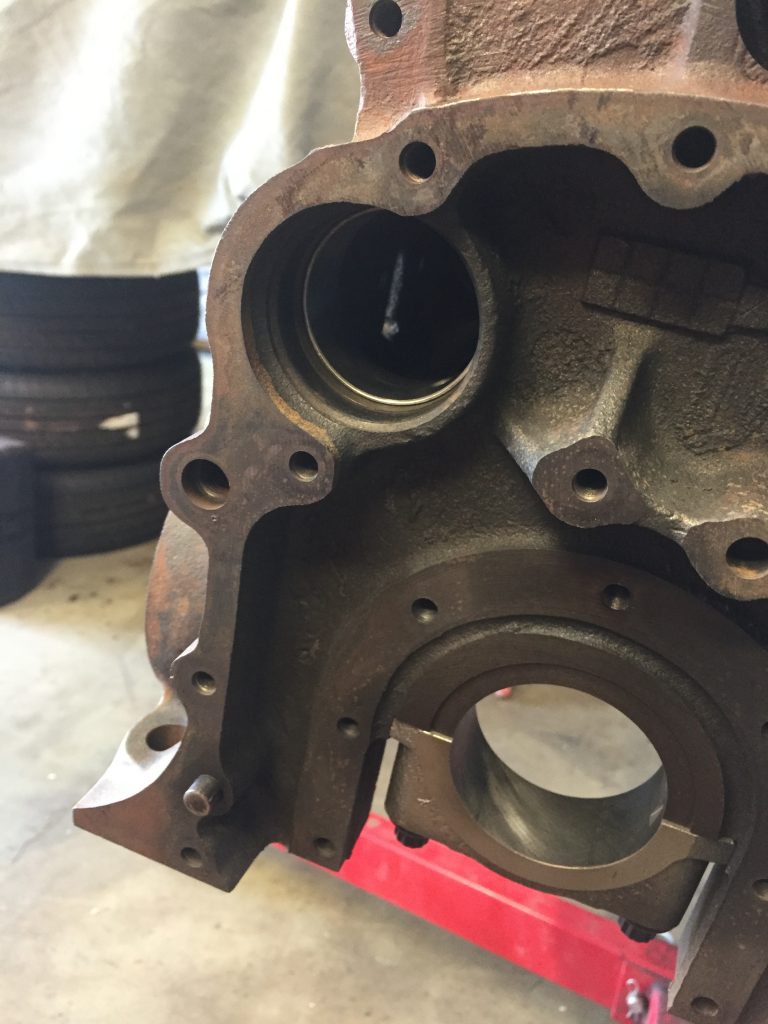
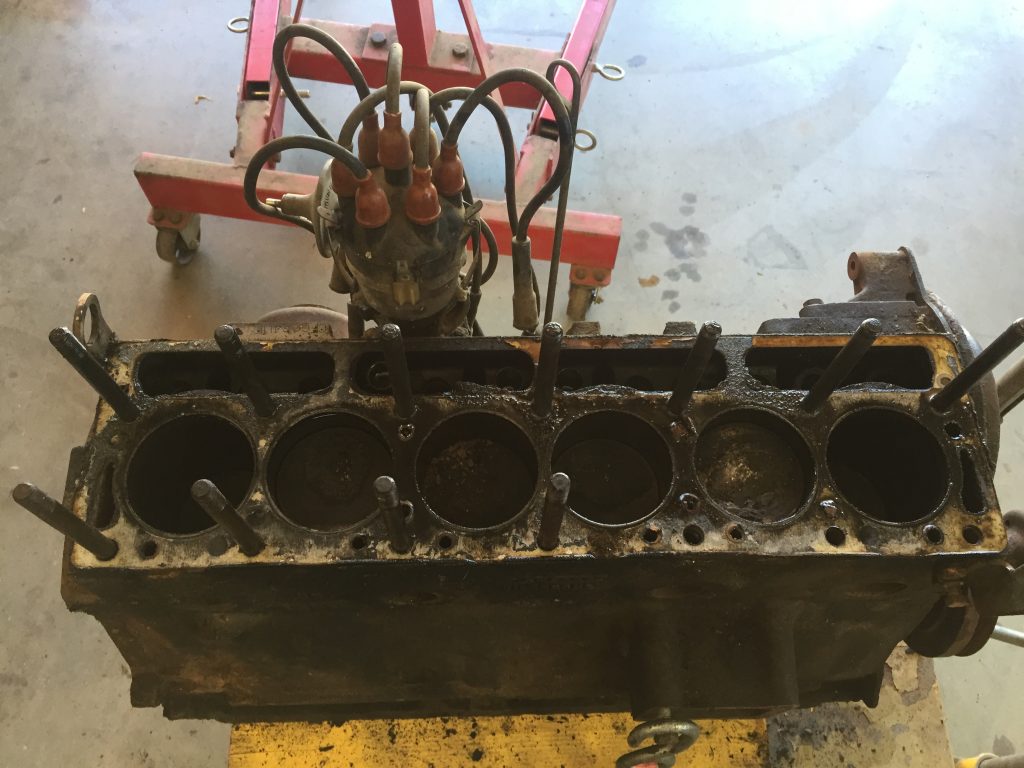
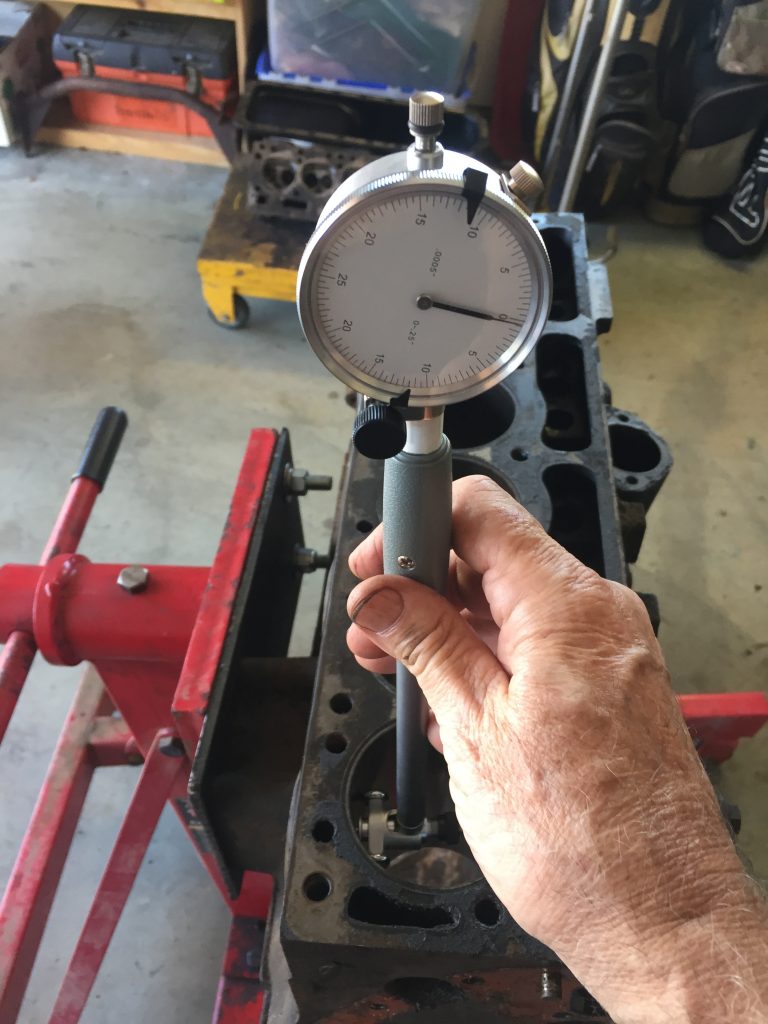
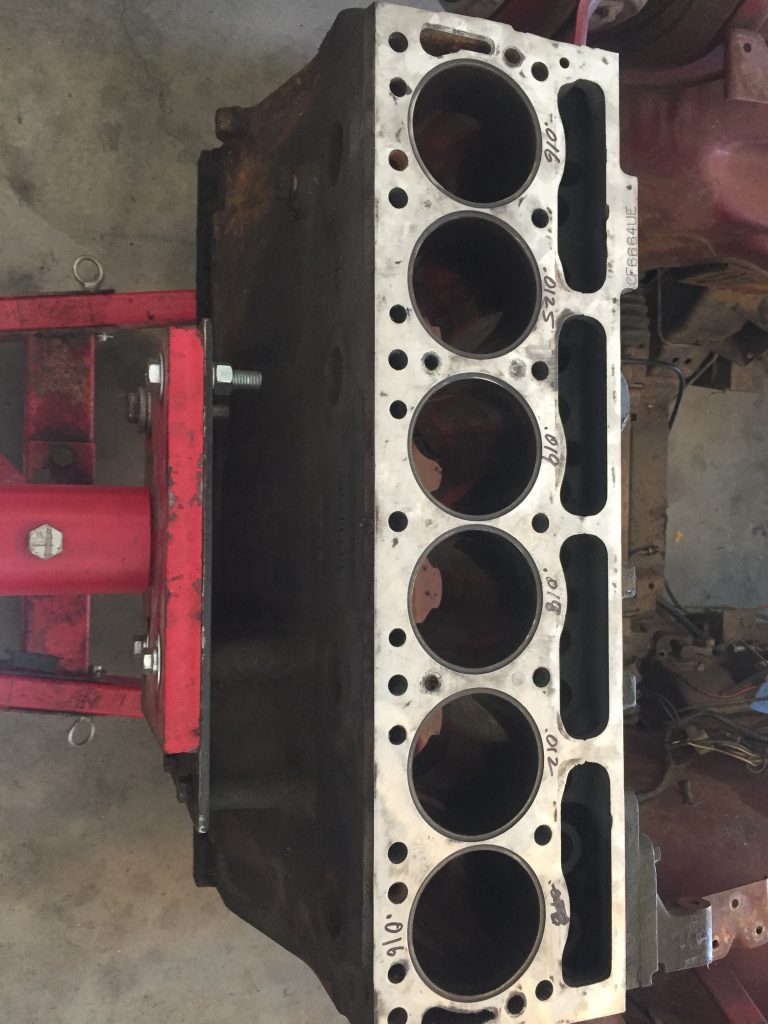
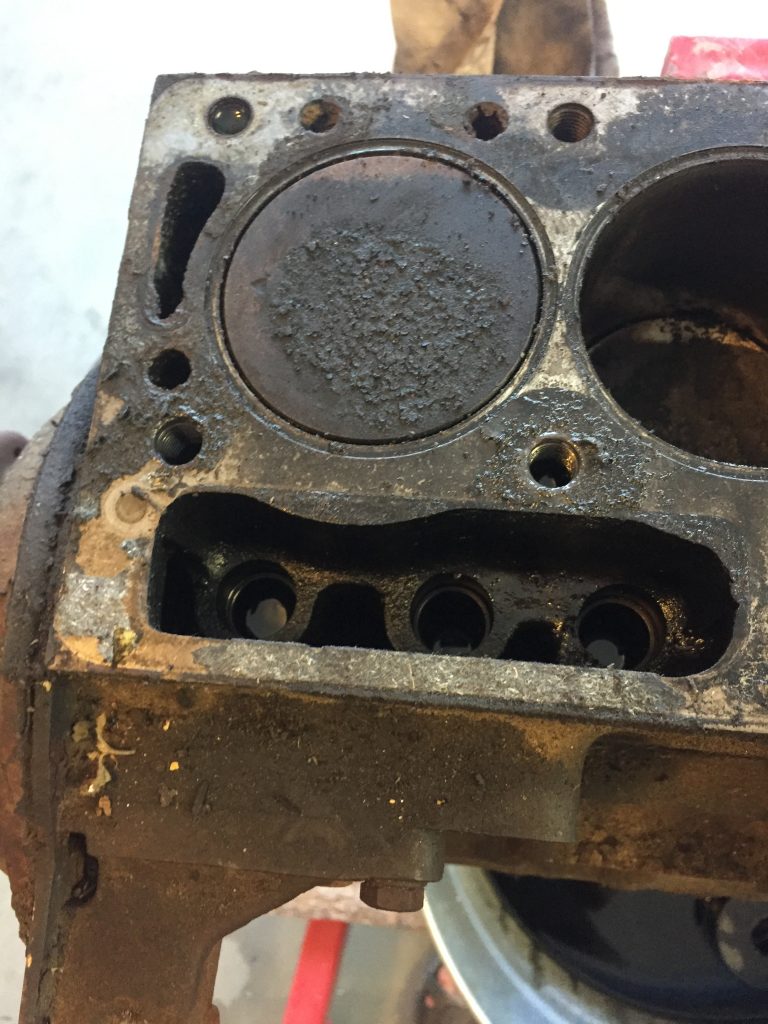
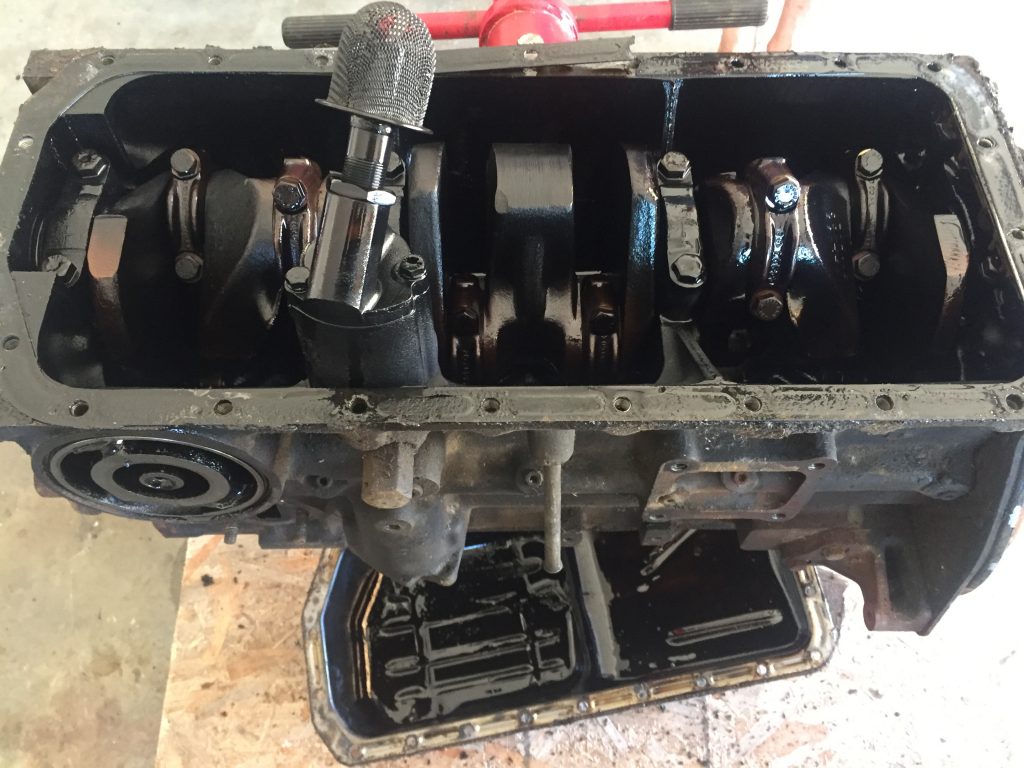
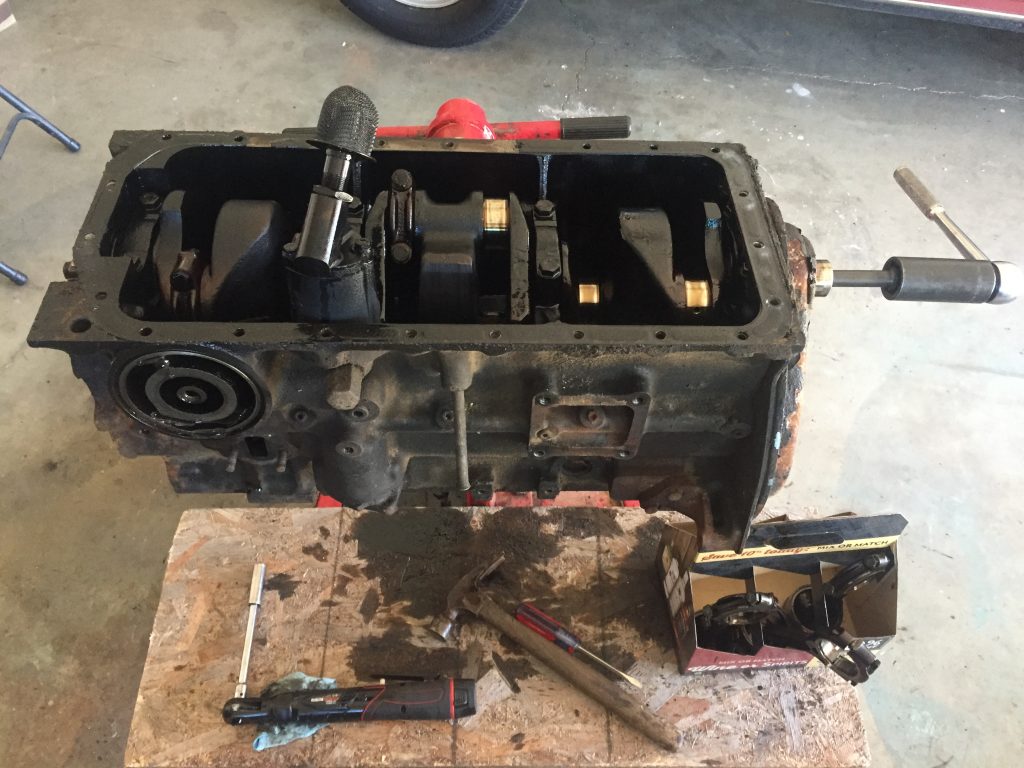
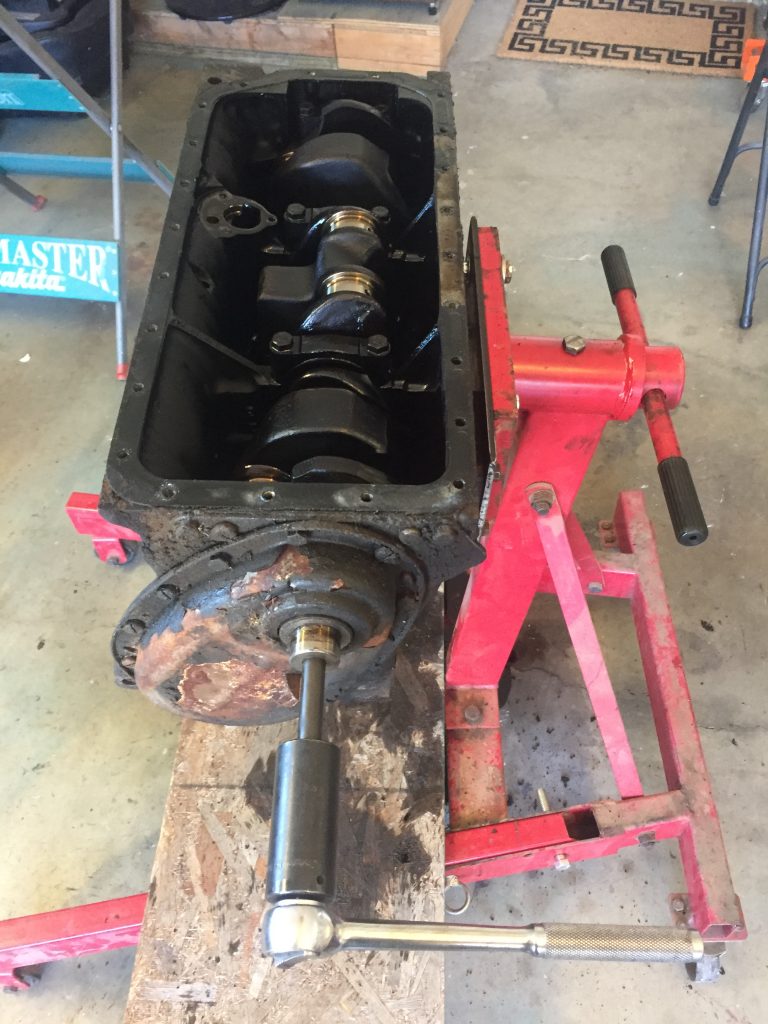
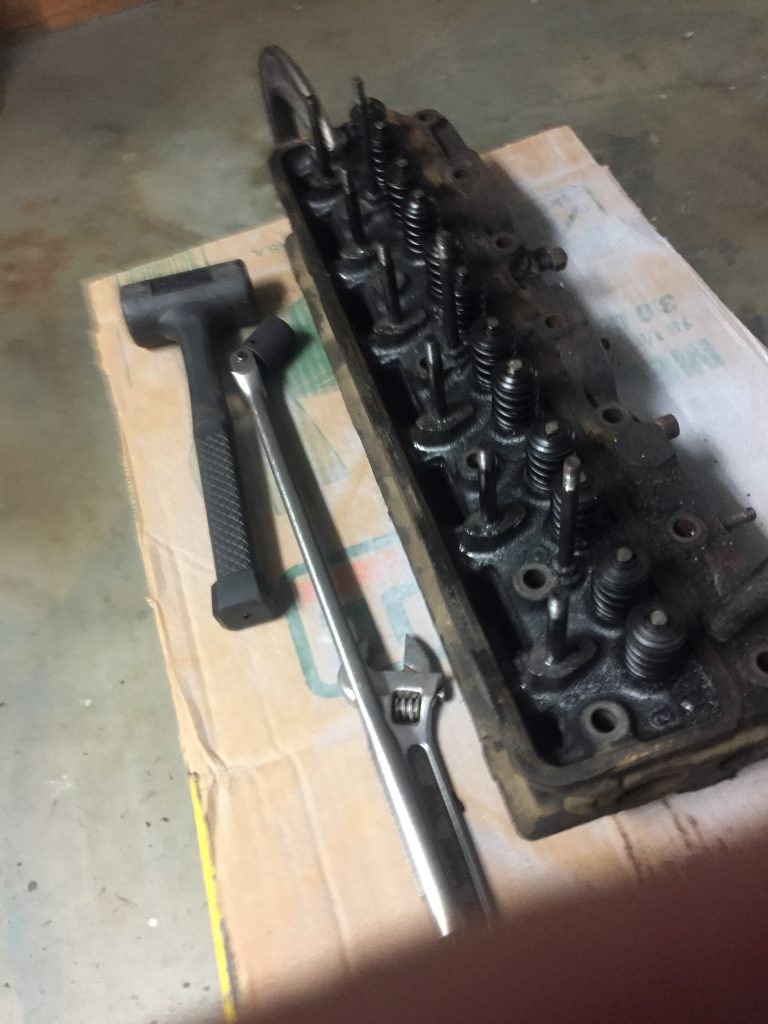
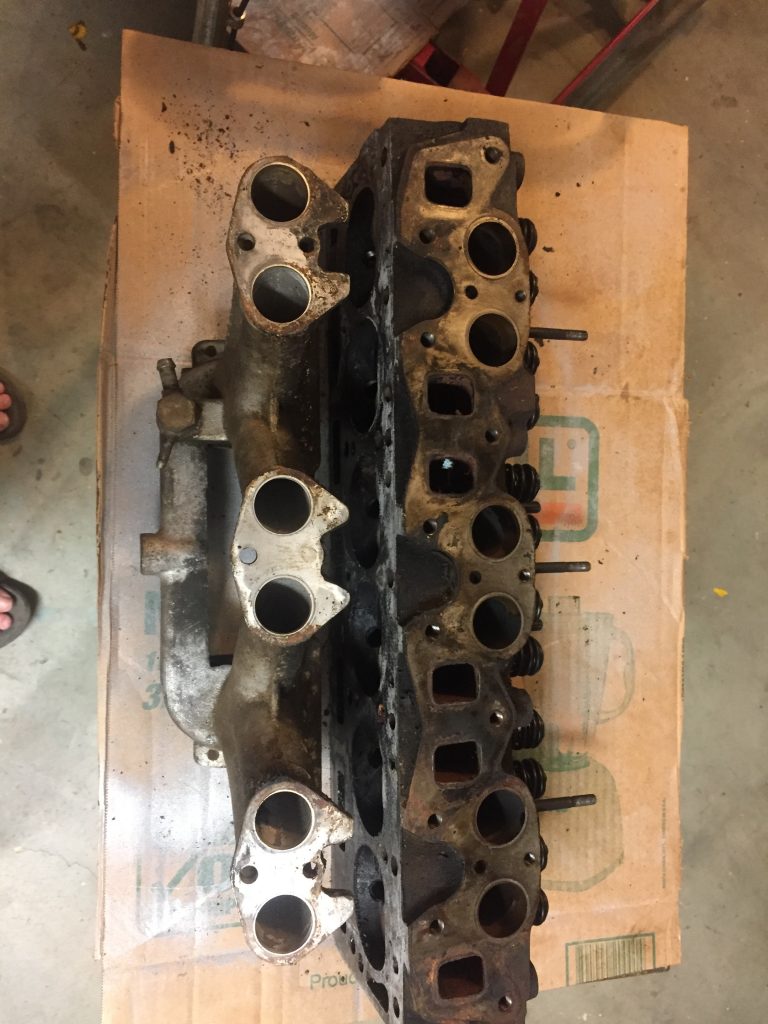
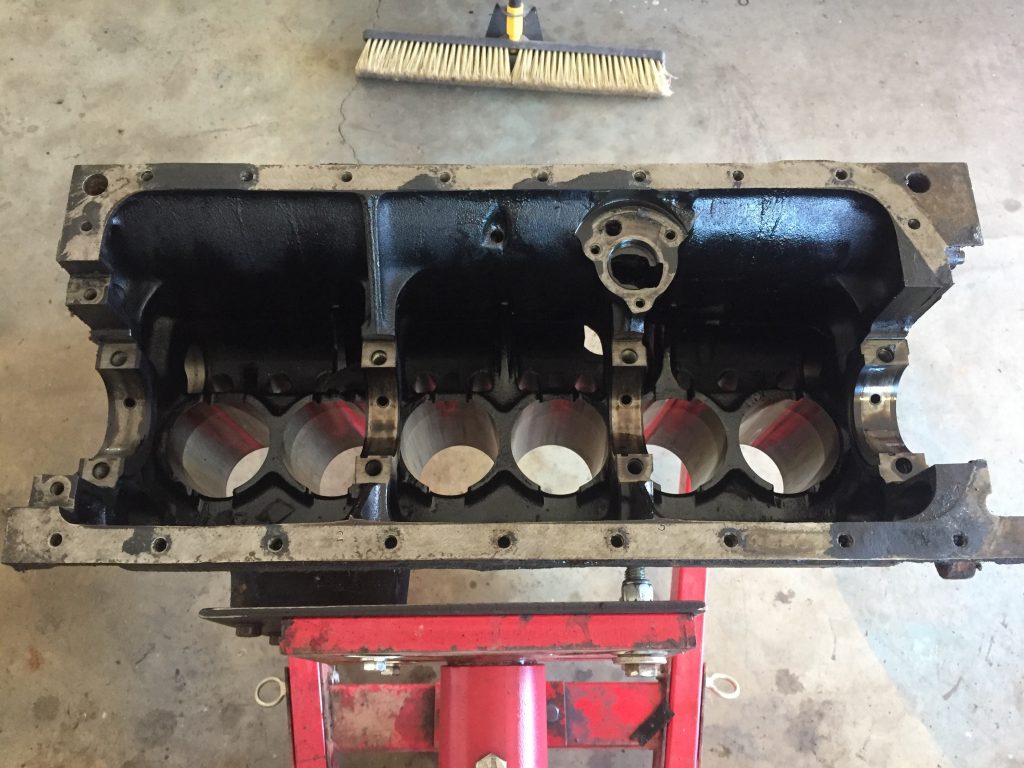
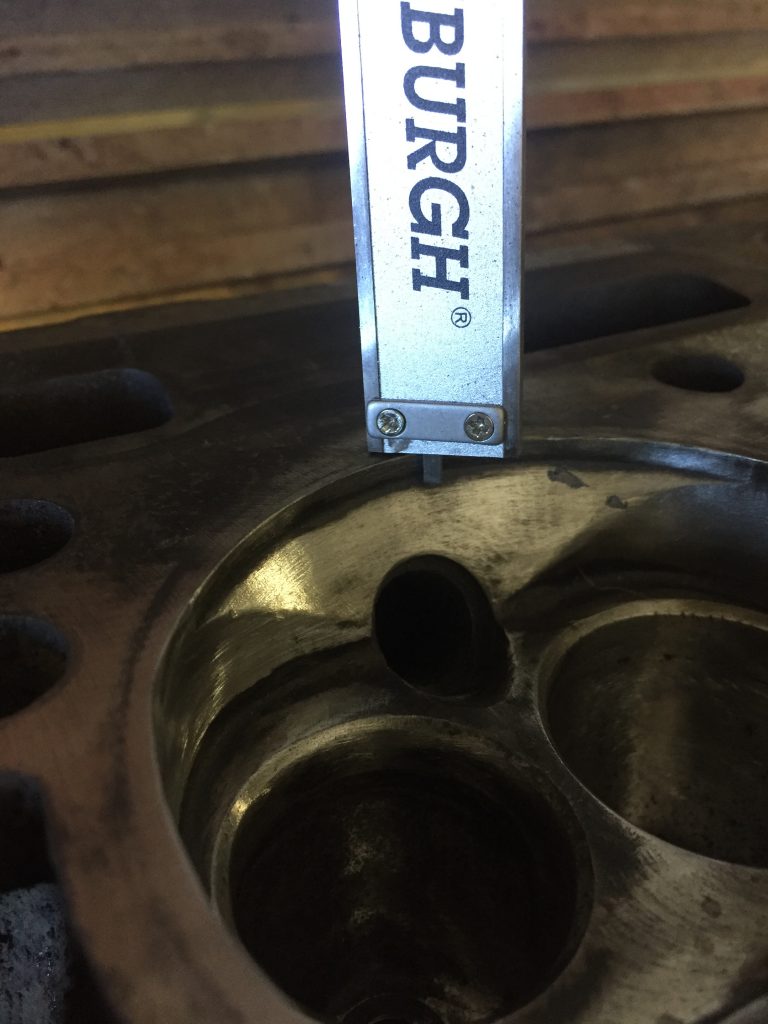
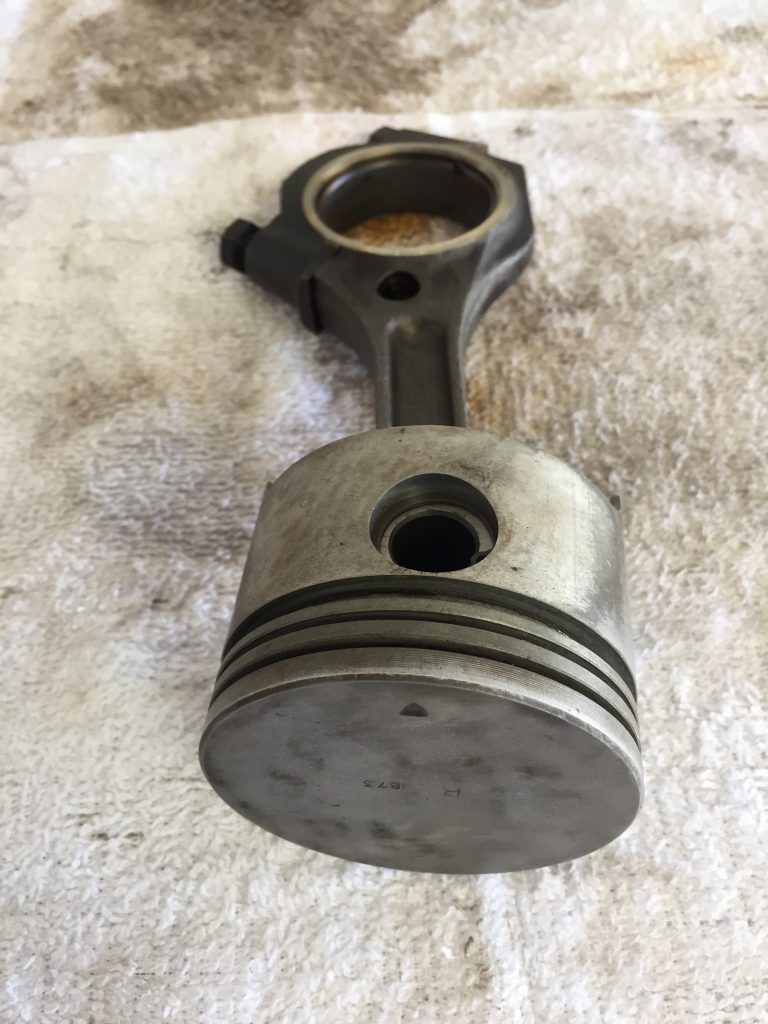
Measuring the boresNoting the position of the oil pump drive slotsPiston/rod assemblies coming outCarbon buildupLots of combustion chamber cleanup to doHead is stripped except for guidesRotating assembly gone, block almost ready for machine shopHmm… how much can I increase the compression?Cleaned up piston, but HDS wanted to bore the cylinders, so these were not used
Well, everything looked as expected for an engine that probably hasn’t been freshened up since it was manufactured nearly fifty years ago. The cylinders looked fine to me, as did the pistons, but my machine shop of choice HDS/Carquest in San Marcos thought otherwise. Casey, the owner, knows what he’s doing. I absolutely trust him. Before getting the block and head over to him for the serious business, I decided to clean up the combustion chambers, ports, and connecting rods myself, as shown in subsequent posts.