The restoration of Lewie’s 1956 Chevy 3600 has been progressing steadily since our last post. The cab is finally painted inside and out. We chose single stage paints purchased at Meza Automotive Paint in Escondido for exterior and interior. We used our old DeVilbiss gun for the most part, and an inexpensive (but awesome) Harbor Freight detail gun – part of a two gun kit – for the tight spots and for touch-up. The blue exterior is surprisingly bright and we’re all anxious to see it on the road with the white bits installed (bumper, grill, hubcaps, mirrors, etc).


For the front part of the cab floor we bought the original style jute and cardboard inner firewall cover, and the precut jute pad and rubber floormat. All these were purchased from Classic Parts of America.


We will use heat shield insulation on the rest of the cab floor, and under the headliner.
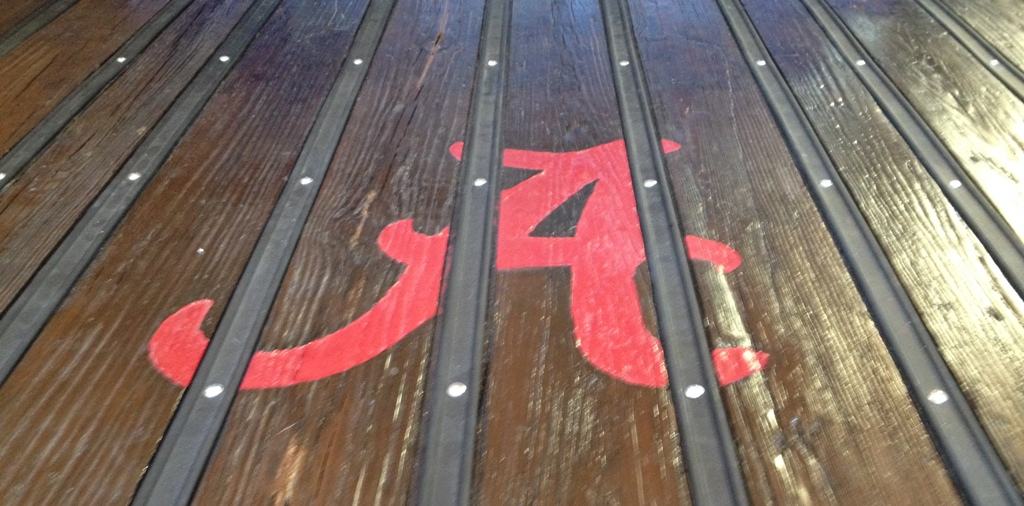
Lewie took on the project of refinishing his original wood bed, and from the crimson red “A” it should be apparent where he – and the truck – lived when the it was purchased a few decades ago.

The original metal strips were rusted, and junked. We bought these replacements from Mar-K Manufacturing in Oklahoma City… simply filled in the convenient form describing the strips for our bed (length, hole sizes, hole locations) and everything fit perfectly. Turn around time was about one week!
Mechanical tasks were also getting finished. The CPP power steering kit required cutting the shaft and column, and we elected to chop off even more to move the steering wheel away from the driver – Lewie is not petite.

We used Josh Sadler’s Yoshifab, right here in Fallbrook, to cut the double D into the shaft and drill a 1/4 hole for a bolt or roll-pin. We nearly lopped too much off the shaft – the column shifter has to clear the dash!

To keep the outer column from flopping around, we utilized a flanged bearing inserted into a piece of PVC pipe and pressed into the bottom end of the column.

Once the engine and transmission are in place, we will install the shifter mechanism onto the steering column. The slotted hole visible in the above photo allows positional adjustment so that the shift rods operate on the trans levers correctly. We will then need to chop a couple inches off of the upper shift shaft (under the dash) since we shortened the steering column.

In the next post, we chase down a vacuum leak in the 235 six.