Doing this hot rod building and restoration stuff, either as a hobby or as a business, is so rewarding because it’s a creative endeavor. You’re bringing a vision that exists in your mind, through a planning stage and, finally, to a real physical product. As a Taoist might say, moving something from its Yin aspect to its Yang aspect.
But, damn… there’s always something. Especially when the creative process starts with a car or truck that is half a century old. There will be blood. And frustration. Rarely is anything simple and straightforward. Not complaining, mind you, problem solving is part of the fun. So with that in mind, we’ll share some solutions that might apply to your project as well as ours.
During the process of working on our old cars and trucks, we have developed lots of favorite things: tools, equipment, websites, stores, and ideas. Even dumb ideas… why should you go down the same dead end that cost us time and money.
We don’t waste money, because it’s hard earned. We really prefer getting a good value for our money… if it’s a tool or equipment we think we’ll be using on most projects, we buy it. If it’s a one time problem we’re trying to solve then borrow it. No doubt it helps to live in Southern California because we are never far from resources.
One of the best resources anyone can find – no matter the endeavor – is a smart, experienced guy. Whether that’s your local owner/operator transmission shop or exhaust shop or machine shop, or just a friendly hot rodder who’s been doing it longer than you, these relationships will save you headaches and time and money.
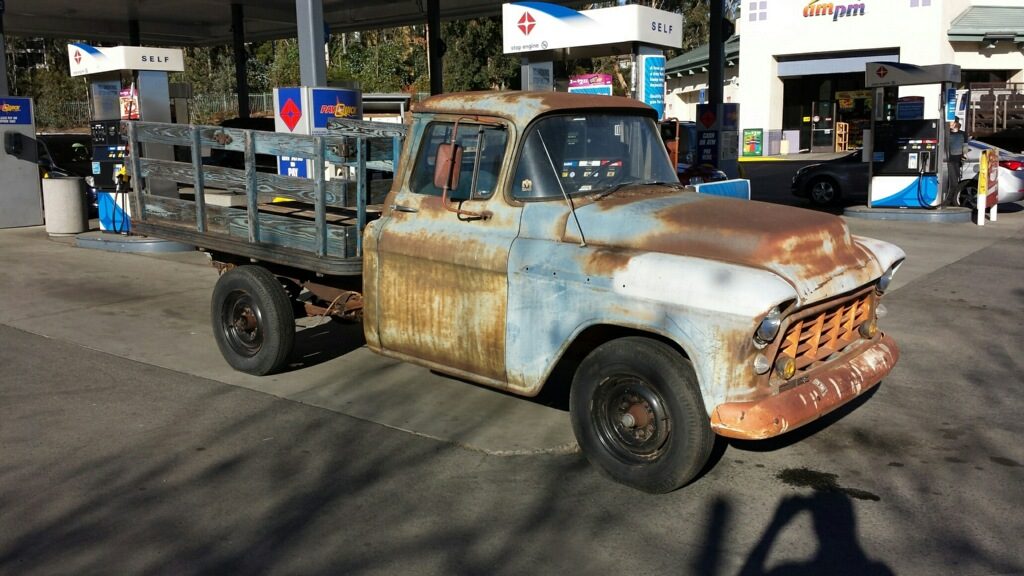
Besides the Apache, this is our other in-house build. It will be the culmination of all of our mistakes. Wait… did I say that right.
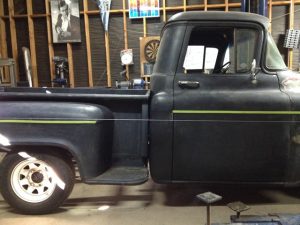
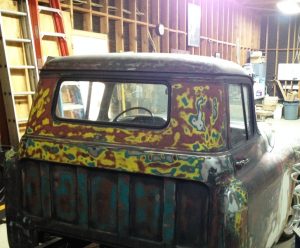
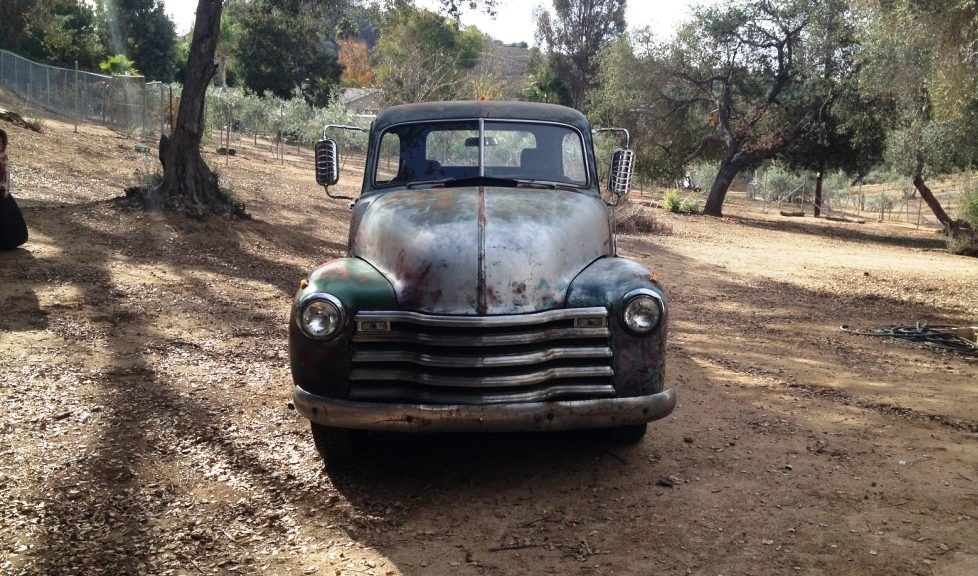
Despite the way it looks, the Fleetside is relatively rust-free. It is also minus engine and trans, and interior, and gauges, and, and, and. So, it really is a clean slate. Our goal is to make it go fast, stop fast, and get around the bends confidently.
As it stands, we will probably continue with our theme song: carbureted small block Chevy, simplicity, safety, and creative problem solving. Stay tuned as we get ready to initiate the build.
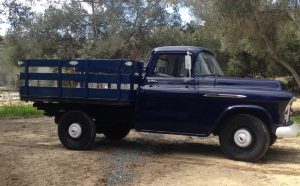
Lightning Lewie, the owner of the 1956 stake-side 3/4 Chevy brought it out to California from Alabama a few years ago. The truck had been in the family since 1966 and was surprisingly well-kept, with minimal rust. But he wanted this beast to look good, and he wanted a few conveniences, like power steering and power assisted brakes.
Okay, so far that’s pretty straightforward. But as the title of the post says, this is a farm truck. Six cylinders, 235 cubic inches, 3-speed manual transmission, and a 4.57:1 rear end ratio. For all intents and purposes, about a 50 mph top speed.
Follow us as we address all of these issues.
Bulletin: It is Finished!
The list is long, but the highlights of this build include sandblasting it from bumper to bumper, including the wood gates and bed; adding power steering, power brakes, new wiring harness from Rebel Wire, a Borg Warner overdrive for the three-speed transmission; lots of insulation (it is quiet!); stereo sound system; many pounds of blue paint on the exterior; and a new interior, top to bottom. Owner Lewie Trawick handled the refinishing of the original bed and gates, and they turned out great, including the Crimson “A” smack dab in the middle of the bed for our Alabama natives – Lewie and the truck.
You’ll find a good number of posts here about our favorite project so far, including the most recent with a gallery of photos from the project.
Before and after:
We loved that Lewie wanted it restored to original condition, with just a few modern conveniences.
When my friend and fellow barn junkie, Lance, asked if we could get his recovered ’48 half-ton running again, I agreed. Little did we know it would take a fifteen month bite out of our schedule for the Apache. But after his truck – in his family for decades – was mistakenly sold from the private property where it was being stored, it took him quite a while to find it and reclaim it, and to convince the DMV that he wasn’t an axe-murderer. So what’s a few months in the grand scheme of things.
The reclaimed truck was minus its engine and transmission, and what remained of it was in a sorry state. Things were not looking good for this budget build until Lance found a restored ’48 chassis with a 327 small block and TH 350 transmission. The previous owner had thrown in the towel on a project started a decade earlier. The rest is history.
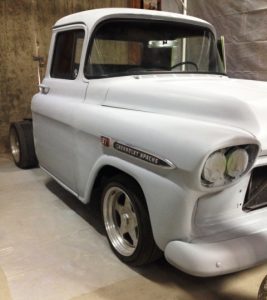
What to do when you have a big old barn with a cement floor and electricity? Go find an old truck, of course. In this case, we jumped in with both feet and ended up with a somewhat sorry 1959 Chevrolet 3100 Apache, short bed, step side, small window.
A few words about the “patient.” The truck would barely run as the carb was spewing fuel through the throttle shaft. During the test drive the previous owner almost slid the thing through a stop sign into cross traffic because only one of the drum brakes seemed to be doing its job. And the god awful bench seats smelled like an open sewer. On top of that, the left front corner of the cab was low due to a rust problem where it mounted to the frame.
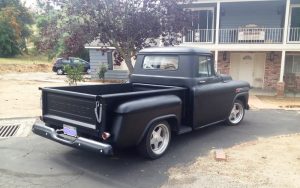
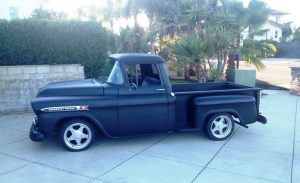
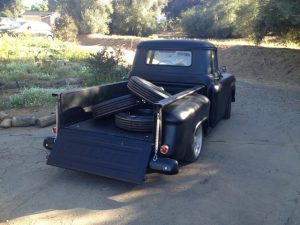
The Apache is finally back on the road with a fresh coat of satin black paint, a freshened 350 engine, and a long list of fixes and improvements. There is still plenty to do, but it is now a fun driver (and work truck – this Apache can haul!)
We shored up the front cab corners with 1/4 inch steel, rebuilt the drum brake system, added new shocks all around, installed a drop axle at the front, and lowered the rear to match it by re-curving the main leaf spring and removing the supplementary extra stack of leaf springs. We replaced the rear cab corners and then spent weeks cleaning up the body and chassis and prepping for paint.
At this stage, we have stuck with manual 4-speed Saginaw transmission, manual steering, and the drum brakes sans power assist. However, having just added CPP’s easily installed power steering and power assist brake kits to the ’56 “Farm Truck,” these improvements might soon appear on the Apache.
The rear end is a bit noisy, but we’re living with it for now, until the Farm Truck is finished and on the road. At this point, it’s just time to enjoy driving the big hunk of steel. The rake of the chassis, with the front end low, and the 3.90 ratio rear end make it feel sporty on the twisty roads between home and shop.
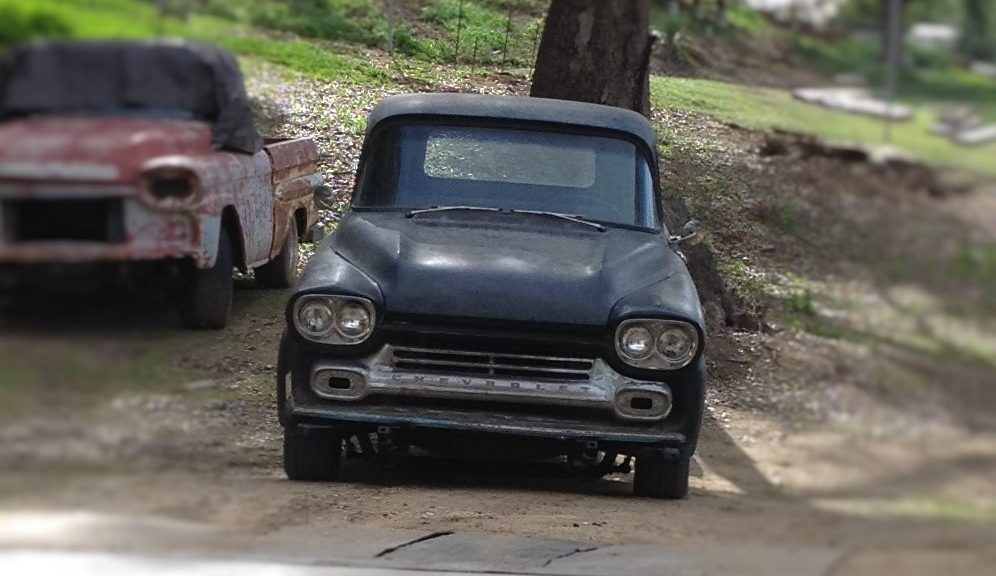
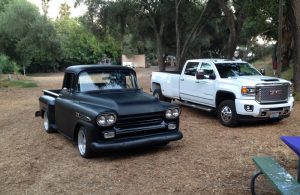
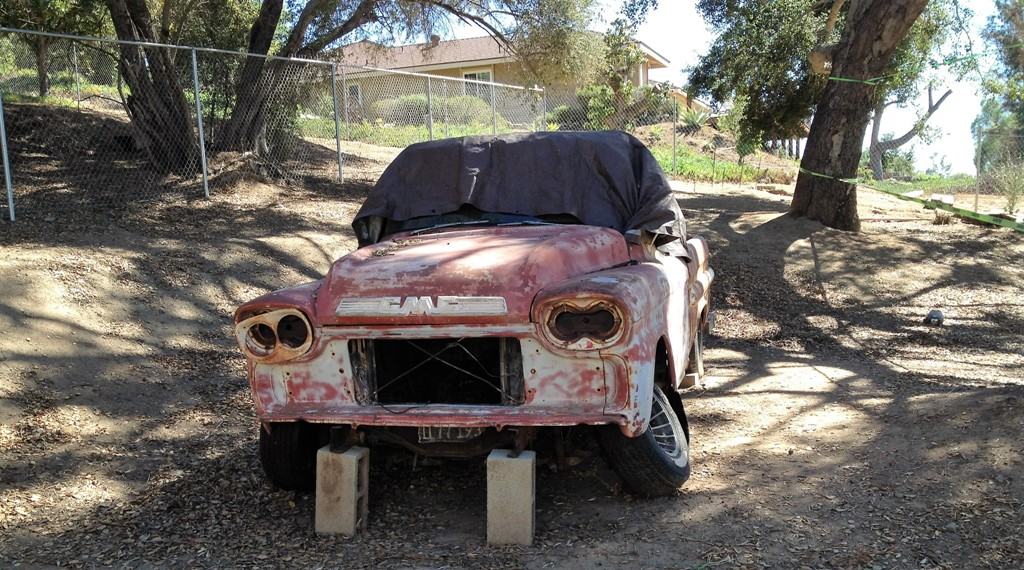
The Barn’s “first truck” isn’t a show stopper, nor is it completed to our satisfaction yet. On the other hand, our key phrase for the Apache during the build was “next guy.” So maybe it will just change hands as is, to add a little to the budget for our next project… the ’58 GMC seen behind the Apache in the title picture.
Why a post about bump steer? Well, because we’ve built two trucks and both suffered from horrendous bump steer problems. One was brought on by the installation of a drop axle, and the other by upgrading to later GM power steering setup.
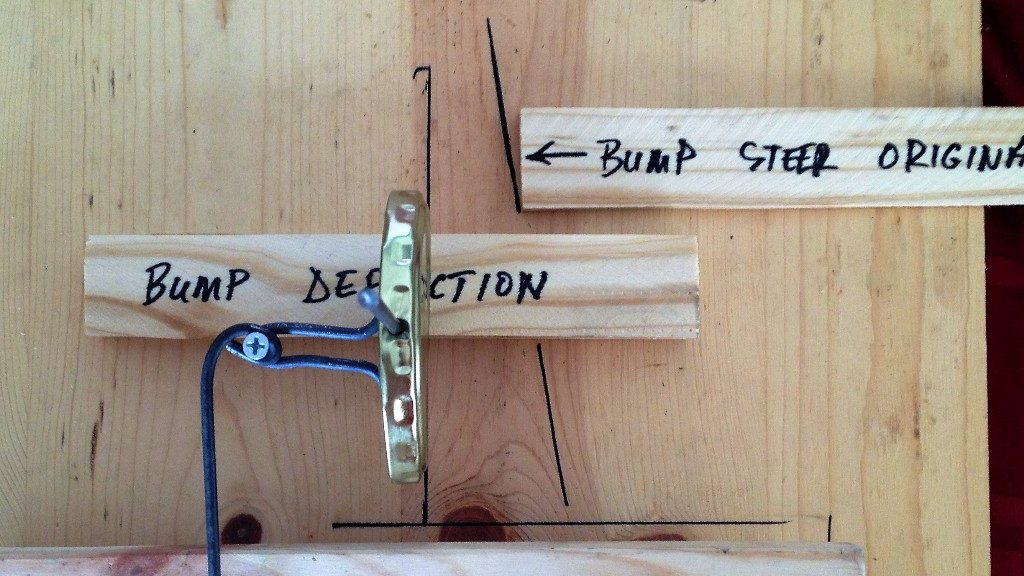
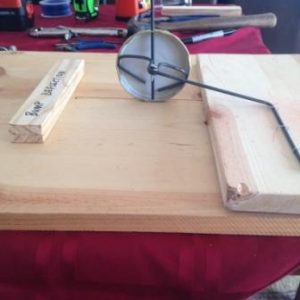
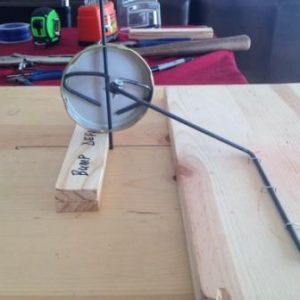
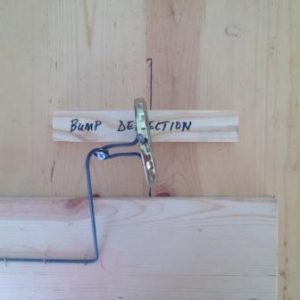
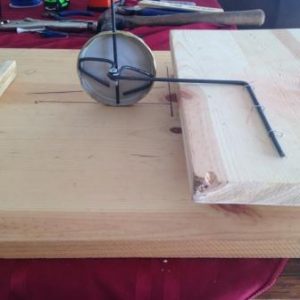
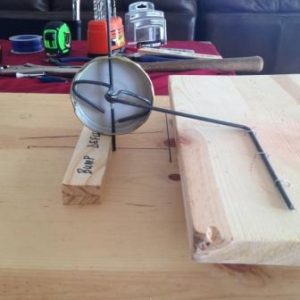
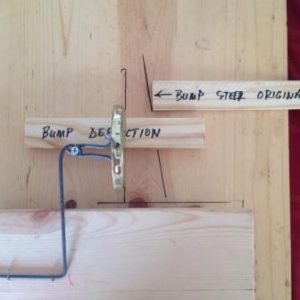
How to make it livable? You need to get the drag link parallel with the ground. A short drag link that is steeply inclined could see you bouncing into a ditch or into the oncoming lane. Not knowing how significant the effect might be, I built a simple model.
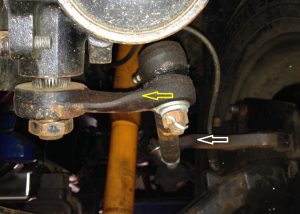
The ’48 Chevy had a CPP kit which facilitates an upgrade to a 1967-89 Chevy truck power steering setup . This entails mounting the steering box to the outside of the frame rail. CPP sells a Pitman arm for lowered trucks that allows the drag link to be dropped in from above the Pitman arm. In addition, we fired up the oxy-acetylene torch and bent the both the Pitman arm (yellow arrow) and the steering arm (white arrow) to achieve a horizontal drag link when the car was sitting on the ground. This picture was taken with the ’48 on the lift so the drag link is at a slight angle in this photo. It took a couple tries, but we finally made the steering manageable.
Since this truck has significant body roll, especially at the front end, at some point we will source an anti-roll bar. (We hope) that will further decrease the bump steer effect and make the truck a little more sporty in the corners.
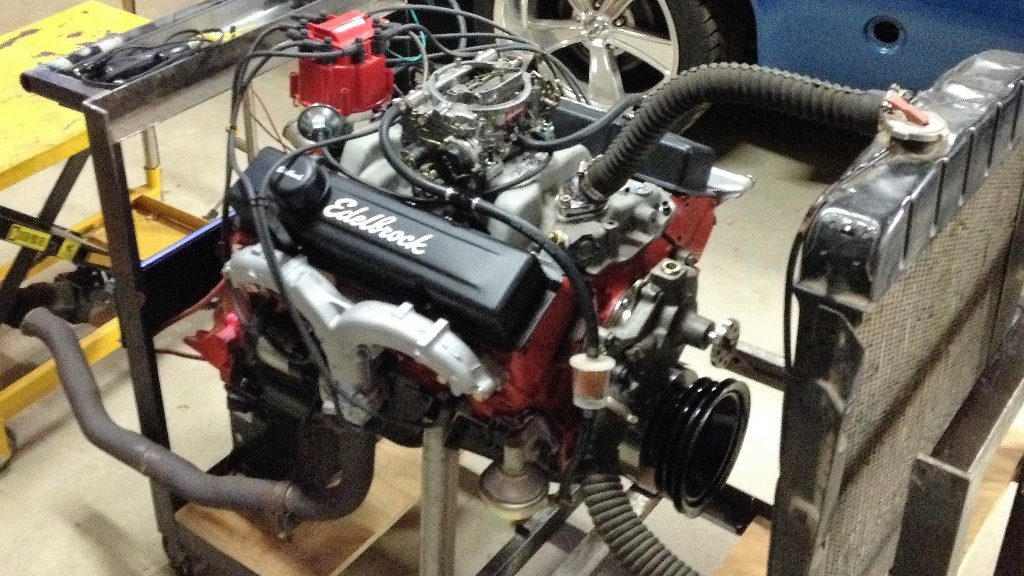
We rebuilt the 350 for the ’59 Apache, including: main and rod bearings; rings; camshaft; lifters; pushrods; oil pump; fuel pump; water pump; harmonic balancer; Edelbrock Performer manifold; Edelbrock 1406 carburetor; small chamber heads; timing chain set; valve covers; oil pan; and new freeze plugs and gaskets.
An important part of the rebuild was knocking out all the water jacket plugs (aka freeze plugs) and using our high pressure washer and compressed air to remove the chunks of rusty metal that are detrimental to cooling efficiency.
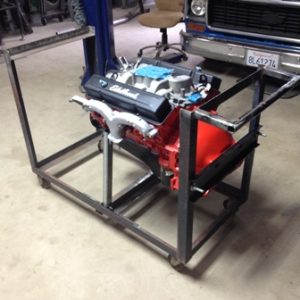
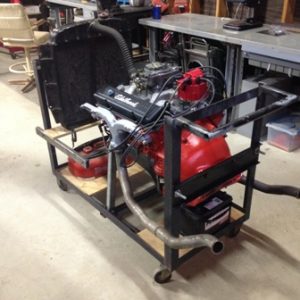
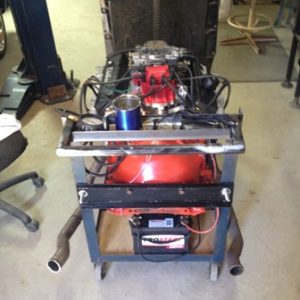
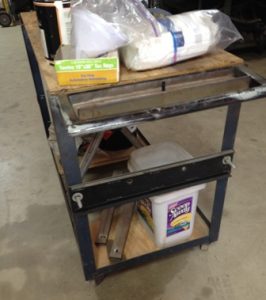
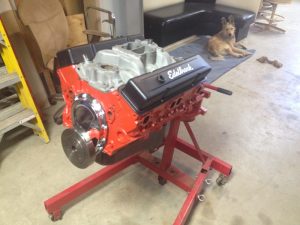
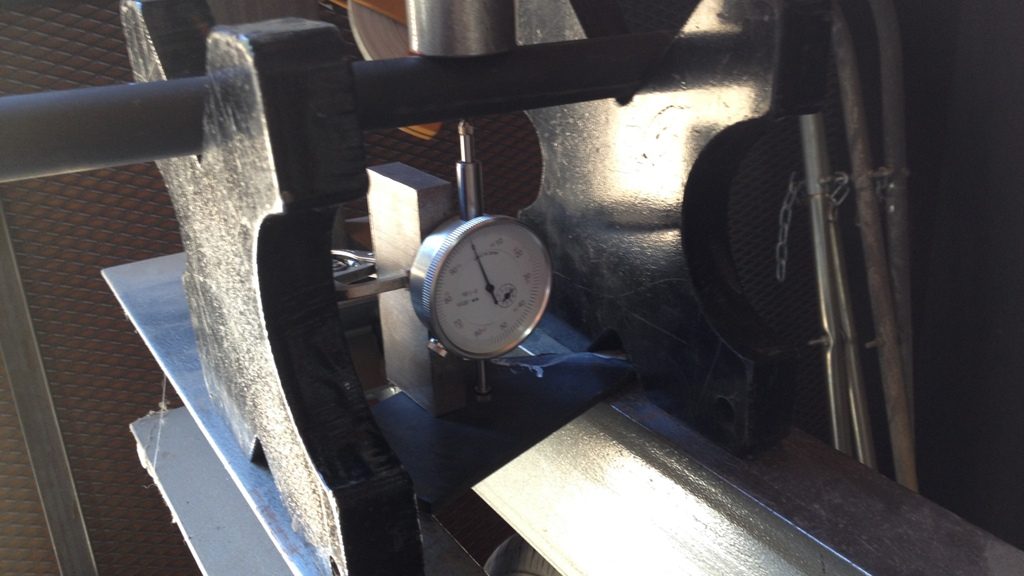
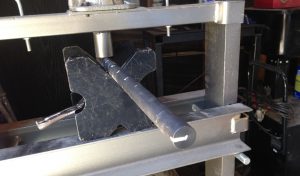
After putting it all together, there was no way I was going to stick it back in the truck without testing it first. We happened to have two heavy duty metal tables, one with a metal top that serves as our welding table. The other had a wood top and it became the temporary engine test bed. A little surgery removed the angle iron on which the wood top rested, allowing us to drop an engine into the middle. Here’s what it looked like…
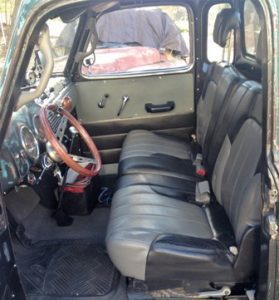
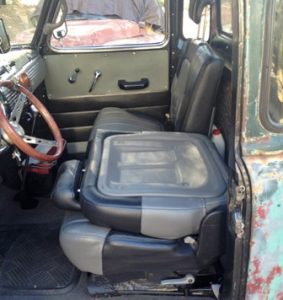
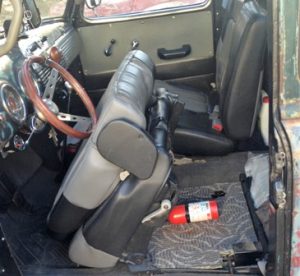
Sometimes you just get lucky. As you can see below, the interior of the ’48 was destined for the trash bin. So, after taking some measurements we headed for local wrecking yards to see what we could find. We knew we were looking for gray leather, so armed with measuring tape and a few tools, we started our hunt.
Our first stop was a yard in Oceanside where you pay a couple bucks to enter, and pull the parts yourself. As we neared the end of our walk-through, a relatively pristine 2002 Pontiac Aztek was dropped off. Eureka! Everything about the second row seat shouted “take me home.” Dimensions – check; color – check. And the seat was removed by simply pulling up on a release bar at the front. Best of all… the price: we took it home for less than fifty bucks!
By just pulling up on a bar at the front of the seat, the entire assembly lifts out of the truck. A good find for a grand total of $47.50 plus our time to install in the truck. The Pontiac Azteks weren’t pretty, but they are interesting cars, especially with camping accessories.
So, we bought the ’59 Apache. Generally, we knew what we were getting, but what exactly did we buy? Time for a little detective work.
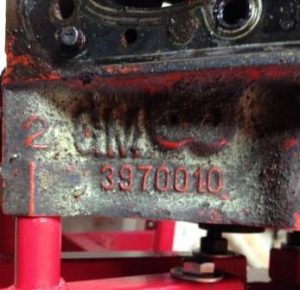
It has a 350 small block Chevy engine. The number at the rear of the block on the driver side tells us that this is a 3970010 block casting, which had a ten year run, from 1969 to 1979, and was used for 302 and 350 cubic inch engines.
To get a little more specific information, we looked for the engine’s three letter suffix, in our case “CGC,” found on the passenger side of the engine just below the cylinder head at the front. Turns out our engine was 350 from 1971 with 245 hp. It would have been installed in an El Camino with the turbo-hydramatic, or a full-size manual transmission car, police car, or taxi.
The “11J” at the beginning indicates the car was a Chevrolet, model year 1971, built at GM’s oldest assembly plant in Janesville, Wisconsin (set up in 1919, and shuttered in 2009). The beginning of the engine code “V0215” indicates the engine build was at the Flint plant on February 15th.
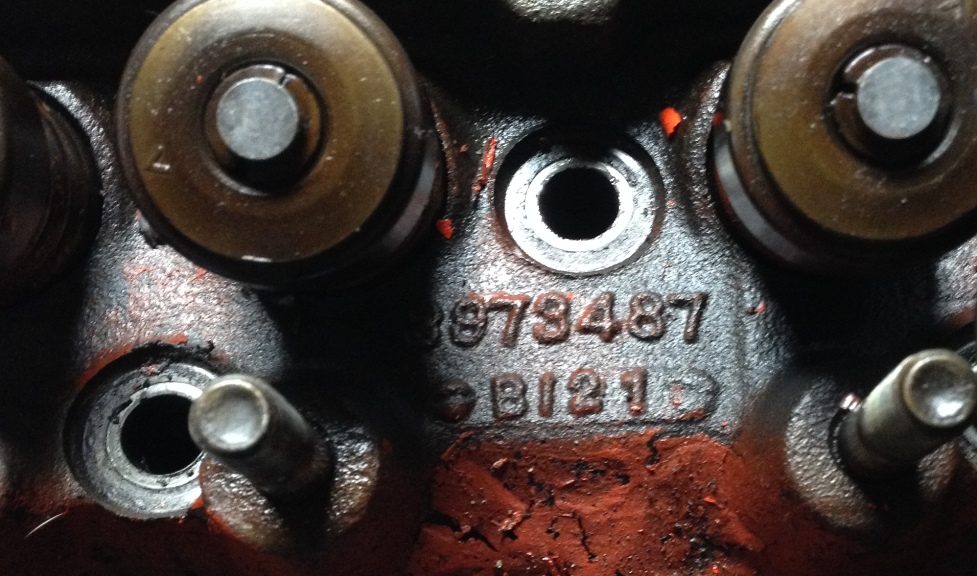
Removing the valve covers revealed the cylinder head identifying numbers “3973487” which indicates that this is a “smog” head with 1.94 intake / 1.50 exhaust valve diameters. Not a good base for making power because of the size (76 cc) and shape of the combustion chambers. We ended up swapping these heads for ones with a 58 cc combustion chamber, just to put a little more pop in the explosion… more on that in a future post about the engine rebuild.
It was easy to identify the transmission as a Saginaw. These manual gearboxes have seven bolts fastening the side cover and all three shift levers are on the side cover. The Muncie also has seven bolts securing the side cover but the reverse shift lever is on the tail housing.
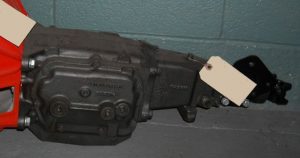
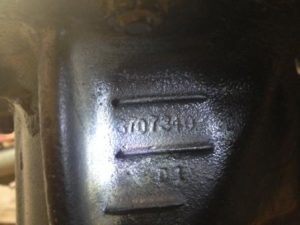
The final piece of the drivetrain – the differential – yielded its specifications, as well, once we were able to guess correctly at the last digit of the casting number.
A Google search on GM differential 3707340 pointed us to a number of gear vendors. They revealed the same information…
GM ’55 – ’64 1/2 ton truck
drop out carrier
10 bolt rear cover
c/clip axles
12 ring gear bolts (3/8 x 24)
ring gear diameter: 9.375″
pinion nut size 1 – 1/8th”
Yukon Gear, Randy’s Worldwide, and Sierra Gear all list a GM55T-338 replacement ring and pinion with a 3.38 to 1 ratio along with all the other parts necessary for a rebuild. I would choose that ratio over the Apache’s, which seems to be a 3.90 ratio. In fact, I’d like to go even further via an overdrive transmission. If I could find a three-speed Saginaw with overdrive – for a reasonable price – I would swap it for the four speed in a heartbeat.
But first things first. Unfortunately, the Apache’s rear end is making the worn-ring-and-pinion howl and that means I need to put it on the bench for inspection and adjustment or replacement.