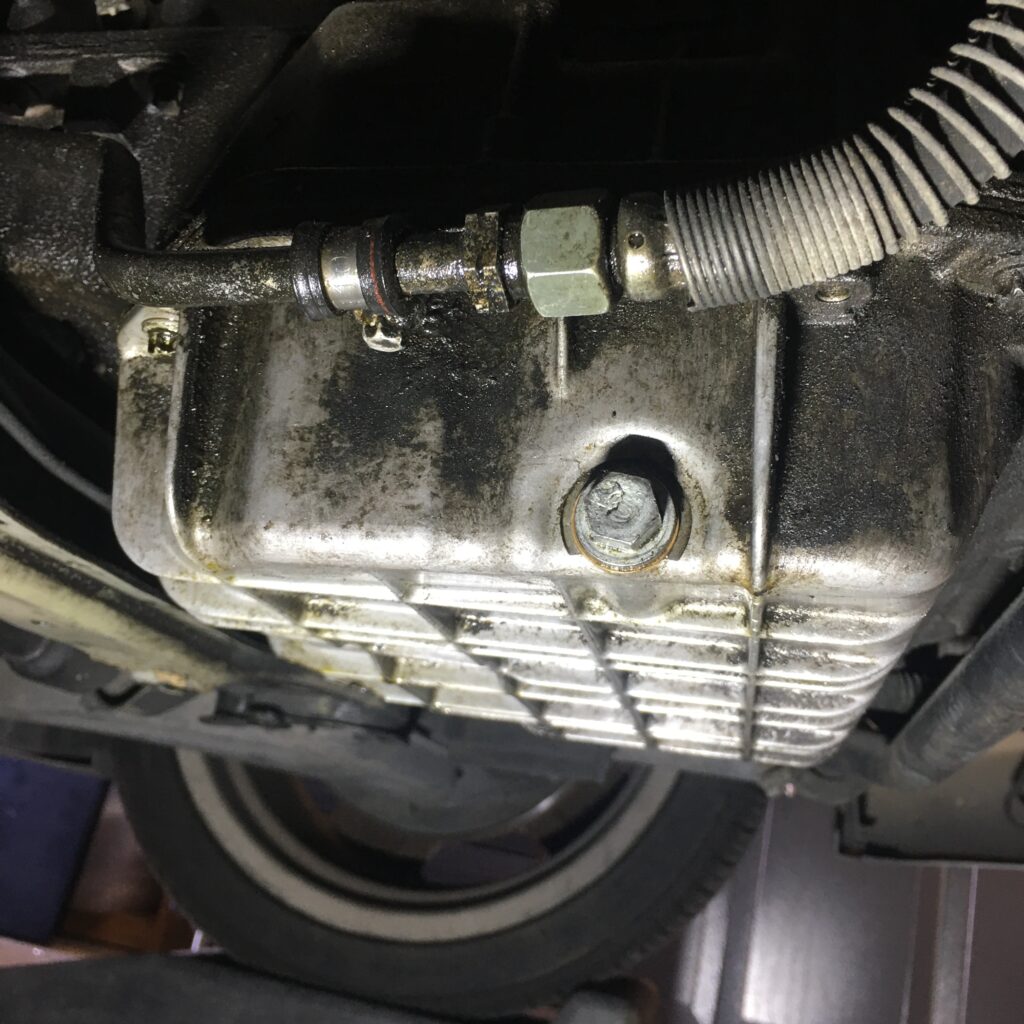
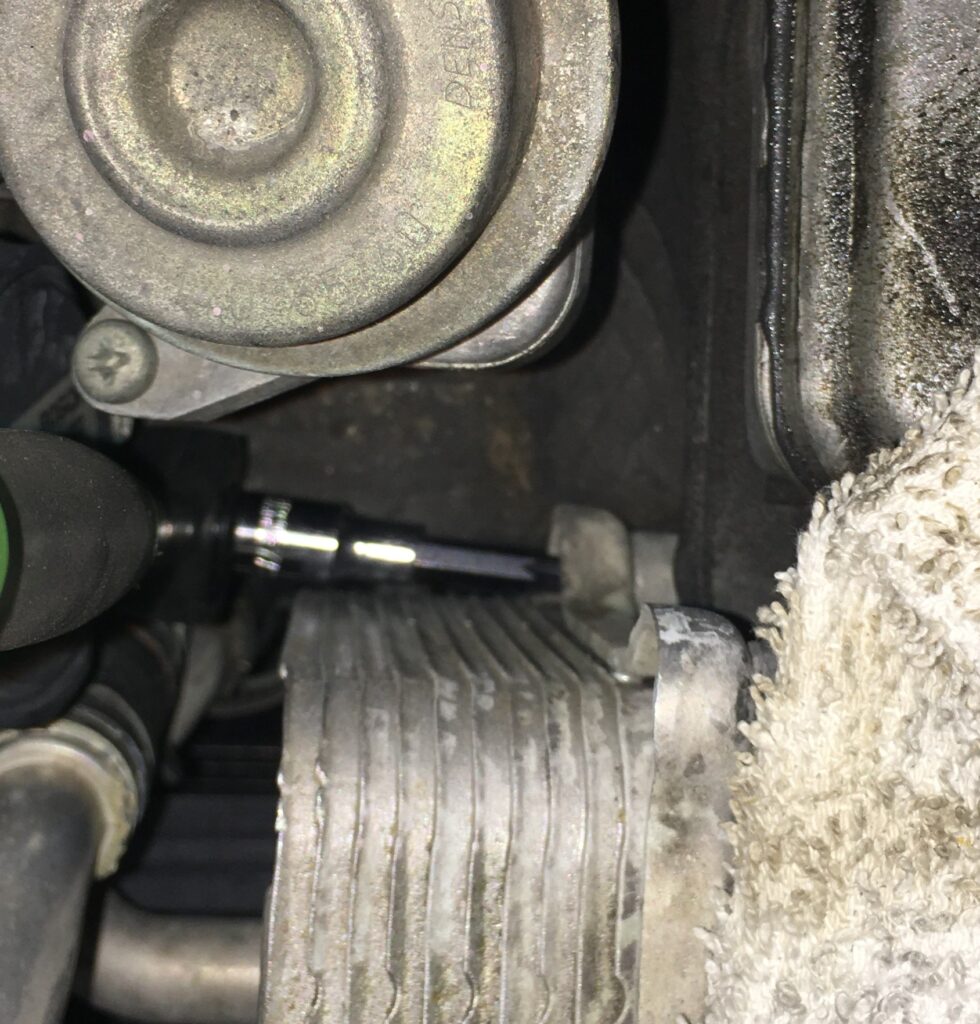
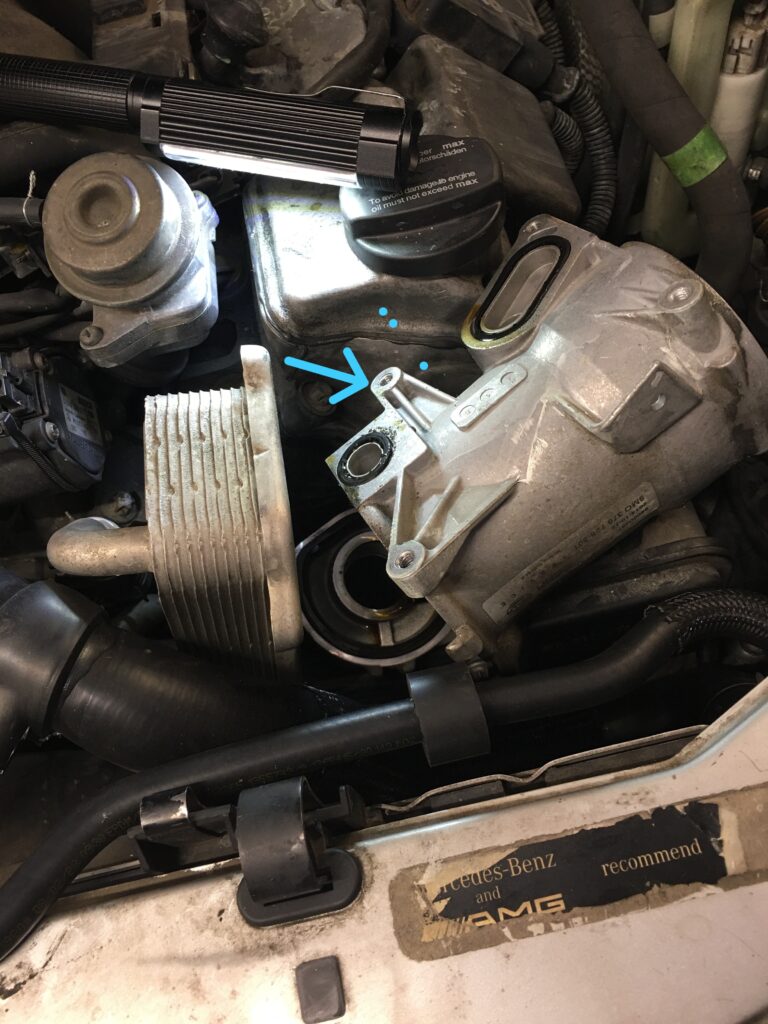
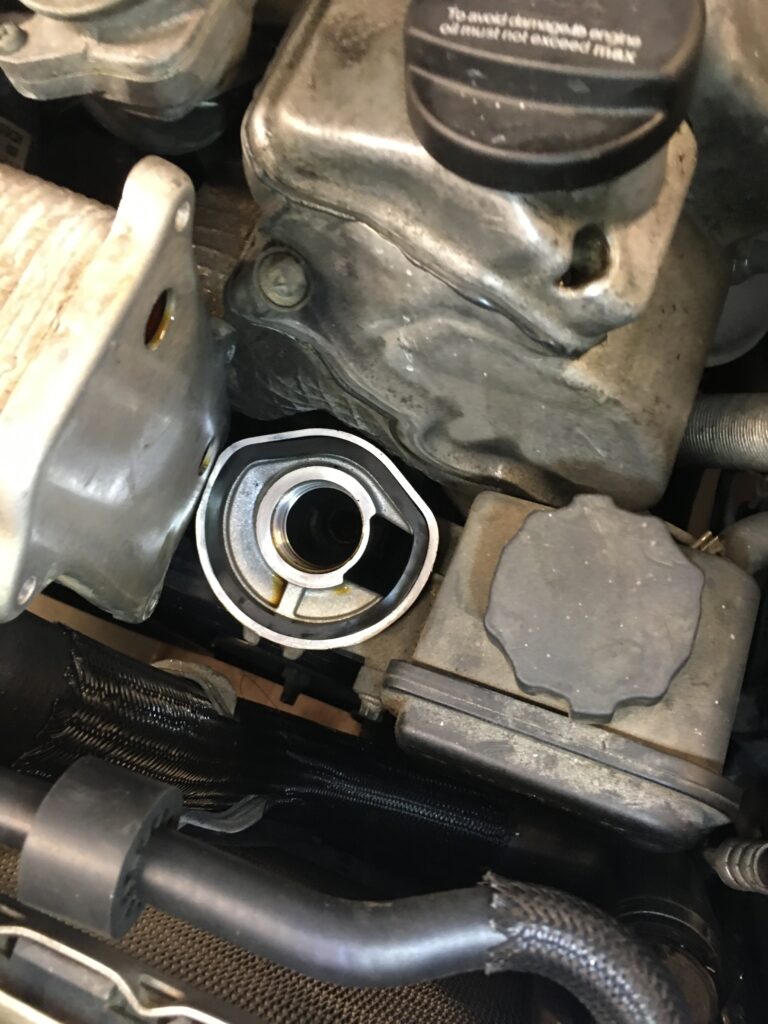
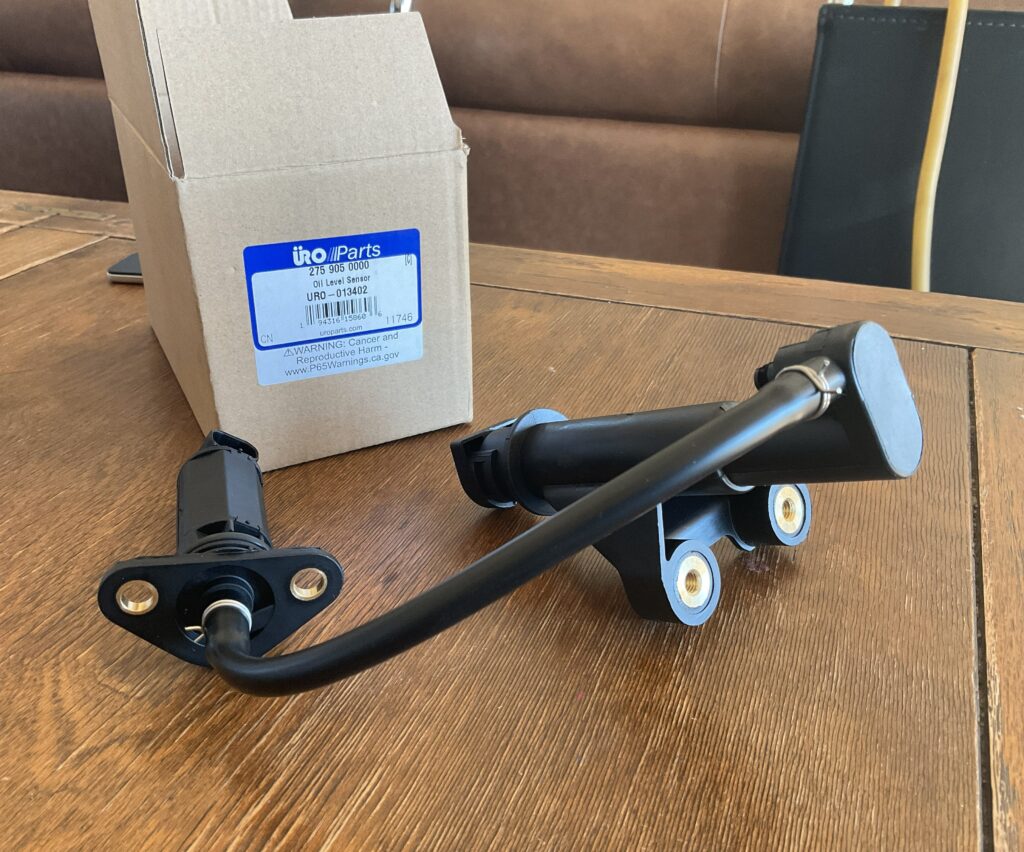
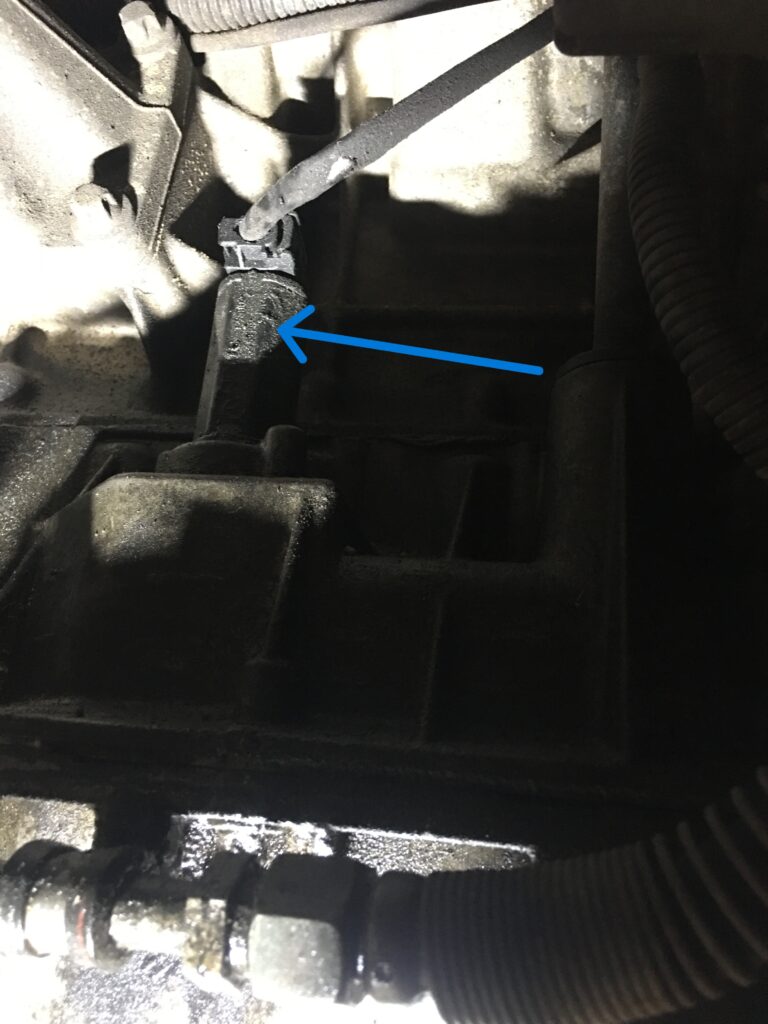
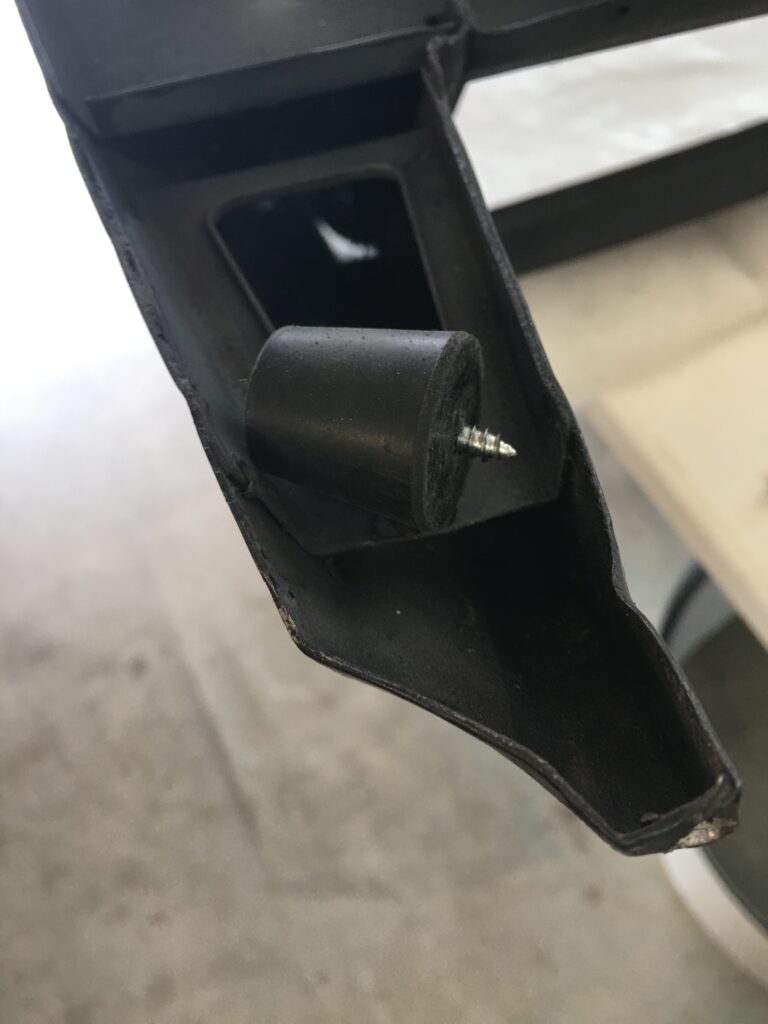
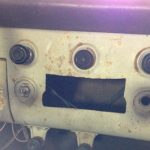
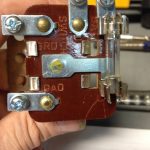
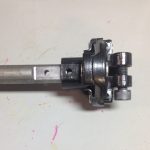
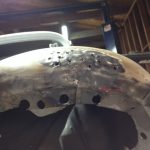
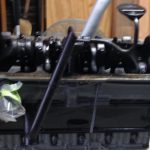
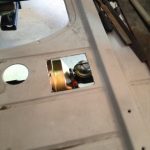
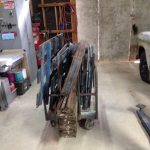
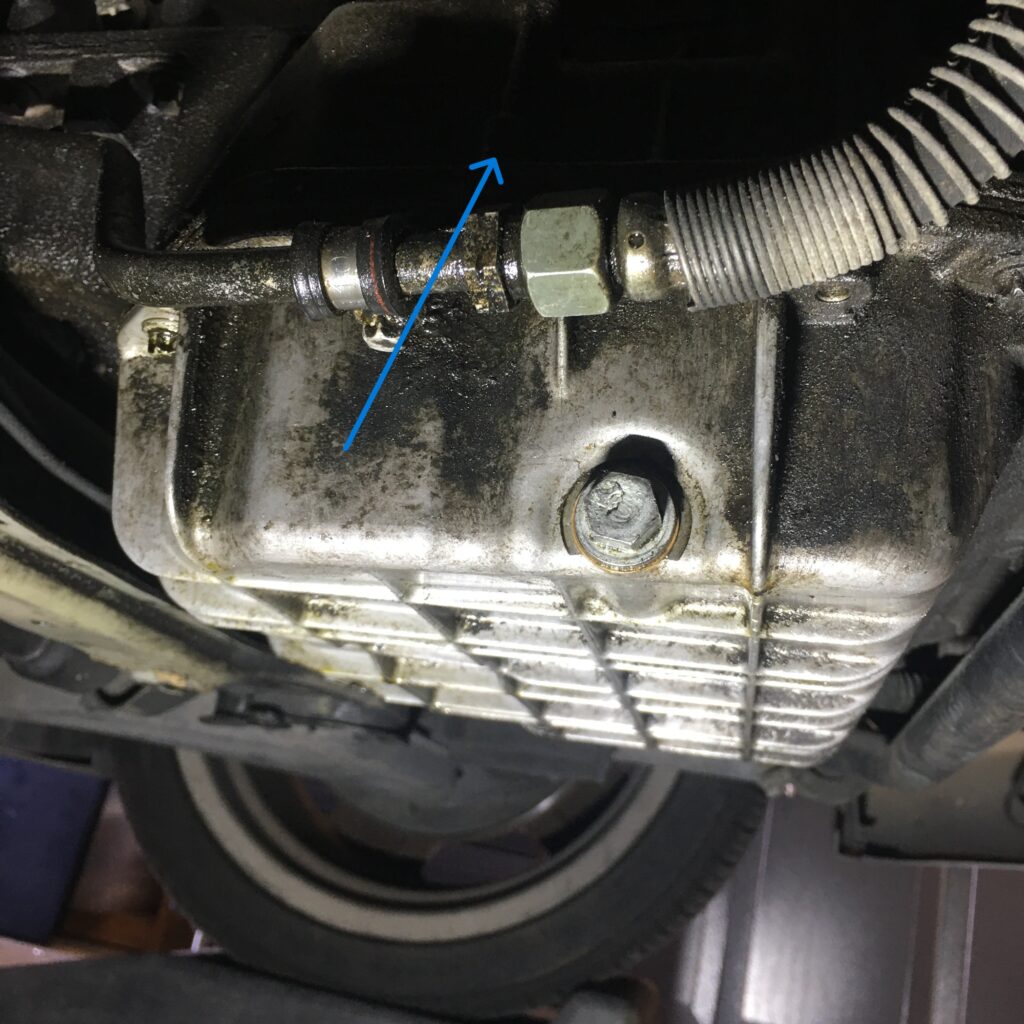
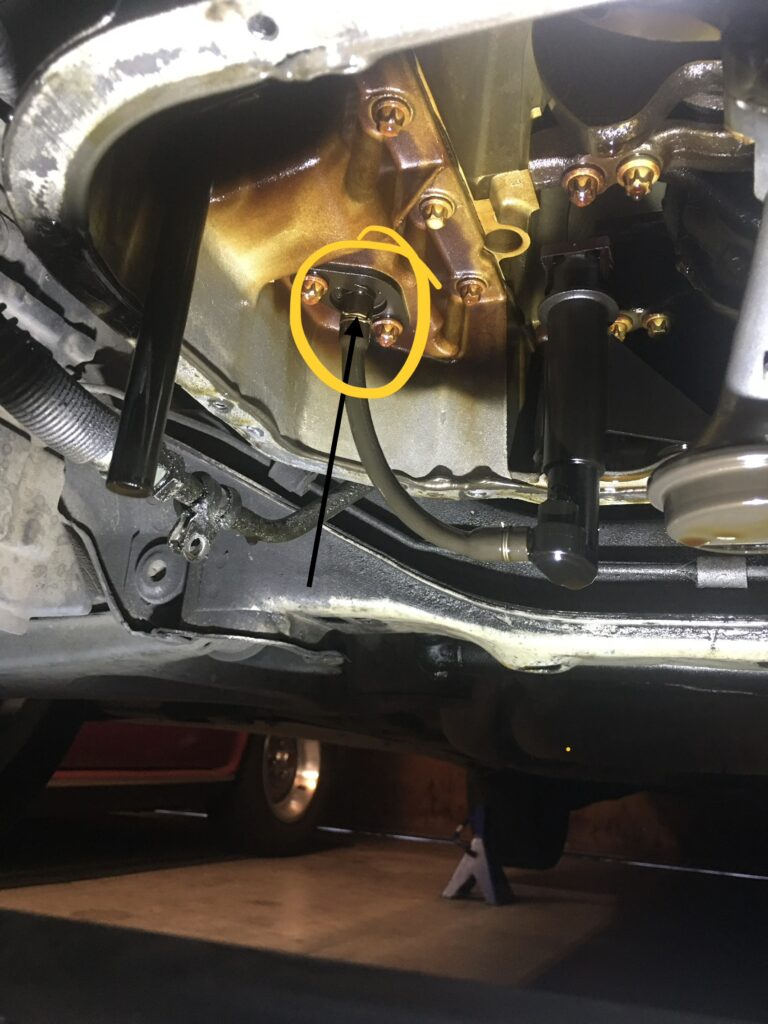
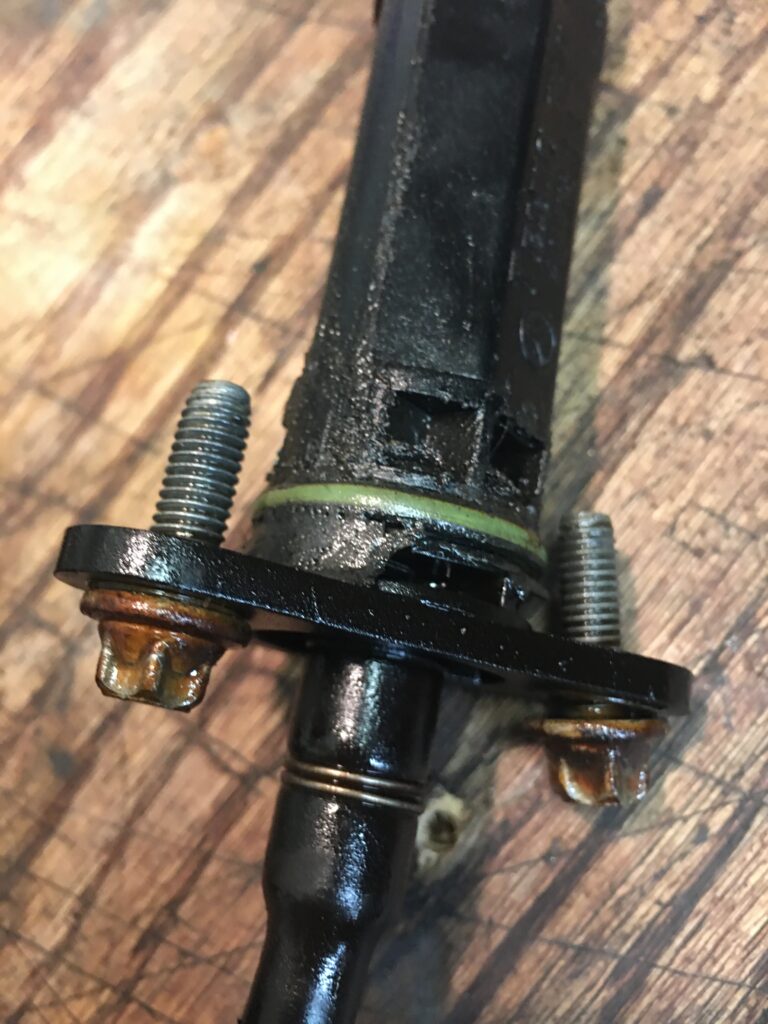
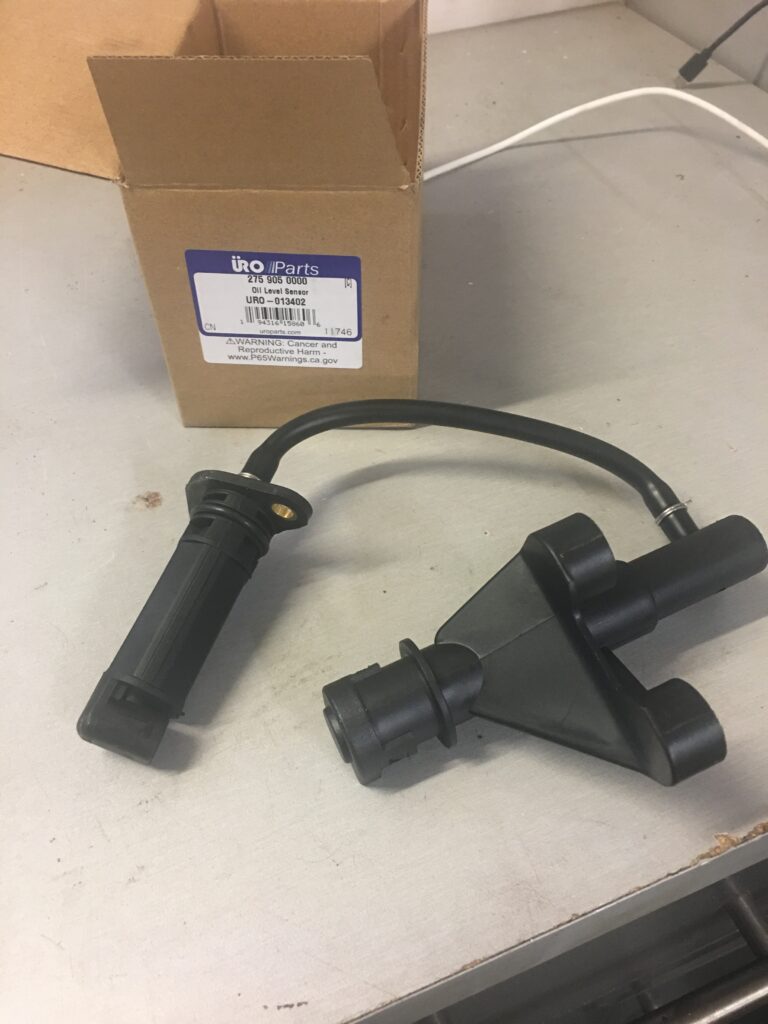
The oil sensor quit working a few months ago. I would have let it go since I check my oil regularly, but in my pursuit of leaks it became clear that the sensor was a problem. These engines have an upper and lower oil pan, both cast aluminum. The oil sensor is bolted to the upper oil pan and is accessed by removing the lower pan. Part of the oil sensor protrudes through the upper oil pan in a little flat area, approximately above the drain plug, where a connector plugs it into the ECU. The rubber o-ring was no longer doing its job of keeping the oil inside the engine.

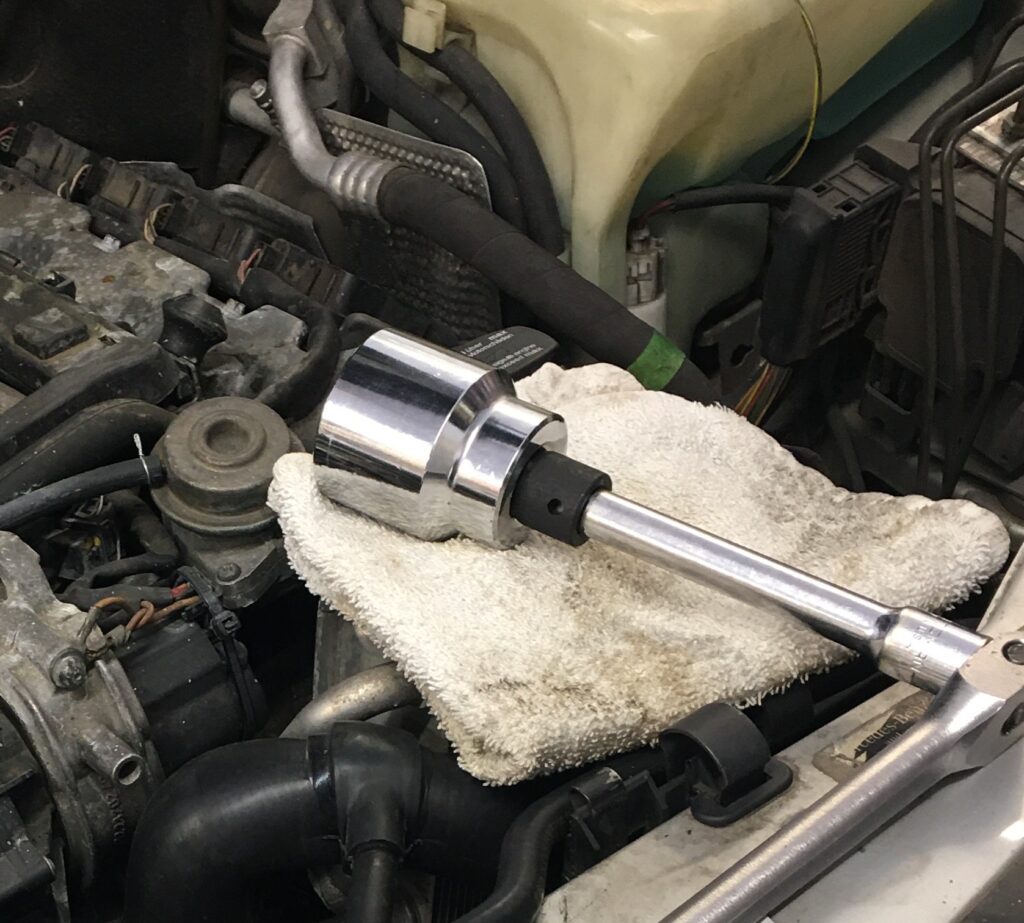
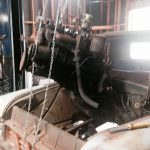
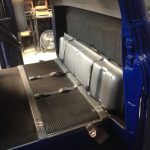
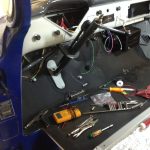
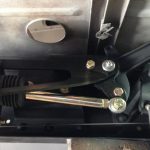
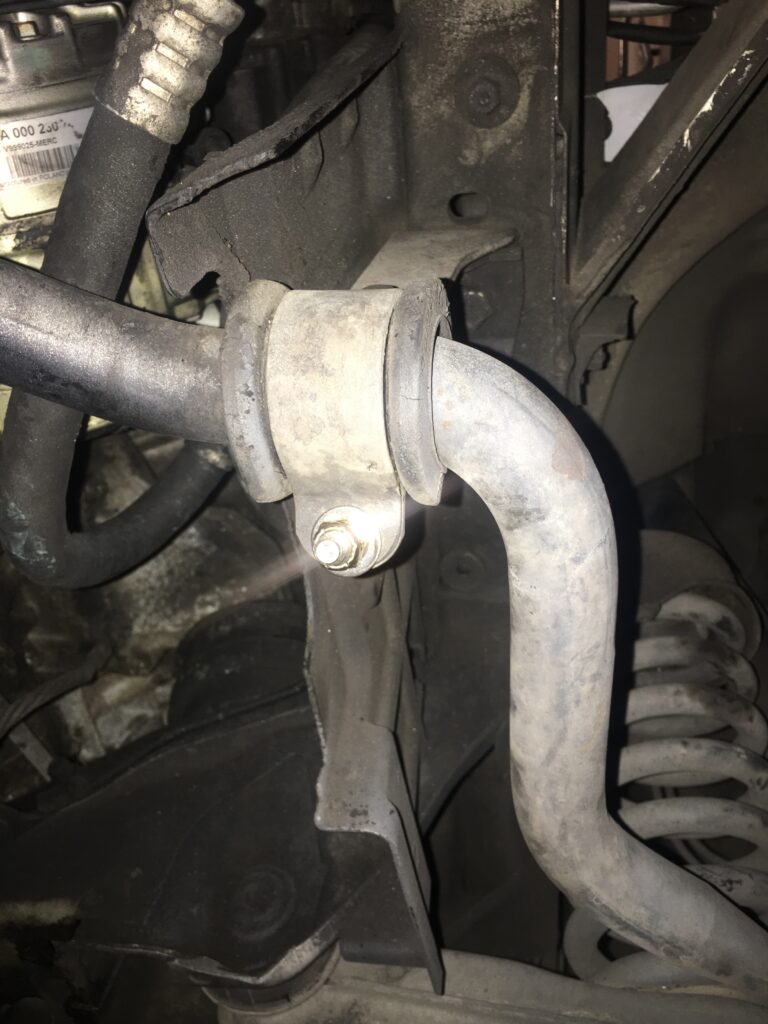
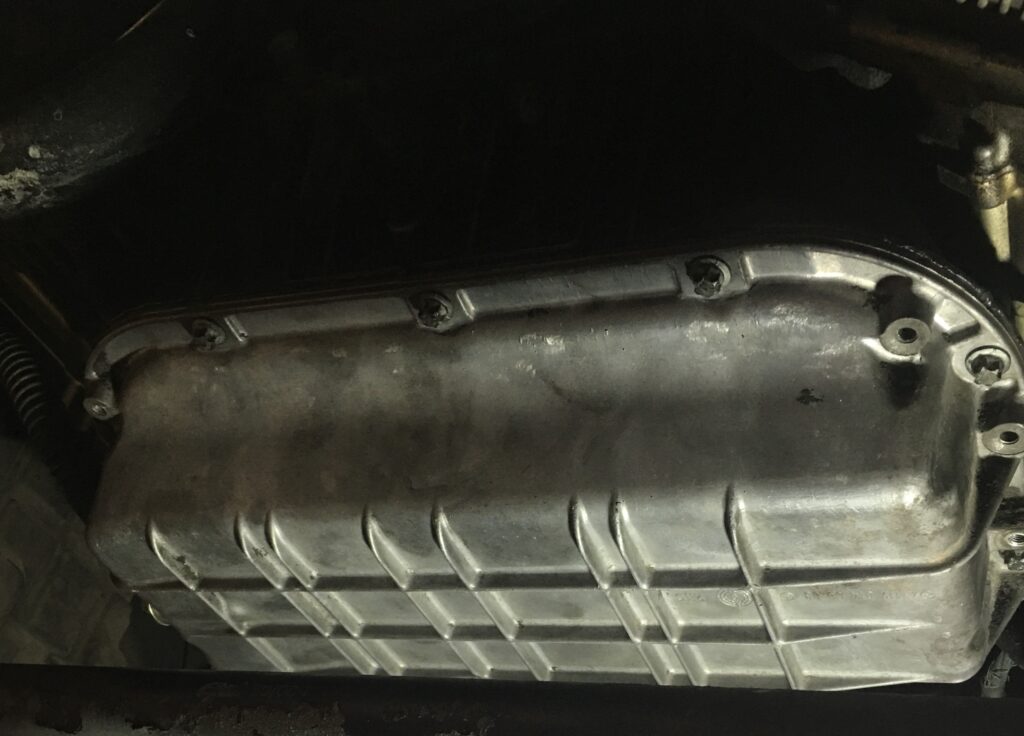
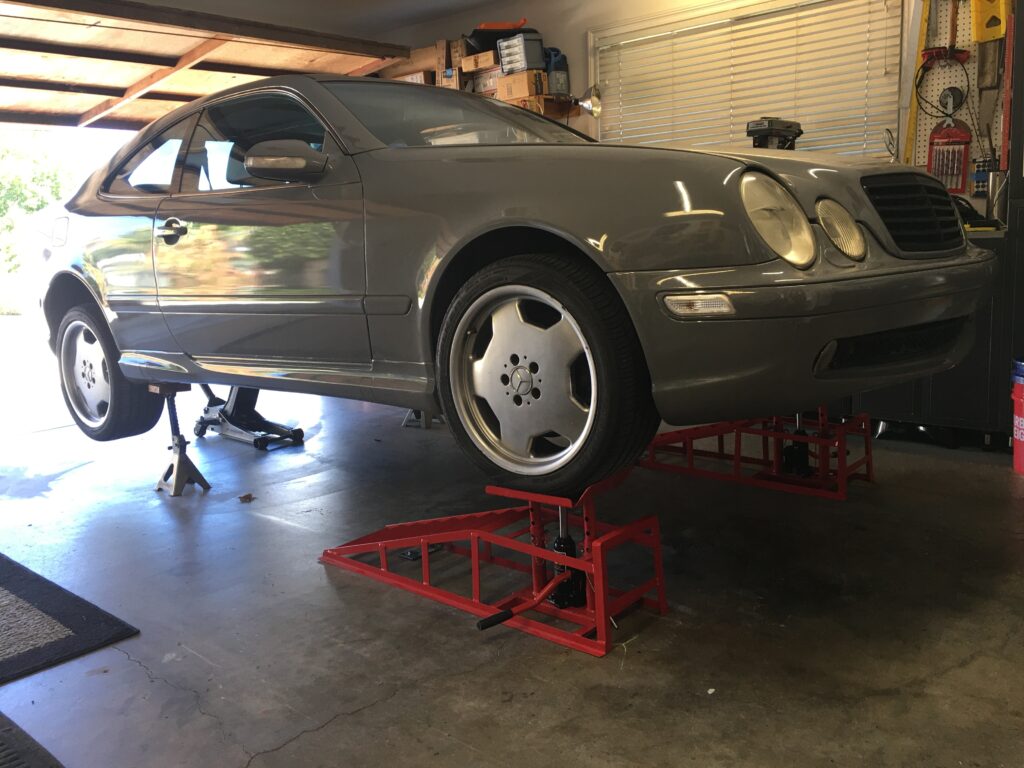
I used the E10 socket to remove a dozen bolts securing the lower oil pan, plus two more holding pipes to the pan. Then I removed the two brackets holding the sway bar in position under the oil pan, allowing it to swing down and out of the way. As long as the front wheels are at the same height there should be no tension on the sway bar, and it doesn’t matter if they’re on a ramp like mine or hanging freely.
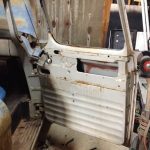
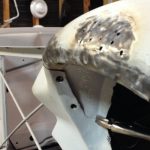
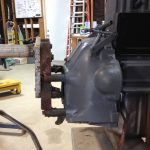
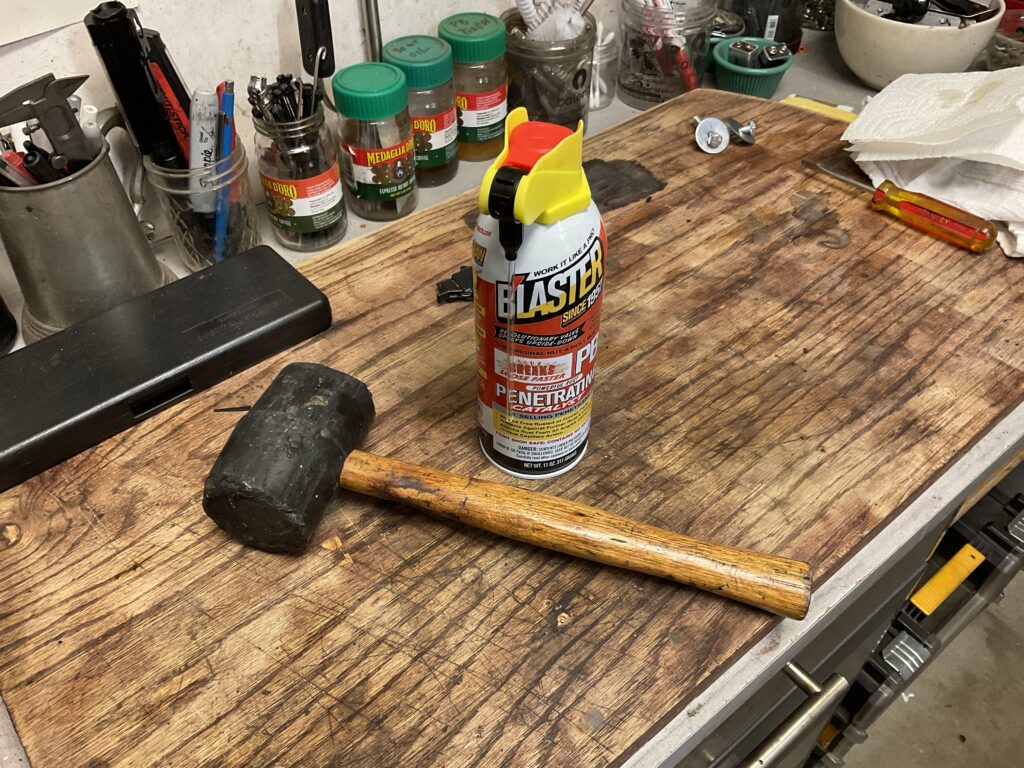
The pan felt like it was welded on, and wouldn’t budge even with several hard raps with the rubber mallet, side to side and front to back. I sprayed PB Blaster liberally all the way around where the two pans join and let it sit overnight. The next morning, a couple more knocks with the mallet broke the seal loose.
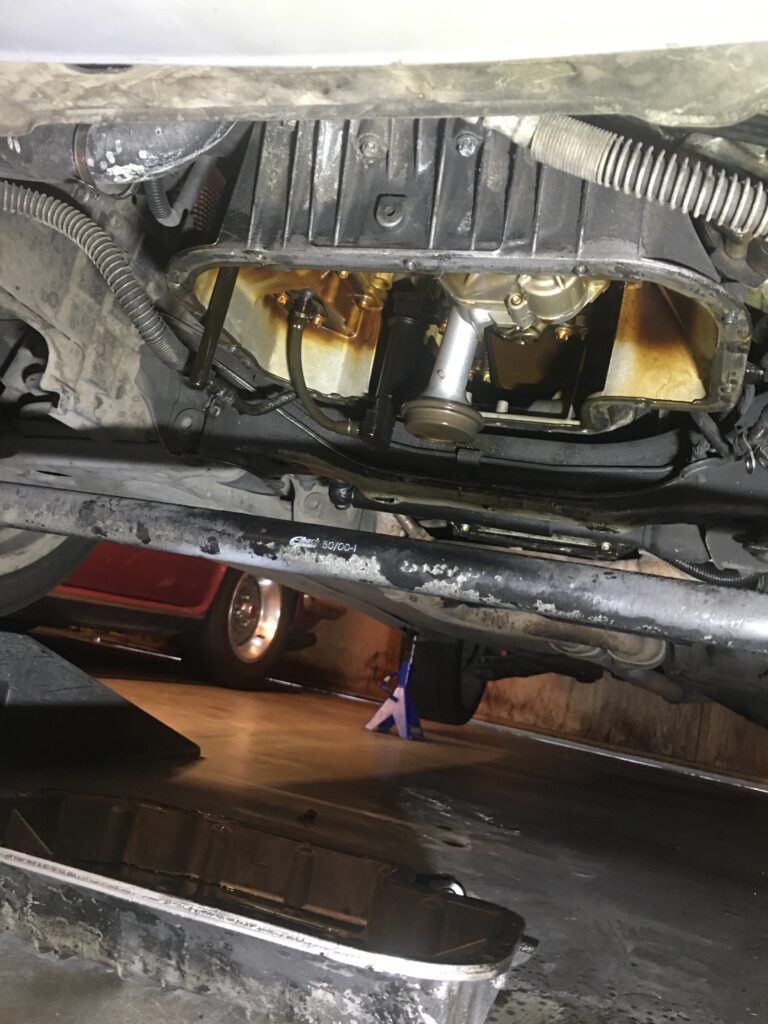
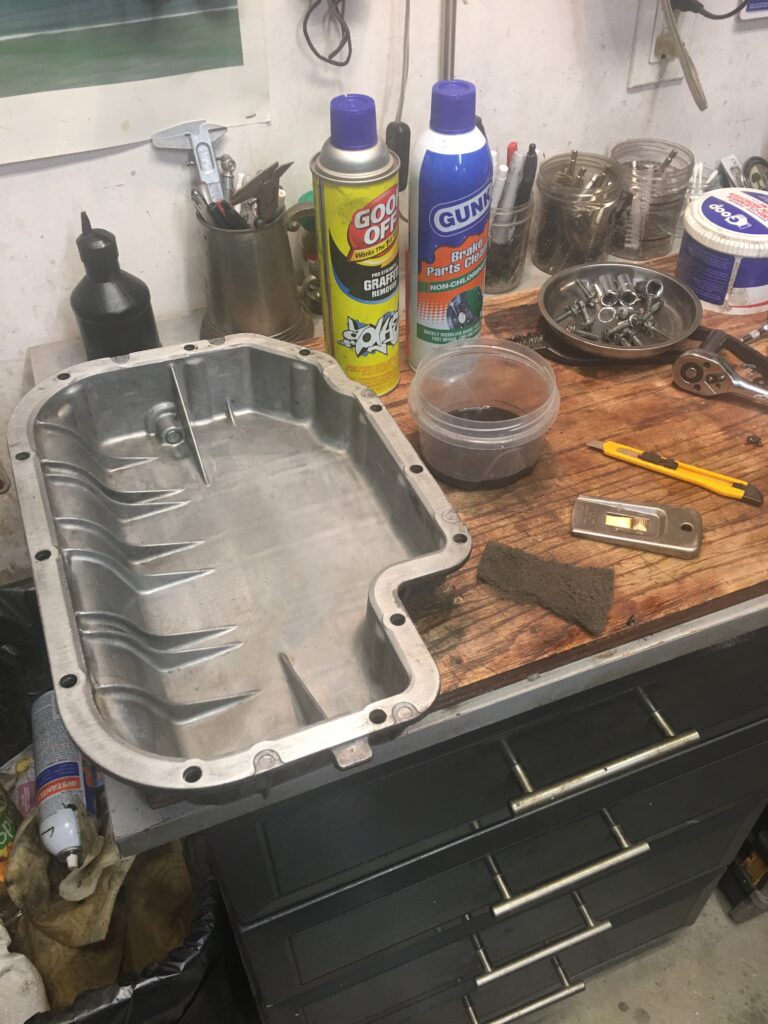
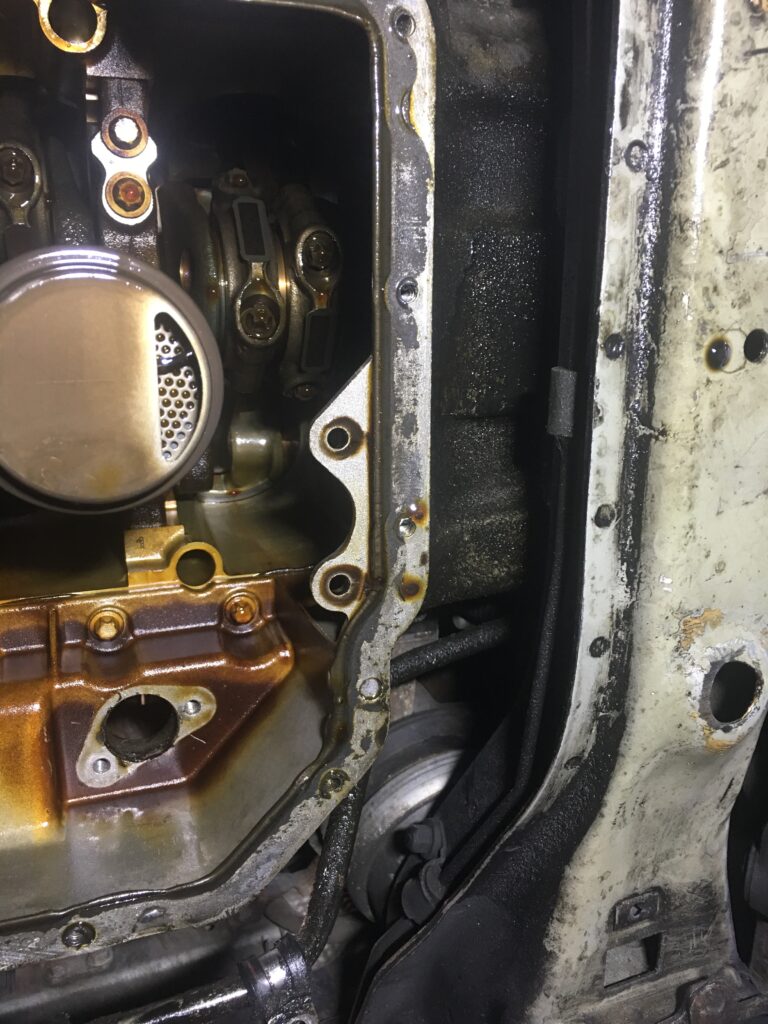
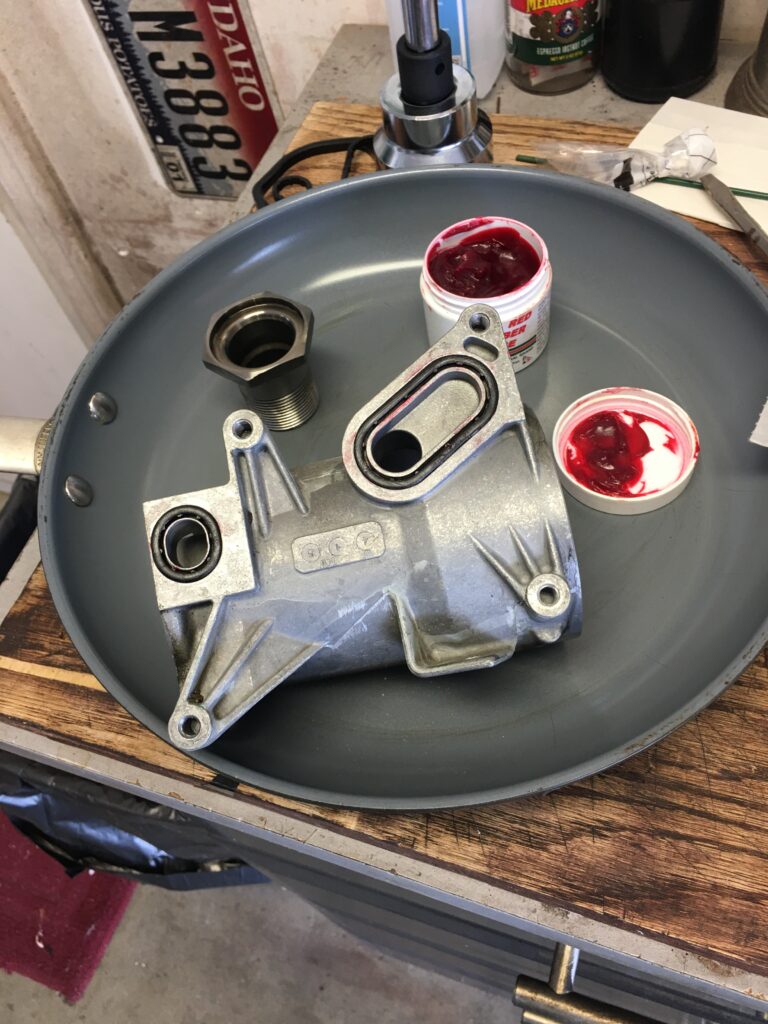
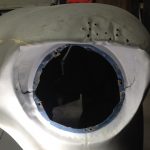
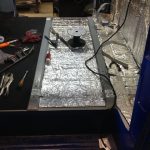
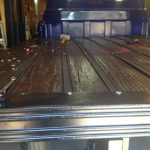
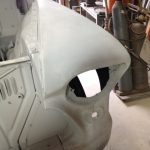
Take care cleaning the mating surfaces, I relied on Goof-Off and engine degreaser to loosen the old sealant then with a light touch used the straight razor blade and some Scotch-brite to ready the upper and lower pans for fresh sealant.
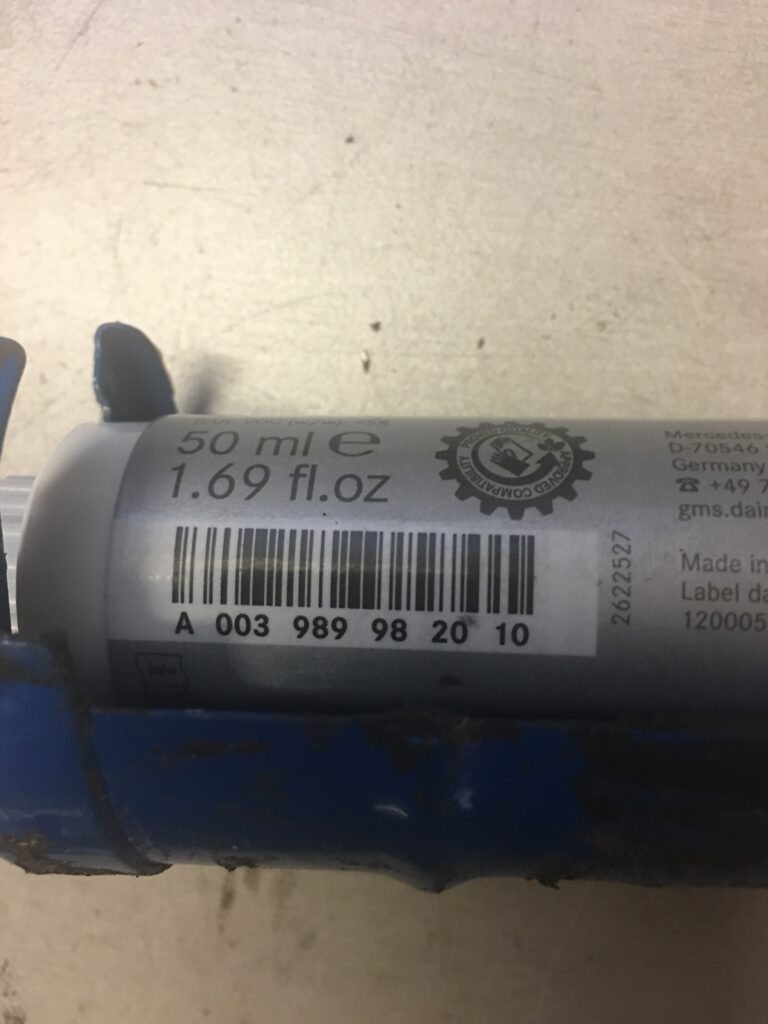

I do like the local Mercedes dealership, and they had taken care of our ML diesel before we swapped it for the Subaru Outback. It’s a great looking facility and of course the new cars on display are marvelous, but parts and service tend to be pricey. On the plus side, the parts department is totally open and honest about where the parts can be found at lower prices.
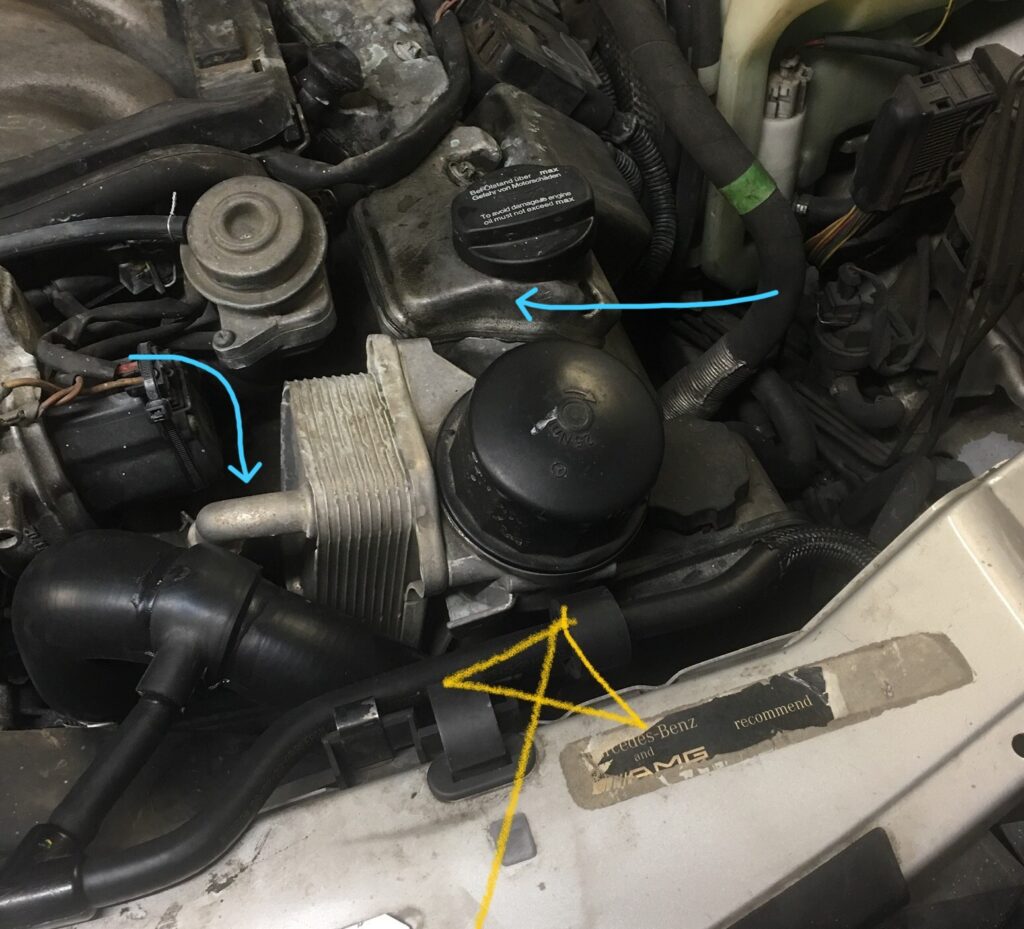
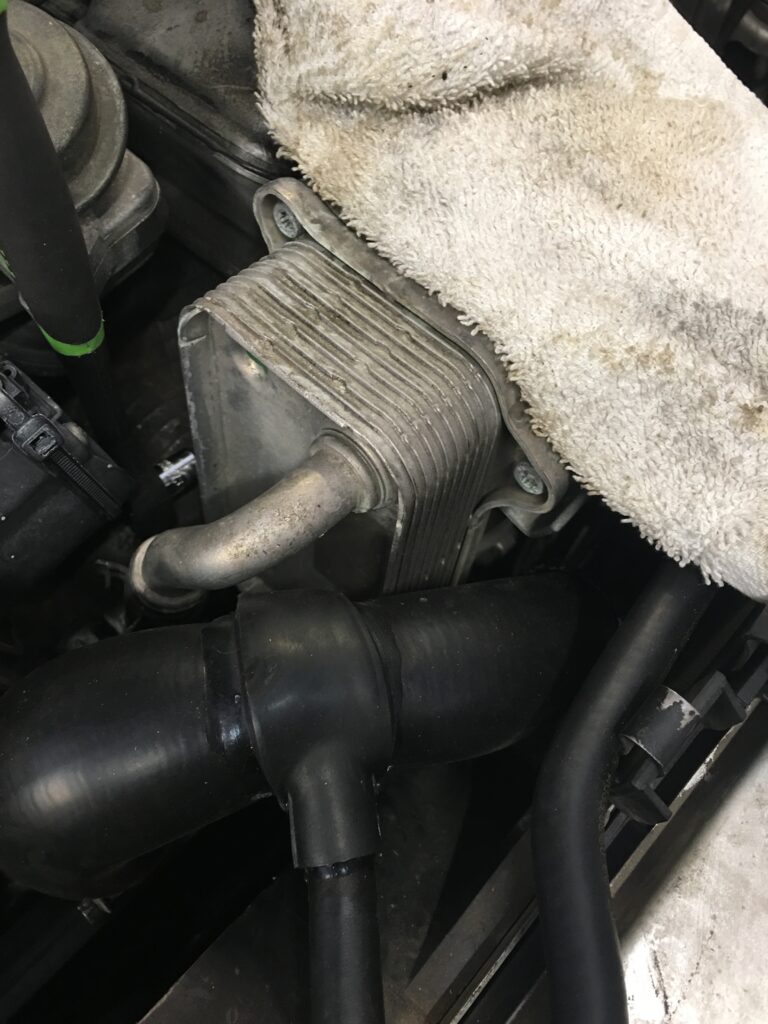
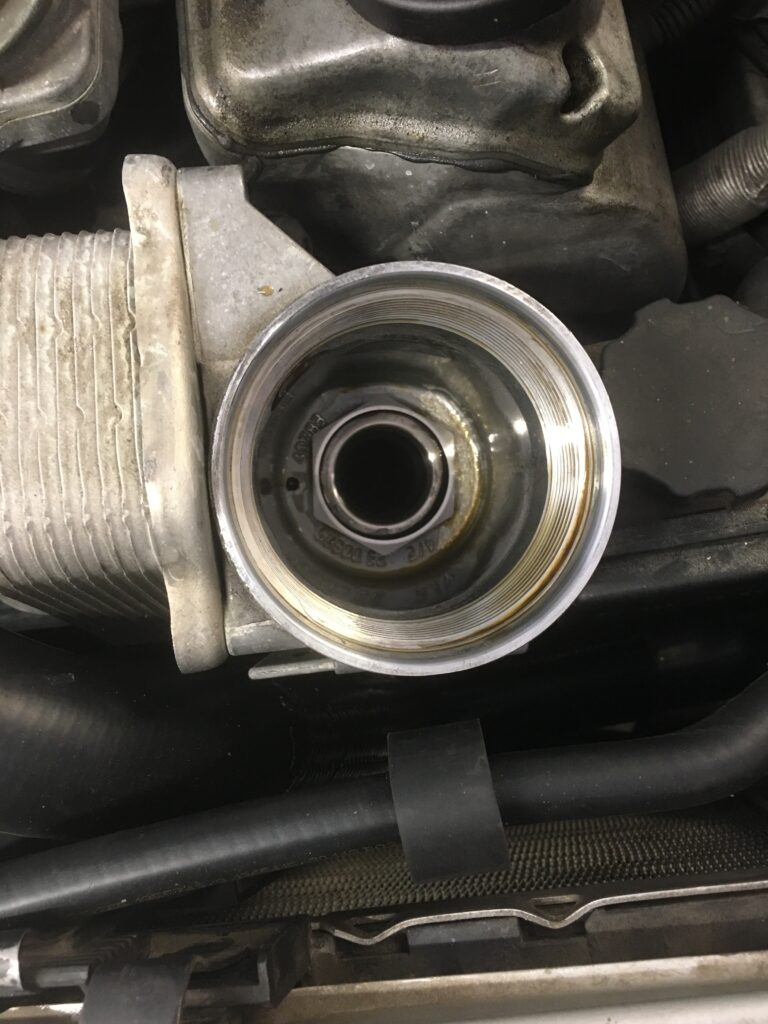
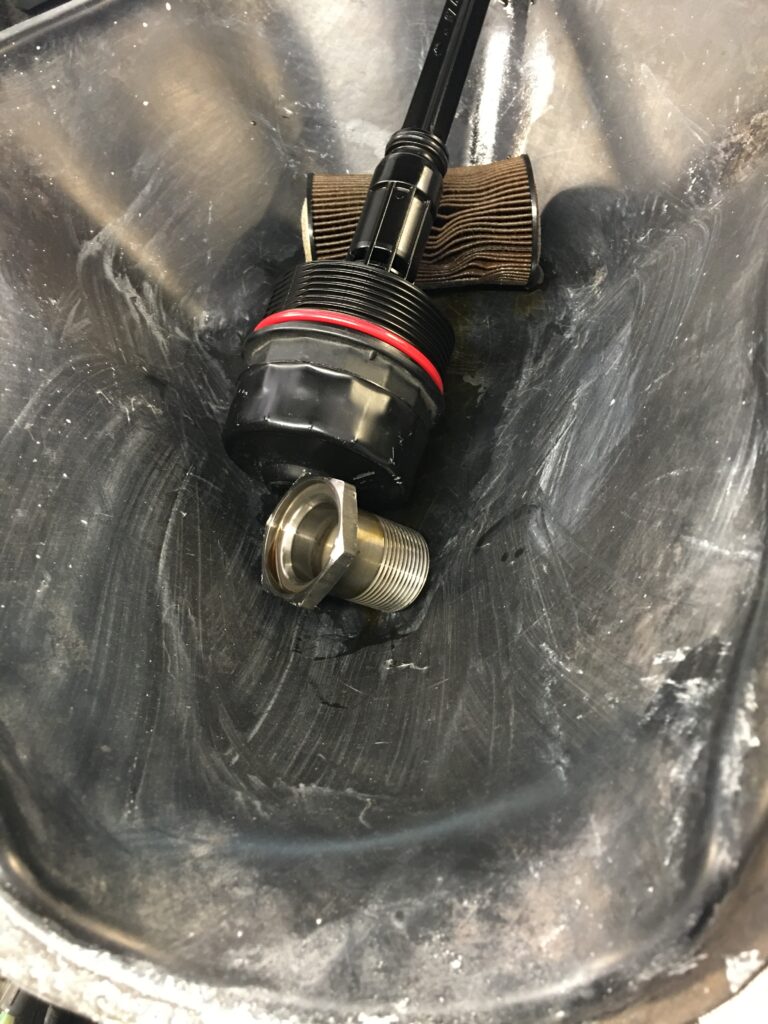
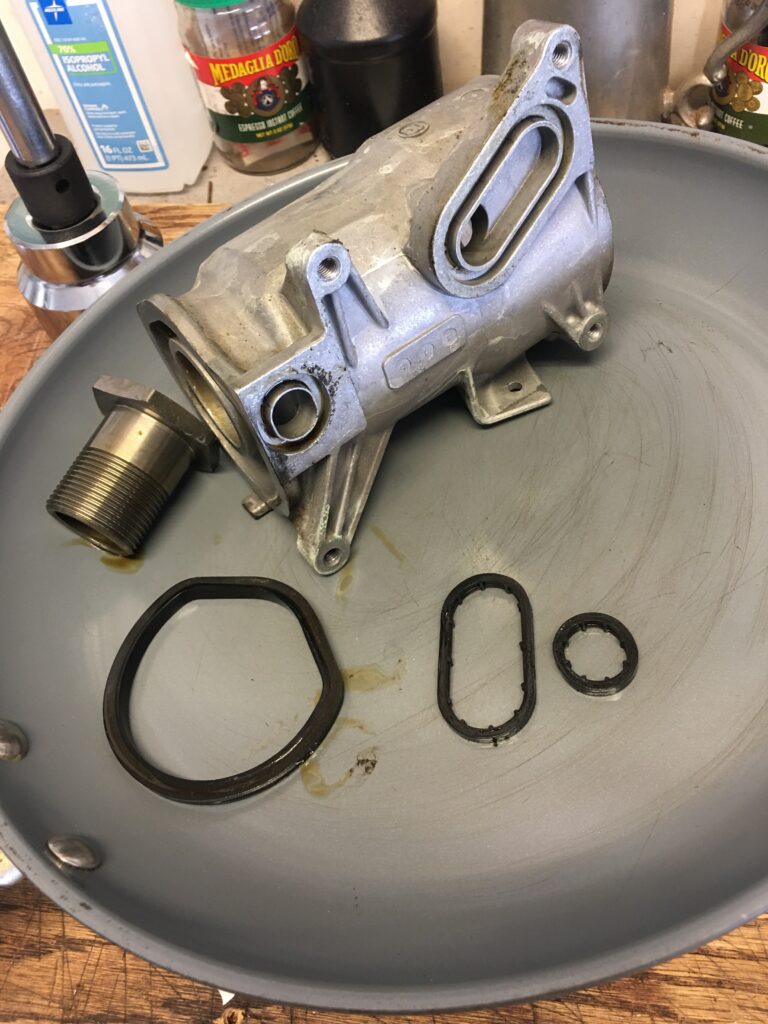
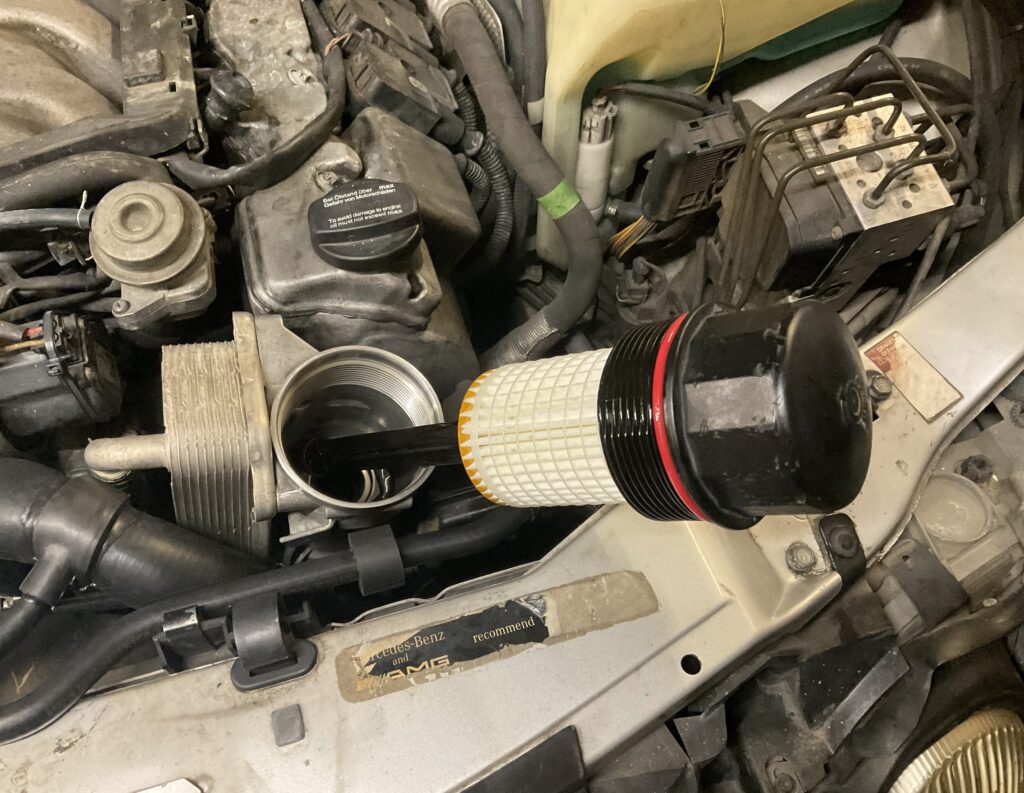
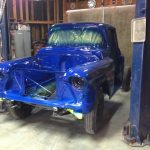
Now, with the oil filter housing and oil pan leaks addressed, hopefully the CLK55 engine is buttoned up for a few more miles. Next on the agenda is the transmission oil pan which seems to have sprung a leak.